Summer is here and the perfect time for DIY projects for summer. These projects are a great way to unite the family while boosting outdoor space.
This article will explore great DIY projects to prepare your outdoor area for fun.
Contents
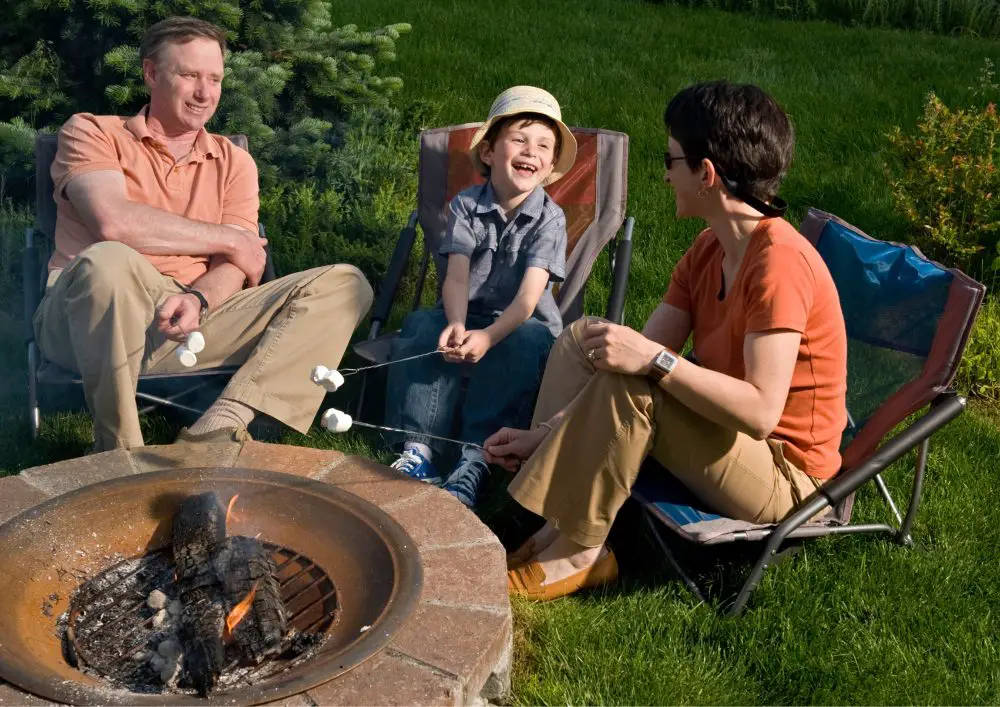
Fire Pit DIY Projects for Summer
The fire pit is a classic addition to any yard. It becomes the focal point for evening gatherings and is perfect for roasting marshmallows. Adding this to your DIY projects for summer, you save money and get to add a personal touch.
Choosing the Right Location
The location of your fire pit is crucial in your DIY projects for summer. Pick a spot at least 10 feet from your home, trees, and other structures. The area ensures safety and reduces fire risks. Also, check local fire codes for additional guidelines.
Gathering Your Materials
Next, you’ll need to gather the materials. Common items include bricks or fireproof stones, sand, and gravel. You’ll also need tools like a shovel, rake, and a level. Make sure to wear gloves to protect your hands.
Prepping the Ground
The ground needs to be flat before you start one of these DIY Projects for Summer. Use your shovel to remove grass and loose dirt from the chosen area. Next, lay down a layer of sand to create a level base. Use a rake and level to make sure the surface is even.
Building the Fire Pit
- Mark the Perimeter: Use chalk or a stick to mark the area where your fire pit will go. Make sure it’s a circle with a diameter of at least 3 feet.
- Dig a Hole: Dig a hole about 6 to 12 inches deep within the marked area with your shovel. The hole will act as the base for your fire pit.
- Add Gravel Layer: Pour a layer of gravel into the hole. The gravel aids in drainage and provides extra safety.
- Place the First Layer of Bricks: Start laying your bricks or fireproof stones around the hole’s edge. Use a level to ensure they are even.
- Stack Additional Layers: Add more layers of bricks, staggering the seams for stability. Depending on your design, 2 to 4 layers are usually enough.
- Secure the Bricks: If you want to make the structure more stable, you can use fireproof adhesive between the layers of bricks. All DIY Projects for summer that involve bricks should use the right adhesive.
- Final Touches: Fill the center with an inch or two of sand to cover the gravel. Gravel helps in easier clean-up of ash.
Safety Tips
- Keep Water Nearby: Always have a bucket of water or a hose nearby when using your fire pit. This should be considered for all DIY projects for summer that involve fire.
- Never Leave Unattended: Never walk away from a burning fire. Make sure it’s completely out before leaving the area.
- Avoid Windy Conditions: Using your fire pit when it’s windy can spread embers. Make sure to check the weather before lighting a fire.
- Use a Screen: A metal screen over your fire pit will help keep embers contained.

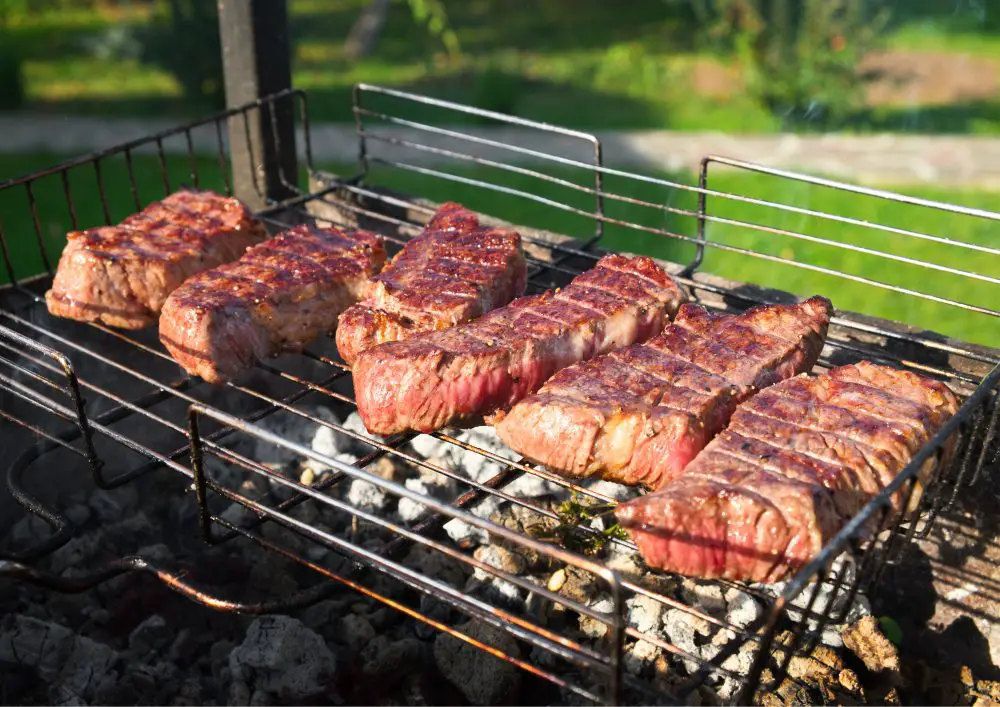
BBQ Station DIY Projects for Summer
A BBQ station can be the highlight of your summer gatherings. It’s not just a cooking area; it’s a place where everyone comes together. Building your BBQ station as one of your DIY projects for summer can add a unique charm and functionality to your outdoor space.
- Planning Your BBQ Station
- Planning is key before you start one of these DIY projects for summer. Think about how much space you have and where you want the BBQ station to go.
- List features you want, like extra counter space or storage. Sketching a simple blueprint can help visualize the project.
- Tools and Materials Needed
- Gather all your tools and materials before starting this or other DIY projects for summer. You’ll need concrete blocks, a grill insert, and weather-resistant lumber for the frame.
- For tools, keep a hammer, screws, a saw, and a level at hand. The right tools help streamline the building process.
- Building the BBQ Station
- Building the Base
- Prepare the Ground: Clear away any grass or stones from the area where your base will sit. Make sure the ground is level.
- Lay the Foundation: Place your concrete blocks to form the foundation. Double-check for level and adjust as necessary.
- Secure Blocks: To make the base sturdy, you can use a construction adhesive to glue the blocks together. This tip applies to all DIY projects for summer.
- Building the Base
- Installing the Grill
- Measure for Fit: Ensure your grill insert fits the designated space before building up.
- Build Up the Frame: Use weather-resistant lumber to build a frame around where your grill will sit. The frame adds support and height.
- Insert the Grill: Slide your grill insert into the frame. Some grills require you to screw them into place, so have your drill ready.
- Adding Storage and Counter Space
- Measure Space: Decide how much storage and counter space you need. The space needed will depend on your initial planning.
- Cut and Install: Cut your lumber to create shelves or cabinets. Install using screws to secure them to the base. Properly securing the material is essential for all DIY projects for summer.
- Add Countertop: Install a weather-resistant countertop above your storage space. The countertop can be wood, stone, or any other sturdy material. Take note of your countertop materials; you can also use them for other DIY projects for summer.
- Final Touches and Decor
- Paint or Stain: Once everything is built, you can paint or stain your BBQ station to match your outdoor decor.
- Add Hooks and Handles: If applicable, install hooks for utensils and handles for cabinet doors.
- Install Lighting: Consider adding outdoor lights for evening grilling, such as the HMCITY Solar Lights. This lighting is IP65 waterproof and has a motion sensor function.
Safety Precautions
- Ventilation: Ensure your BBQ station is well-ventilated to allow smoke and gas to escape. Ventilation is critical to the safety of any DIY projects for summer that involve fire.
- Fire Extinguisher: Always have a fire extinguisher nearby, suitable for grease fires.
- Non-flammable Materials: Use non-flammable materials for anything close to the cooking area.
- Safe Distance: Ensure the BBQ station is 10 feet from your home or any other structures to minimize fire risks.
- Regular Maintenance: Regularly check for wear and tear, especially if your BBQ station features a gas grill, to avoid leaks and other hazards.

Wooden Playset DIY Projects for Summer
A wooden playset is a fantastic addition to your DIY projects for summer since it gets your children involved. It offers a safe and fun space for children to play, climb, and explore. Best of all, building it yourself allows you to customize it to your kids’ interests.
Planning Your Wooden Playset
Before diving into your playset DIY projects for summer, planning is crucial. Consider the size of your yard and how much space you can dedicate to the playset. Think about the features your kids would enjoy, like swings, slides, or a climbing wall. A well-thought-out plan makes the building process smoother.
Playset Maintenance
Regular upkeep keeps your playset safe and looking good. Check for loose screws or nails every few months. Look out for any wood rot or chipped paint. Maintenance also includes seasonal checks for any wear and tear caused by weather conditions.
Building the Playset

Building the Base and Frame
- Clear the Area: Before starting, ensure the ground is level and free of rocks or debris.
- Lay Down Footers: Place concrete footers where the main posts will go. The footers give your playset a stable base.
- Install Main Posts: Insert the main wooden posts into the footers. Make sure they’re straight by using a level.
- Assemble the Frame: Connect the posts with horizontal beams. The frame forms the skeleton of your playset.
Adding Swings and Slides
- Prep for Swings: Install strong crossbeams where the swings will go. Make sure they’re well-secured. This is an important tip for DIY projects for summer that involve structures carrying users.
- Hang Swings: Attach swing chains to the crossbeams. Double-check the weight limit for safety.
- Install Slide: Secure the slide to a platform on the playset. Make sure it has enough clearance and is angled safely.
Creating Climbing and Exploration Spaces
- Plan Climbing Areas: Decide where to place ladders, climbing walls, or other features.
- Build and Attach: Construct the climbing elements and securely attach them to the main frame.
- Add Extra Fun: Consider adding a telescope, steering wheel, or other interactive features to entertain the kids.
Finishing Touches and Paint
- Smooth Surfaces: Before painting, sand any rough spots to prevent splinters.
- Choose Safe Paint: Use non-toxic, child-safe paint for all surfaces.
- Decorate: Let your creativity shine. Paint the playset in fun colours, or add designs to make it extra special.
Safety Considerations
- Use Rounded Edges: Always round the edges of wood pieces to prevent cuts or splinters.
- Secure with Screws: Use screws instead of nails for stronger and safer connections.
- Ground Anchors: Securely anchor the playset into the ground to prevent tipping.
- Check for Protrusions: Ensure that no screws or bolts are protruding out that could catch on clothing or skin.
- Follow Weight Limits: Adhere to weight guidelines for swings and slides to avoid stress on the structure.
- Safety Barriers: Install safety barriers like railings or netting on elevated areas to prevent falls.

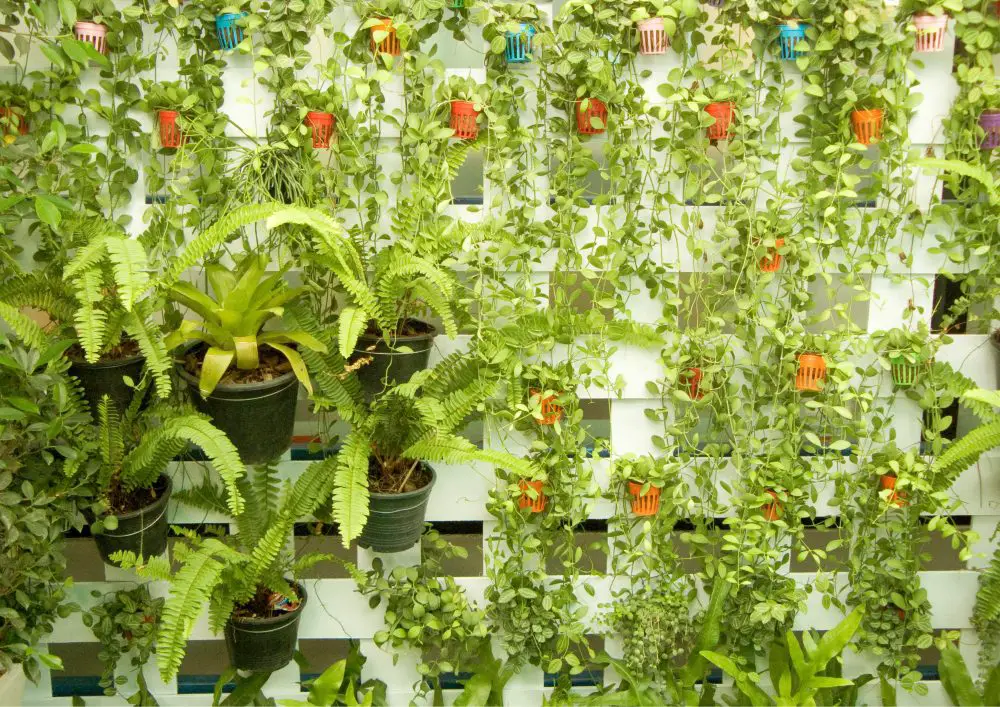
Vertical Garden DIY Projects for Summer
A vertical garden is a great way to add life and color to your outdoor area, especially if you’re short on space. It’s not just for flowers; you can also grow herbs and veggies. Making this one of your DIY projects for summer gives it a personal touch that makes your garden truly unique.
Planning Your Vertical Garden
Before you start building, planning is important. Think about where you want to place your vertical garden. Will it be against a wall, or will it stand freely? Also, consider the amount of sunlight and water the area gets. This information helps you choose the right plants.
Choosing Plants and Layout
Selecting the right plants is crucial for a thriving vertical garden. First, think about the conditions your garden will face. Is it sunny or shaded? Choose plants that suit these conditions for the best results. Next, consider the purpose of your garden.
For an aromatic garden, herbs like mint, basil, and lavender are great. For a burst of colour, consider flowers like petunias or pansies.
Now, let’s talk layout. A well-planned layout maximizes both beauty and growth. Taller plants should go on top to avoid blocking sunlight to the smaller ones below. Trailing plants like ivy can hang from the upper tiers, adding a whimsical touch.
Arrange your plants in your layout before planting, switching them around until it feels right. A layout helps you visualize the result and make adjustments easily.
Your vertical garden will look good and thrive by carefully choosing your plants and planning your layout. Careful selection of your plants is always critical to any garden DIY projects for summer.
Building Your Vertical Garden
Building the Frame
- Measure the Area: Measure the height and width of the space where you want your vertical garden. Having the correct measurement sets the size of your frame.
- Cut the Wood: Cut your lumber according to the measurements. You’ll need four pieces for the frame’s outer edges and additional pieces for the inner supports.
- Assemble the Frame: Lay out the pieces on a flat surface. Use screws to secure the corners and inner supports, ensuring everything is square and level.
Installing Plant Containers
- Choose Containers: Pick containers that fit well within the frame. These could be pots, hanging planters, or even custom wooden boxes.
- Arrange Containers: Arrange containers within the frame before securing anything based on your layout. Adjust as needed for spacing.
- Secure Containers: Attach your containers to the frame. Depending on your container type and material, you can use screws, zip ties, or hooks.
Soil and Planting
- Prepare the Soil: Mix the soil with slow-release fertilizer for added nutrients. Make sure the soil is appropriate for the plants you’ve chosen.
- Plant: Fill each container with the prepared soil and gently place your plants. Follow your layout, but be flexible if you need to make last-minute changes.
- Water Well: Give each plant a good watering to settle the soil and help them adjust to their new home.
Ongoing Care and Maintenance
Planning out your vertical garden, including any DIY projects for summer, is important. Think about where you want to place your vertical garden. Will it be against a wall, or will it stand freely? Also, consider the amount of sunlight and water the area gets. This information helps you choose the right plants.
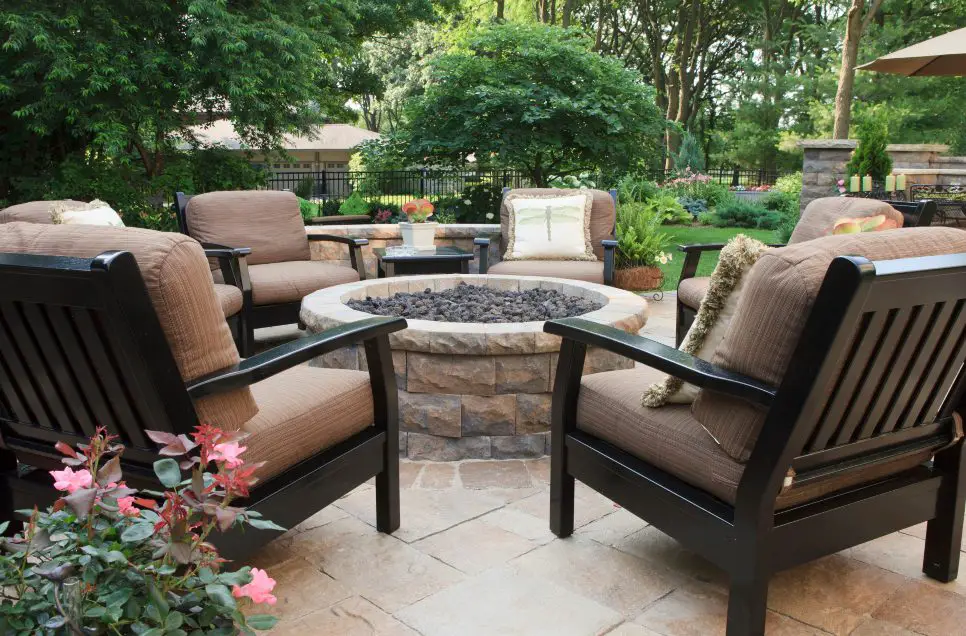
Outdoor Patio DIY Projects for Summer
An outdoor patio can transform your backyard into a relaxing retreat or a lively entertainment hub. You choose its purpose, look, and features. Building it yourself as one of your DIY projects for summer adds a personal touch, making the space even more special.
Planning Your Outdoor Patio
Before you break ground for this or any DIY projects for summer, planning is key. Considering your yard’s landscape, decide on the patio’s size and shape. Will it be a small, cozy space or a sprawling area for big gatherings? Think about its function. Do you envision dinners, relaxing afternoons, or a fire pit area? Sketch your ideas to help visualize your dream patio.
Choosing Materials and Design
Concrete
Concrete is durable and offers a clean, modern look. It is also a versatile material for all DIY projects for summer. You can also dye it to match your style. However, it can crack over time and might require sealing.
Natural Stone
Natural stone like slate or limestone gives a rustic look. It’s durable but can be expensive and challenging to install.
Pavers
Pavers come in various shapes and sizes, making them versatile. They’re relatively easy to install and replace if one gets damaged.
Brick
Brick offers a classic look and is great for more traditional settings. It’s durable but may require regular cleaning to prevent moss.
Tile
Outdoor tiles can provide a unique and artistic flair. They require a solid base and may be slippery when wet.
Wood
Wood gives a warm, natural look but requires the most maintenance to prevent rot and weathering.
Building an Outdoor Patio
Ground Preparation
- Mark the Area: Use stakes and string to outline your patio’s shape on the ground.
- Dig the Base: Remove grass and soil within the outline to a depth of about 6 inches.
- Level the Ground: Make sure the ground is flat and compact with a tamper.
Laying the Patio Base
- Add Gravel: Spread a layer of gravel about 4 inches deep over the area. The gravel also improves drainage.
- Compact Gravel: Use the tamper again to make the gravel layer flat and firm.
- Lay Weed Barrier: Place a fabric weed barrier over the gravel to prevent unwanted growth.
- Place the Material: Start laying your chosen material, whether pavers, concrete, or stone. Make sure it’s level as you go along.
Adding Furniture and Accessories
- Select Furniture: Pick furniture that suits your patio’s purpose. Dining sets for meals, loungers for relaxation, etc.
- Install Accessories: Add an umbrella for shade or a fire pit for evening gatherings.
- Decorate: Planters, outdoor rugs, and lighting can add the finishing touches to your space.
Patio Maintenance and Care
- Regular Cleaning: Sweep your patio to remove leaves, dirt, and other debris. A pressure washer can be used for a deeper clean.
- Weed Control: Check for weeds growing between the cracks and remove them. Consider using a weed killer for stubborn growth.
- Seal the Surface: If your patio is made of concrete or stone, a sealant can protect it from weather damage.
- Furniture Care: Cover or store outdoor furniture during harsh weather to extend lifespan.
- Check for Damage: Regularly inspect the patio for cracks or loose pieces. Fix them before they become a bigger problem.
Conclusion
DIY projects for summer can be a rewarding experience. From fire pits to vertical gardens, these DIY projects add value to your home and quality to your life. With some planning, the right materials, and a touch of elbow grease, you can create outdoor spaces you’ll enjoy for years.