Tiling is an art form. You are not just sticking tiles onto the floor or walls. It is a series of steps to ensure the tiles are arranged properly, improving a room’s aesthetic, safety, and function.
Below is our guide on DIY tile installation.
Contents
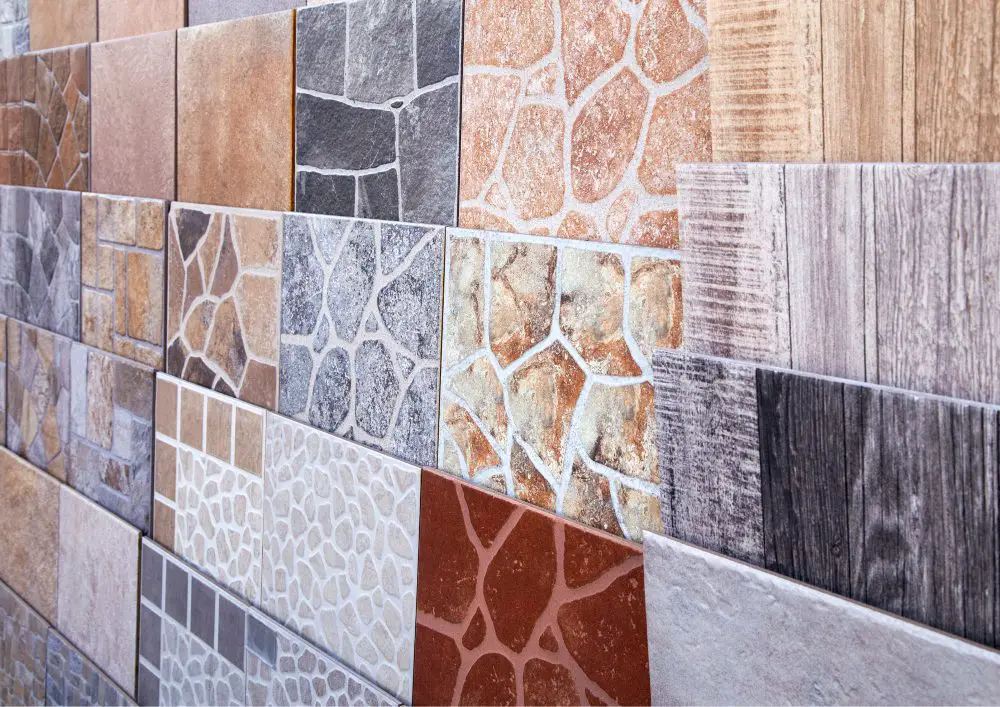
Choosing the Right Tile
The type of tile you select sets the tone for the space and impacts durability. Here’s a look at some common types of tiles suitable for home projects.
Ceramic Tiles
Ceramic tiles are versatile materials for places with water, such as bathrooms and kitchens. They can fit most DIY builder’s budgets and are available in different colors. Ceramic tiles are easy to cut, which makes them ideal for spaces with complex layouts.
Advantages and Disadvantages:
- Pros: Easy to cut, affordable, wide range of colors
- Cons: Less durable compared to porcelain, can chip or crack
Rooms:
- Kitchens
- Bathrooms
- Entryways
Porcelain Tiles
Porcelain tiles are also made from clay but are fired at even higher temperatures. The tile’s qualities make them denser and more durable than ceramic tiles. Porcelain tiles are less porous, which means they resist moisture well. Being ant-moisture makes them a strong pick for both indoor and outdoor spaces.
Advantages and Disadvantages:
- Pros: Durable, moisture-resistant, suitable for high-traffic areas
- Cons: More expensive, harder to cut
Rooms:
- Bathrooms
- Kitchens
- Outdoor patios
Natural Stone Tiles
Natural stone tiles are made from marble, granite, and slate. Each tile is unique, adding an elegant and organic touch to your space. However, these tiles often require a sealant to protect against stains and moisture, adding to the overall cost.
Advantages and Disadvantages:
- Pros: Unique look, adds value to the home
- Cons: Expensive, requires regular upkeep
Rooms:
- Bathrooms
- Kitchens
- Living rooms
Glass Tiles
Glass tiles are made from thin pieces of glass. They are often used in backsplashes and accent walls. These tiles add a modern and sleek look to any space. However, they can be more fragile and may chip or scratch easily.
Advantages and Disadvantages:
- Pros: Modern look, easy to clean
- Cons: Fragile, can be expensive
Rooms:
- Kitchens
- Bathrooms
Cement Tiles
Cement tiles are made from cement, sand, and color pigment. They offer a unique and vintage look, making them an excellent choice for those who want a classic style. These tiles are heavy and durable but may require sealing to protect against moisture and stains during your tile installation.
Advantages and Disadvantages:
- Pros: Unique design, durable
- Cons: Heavy, may require sealing
Rooms:
- Kitchens
- Bathrooms
- Entryways
Vinyl Tiles
Vinyl tiles are made from synthetic materials, often designed to mimic the look of natural stone or wood. They’re a budget-friendly choice that’s also easy to install. While they may not be as durable as other options, they’re comfortable underfoot and offer good water resistance.
Advantages and Disadvantages:
- Pros: Budget-friendly, easy tile installation
- Cons: Less durable, may not withstand high traffic
Rooms:
- Bathrooms
- Kitchens
- Laundry rooms
Tools You’ll Need
Before laying tiles, ensure you have all the essential tools ready. The right tools will help you get a clean, professional finish.
Here’s a list of what you’ll need for your tile installation project.
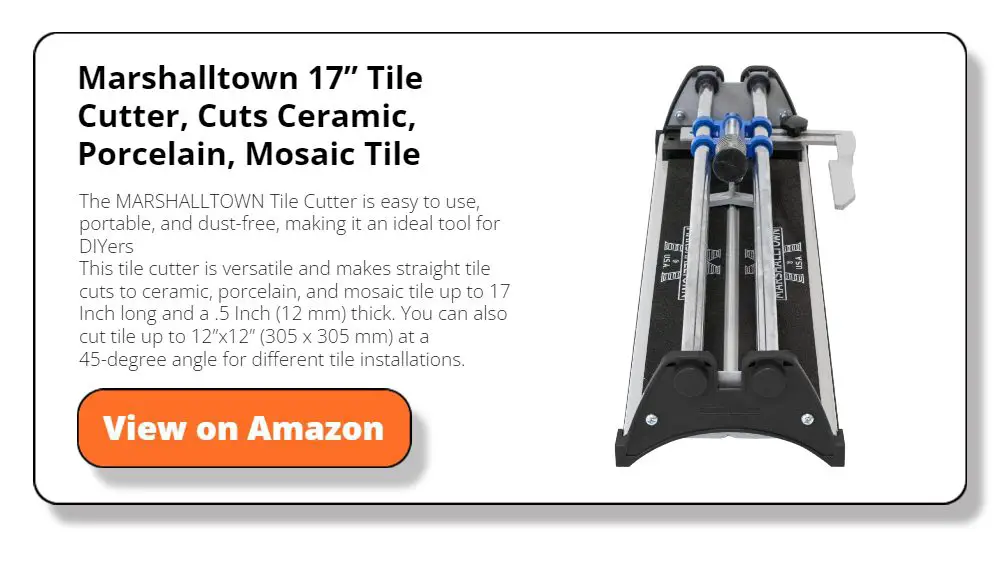
Tile Cutter
A tile cutter is essential for sizing your tiles to fit the specific dimensions of your space. Manual cutters are good for straight cuts, while electric ones handle more complex cuts easily for tile installation.
When choosing a tile cutter, look for one that’s easy to use and accommodates the type of tiles you’ve selected.
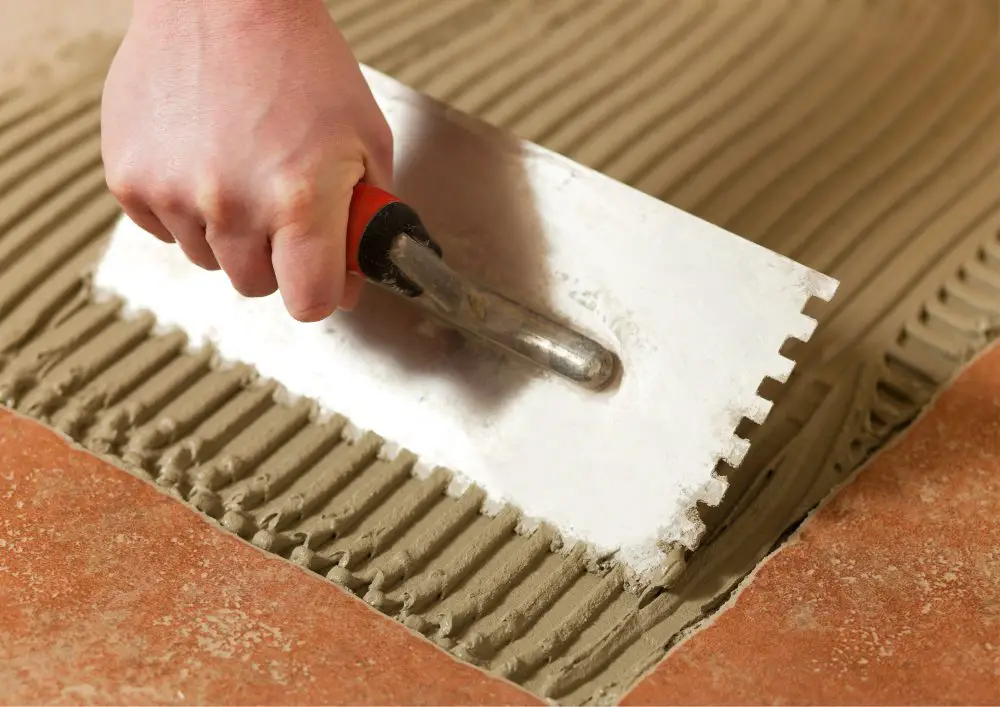
Notched Trowel
The notched trowel spreads adhesive on the surface of tile installation. The notches help distribute the adhesive evenly.
Select a trowel with notch sizes that match the tile thickness for best results. Properly applied adhesive ensures a strong bond between the tile and the surface.
Rubber Mallet
A rubber mallet helps set tiles firmly into the adhesive for tile installation. Gently tap the tile’s surface with the mallet to ensure it’s secure and level.
Choose a mallet that’s easy to grip and not too heavy, as excessive force can crack the tiles.

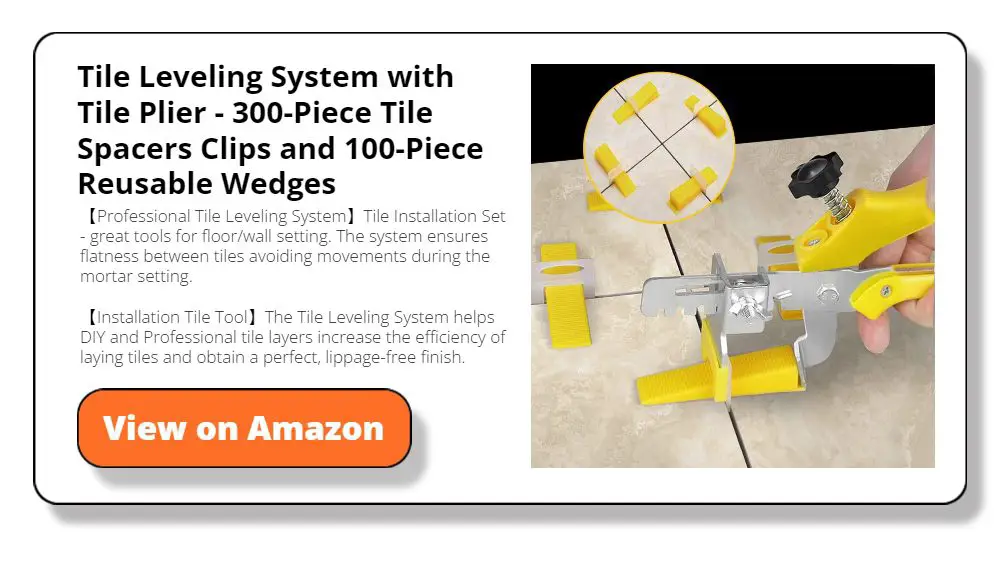
Tile Spacers
Tile spacers are small plastic pieces placed between tiles to maintain even gaps. These gaps are later filled with grout during tile installation.
Spacers come in different sizes, so pick the ones that match your desired grout lines. Make sure to buy enough to place at each corner of every tile for a uniform look.
Level
A level is crucial for ensuring that your tiles are evenly placed. It helps you avoid a sloping surface.
When choosing a level, look for one that’s easy to read and long enough to span multiple tiles. This ensures more accurate leveling on your tile installation across a larger area.
Grout Float
The grout float is used to apply grout between the tiles. It’s designed to press the grout into the spaces while removing excess from the tile surface.
Pick a float with a comfortable grip and a rubber pad suitable for your type of grout. The grip lets you avoid fatigue while applying the grout to the tiles.
Sponge and Bucket
A sponge and bucket are used for cleaning as you go throughout the tile installation project. You’ll wipe off excess grout and adhesive from the tile surfaces.
Choose a sponge that’s big enough to hold water but easy to wring out. The bucket should be sturdy and large enough to hold sufficient water for cleaning.
Measuring Tape
A measuring tape helps you plan the layout, ensuring the tiles fit well in your space. Accurate measurements are key to reducing waste and ensuring a clean fit to your tile installation.
Look for a tape that’s easy to read with metric and imperial units to match your tile installation project needs. You will also want ones with a clip to attach the tape to your utility belt.
Preparing the Surface
Preparing the surface is crucial before you get to the exciting part of laying tiles. A clean, smooth surface is key for a successful tile installation. Below are the steps you’ll need to follow to prepare your surface for tiling.
Clean the Surface
Start your tile installation project by cleaning the surface thoroughly. Any dust, grease, or grime can affect how well the adhesive bonds with the surface. Use a broom or vacuum to remove loose debris.
Use a mild detergent and warm water for stubborn dirt or oily spots. Wipe the area clean and let it dry completely before moving on. A clean surface helps with adhesion and makes it easier to see any imperfections that need fixing.
Level the Surface
A level surface is crucial for a successful tile installation. Use a level to identify any high or low spots on the surface. For small irregularities, a levelling compound can be applied.
For larger issues, you might need to use a self-leveling underlayment. The underlayment creates a flat, even base for your tiles. Levelling ensures the tiles will lay flat, reducing the risk of cracking or loosening over time.
Remove Old Coverings
If you’re replacing old tiles or other types of flooring, you’ll need to remove them first. For tiles, use a chisel and hammer to pry them up carefully. Make sure to wear safety goggles and gloves. If you’re dealing with carpet, cut it into strips for easier removal for your tile installation.
Use a scraper to remove any residual adhesive or underlayment. Once the old covering is removed, check the condition of the surface. Make any necessary repairs to ensure it’s smooth and ready for new tiles.
Apply Primer
Primer helps the adhesive bond better with the surface. It’s handy on surfaces that are porous or have been repaired. Use a paint roller or brush to apply a thin, even primer layer over the surface.
Choose a primer compatible with your tiles and the surface you’re working on. Allow the primer to dry completely before moving on to the next step. Drying times can vary, so check the manufacturer’s instructions.
Repair Damaged Areas
Once the surface is clean and level, check for any cracks, holes, or other damage. Small cracks can be filled with a patching compound. You might need to replace a section of the surface for larger damage.
Repairs could involve cutting out the damaged area and installing a new backer board. Repairing these areas is crucial to create a stable, solid base for your tiles.
Tile Installation
Now that you’ve chosen your tiles and gathered all the essential tools, it’s time to get to the tile installation.
Follow these steps carefully to ensure a smooth and durable finish.
Laying Out the Tiles
Before setting the tiles, lay them on the floor or against the wall to see how they’ll fit. This step is crucial for avoiding awkward cuts or unaligned patterns later on. Dry-fitting the tiles allows you to get a preview of the final look and make any necessary adjustments.
If you’re working with patterned tiles, this is your chance to decide on the orientation. Use chalk lines or a laser level to mark guidelines on the surface. These lines will serve as your roadmap, ensuring each tile is set in its proper place. Always begin from the centre and work toward the edges to achieve a balanced look.
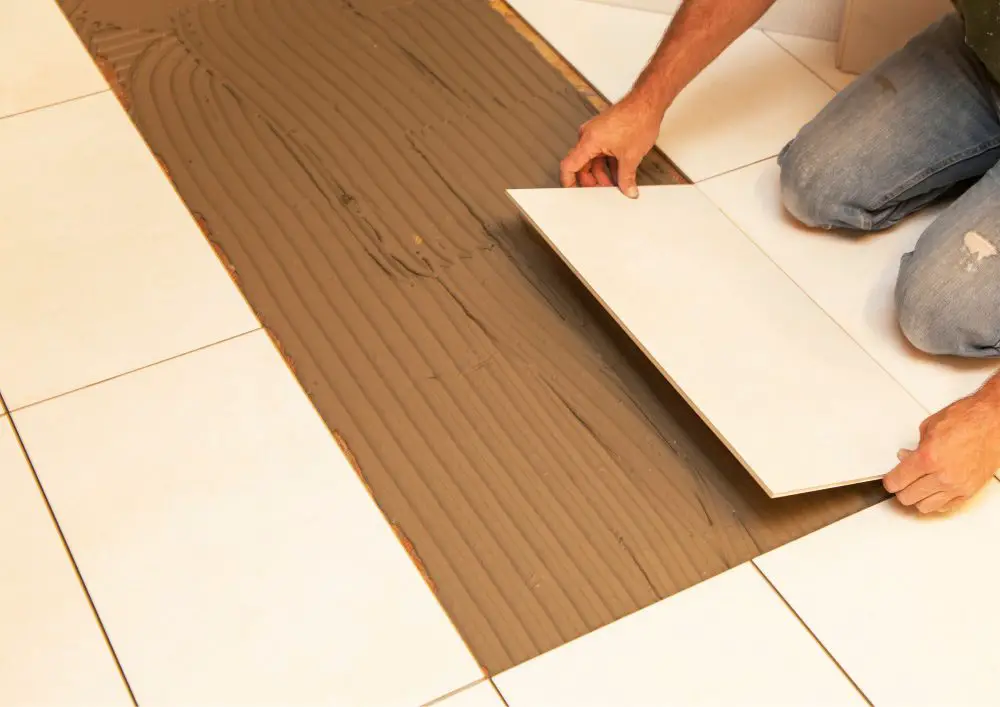
Applying Adhesive
Once you’re satisfied with your layout, it’s time to apply the adhesive. This is often called “thin-set” or “tile mortar.” Use the flat side of your notched trowel to apply an even layer on the surface, then use the notched side to create ridges in the adhesive.
These ridges help the tiles adhere better and eliminate air pockets. Always start with a small section—about one to two square feet—so the adhesive doesn’t dry out before you place the tiles.
Firmly press each tile into the adhesive, slightly twisting it to set it in place. Use the level to check that each tile is flush with its neighbors. If you find any that are too high or low, adjust them while the adhesive is still wet. Once the tiles are set, insert the tile spacers to maintain uniform gaps for grouting.
Setting the Tiles
After the adhesive is spread, it’s time to set your tiles. Start by placing the first tile firmly into the adhesive. Give it a small twist to make sure it sticks well. Use a rubber mallet to tap the tile lightly. This ensures it’s set securely into the adhesive.
Use your level to check if the tile sits flat. If a tile is too high or low, adjust it right away. Repeat these steps with each tile, inserting tile spacers to keep uniform gaps.
Grouting
Once all the tiles are set, and the adhesive has had time to dry, you’re ready to grout. Grout fills the spaces between the tiles, sealing them against moisture. Remove all tile spacers before you start. Mix the grout according to the package instructions.
Use a grout float to apply the grout, pressing it firmly into the gaps. Scrape away excess grout from the tile surfaces. Let the grout set for a few minutes, then use a damp sponge to wipe off any residue. Make sure to rinse the sponge frequently.
Finishing Touches
The final step in your tile installation is adding those finishing touches. After the grout has dried, apply a sealant. This helps protect the grout and tiles from moisture and stains. Use a small brush or sponge for application. Follow the manufacturer’s guidelines on drying time.
Once everything is dry, clean the tiles with a mild detergent to remove any remaining haze or adhesive marks. You can install any trim or transitions, like baseboards or thresholds to complete the look.
Conclusion
In conclusion, tile installation is a detailed process that requires careful planning and execution. Each step is crucial, from selecting the right tiles and tools to preparing the surface and laying the tiles.
A well-executed tile project can enhance the beauty and functionality of your space for years to come. Take your time, follow the guidelines, and don’t cut corners. The effort you invest will show in the high-quality finish of your tile installation.