Your driveway is more than just a place to park your car; it’s a crucial part of your home that often goes unnoticed until something goes wrong. Like other parts of your property, it requires regular maintenance to keep it in good condition.
The decision to resurface or repave is not to be taken lightly, as each has advantages and drawbacks. This guide aims to equip you with the knowledge you need to make an informed choice.
Contents
Resurfacing Your Driveway
Regarding drive way upkeep, resurfacing stands out as a viable option for many homeowners. This section delves into resurfacing, why it may be a smart choice, and what you should know before taking the plunge.
What is Resurfacing?
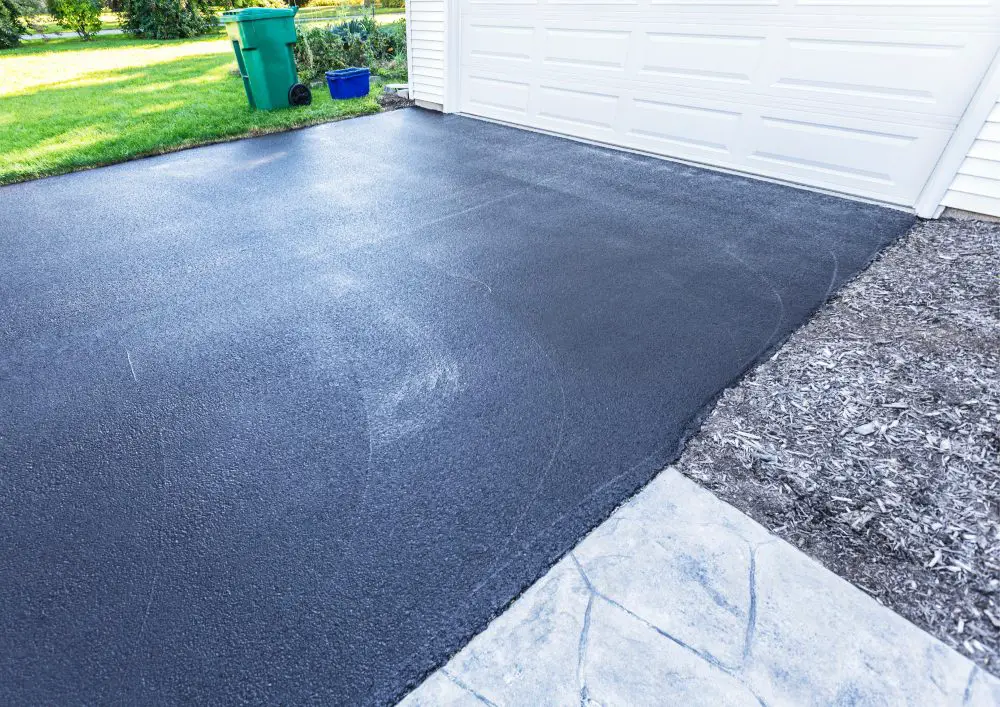
Think of driveway resurfacing as giving this space a makeover. It’s like putting on a fresh coat of paint in a room that’s looking a bit worn. You’re covering the old surface with new asphalt or concrete. The result? An outdoor space that not only looks brand new but also lasts longer. This is a great middle-of-the-road option when minor patch-ups won’t cut it, but you’re not quite ready for a full overhaul.
Pros
Cost is usually the first thing that comes to mind when considering home projects, and here, resurfacing shines. It’s like shopping smart; you get the feel of a brand-new driveway without the steep price of a full replacement. Less material and labour also mean you’ll have your outdoor space back in business quicker.
Now, let’s talk green. Resurfacing is the eco-conscious choice. Instead of tossing out the old driveway, you’re building on it. It’s like upcycling a piece of furniture instead of throwing it away. Your home gets a fresh look, and you do a small part in reducing waste. However, be aware that Mother Nature has a say too. Harsh weather and heavy use can age your resurfaced driveway quicker than you’d like.
By choosing to resurface, you’re opting for a budget-friendly, sustainable way to improve your driveway. Just ensure it’s the right fit for your needs and local conditions.
Before committing to resurfacing, a thorough assessment of your current driveway is crucial. Hire a professional to check for deep cracks, uneven surfaces, or foundational issues. They can guide you on whether resurfacing is the best course of action or if another method would be more suitable.
- Cost-efficient: Usually cheaper than full repaving.
- Quick process: It takes less time to complete.
- Sustainability: Less waste and lower carbon footprint.
- Cosmetic improvement: Gives a fresh, new look to your driveway.
Cons
While resurfacing has its perks, it’s not without drawbacks. One of the main issues is that it’s not a long-term fix for all driveway problems. If your driveway has deep cracks or foundational issues, resurfacing will only be a cosmetic cover-up. Eventually, the underlying problems will reappear, making further repairs or even full repaving necessary.
Another downside is wear and tear. A resurfaced driveway may not be as durable as a newly paved one. This is especially true in areas with harsh weather conditions. For example, frequent freezing and thawing cycles can lead to cracks and surface damage. High traffic can also accelerate wear, shortening the lifespan of your resurfaced driveway.
Limited customization is another consideration. When you resurface, you’re working with the existing layout and dimensions. This means you’re constrained if you want to expand the size or change the shape of your driveway.
Lastly, there’s the matter of initial conditions. Resurfacing can only be as good as the driveway it’s being applied to. The new layer may not adhere well if the existing surface has issues like oil stains or chemical spills. This can lead to premature peeling or flaking.
While resurfacing is an attractive option for many reasons, it has limitations. It’s essential to weigh these drawbacks against the benefits to determine if it’s the right choice for your driveway.
- Not a long-term fix: It won’t address deep cracks or foundational issues.
- Less durable: It may wear out faster, especially in harsh weather.
- Limited customization: Stuck with the existing layout and dimensions.
- Dependent on initial conditions: Poor adhesion if the old surface has stains or chemical spills.
Step-By-Step Process
Start with Assessment
The first step is crucial: evaluate your driveway. Look for cracks, potholes, or uneven areas. If you’re unsure about its condition, hiring a pro for an inspection is a good idea. Professional inspections can help uncover any unseen cracks around the garage or pavement.
Clean the Area
Before you start, your driveway needs to be clean. Any debris or liquid could ruin any fixes you plan on doing. Use a power washer to remove dirt, grease, and loose particles. This ensures a smooth surface for the new layer to stick to.
Make Minor Repairs
Fill in any small cracks or holes with a repair product. For concrete driveways, use concrete filler. For asphalt, an asphalt repair mix works well. This step makes sure the surface is even.
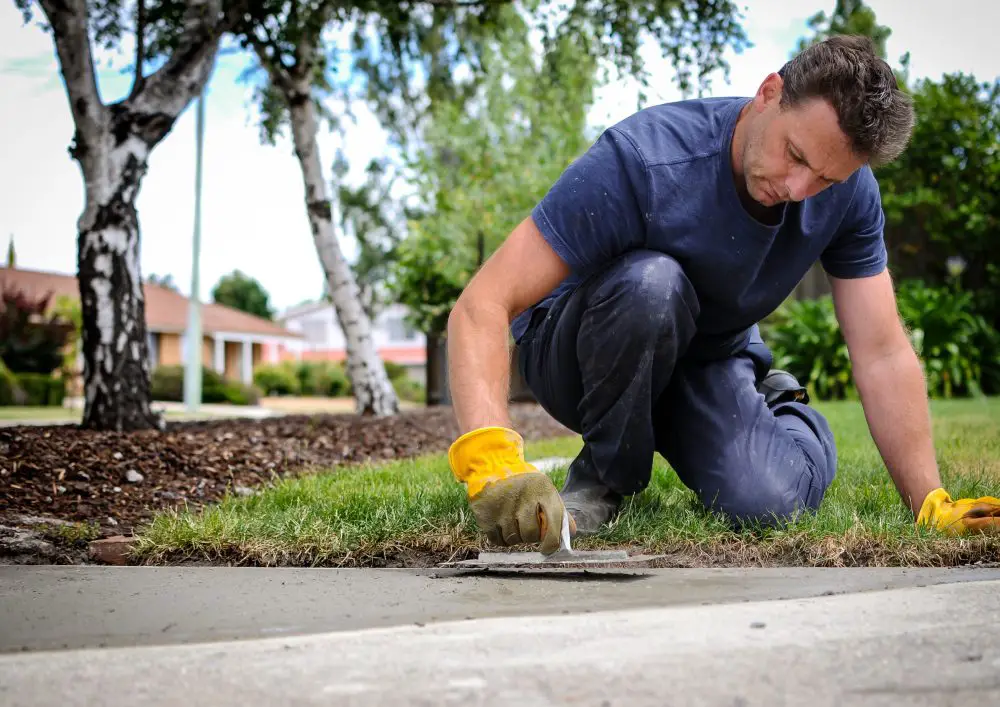
Prep the Edges
Use an edging tool to shape the sides of your driveway. This gives a neat finish that makes your driveway look presentable to anyone’s eyes. It also helps the resurfacing material stay in place.
Mix the Resurfacing Material
Whether using concrete or asphalt, you must mix the resurfacing material. Follow the manufacturer’s instructions. Make sure the mix is uniform for best results.
Apply the Primer
Spread a layer of primer on the cleaned and repaired surface. This helps the new layer bond better. It usually takes a few hours to dry.
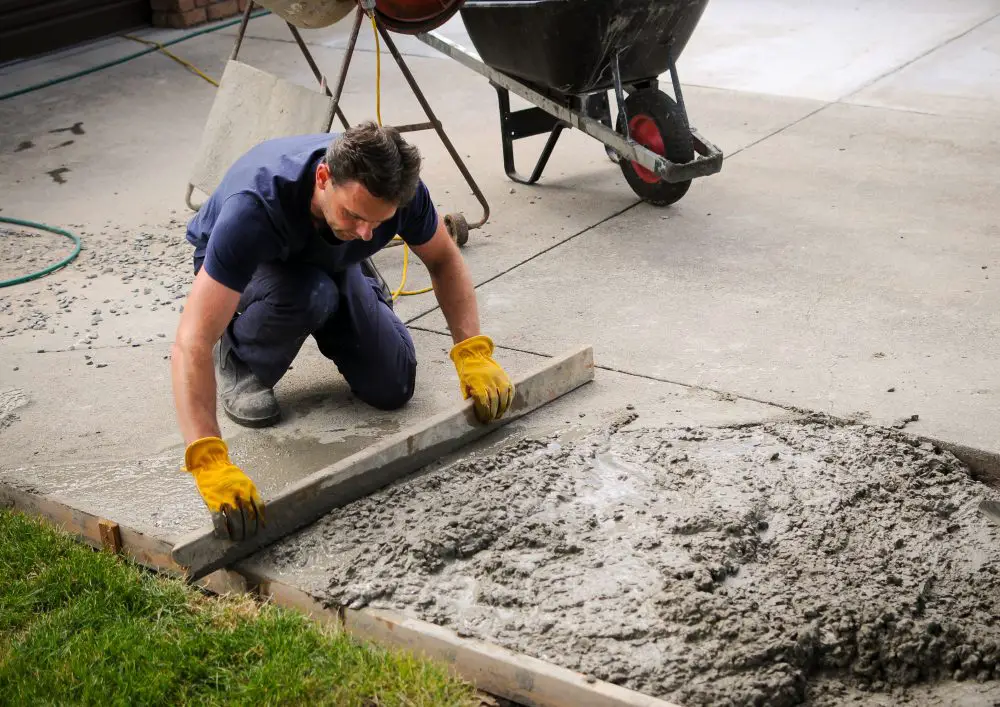
Lay the New Surface
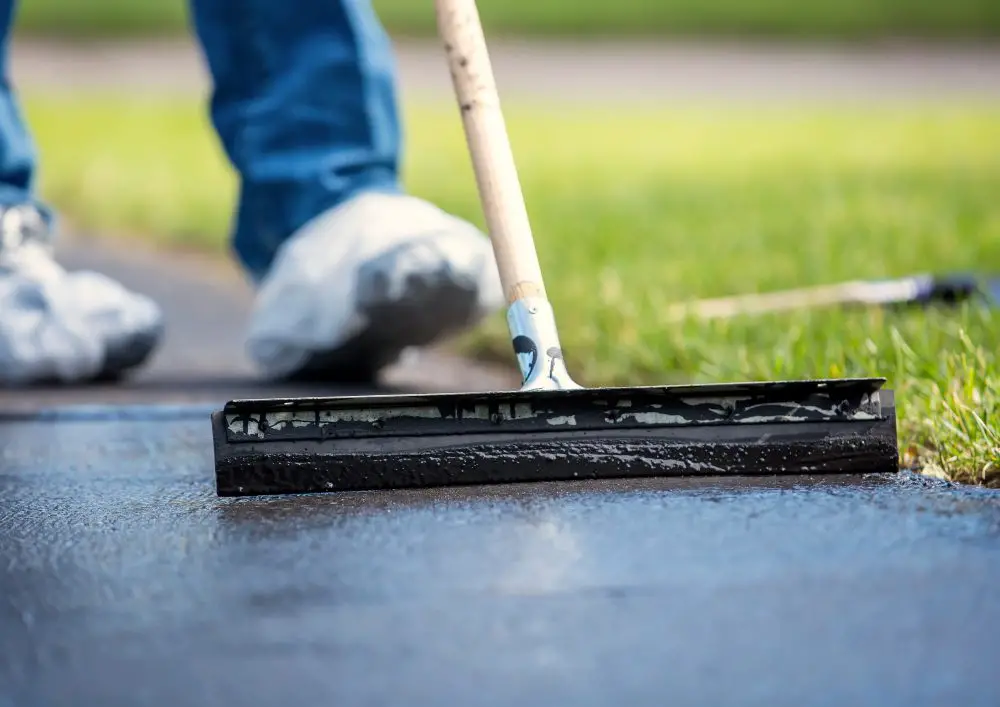
Spread the resurfacing material evenly using a long-handled squeegee or rake. Make sure it’s smooth and free of lumps. You might need a helper for this step to ensure an even application.
Level the Surface
Use a levelling tool to smooth out any bumps or ridges. Time is of the essence, as the material can start to set.
Let it Cure
Allow time for the new surface to set. Depending on the material and weather conditions, this usually takes at least a few hours but could be longer.
Seal the Driveway
Once it’s dry, apply a sealer to protect your newly resurfaced driveway. This helps extend its life and keeps it looking fresh by creating a shielding on the asphalt from water.
Final Check
After the sealer dries, walk around and inspect your work. Make sure there are no uneven spots or loose material. You will want to take your time in doing a close check of your repairs to prevent any issues from happening right away.
Repraving Your Driveway
If your driveway has seen better days and you’re looking for a lasting solution, repaving could be the right choice. This section will focus on what repaving involves, walking you through the process to give you a clear understanding of what to expect.
Overview
Repaving a driveway is essentially starting from scratch. It involves tearing up the existing surface, repairing the foundation, and then laying down a new layer of material—usually asphalt or concrete. This is a complete solution for driveways with extensive damage or those that have simply reached the end of their lifespan.
Pros
Repaving a driveway offers many advantages, making it a compelling choice for many homeowners. First and foremost is its longevity. A newly paved driveway can last up to 30 years with proper maintenance. The repaving costs could be significantly less than the repair costs of the pavement from cracks that could occur for several decades.
Another significant benefit is structural integrity. Since repaving involves tearing up the old surface and fixing the foundation, it addresses underlying issues. If your driveway has problems like deep cracks, drainage issues, or uneven surfaces, repaving takes care of them.
Customization is another strong point of repaving. Unlike resurfacing, which restricts you to the existing layout, repaving allows you to modify your driveway’s shape, size, or slope. Whether you want to expand it to accommodate more vehicles or add decorative edges, the possibilities are plentiful.
Last but not least, repaving enhances the curb appeal of your property. A new driveway can drastically improve the appearance of your home, potentially increasing its market value. It’s not just a functional upgrade but also an aesthetic one, adding to the overall allure of your residence.
- Longevity: Can last up to 30 years with proper care.
- Structural Integrity: Fixes foundational issues for a long-lasting solution.
- Customization: Allows changes in layout, size, or slope.
- Enhanced Curb Appeal: Improves the look and, potentially, the value of your property.
Cons
When repaving your driveway, the cost is often the first thing that raises eyebrows. It’s a pricier endeavour, like opting for a brand-new car over a used one. The cost isn’t just about the new material; it’s also the labour and the disposal of your old driveway. It’s a comprehensive project that requires a full financial commitment.
Time is another variable that can’t be overlooked. Repaving your driveway isn’t a quick weekend project; it’s a commitment that could stretch over several days or even weeks. like when renovating a key part of your home, be prepared for some inconvenience. Your driveway will be out of commission for a while, which you’ll need to plan around.
Now, let’s touch on the environmental angle. While repaving does allow for some material recycling, it often results in a fair amount of waste. Think of it like gutting a room instead of refurbishing it. It’s not the most eco-friendly option, particularly when compared to resurfacing, which builds on what’s already there.
Finally, the disruption factor. Repaving requires heavy machinery, which comes with noise and a mess. This could be a sticking point if you or your neighbours value peace. Imagine the sounds of a construction site filtering into your living room; it’s not subtle.
- High Cost: More expensive due to labour and material costs.
- Time-Consuming: This can take days or weeks to complete.
- Environmental Impact: Produces more waste, less eco-friendly.
- Inconvenience: Requires heavy machinery and can be disruptive.
Step-By-Step Process
Obtain Permits
Some areas require permits for driveway work. Check with your local government and get any necessary approvals before you start. If you plan on having professional work done on your pavement, the contractors will be responsible for securing the right permits.
Remove Old Surface
Use heavy machinery to break up and remove the old driveway material. This step clears the way for a fresh foundation and new surface.
Repair Foundation
Inspect and repair the base layer of your driveway. Fix any issues like uneven ground or drainage problems. This is crucial for the durability of your new surface.
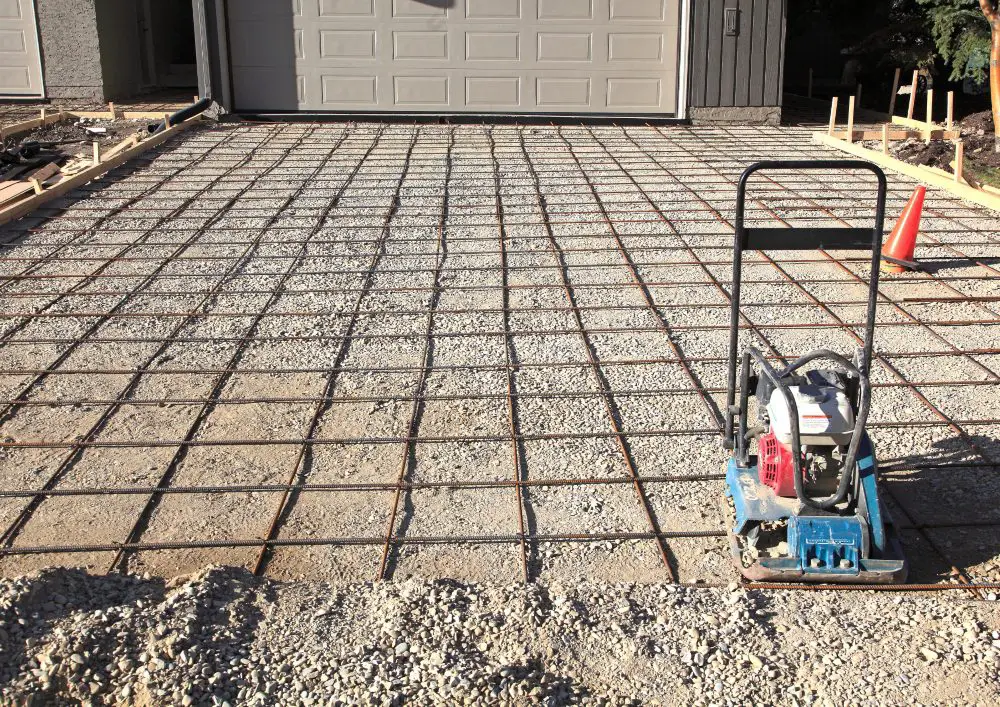
Prepare the Base
Compact the repaired foundation and lay down a new base material if needed. This creates a solid foundation for your new driveway.
Choose Material and Mix
Decide whether you’ll use asphalt or concrete. Prepare the chosen material according to manufacturer guidelines to ensure a good final result.
Lay the Material
Spread the new surface material evenly over the prepared base. Use specialized tools or machinery to make sure it’s smooth and level.
Compact and Smooth
Use a heavy roller to compact the new surface once the material has been applied. This removes air pockets and ensures the material is firmly set.
Let it Settle
Allow the new surface to cure. The time needed will vary based on material and weather conditions. Avoid using the driveway during this period.
Apply Sealer
Once cured, apply a quality sealer to protect your new driveway. This helps extend its life and improves its appearance.
Final Inspection
Do a final walk-through to ensure everything looks good and is up to standard. Address any minor issues that you find.
Tips for Maintaining Your Driveway
Regular Cleaning
A clean driveway is more than just pleasing to the eye; it also helps maintain the surface quality. Use a broom to sweep away leaves, dirt, and debris at least once weekly. Use a power washer once or twice a year to remove stubborn grime and stains for a more thorough cleaning.
Prompt Repairs
Small issues can turn into big problems if left unattended. As soon as you notice minor cracks or holes, take action. Use asphalt patches for asphalt driveways and concrete filler for concrete surfaces.
Don’t just treat the symptoms; find out what caused the damage in the first place. It might be water runoff, heavy loads, or even tree roots. Addressing the root cause will make your repair work more effective.
Drainage Check
Proper drainage is crucial for a driveway’s longevity. Water should never pool on the surface but flow away from it. Pooling water can lead to cracks, and in winter, it may freeze and cause more damage. If you notice drainage issues, you may need to adjust the slope of your driveway or install additional drainage solutions like a channel or trench drain.
Avoid Chemicals
Chemicals like oil, gasoline, and de-icing salts can damage your driveway. Spills can break down both asphalt and concrete over time. If a spill occurs, clean it up immediately using absorbent material and then wash the area with water. Consider using sand or cat litter for traction instead of chemical ice melters for winter.
Control Load
Your driveway is designed to handle the weight of typical family vehicles like cars and SUVs, but heavy trucks and construction equipment can strain the surface. Frequent heavy loads can lead to cracks or even structural failure over time.
Consider reinforcing your driveway with thicker material or temporary steel plates to distribute the weight if you need heavy equipment.
Regular Inspection
Frequent checks can go a long way in driveway maintenance. Walk the length and breadth of your driveway at least once a month to look for signs of wear, such as cracks, holes, or discoloured areas.
Early detection is the key to preventing minor issues from becoming major headaches. Create a checklist that includes surface condition, edge integrity, and drainage, then address any issues you find during these inspections.
Seasonal Care
Each season brings its own set of challenges for driveway care. Avoid using metal shovels for snow removal in winter, as they can scratch the surface. Instead, use a plastic shovel or a snow blower.
In summer, the sun’s heat can soften the driveway material and make it more susceptible to damage. Consider applying a seal coat for added protection. During fall, keep the driveway free from leaves, as they can trap moisture and lead to surface damage.
Conclusion
Whether it’s the welcoming path for guests or just a practical space for your vehicles, your driveway deserves attention. The choice between resurfacing and repaving depends on multiple factors, including your existing driveway’s condition, budget, and long-term plans.