Mould in wood is not just ugly; it’s dangerous. Some types can harm our health. Luckily, some moulds can be removed by you. Below is our comprehensive guide to removing this dangerous substance from your home.
Always prioritize safety, so make sure to read the first section of this article.
Contents
- 1 Safety First: Preparing Yourself and the Area
- 2 Identifying the Mould: Types and Severity
- 3 Pre-Cleaning Steps: Dry Out the Wood
- 4 Cleaning the Mould: Step-by-Step Process
- 5 Best Tools and Products for Mould Removal
- 6 Prevention: Keeping Mould Away After Cleaning
- 7 When to Call a Professional
- 8 Conclusion
Safety First: Preparing Yourself and the Area
Safety is our first step in mould removal. Here are several factors to consider before you start the project.
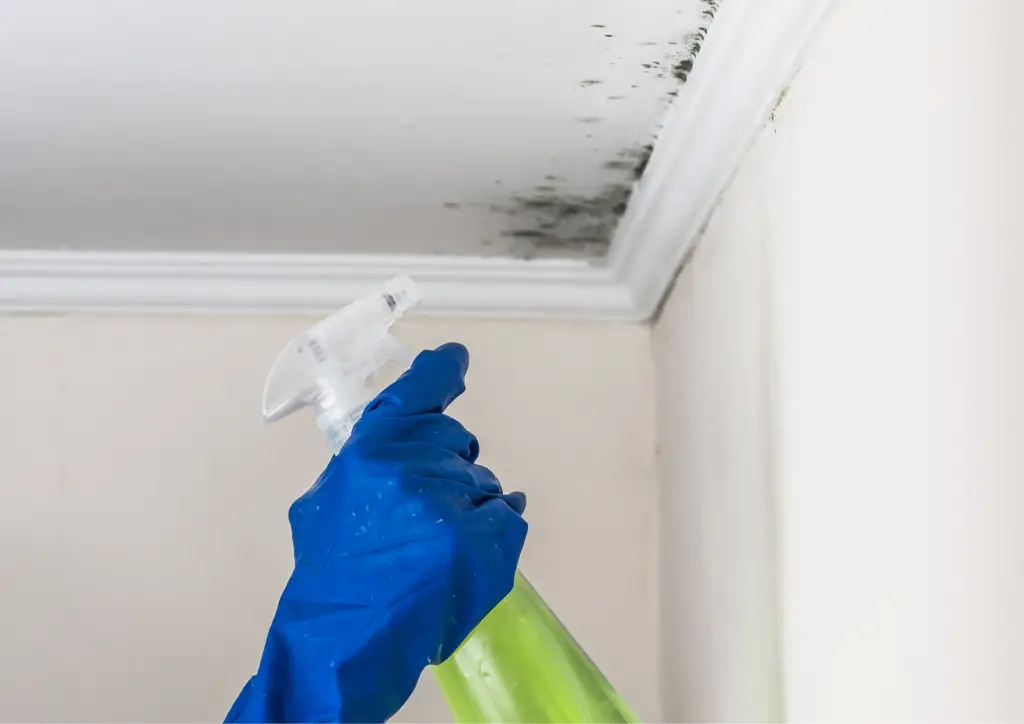
Wear Protective Gear: Gloves, Mask, Goggles
Don’t take chances with your health. Mould can irritate your skin, eyes, and lungs. Gloves protect your hands, goggles shield your eyes, and masks prevent inhaling dangerous spores. Skipping this step exposes you to potential allergic reactions and health risks.
Ventilate the Area: Open Windows and Doors
Breathing mould spores can be harmful. Fresh air dilutes the concentration of spores and makes it safer for you. By keeping areas closed, you trap mould spores, increasing health hazards.
Seal Off the Affected Area if Mould is Extensive
Mould spreads if not contained. If the infestation is large, sealing off the area is essential. Without proper containment, cleaning one area could mean unintentionally spreading mould to other parts of your home.
Your safety sets the tone for effective mould removal. Make sure to prioritize it every time.
Identifying the Mould: Types and Severity
Before diving into the cleaning process, knowing what you’re dealing with is crucial. Understanding the mould type and its severity ensures effective removal.
Difference Between Mildew and Mould
Mildew and mould, while similar, have distinct characteristics. Mildew is often seen as a surface fungus. It typically appears grey or white and can be relatively easy to clean. Mould, however, delves deeper into surfaces. It can manifest in a spectrum of colours and often requires more effort to eradicate. Mistaking one for the other can lead to improperly treated surfaces, making it vital to distinguish them.
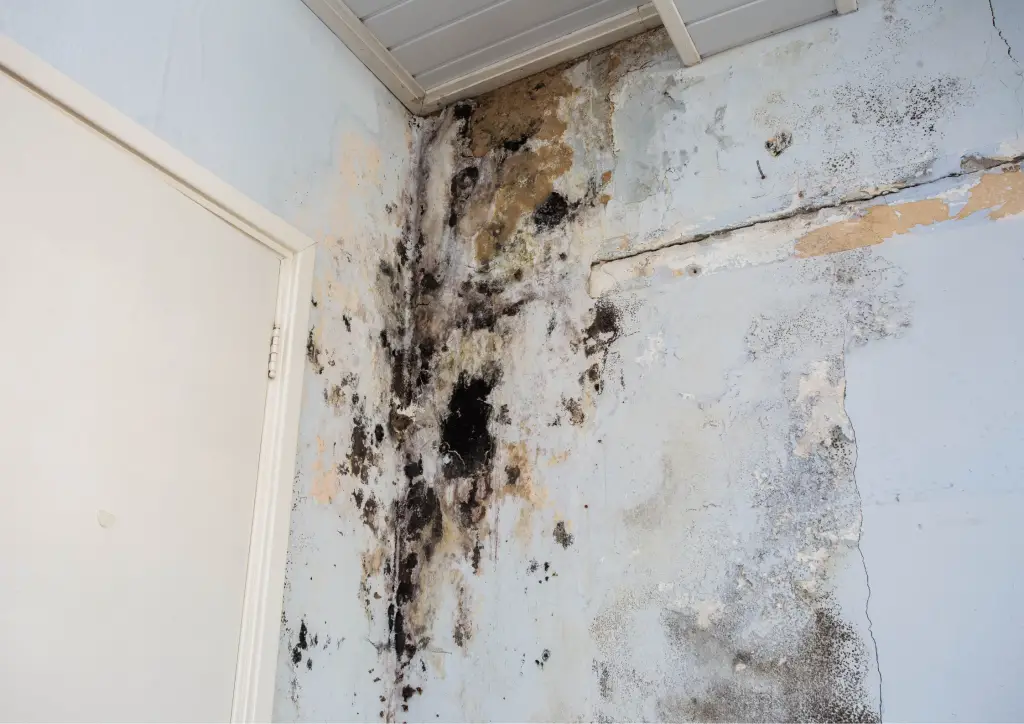
Recognizing the Signs of Mould on Wood
Mould has telltale signs when it makes its home in wood. One of the most common indications is the appearance of dark or discoloured spots. But there’s more:
- Odour: Mould often emits a musty, unpleasant smell.
- Texture: Infested wood may feel soft or spongy.
- Discoloration: Beyond dark spots, wood can show streaks or patches of green, black, or white.
- Warping: Wood affected by mould might warp or become misshapen.
Overlooking these indicators can prolong mould exposure, compromising both the wood’s integrity and your health.
Importance of Determining Mould Severity
All mould isn’t created equal. Some infestations are surface blemishes requiring straightforward treatment. However, deeper infestations can compromise the wood’s structure, demanding a more intensive approach. Understanding the depth and severity of a mould issue is crucial. It dictates the necessary removal techniques and helps prevent the mould from making a swift and unwanted comeback.
You’re one step closer to a cleaner, healthier home by accurately identifying mould. Make sure to assess the situation correctly for the best results.
Pre-Cleaning Steps: Dry Out the Wood
Laying the groundwork is essential for a successful mould removal process. Here’s how to prep your wood surfaces before the thorough cleaning begins.
Remove the source of moisture
Before any mould-cleaning task, it’s essential to understand the root of the problem: moisture. Moisture is the lifeblood of mould, and its presence on wood can easily be an open invitation for mould growth. The first and foremost task is to identify the source of this moisture.
External factors such as leaky roofs, broken plumbing, or malfunctioning appliances are often culprits. Inspect your home meticulously. Check for wet spots on the ceilings, which can indicate roof leaks. Examine pipes, especially under sinks and behind appliances, for any signs of dripping. Sometimes, the cause might be more subtle, like excessive humidity or poor ventilation in particular home areas.
Neglecting to remove the moisture source means all cleaning and drying efforts can be in vain. Given even a bit of dampness, mould can sprout and proliferate. By addressing and fixing these issues, you’re ensuring that post-cleaning mould doesn’t have a favourable environment to make a comeback. Remember, proactive prevention at this stage saves time, effort, and possible health issues in the future.
Use fans or dehumidifiers to dry out the wood
Drying out the wood is not just a preparatory step; it creates a hostile mould environment. Once the moisture source is removed, the next step is to expedite the drying process. And here, tools like fans and dehumidifiers become indispensable.
Direct airflow, especially from fans, aids in the evaporation process. If your wood furnishings or flooring are damp, position fans so that they blow directly onto the wet surfaces. Consider using larger, industrial-sized fans to more efficiently dry rooms with excessive moisture or flooding.
However, sometimes just air circulation isn’t enough. Dehumidifiers are a boon in regions with high humidity or during wet seasons. These devices pull moisture out of the air, reducing the room’s humidity. Combining fans for circulation and dehumidifiers for moisture extraction creates a robust drying system.
Always monitor the drying process. Overdying can sometimes harm the wood, causing it to warp or crack. Finding a balance ensures the wood remains intact and mould-free.
Check wood moisture content before starting the cleaning
Before embarking on the mould-cleaning journey, it’s crucial to ensure the wood is ready, and for this, the wood’s moisture content is a decisive factor.
A wood moisture meter, though a simple tool, is incredibly informative. It provides a clear and often digital reading of how much moisture resides within the wood. The importance of this tool cannot be understated. Without it, one might be cleaning wood that’s still damp, which can prove counterproductive.
Typically, wood with a moisture content of 16% or lower is considered ready for mould cleaning. Anything higher, and there’s a risk of mould reestablishing post-cleaning. While it might be tempting to begin cleaning at the first sign of dryness, patience here is key. The extra time spent ensuring the wood’s moisture content is optimal will pay off in the longevity of the mould removal.
Beyond just the numbers, this step emphasizes the importance of thoroughness and precision in mould removal. As the adage goes, “Measure twice, cut once.” Ensuring the wood’s readiness before cleaning safeguards the effort and time invested in the subsequent steps.
By following these pre-cleaning steps, you’re not just removing visible mould. You’re setting the stage for complete and lasting mould eradication. Remember, preparation is half the battle.
Cleaning the Mould: Step-by-Step Process
The mould removal process is more than just cleaning; it’s restoring your wood to its former glory. Following these steps in order ensures a thorough and efficient cleanup.
Brush off the loose mould with a scrub brush
Starting with a brush is a proactive way to tackle the mould problem. This simple tool can dislodge the larger, loose mould clusters from the wood surface.
Choosing a brush with the right stiffness is essential — not too hard that it damages the wood and not too soft that it merely glides over the mould. When brushing, use consistent and firm strokes, always directing the mould spores away from yourself to reduce the risk of inhalation or further spread.
Prepare a cleaning solution (e.g., vinegar, baking soda, hydrogen peroxide)
Choosing the right cleaning agent is paramount. Everyday household items like white vinegar, baking soda, or hydrogen peroxide can be potent weapons against mould. White vinegar acts as a disinfectant and a deodorizer, killing mould while removing its distinct smell.
Baking soda, however, is abrasive enough to scrub away mould but gentle enough not to harm the wood. Meanwhile, hydrogen peroxide offers the benefits of stain removal in addition to its mould-killing properties. Select a solution that suits your needs depending on the mould’s severity and the wood type.
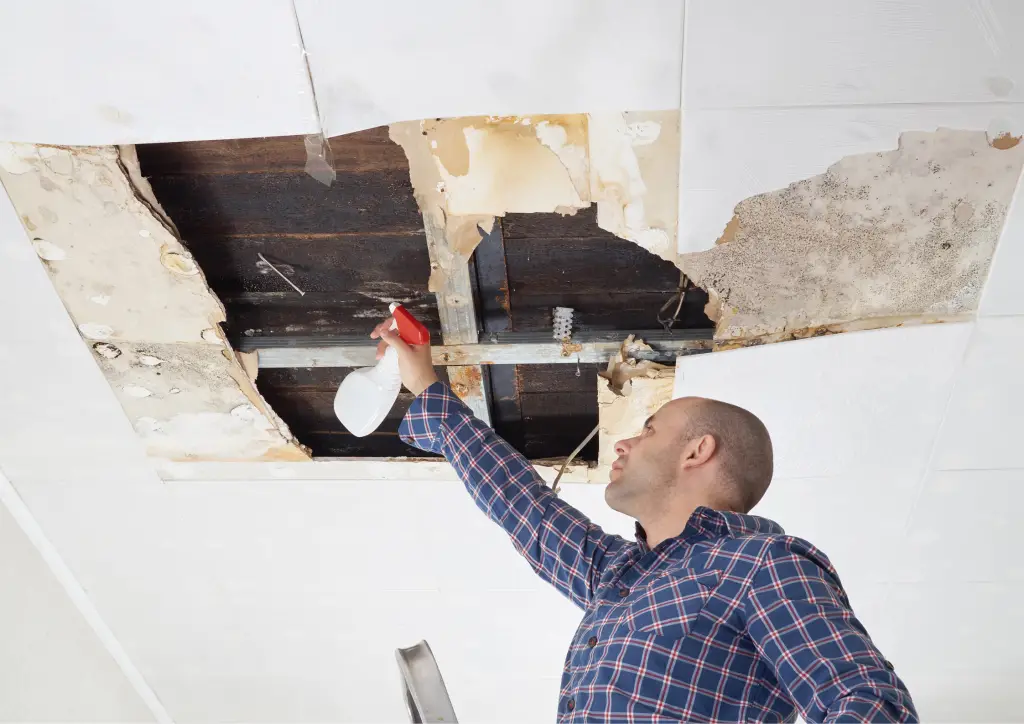
Scrub the wood thoroughly using the cleaning solution
After prepping your cleaning solution, it’s time for some elbow grease. Drench your scrub brush in the chosen solution and start scrubbing the mouldy areas with firm, circular motions. These circular movements help to ensure that the solution penetrates the wood fibres, targeting and uprooting the deeply embedded mould spores.
Allowing the solution to sit for a few minutes for those stubborn patches can make the scrubbing process more effective. Remember, consistency and patience are key to ensuring every mould spore is addressed.
Wipe down the area with clean water to remove residues
Post-scrubbing, it’s crucial to ensure no cleaning residue remains on the wood. Leftover cleaning agents can sometimes cause issues, from attracting dirt to potentially damaging the wood’s finish.
Wipe the wood thoroughly with a cloth or sponge, well-soaked in clean water. This rinsing ensures that any remnants of the cleaning solution and any dislodged mould spores are effectively removed, leaving you with a clean, residue-free surface.
Dry the wood again to ensure no moisture remains
Mould’s best friend is moisture. Even after cleaning, if the wood remains damp, it can quickly become a breeding ground for mould again. Start by using clean towels to blot away any visible water on the wood surface. If the climate permits, placing the wood in direct sunlight offers a natural mould deterrent while drying the wood.
In humid or rainy conditions, indoor fans or dehumidifiers can expedite drying, ensuring the wood remains mould-free and in optimal condition.
Mould might be persistent, but restoring your wood’s health and appearance is achievable with diligence and the right approach. Remember: the key is a thorough process and unwavering attention to detail.
Best Tools and Products for Mould Removal
Successfully removing mould from wood relies on effort, technique, and the use of the right tools and products. Here’s a rundown of some of the best, including specific brands known for their efficacy.
Tools for Physical Removal
Scrub Brushes
Scrubbrushes serve as the first line of defence against mould. They’re designed with robust bristles that penetrate and scrub off mould’s root-like structures from wood surfaces. It’s not just about force; a good scrub brush combines strength with finesse, ensuring mould removal without damaging the wood.
For a reliable option, consider brushes from Libman. Their brushes are well-crafted, offering a comfortable grip and durable bristles that stand up to tough scrubbing. The benefit of choosing a Libman brush is the assurance that it’s tailored to tackle rigorous tasks without leaving scratch marks, making your mould removal process effective and wood-friendly.
Spray Bottles
Spray bottles might seem simple, but they are essential in mould removal. They provide an even distribution of cleaning solutions, ensuring every inch of the mould-infested area receives treatment without over-wetting the wood.
Tolco is a brand that stands out in this category. Their spray bottles boast a durable build and a consistent spray mechanism. With a Tolco bottle, you’re not just getting a container; you’re getting precision. It ensures that your cleaning solution is applied just right, maximizing its efficiency while conserving the liquid.
Products for Cleaning and Disinfection
White Vinegar
White vinegar is more than just a kitchen staple. Its acidic nature makes it an effective and natural mould-killing agent, offering an eco-friendly approach to combat mould without introducing harmful chemicals.
The benefits are twofold: it’s environmentally friendly and highly effective in breaking down mould structures without leaving harmful residues.
Baking Soda
Baking soda, a familiar name in most households, serves multiple purposes, one of which is mould removal. Its mild abrasive nature aids in scrubbing, while its alkaline property neutralizes mould odours, ensuring the wood looks clean and smells fresh.
Hydrogen Peroxide
Hydrogen peroxide is a powerful oxidizer, making it highly effective in killing mould. Additionally, it can brighten wood stained by mould, restoring its original lustre.
Concrobium Mould Control
Concrobium Mould Control is a unique product in the mould-fighting arsenal. It kills mould and leaves a protective layer that prevents mould regrowth, ensuring long-term protection.
Choosing Concrobium Mould Control means opting for a comprehensive mould solution. The true benefit of this product lies in its dual-action formula: it removes existing mould. It acts as a barrier against future infestations, making it an excellent investment for those serious about mould prevention.
RMR-86 Instant Mould & Mildew Stain Remover
There’s mould removal, and then there’s instant mould removal. RMR-86 promises and delivers the latter. It’s formulated to act rapidly, removing mould and mildew stains without requiring exhaustive scrubbing.
Opting for RMR-86 saves not just time but also effort. Its fast-acting formula ensures that mould and mildew stains are addressed immediately upon contact. The major benefit? A dramatic reduction in manual scrubbing effort, making mould removal almost effortless.
Benefect Botanical Decon 30
For those keen on combining the power of nature with mould removal, Benefect Botanical Decon 30 is the answer. This botanical disinfectant is renowned for eliminating over 99.99% of bacteria, ensuring extensive cleaning.
Choosing Benefect Botanical Decon 30 is choosing nature’s power. It meets and exceeds the U.S. EPA’s efficacy requirements for broad-spectrum hospital disinfectants. The perk? A thorough, eco-friendly clean that safeguards both your wood and your health.
Selecting the right tools and products is half the battle. Brands mentioned have been tried and tested over the years, making them reliable choices. While the specifics of mould situations may vary, being equipped with the best gives you a head start in restoring your wood to its pristine state.
Prevention: Keeping Mould Away After Cleaning
Maintaining the cleanliness of your wood post-mould removal is as crucial as the cleaning process itself. It ensures the effort put into cleaning doesn’t go to waste and safeguards your space against future mould infestations. Here are some steps to ensure your wood remains mould-free:
Maintain a dry environment: using dehumidifiers, fixing leaks
Mould adores moisture. Damp environments are its playground. To ensure your home isn’t this playground, you must commit to keeping it dry. Dehumidifiers play a big role here. These machines extract excess moisture, making spaces less favourable for mould growth. Brands like Frigidaire and hOmeLabs are experts at this, offering units that blend efficiency with quiet operation.
Leaks are another avenue for mould. A small drip can quickly escalate, turning a minor issue into a mould-breeding nightmare. It’s imperative to fix leaks promptly. From that dripping faucet to a seeping roof, every water source needs to be kept in check. A dry home equals a mould-discouraging home.
Seal the wood with mould-resistant sealants or paints
Once the mould is gone, you might think the wood is safe. Not quite. Vulnerable wood can invite mould back. This is where mould-resistant sealants or paints come into the picture. These products provide wood with a protective coat, making it less appealing to mould.
These products are designed to protect and enhance the wood’s natural beauty. By sealing your wood with these, you’re building a mould-repelling shield while preserving its aesthetic appeal.
Monitor for any signs of mould reappearance regularly
Vigilance can’t be overstated. Mould can be sneaky, reappearing when you least expect it. Regular checks, especially in previously affected areas, are vital. This isn’t about paranoia; it’s about prevention. Keeping an eye out means you catch mould before it becomes a larger issue.
Consider setting monthly reminders to inspect potential mould hotspots. Tools like magnifying glasses can help spot the early signs. The sooner you detect, the easier the treatment. This habit doesn’t just protect your home but also ensures the well-being of everyone in it.
Prevention is undoubtedly better than cure. Adopting these measures ensures that the hard work put into mould removal yields long-term results, offering peace of mind and a healthier living environment.
When to Call a Professional
Tackling mould is commendable, but sometimes, it’s best left to the pros. Recognizing when to step back and let the experts take over is crucial for your home’s health and your own well-being. Here’s what you need to know.
Signs the mould infestation is too extensive to handle safely
Mould can sometimes spread more extensively than one might initially perceive. It’s essential to understand when it’s safe to proceed with a DIY approach and when it’s better to call in the cavalry. Here’s how to gauge:
- Vast Spread: Mould that covers large areas, especially more than ten square feet, isn’t just about cleaning. It’s about understanding the extent, ensuring no recurrence, and addressing structural or health concerns.
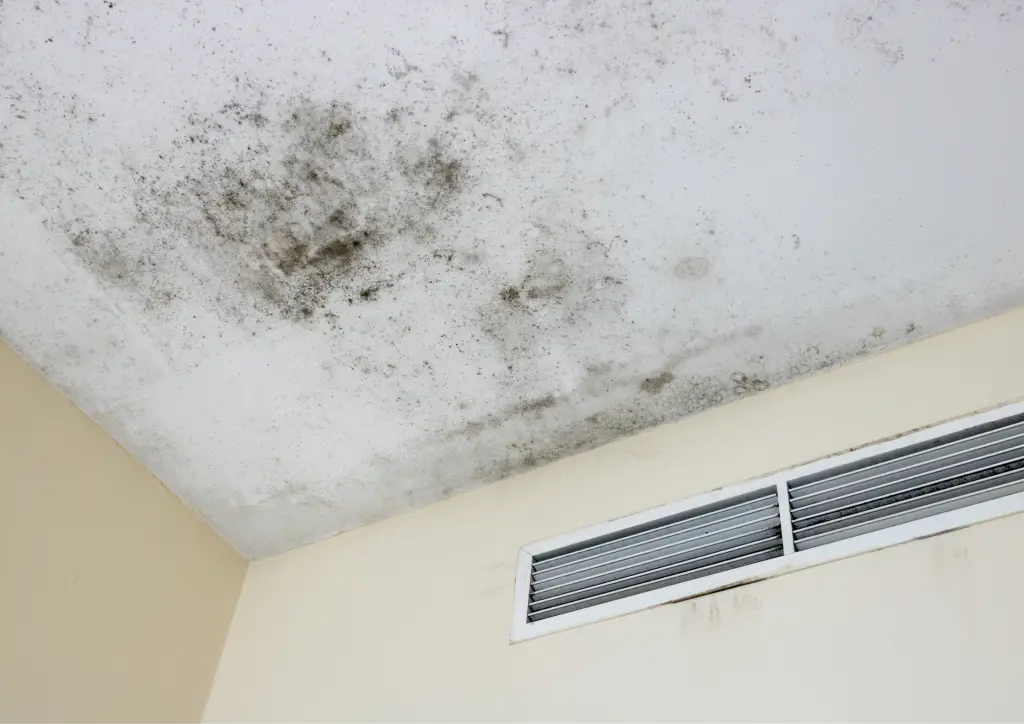
- HVAC Mould Invasion: If mould has made its way into your HVAC systems, it’s not merely a localized problem. Such mould can send spores throughout the property, making the cleanup complex and needing specialized equipment.
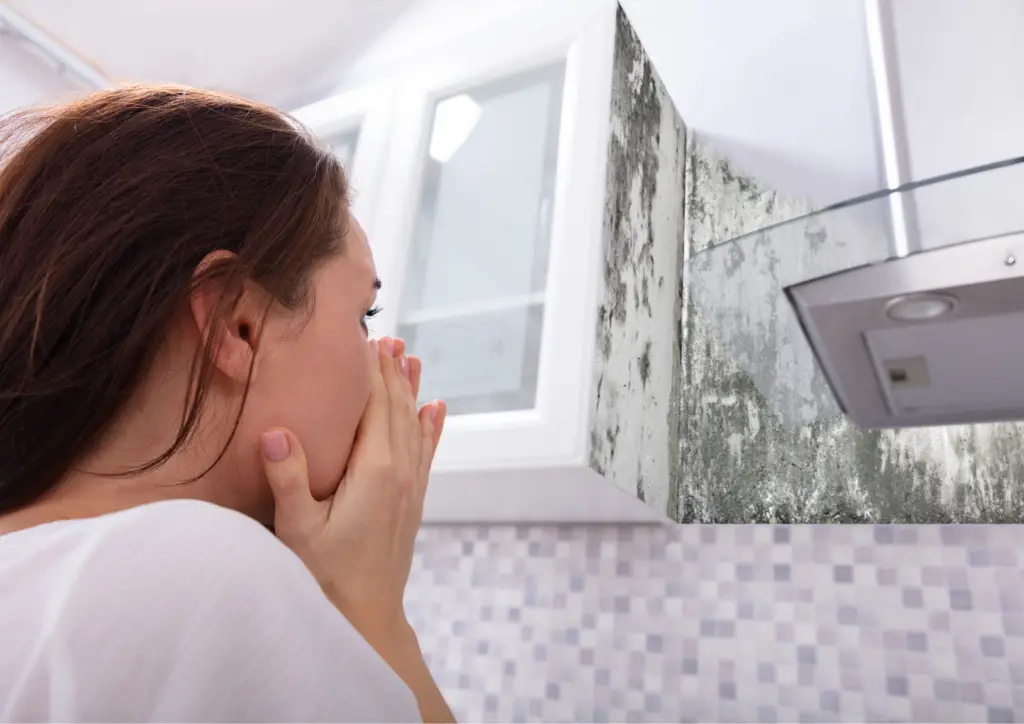
- Persistent Health Issues: Continuous sneezing, coughing, itchy eyes, or skin rashes might be more than just seasonal allergies. If these symptoms persist, especially when at home, a serious mould issue might be the culprit.
When you notice these signs, it’s a clear indicator to proceed with caution and likely seek professional intervention.
The benefits of hiring mould removal specialists
While DIY solutions can be satisfying and sometimes effective, mould removal specialists come equipped with more than just cleaning agents:
- Deep Knowledge: These experts have deep-rooted knowledge about different mould types, their growth patterns, and the best ways to eradicate them.
- Tools of the Trade: Beyond the brushes and cleaning solutions, professionals have industrial-grade equipment for mould eradication.
- Holistic Approach: They don’t just clean. They’ll identify the root causes, advise on prevention, and ensure the mould doesn’t make an unwelcome return.
- Safety First: Mould, especially black mould, can be harmful. Professionals know how to deal with it without risking your family’s health or their own.
Hiring a mould removal specialist ensures the job’s done right the first time.
How to choose a reputable mould removal company
Choosing the right company is crucial to ensure your mould problems are genuinely behind you. Here’s a structured approach:
- Check Credentials: A legit company will have all the necessary certifications. Make sure they’re licensed, bonded, and insured. This protects you and them.
- Review Time: Go beyond just one or two reviews. Dive deep into online feedback, check with the Better Business Bureau, and seek out any patterns in customer feedback.
- Ask About Experience: How long have they been in business? Experience often translates to a refined, effective mould removal process.
- Transparent Practices: The right company won’t shy away from questions. They’ll offer clear quotes, won’t push for unnecessary services, and will communicate their process transparently.
Research, ask questions, and trust your gut. A little diligence now ensures you pick a company that provides lasting mould solutions.
Recognizing the signs and understanding when it’s time to bring in professionals is essential. It’s not just about clean wood; it’s about a safe, healthy living environment. Your home’s integrity and the health of those living in it are paramount.
Conclusion
Mould removal isn’t just a task; it’s essential to maintaining a healthy living space. As we’ve journeyed through the steps, tools, products, and considerations, one thing remains clear: Safety is paramount. At Team Ideas2Live4, prioritizing safety isn’t just a slogan; it’s embedded in our ethos.
Whether you’re embarking on a DIY mould removal or seeking professionals, remember that the objective is to remove visible mould and create an environment where mould doesn’t find a foothold again. It’s about the well-being of your home and everyone in it. Always prioritize safety; don’t hesitate to seek expertise when in doubt. After all, a mould-free home is a happy, healthy home.