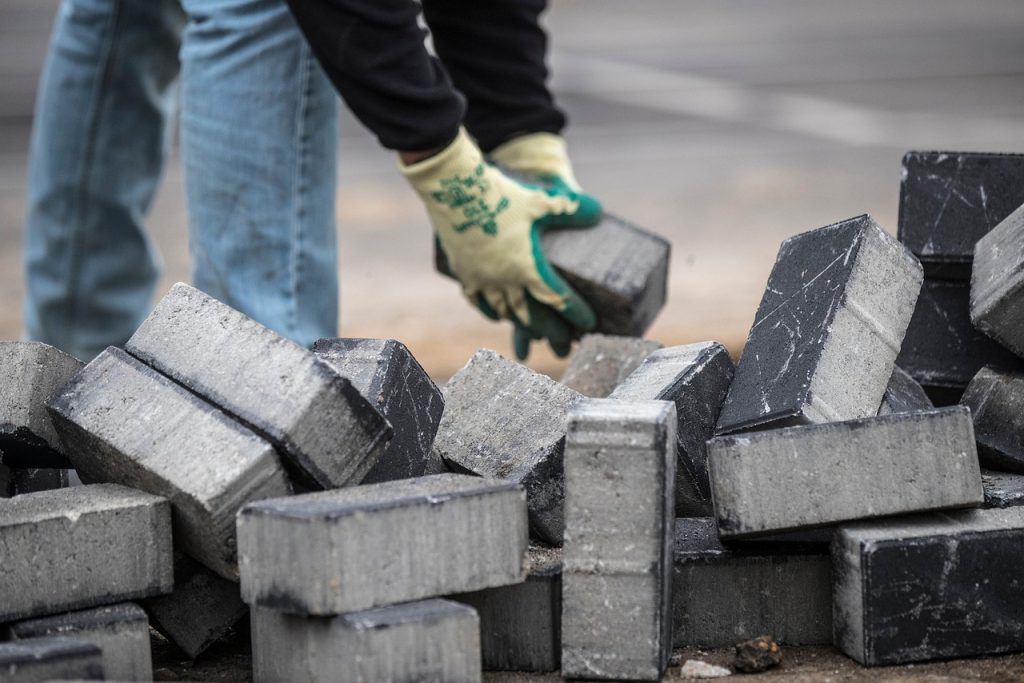
Concrete blocks are one of the most versatile and widely used building materials in construction. They are durable, cost-effective, and can be used for a variety of purposes, including walls, foundations, and even decorative elements. These blocks are essential components in modern construction due to their ability to provide structural integrity and longevity. Unlike traditional bricks, concrete blocks are easier to manufacture and can be customized to meet specific construction needs.
Making your own concrete blocks can be a highly rewarding process, allowing you to control the quality of materials, customize the shape and size, and even create a profitable business. Whether you’re a DIY enthusiast, a contractor looking to reduce costs, or an entrepreneur aiming to start a block-making business, this guide will provide you with all the necessary steps to create strong and durable concrete blocks. We will discuss the materials, tools, mixing process, and best practices to ensure success.
By following this step-by-step guide, you’ll not only learn the basics of making concrete blocks but also gain valuable insights into troubleshooting common issues, quality control, and tips for scaling up production. Let’s dive into the world of concrete block making and explore the endless possibilities it offers!
Contents
Understanding Concrete Blocks
Concrete blocks, also known as cement blocks or cinder blocks, are composed of a mixture of cement, sand, gravel, and water. These materials are molded into a rectangular shape and left to cure, resulting in a strong, solid structure that can withstand heavy loads.
Benefits of Making Your Own Concrete Blocks
- Cost Savings – Making your own blocks can be cheaper than buying them from a supplier. By sourcing materials locally and reducing transportation costs, you can significantly lower expenses. Additionally, producing your own blocks allows for bulk purchasing of raw materials, which can further reduce costs over time.
- Customization – You can adjust the mix ratio, size, and shape according to your needs. This flexibility ensures that your blocks meet the specific requirements of your construction project, whether it’s for a small garden wall or a large commercial building. Customization also allows you to experiment with different textures, colors, and finishes to enhance aesthetic appeal.
- Sustainability – You can incorporate recycled materials like crushed glass or fly ash to make eco-friendly blocks. This reduces waste and contributes to environmental conservation. Additionally, using locally available materials decreases the carbon footprint associated with transporting pre-made blocks from distant suppliers. Sustainable construction practices not only benefit the environment but can also improve energy efficiency in buildings.
- Business Opportunity – Producing and selling concrete blocks can be a profitable venture. As the demand for affordable and durable building materials continues to grow, starting a concrete block-making business can generate a steady income. With proper marketing and production efficiency, you can expand your operations to supply both residential and commercial construction projects, creating long-term financial stability.
Using a Brick Press Machine for Efficiency
For those looking to streamline the block-making process, a semi or fully automated machine like the Lontto brick press can be an excellent investment. These types of machines use hydraulic pressure to compact the concrete mixture, producing high-density and uniform blocks with minimal manual labor.
By automating key aspects of production, a brick press machine enhances efficiency, reduces material waste, and ensures the consistency needed for large-scale manufacturing. Whether you’re producing blocks for personal use or commercial purposes, incorporating a brick press machine can significantly improve output and quality.
Materials and Tools Needed
To make concrete blocks, you will need the following materials and tools:
Materials:
- Portland cement
- Sand (fine and coarse)
- Gravel or crushed stone
- Water
- Additives (optional, such as accelerators or waterproofing agents)
Tools and Equipment:
- Concrete mixer (or mixing tools such as a shovel and wheelbarrow)
- Block molds (metal or wooden molds in the desired size and shape)
- Trowel
- Measuring containers (for precise ingredient proportions)
- Rubber gloves and protective gear
- Wooden or metal boards (for drying and curing blocks)
- Vibrating table (optional, for removing air pockets)
Step-by-Step Process of Making Concrete Blocks
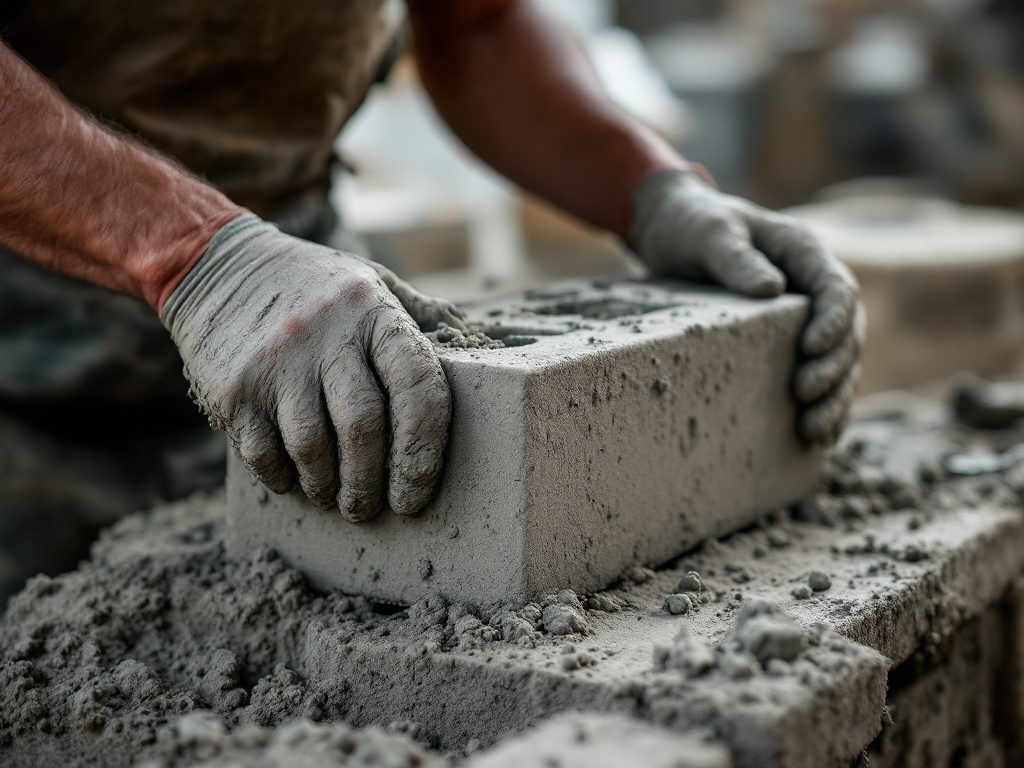
Step 1: Preparing the Mold
Before you begin mixing the concrete, prepare your molds properly. If using wooden molds, coat them with oil to prevent sticking and ensure easy removal of the blocks. If using metal molds, make sure they are clean and dry. Position the molds on a flat surface to ensure uniform shape and size. Proper mold preparation helps in achieving consistent quality and smooth surfaces in the final product.
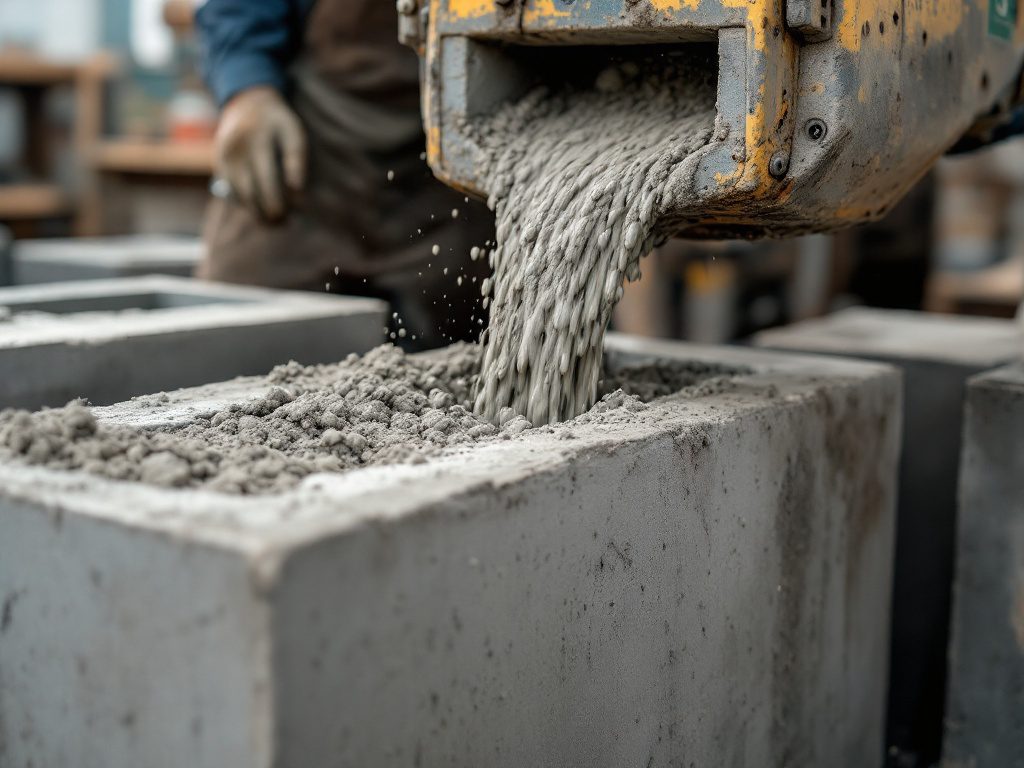
Step 2: Mixing the Concrete
Proper mixing is crucial for making strong concrete blocks. Begin by measuring the ingredients accurately, following the common ratio of 1 part cement, 2 parts sand, and 3 parts gravel. In a large mixing container or concrete mixer, thoroughly dry-mix the cement, sand, and gravel to ensure uniform distribution. Gradually add water while stirring, achieving a thick but workable consistency. Avoid adding too much water, as it weakens the final product. If using additives for additional strength or waterproofing, mix them at this stage to enhance the durability of the blocks.
Step 3: Pouring the Concrete into Molds
Carefully pour or scoop the mixed concrete into the mold, ensuring it spreads evenly and reaches all corners. Use a trowel to press down and level the mixture, ensuring proper compaction to remove air pockets. If available, use a vibrating table to achieve better density and structural strength. After filling, smooth the surface with a trowel to create an even and professional finish. Properly compacted concrete results in stronger and more durable blocks.
Step 4: Curing the Blocks
Curing is a crucial process that allows the concrete to achieve maximum strength. Leave the blocks in the molds for at least 24 hours to set properly before removing them. Once removed, store the blocks in a shaded, moist area and regularly sprinkle them with water for 7-14 days. This moist curing process prevents cracks and ensures the blocks reach their full strength potential. Storing the blocks in a dry, ventilated area after curing prevents excessive moisture absorption and maintains their quality.
Step 5: Testing and Quality Control
Before using or selling your concrete blocks, it’s essential to conduct quality control tests. Visually inspect the blocks for cracks, deformities, or uneven surfaces that may indicate weak spots. Perform a strength test by dropping a block from a low height to ensure it withstands impact without breaking. Additionally, conduct a water absorption test by placing a block in a shallow tray of water; a well-cured block should not absorb excessive moisture. Ensuring consistent quality helps in producing durable and reliable concrete blocks for construction use.
Conclusion
Making concrete blocks is a rewarding skill that offers numerous benefits, from cost savings to customization and even business opportunities. Whether you’re working on a DIY project or looking to enter the construction industry, mastering this process can provide long-term value.
By carefully following the correct procedures—choosing high-quality materials, ensuring precise mixing, using durable molds, and giving blocks sufficient curing time—you can produce strong, long-lasting concrete blocks. This knowledge not only helps you in small-scale projects but can also pave the way for larger-scale production if you decide to commercialize your efforts.
Furthermore, concrete block making contributes to sustainable construction by allowing the inclusion of recycled materials, reducing environmental impact. With the right techniques, continuous improvements, and adherence to quality control measures, you can create a reliable and efficient process for making concrete blocks that stand the test of time.
With this guide in hand, you now have the essential knowledge to get started. Whether you’re experimenting with small batches or considering mass production, take your time to refine your techniques and explore the many possibilities that concrete blocks can offer.