Last Updated on December 15, 2025 by Team Ideas24
Photopea tutorial content that respects your time works best. You’ll get clear steps, real-world examples, and practical shortcuts that build confidence quickly. This Photopea tutorial shows you the essential tools, core editing habits, and export settings that make your work look professional.
Post Contents
Key Takeaways
- Photopea delivers Photoshop-style editing in a browser, including PSD support, layers, masks, and reliable exports for web and print.
- Skillshare’s project-based lessons and community feedback help you build confidence quickly and fix common mistakes before they become habits.
- Core tools like selections, text, pen paths, layer styles, and History snapshots keep your edits precise, consistent, and reversible.
- Clean layer naming, smart objects, and non-destructive adjustments reduce rework and make handoffs smoother for remote teams.
What Is Photopea and Why Remote Teams Use It
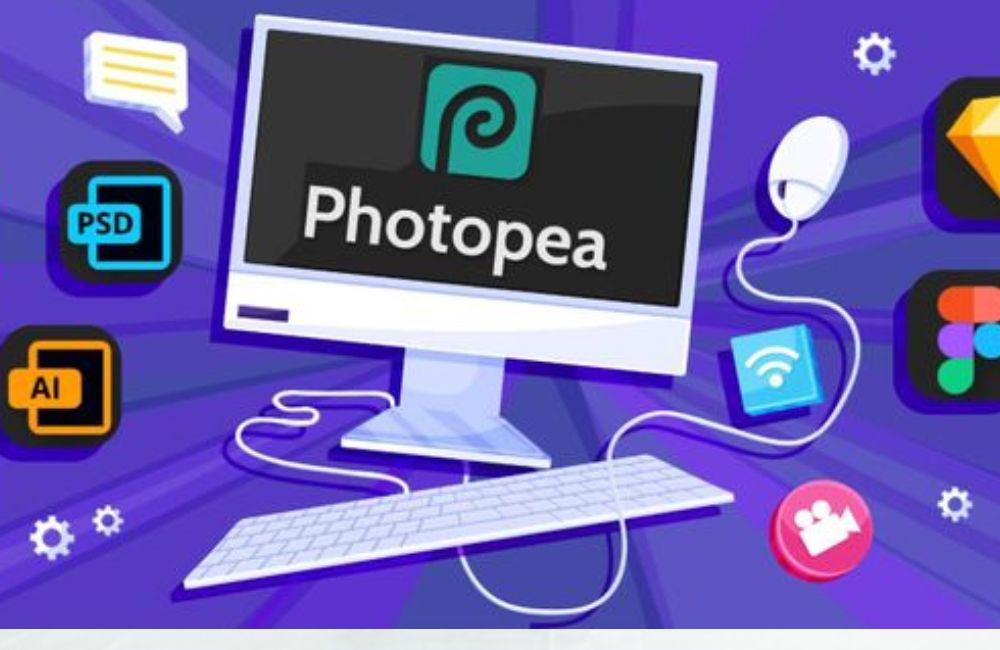
Photopea is a browser-based image editor that runs fast without installs. It opens PSDs, uses layers and masks, and exports clean web and print files. Teams love its portability, shared workflows, and smart objects. A Photopea tutorial accelerates onboarding, while another Photopea tutorial hardens daily habits, consistency, quality, and reliability.
After going through a Photopea tutorial, you can do the following:
- Create social media graphics across sizes with artboards and presets.
- Edit screenshots and annotate flows using shapes, arrows, and text.
- Remove backgrounds for profile photos, product shots, and presentations.
- Compress and export images optimized for CMS and email.
- Build branded templates for recurring posts and announcements.
- Design slide visuals and cover images that elevate decks.
- Produce thumbnails and banners for webinars and recordings.
- Retouch headshots to align with company style guides.
- Mock up UI states or feature concepts for quick feedback.
- Create infographics with icons, grids, and vector shapes.
- Prepare blog hero images with proper dimensions and safe margins.
- Standardize image naming and export sets for content pipelines.
- Localize creatives by swapping language layers in PSDs.
- Generate favicons, app icons, and social avatars in one file.
- Redline vendor creatives by marking specs and safe areas.
Skillshare makes finding a quality Photopea tutorial easy. Search the platform, filter by level, and preview lessons. You get projects, feedback, and flexible learning that fits remote work schedules well.
Structured, Project-Based Learning
Classes break complex skills into short lessons that build momentum. You’ll apply each concept through guided projects, so knowledge sticks and portfolios grow. Tracks for beginners to advanced editors help you move up without gaps, turning a Photopea tutorial into repeatable workflows.
Feedback and Community Support
You’re not learning alone. Q&A threads, teacher tips, and peer critiques help you fix rough spots fast. Posting project files invites targeted feedback, so you improve decisions on selections, masks, color, and export settings.
Flexible Access and Practical Resources
Learn on your own time with on-demand video and mobile viewing. Rewatch key steps before deadlines, then use checklists and templates to standardize output across campaigns. Your pace controls progress without derailing day-to-day work.
Visit Skillshare, search “Photopea,” preview a class, and enroll today. Invest in yourself by learning new skills with professional tutors and a strong community.
Essential Tools You’ll Use in This Photopea Tutorial
Master core tools that speed everyday edits and designs. You’ll learn move, crop, transform, brush, selection, and text essentials inside a flow. This section keeps clicks low and results high.
Move, Crop, Transform, and Align
Use Move for placement, Crop to tighten composition, and Free Transform for scale and rotation. Hold Shift to preserve proportions. Nudge with arrow keys for pixel-perfect tweaks. Align and Distribute commands keep layouts tidy across artboards. Smart Guides snap elements with confidence. A concise Photopea tutorial maps each tool to a common task so choices feel automatic during real deadlines.
Painting and Retouch Basics
Brush adds color, light, and texture on new layers. Eraser tidies edges, while the Clone Stamp and Healing tools fix seams and blemishes. Lower opacity to blend naturally. Use soft brushes for skin and hard edges for logos. Sample frequently with the Eyedropper to keep hues consistent. Build edits gradually. Small, layered strokes look cleaner than one heavy pass.
Selections That Stick
Marquee and Lasso tools handle simple shapes. Quick Selection grabs subjects fast, then Refine Edge improves hair or fur. Feather slightly to avoid crunchy borders. Save selections as layer masks for repeat use. Invert to target backgrounds. Practice on product shots and portraits. A focused Photopea tutorial turns selections into a reliable habit that speeds cleanup, color work, and compositing.
Text and Typography Essentials
Use the Type tool to create point text for labels or paragraph text for longer blocks. Adjust font, size, tracking, leading, and baseline shift to match brand styles. Toggle anti-aliasing for crisper small copy. Convert to Smart Object when warping or scaling to preserve quality. Align text with guides and use layer styles for shadows or strokes. This Photopea tutorial helps you standardize typography so every asset reads cleanly.
Shapes, Paths, and the Pen Tool
Draw vector shapes for buttons, badges, and icons. Set fill and stroke, then combine or subtract paths to build complex forms. Use the Pen tool to place anchors and refine curves with handles. Snap to pixels for sharp edges at small sizes. Convert paths to selections when you need precise masks. Save paths for reuse across artboards. A tight path workflow keeps logos and UI elements razor sharp.
Gradients, Fills, and Layer Styles
Open the Gradient editor to craft linear, radial, or angle blends. Use gradients for skies, product highlights, or subtle UI depth. Apply fills and strokes thoughtfully to avoid heavy looks. Layer styles add inner shadows, glows, and bevels that remain editable. Save favorite style combinations for quick reuse. This Photopea tutorial shows how to build tasteful effects that reproduce well on web and print without muddying colors.
Color Sampling and Management
Sample with the Eyedropper using a larger sample size for noisy photos. Use the Color Picker in HSB to think in brightness and saturation, not just hex. Save swatches for brand palettes. Lock in neutrals with Curves or Levels, then fine-tune with Hue/Saturation. Check consistency across artboards. Share a palette file with teammates to prevent drift. A disciplined color habit shortens reviews and avoids mismatched campaign assets.
View, Zoom, and Canvas Navigation
Work at 100% when judging sharpness and aliasing. Use Fit on Screen for global layout checks. Hold Space for the Hand tool to pan quickly. Toggle pixel grid and rulers to place elements precisely. Create and lock guides to keep spacing consistent. Split the window to compare before-and-after states side by side. Keyboard zooms make micro-adjustments painless. Efficient navigation preserves focus during high-pressure edits.
History, Undo, and Snapshots
Keep the History panel visible so you can step back safely. Name key checkpoints with Snapshots before risky changes. Use non-destructive layers and masks so rewinds don’t erase intent. Duplicate groups when exploring alternate looks. Compare variations by toggling visibility rather than rebuilding. Save a versioned PSD after major milestones. This Photopea tutorial encourages reversible editing that protects quality and makes approvals smoother.
Core Skills: Layers, Masks, and Smart Workflow
Layers and masks turn basic edits into flexible, reversible workflows. Learn naming, grouping, and adjustment layers that travel between projects. These habits save time and protect quality on every deadline.
Layer Stacks and Naming
Group related elements and name layers clearly with prefixes like BG, TXT, and FX. Color-label sections for quick scanning. Keep text, shapes, and images separate to avoid accidental edits. Convert repeats into Smart Objects to reuse safely. Collapse finished groups to stay organized. A disciplined Photopea tutorial teaches stack hygiene so complex files remain readable during handoffs and future revisions.
Masks for Flexible Edits
Add a white mask to reveal everything, then paint black to hide. Use soft brushes for natural blends and hard brushes for precise edges. Alt-click a mask to check for artifacts. Disable or invert masks to test alternatives. Duplicate masked layers for variations without starting over. A practical Photopea tutorial makes masking second nature, so experiments stay reversible and mistakes are easy to fix.
Adjustment Layers and Smart Objects
Place Levels, Curves, and Hue/Saturation as adjustment layers above content. Clip them to specific layers to localize changes. Turn complex elements into Smart Objects for non-destructive scaling and filters. Double-click to edit the source when needed. Save favorite stacks as presets. An advanced Photopea tutorial shows how these choices preserve detail, accelerate iterations, and keep color consistent across every output.
Clipping Masks vs Layer Masks
Use a clipping mask when an adjustment or texture should affect only one layer or a grouped element. Place the adjustment above, then clip it so edits stay localized. Reach for a layer mask when you need to hide or reveal parts of a layer itself. Paint black to conceal and white to reveal. Keep masks on separate layers to test ideas without starting over. A solid Photopea tutorial drills this habit.
Blending Modes and Opacity Control
Blending modes change how pixels interact. Multiply deepens shadows. Screen lifts highlights. Overlay and Soft Light add contrast with restraint. Start with lower opacity, then nudge upward until the effect supports the story. Test on neutral gray layers when building dodge and burn. Keep notes in layer names so teammates read intent fast. Consistency here saves time across campaigns and reduces rework during reviews.
Smart Objects for Reuse and Scale Stability
Convert logos, icons, and repeated elements into Smart Objects. This protects sharpness during transformations and keeps effects editable. Double-click to edit once and update every instance. Nest Smart Objects for complex components like buttons or card templates. Keep a clean source file with documented sizes. That approach avoids fuzzy assets, speeds localization, and tightens brand control. A good Photopea tutorial reinforces this non-destructive mindset.
Non-Destructive Retouching Stacks
Retouch on empty layers set to Current and Below. Healing tools fix texture while preserving underlying tone. Clone Stamp repairs patterned areas with careful sampling. Separate tone and color tasks into distinct layers, then label them clearly. Toggle layers to compare before and after. Keep opacity adjustable for subtle blends. This structure protects detail, invites feedback, and makes handoffs easier for teammates working on tight deadlines.
Shared Adjustments Across Artboards
Place global adjustment layers at the top of your stack to unify color and contrast across sizes. Clip adjustments to groups when only a campaign variant needs a tweak. Save presets for Levels or Curves to repeat results later. Sync settings before exporting to avoid mismatched thumbnails. Document which artboards inherit which adjustments. This keeps a family of deliverables cohesive. A concise Photopea tutorial shows this step clearly.
Mask Refinement and Edge Cleanup
Zoom to 100 percent when judging edges. Use soft brushes on hair and foliage, and harder edges on products and UI. Slightly contract or feather a selection before masking to avoid halos. Paint on the mask to recover fine details. Sample nearby colors for cleanup on a separate layer. Toggle against light and dark backgrounds to catch fringing. Clean edges sell realism and protect print quality.
Conclusion
Mastering a Photopea tutorial transforms everyday design tasks into portfolio-ready deliverables, proving you can ship high-quality visuals on tight timelines. Those skills translate into stronger collaboration with marketing and product teams, faster approvals, and measurable impact across social, ads, and presentations. You’ll position yourself as a reliable visual problem-solver who standardizes assets, reduces rework, and earns the trust that leads to bigger remote opportunities.
A dual monitor setup is the best way to fully utilize Photopea. Check out our guide on dual monitors next!
FAQ: Photopea Tutorial
- Can I Use Photopea Offline, And Is It Private?
- Photopea runs in your browser on your device, so your files are not uploaded by default. Open Photopea while online, let it load, then you can keep editing if your connection drops. If you need new fonts or linked assets, stay online until they load and save a backup copy.
- What Is The Fastest Way To Export Multiple Sizes At Once?
- Use artboards when you are producing multiple sizes in one file. When exporting PNG or JPG, turn on the As Artboards option to download a ZIP with one image per artboard. For web-style cutting, add slices and export to get a ZIP of assets plus an HTML preview for checks.
- How Do I Avoid Color Surprises Between Web And Print?
- If your colors look different in print, check your file’s color space and consider previewing in CMYK mode before exporting. For heavy gradients and retouching, 16-bit editing reduces banding and gives more flexibility. For most web graphics, export in sRGB for reliable display then keep a test print for reference.