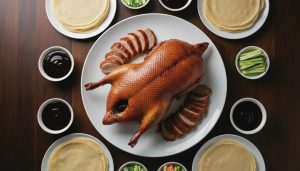
Peking duck is one of those dishes people remember. The skin is thin and crackly, the meat stays juicy, and the whole thing comes with a lot of history behind it. It started in Beijing, then got refined over generations until it became the kind of centerpiece you bring out for celebrations and big family meals.
It also looks more complicated than it really is. You won’t get restaurant results by rushing it, but you can make a very convincing Peking duck at home if you’re willing to prep ahead and give the duck time to dry properly. This guide breaks down the whole process, from getting the skin ready and roasting it the right way to carving it and serving it with pancakes, scallions, and hoisin sauce.
Contents
Key Takeaways
- Authentic Peking duck is all about that thin, crackly skin with juicy meat underneath, which is why it’s been treated like a special-occasion dish in Beijing for generations.
- The step that matters most is drying the duck uncovered for 12–24 hours. When the skin feels dry and slightly tight, almost like parchment, you’re set up for real crispness instead of chewy skin.
- Roasting works best in two stages. You render the fat slowly at a lower temperature first, then finish with a blast of high heat to get that deep mahogany color and brittle, shattering bite.
- Also, don’t treat the leftovers like an afterthought. The carcass makes an excellent broth, and the extra meat is perfect for things like fried rice, noodle soup, or quick wraps.
Peking Duck Recipe Guide
Peking duck looks like a “leave it to the restaurants” dish, but you can pull it off at home if you’re willing to do two things well: dry the skin properly and finish with high heat. The rest is just steady prep and timing.
Ingredients
- 1 whole duck (4–5 lbs)
- Maltose or honey, about 2 tbsp
- Rice vinegar or Shaoxing wine, 2 tbsp
- Salt, 1 tsp
- Fresh ginger, 2–3 slices
- Scallions, 2–3 stalks cut into sections
- Five-spice powder, 1 tsp
- Boiling water, about 4 cups
For serving
- Mandarin pancakes (or thin flour tortillas in a pinch)
- Hoisin sauce
- Scallions, julienned
- Cucumber, julienned
Tools
- Large pot or kettle (for boiling water)
- Roasting rack + roasting pan
- Basting brush
- Kitchen twine (or skewers/toothpicks)
- Meat thermometer
- Optional: air pump/bicycle pump (traditional method to separate skin)
Step-by-Step Cooking Instructions
- Prepare the duck
- Trim any obvious excess fat around the cavity and neck area. Rinse the duck inside and out, then dry it really well with paper towels. Any leftover moisture is the enemy of crispy skin. Trim wing tips if you want a cleaner roast.
- Blanch the skin
- Bring water to a strong boil. Set the duck over a sink or a big bowl, then carefully pour boiling water over the skin, turning the duck so you hit every section. You’ll see the skin tighten up almost right away. Pat it dry again immediately.
- Season the cavity
- Rub the inside of the duck with salt and five-spice. Tuck in the ginger and scallions. Tie the opening with twine or secure it with skewers so the aromatics stay put and the cavity holds a bit of steam while roasting.
- Glaze the skin
- Maltose can be thick, so warm it with the rice vinegar (or Shaoxing) and a little hot water until it loosens up. Brush a thin, even coat over the entire duck. This is what helps you get that deep color and crisp finish.
- Air-dry the duck
- This is the step that makes the whole thing work. Put the duck uncovered in the fridge for 12–24 hours. Set it on a rack over a tray to catch drips. When it’s ready, the skin should feel dry and slightly tight, almost like paper.
- Let it lose the chill
- Take the duck out 30–60 minutes before roasting so it warms up a bit. This helps it cook more evenly, especially in the thicker parts.
- Set up your oven
- Heat the oven to 350°F (175°C). Place the duck breast-side up on a rack set over a pan with about an inch of water. The water helps control smoke from dripping fat and keeps the oven mess more manageable.
- Roast and flip
- Roast for 30 minutes, then flip the duck breast-side down for another 30 minutes. Flip it back breast-side up, then raise the heat to 425°F (220°C) and roast 15–20 minutes more, until the skin is a deep golden brown and looks crisp.
- Check doneness
- Use a thermometer in the thickest part of the thigh, avoiding the bone. You’re aiming for 165°F (74°C). If you don’t have a thermometer, pierce the thigh and look for clear juices, not pink.
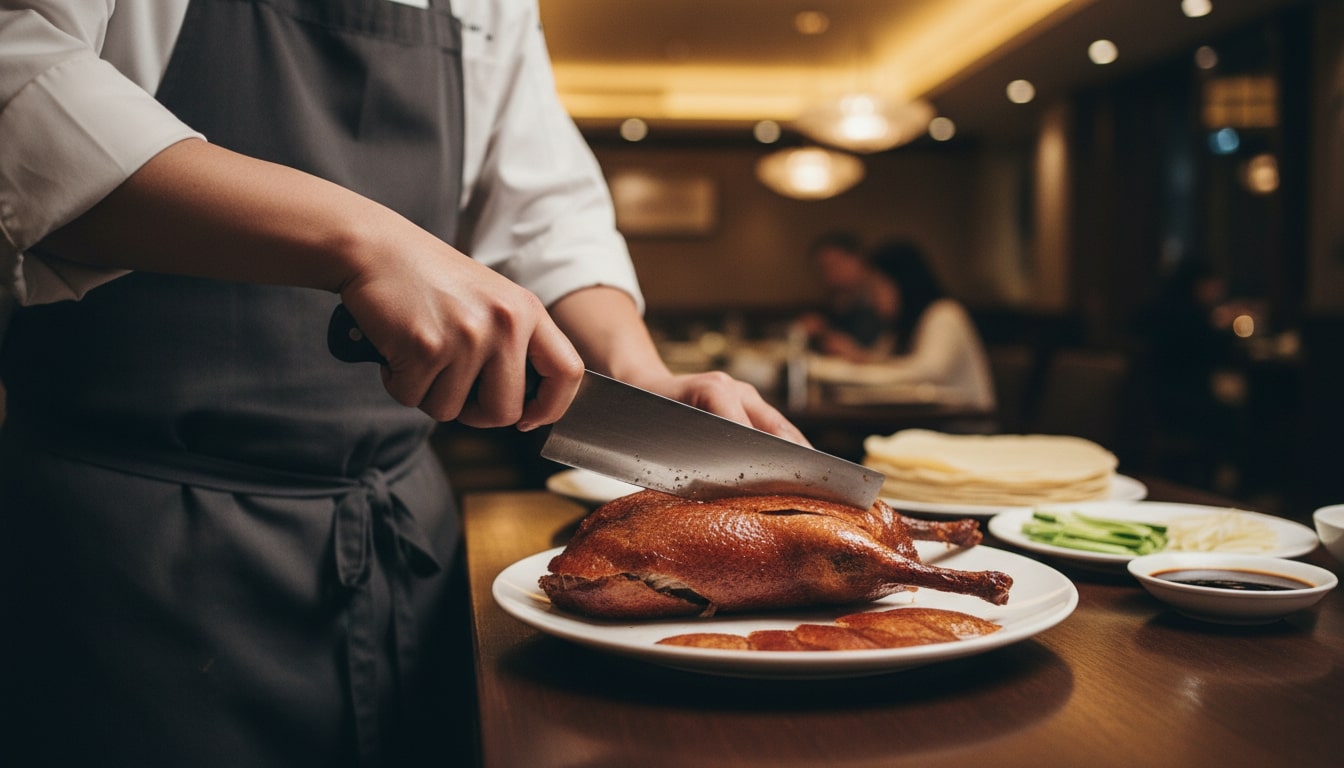
- Rest and carve
- Let the duck rest 10–15 minutes so the juices settle. Traditionally, you slice off pieces of skin first, then carve the meat. Use a sharp knife and take your time, the duck is easier to handle once it’s rested.
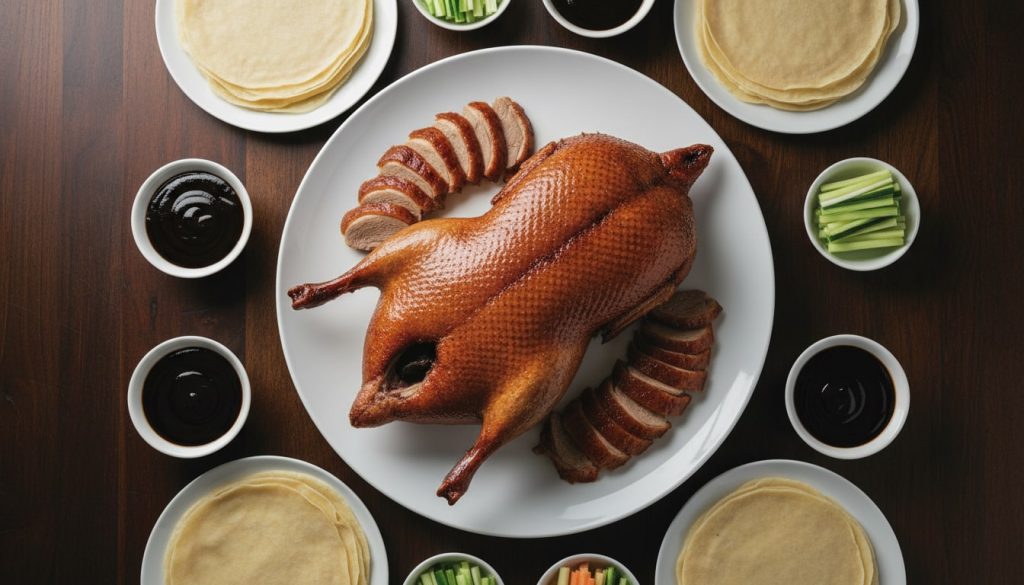
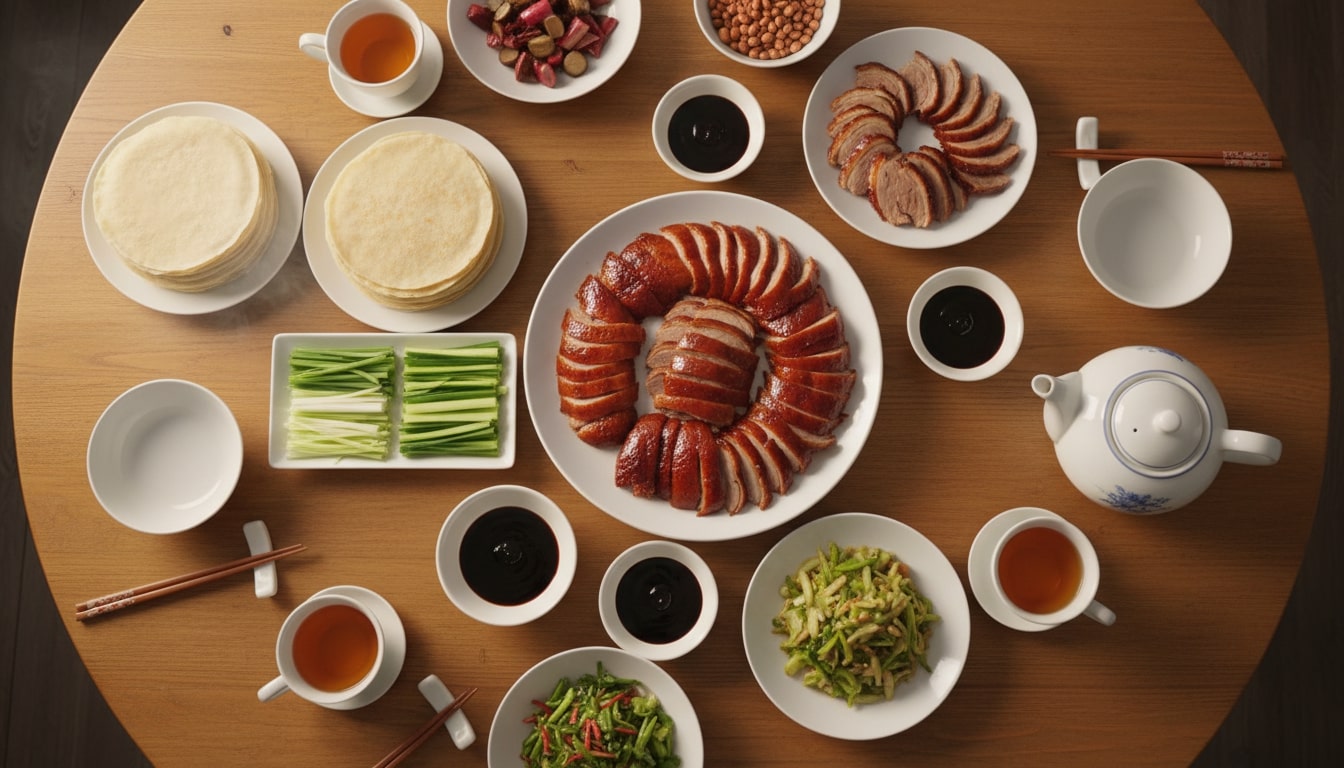
- Serve
- Serve right away with warm pancakes, hoisin, scallions, and cucumber. Spread a little hoisin, add skin and meat, top with the vegetables, then roll and eat while everything’s still hot and crisp.
The Secret to the Perfect Crispy Peking Duck Skin
Crispy Peking duck skin isn’t about a fancy trick. It comes down to three things you can control at home: keep the skin dry, glaze it lightly, and roast it in a way that renders fat first, then crisps the surface at the end. When you get those right, you’ll hear that thin, crackly crunch people chase at restaurants.
Why Drying the Skin Matters
Drying is the make-or-break step. If the skin is still damp when it goes into the oven, it steams instead of crisping, and you end up with chewy spots. Giving the duck time uncovered in the fridge lets the surface moisture evaporate. That dry skin also helps the fat under it melt and escape more cleanly, which is what creates that brittle, almost “shell-like” finish.
The Role of the Maltose or Honey Glaze
The glaze isn’t just for color. A thin coat of maltose (or honey) helps pull a little more moisture off the surface and encourages that shiny, lacquered look as it roasts. The vinegar in the mix does some quiet work too. It slightly tightens the skin and keeps the flavor from feeling overly rich or sweet. Think of the glaze as the final push that helps the skin blister and crisp instead of just turning brown.
Proper Airflow and Hanging Technique
Airflow is the whole point of the drying stage. Hanging the duck is the traditional move, but leaving it uncovered on a rack in the fridge does the same job. You want air to reach every side so the skin dries evenly. Keeping the duck elevated also matters because if it sits in its own drips, the bottom stays wet and you’ll fight soft patches later.
Controlling Oven Temperature for Maximum Crunch
Peking duck skin needs a “slow then hot” roast. The first stage at a lower temperature gives the fat time to render without scorching the surface. Then you finish with higher heat to crisp and tighten the skin into that crackly layer. That last blast is where the magic happens. After roasting, let the duck rest briefly. It helps the juices settle and gives the skin a moment to firm up so it stays crisp when you carve.
Creative Ways to Use Peking Duck Leftovers
Leftover Peking duck is too good to toss. The meat is already seasoned and rich, and even the bones still have a lot to give. A little reheating and a few pantry ingredients can turn scraps into meals that feel completely new.
Rich Duck Bone Broth and Noodle Soup
Don’t throw out the carcass. Break it into a few pieces and simmer it with ginger and scallions for an hour or two. Add a small splash of soy sauce near the end, then strain it and taste before adding more seasoning.
Once you’ve got that broth, it’s basically dinner waiting to happen. Drop in noodles, add a handful of greens, then finish with shredded duck. It’s comforting, and it makes the leftovers stretch much farther than you’d expect.
Fragrant Duck Fried Rice
Duck fried rice is one of the easiest wins, especially if you have leftover rice in the fridge. Start with garlic, ginger, and scallions, then add diced duck and any vegetables you need to use up. Toss in the rice, break up the clumps, and season with soy sauce.
A little sesame oil at the end helps bring everything together. If you like it richer, push the rice aside and scramble an egg in the pan, then mix it through. You’ll get that smoky, savory flavor without needing a whole new dish.
Peking Duck Bao, Sliders, or Wraps
If you want something quick and fun, turn the leftovers into handheld bites. Warm the duck gently, then stuff it into soft bao buns, small slider buns, or even lettuce cups if you want it lighter. Add hoisin, cucumber, and scallions, and you’re basically back to the best part of the original meal.
It’s a great lunch move, and it also works for casual entertaining because you can lay everything out and let people build their own.
Comforting Duck Congee or Rice Porridge
Duck congee is a great “quiet meal” when you want something warm but not heavy. Simmer rice with plenty of water until it breaks down into a porridge, then stir in shredded duck near the end so it stays tender.
Top it with scallions, fried shallots, and a little white pepper. It tastes cozy and rich at the same time, and it’s a smart way to use smaller bits of meat that don’t look as nice on their own.
Conclusion
Peking duck is a special dish served in special occasions. The act if carving the duck and preparing it in a pancake with scallions and hoisin sauce makes this a memorable entree for Chinese New Year or any event. There is nothing like biting into that crispy skin and that amazing duck with hoisin flavor filling your mouth.
FAQ: Peking Duck Recipe
- Can I make Peking duck without hanging it to dry?
- A good alternative is to let the duck dry inside your refrigerator, uncovered. You need to give the bird enough space for it to circulate. This is an essential step since it is how you can achieve that crunchy skin on your duck.
- What’s the best substitute for maltose in the glaze?
- Honey is the best substitute to achieve that crisply and golden glaze. However, the sweet taste lessens the authentic flavor of the pecking duck. A less sweeter option would be corn syrup that achieves the same caramelization effect. Mix this with Shaoxing wine and rice viner in a 2:1 ratio to achieve that Asian flavor.
- How long does it take to make Peking duck from start to finish?
- Give yourself about a day to a day and a half. Most of that time is just the duck sitting uncovered and drying, which is what makes the skin crisp. You’ll spend roughly 30–45 minutes doing the prep, 12–24 hours air-drying, then around 75–90 minutes roasting. It’s not a last-minute meal, but the hands-on work is pretty reasonable if you plan ahead.
- Can I use a frozen duck for Peking duck?
- Yes, frozen duck is totally fine. The main thing is thawing it slowly in the fridge, usually 24–48 hours depending on size. Don’t thaw it on the counter. Once it’s fully thawed, dry it thoroughly inside and out before you start blanching and glazing. Frozen ducks are often easier to find, and if you dry the skin well, the final result is very close to fresh.
- What should I do if my duck skin isn’t crispy enough?
- If the duck is cooked but the skin still feels a bit soft, crank the oven up to 450°F and put it back in for 5–10 minutes. Keep an eye on it because it can go from “almost there” to “too dark” quickly. Next time, focus on a longer drying time, keep the glaze thin and even, and skip basting while it roasts since extra moisture works against crisp skin. A convection setting can also help.