Last Updated on May 1, 2024 by Team Ideas24
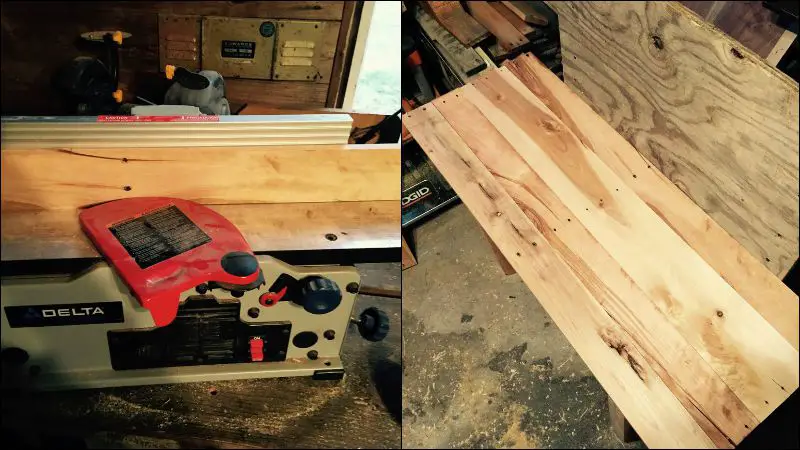
Then run the boards through the jointer so they will fit together without large gaps. Place them on the bench so you can see how they fit. If you have too much overhang you can rip one of the boards so everything fits well.
I think the key to making a pallet project really awesome is the little details. It’s the little stuff that shows you made it out of pallets because your creative, not because you’re cheap.
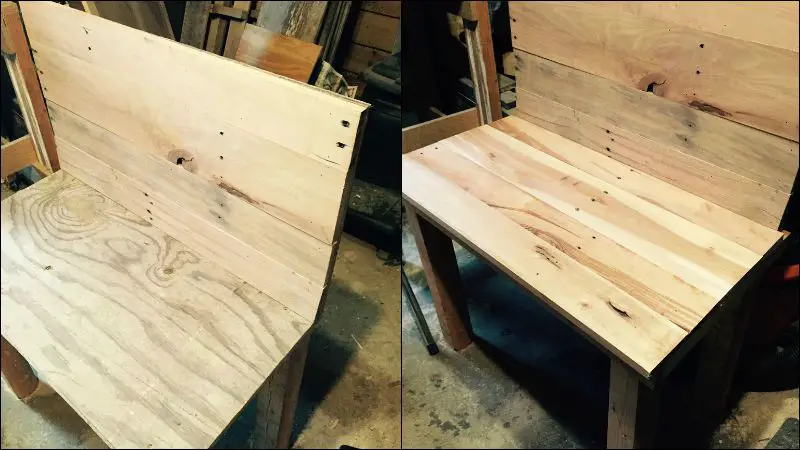
I ripped a pallet board to 1 1/2 in for a trim piece. Then I started to lay the planned boards. There is an overhang on both sides so you can move the pallets around to show the best grain. Once you have it where you like it, cut to size and use a brad nailer to nail the boards in place.
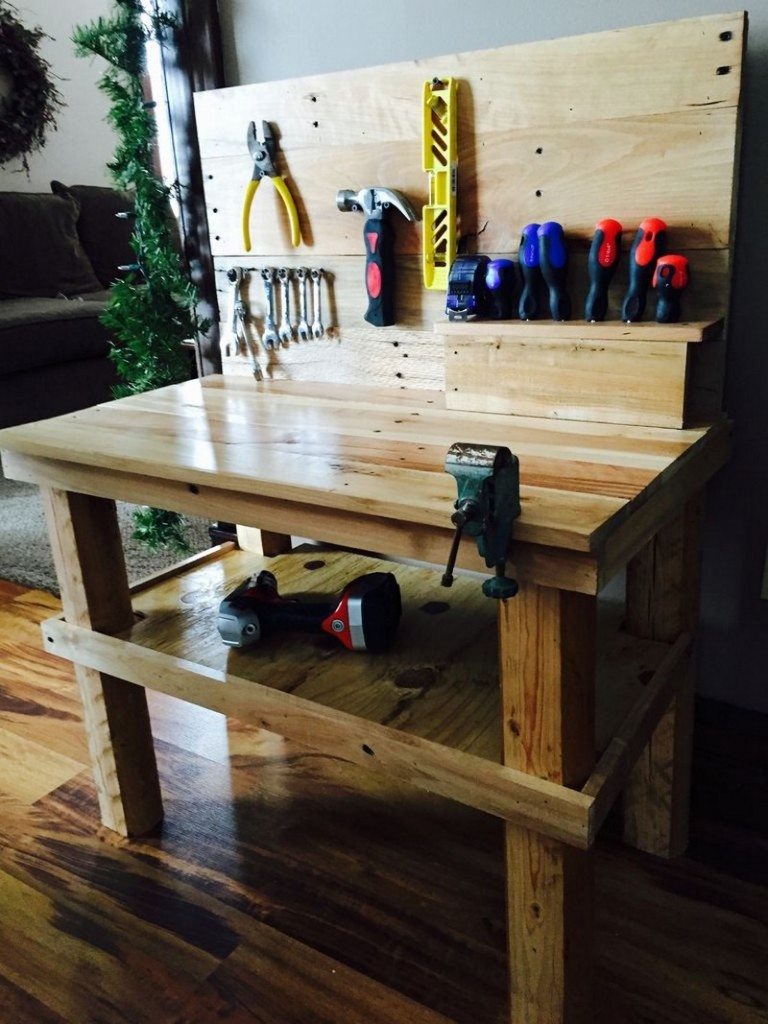
I used two of the scrap pieces of the pallet to make a small shelf. Just use the brad nailer to nail together and then attach through the back with the same nailer.
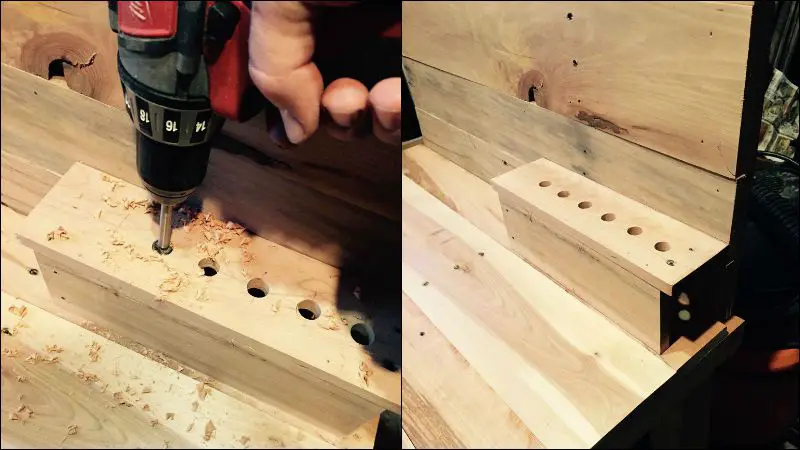
I used a Forstner bit to drill six small holes to fit his screwdriver set.
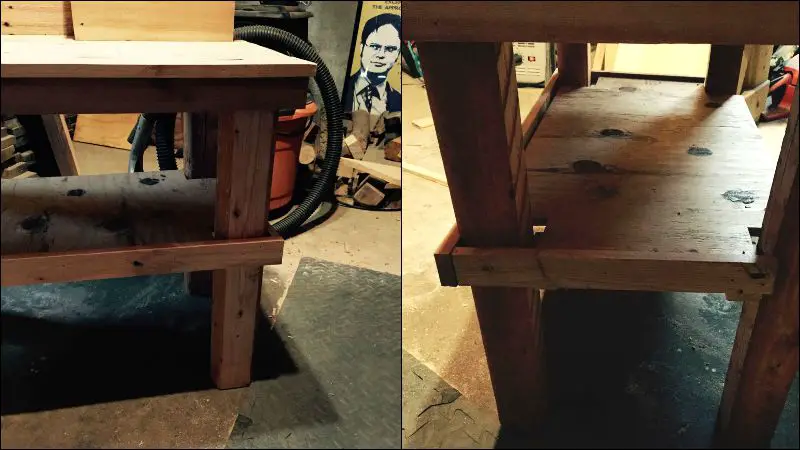
When I stepped back and took a look at what I had done so far… I knew it needed more. So a shelf in the middle filled that space very well.
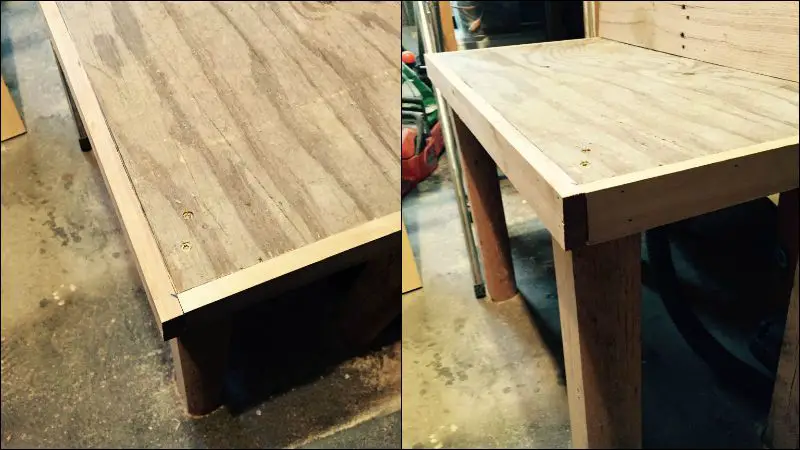
I just cut a piece of plywood the same dimensions as the top, 15x 29. Then I cut out the corners so they would fit around the legs. I used some scrap wood and screwed it to the inside of the legs to hold up the ply. Then to make it look nice and add some strength I put a trim piece all the way around with the brad nailer.

I used a water-based satin polyurethane that I really like. I did two coats and sanded in between. The poly is low odor and dries really fast. It adds protection and just a little shine.
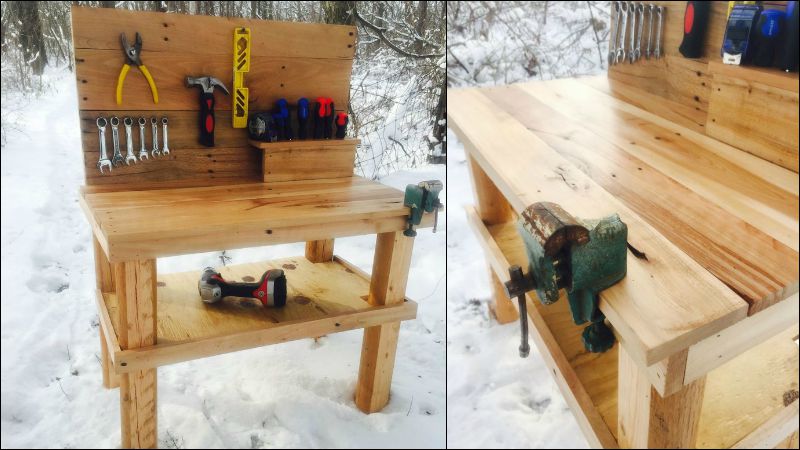
And there it is… A fun little workbench that had provided hours of entertainment already. My son seems to really like it. Thanks for reading this and I hope you have as much fun doing this as I did.
Thanks to
Recycling and Upcycling Pallets for Your DIY Pallet Workbench
It’s amazing how much a simple act of recycling can impact the environment positively. When you decide to build a pallet workbench, you’re doing more than just crafting. you’re making a sustainability statement. Old wooden pallets that might have been dumped in a landfill find a new purpose as a chic and functional piece of furniture. Let’s dive into the benefits of using recycled pallet.
Environmental Benefits of Using Recycled Pallets
Using recycled pallets for your DIY pallet workbench contributes significantly to environmental conservation. First, it reduces landfill waste. Wooden pallets are often discarded after their initial use, but by repurposing them, you prevent the accumulation of wood waste. Additionally, upcycling pallets conserves natural resources by reducing the demand for new timber. Each pallet workbench you create reuses materials that are already in circulation, minimizing your carbon footprint and promoting a more sustainable approach to consumption.
Sourcing Used Pallets
Finding used pallets can be as easy as visiting local stores, warehouses, or factories. Many businesses dispose of their excess pallets and may be willing to give them away for free or at a minimal cost. Always ask for pallets that are not treated with chemicals, as these are safer for use in projects, especially those intended for indoor use. Look for the IPPC (International Plant Protection Convention) logo, which indicates if the pallet has been treated with chemicals or heat.
Preparing Pallets for Your Workbench
Once you have sourced your pallets, preparing them for construction is crucial to ensure safety and quality. Start by inspecting each pallet for any damage, such as broken slats or protruding nails, which could affect the structural integrity of your pallet workbench. Removing all nails and staples is essential to prevent injuries and protect your tools.
If your pallets are not uniform in color or have surface irregularities, sanding them down can improve their appearance and make them safer to handle. For a cleaner and more uniform look, consider using a planer to even out the surfaces.
By incorporating these practices into your project, your DIY pallet workbench will not only serve as a functional piece of furniture but also as a statement of your commitment to sustainability and creativity. Whether you are crafting a simple table or an elaborate workbench for your home workshop, the use of recycled pallets offers a rewarding way to combine practicality with environmental responsibility.
Safety Considerations for Kids’ Pallet Workbenches
Creating a pallet workbench for kids is not just about building a fun and functional piece of furniture—it’s also crucial to ensure that it’s safe for young users. Safety should always be a top priority, especially when it comes to designing and constructing play areas or workspaces for children.
This section will guide you through essential safety considerations to keep in mind while building a pallet workbench for kids.
Choose the Right Materials
When selecting pallets for a child’s workbench, opt for those marked as HT (heat-treated) rather than MB (methyl bromide treated), as the latter involves harmful chemicals. Heat treatment ensures the wood is safe for use, especially where children are involved. Additionally, make sure the wood is free from splinters and rough edges by thoroughly sanding down the surfaces.
Stable and Sturdy Construction
The stability of the pallet workbench is crucial to prevent it from tipping over while kids are using it. Ensure all parts are securely fastened. Use sturdy screws and confirm that all joints are tight and well-aligned. It’s a good idea to include a base that spreads out wider than the top to help prevent the workbench from tipping.
Rounded Corners and Edges
Kids are full of energy and can sometimes be a bit clumsy, which is why it’s important to round off all corners and edges of the pallet workbench. This reduces the risk of injury from sharp points. You can use a router or sandpaper to smooth out all corners and edges effectively.
Non-Toxic Finishes
If you’re planning to paint or seal the pallet workbench, always choose non-toxic, child-safe finishes. Look for products that are specifically labeled as non-toxic or safe for children’s furniture. This protects not just the young users but also contributes to healthier indoor air quality.
Regular Maintenance Checks
Once the pallet workbench is in use, it’s important to regularly check it for any potential hazards. Look for loose screws, weakened wood, or chipped paint that might pose risks. Keeping the workbench well-maintained ensures it remains a safe. It must also be an enjoyable place for kids to engage in creative play.
By following these safety guidelines, you can create a safe and enjoyable pallet workbench that will allow kids to explore their creativity and learn new skills in a secure environment. Not only does this foster a safe space for learning and fun, but it also instills the values of sustainability and resourcefulness from a young age.
Conclusion
Building a pallet workbench for kids offers a unique opportunity to teach them about creativity, sustainability, and hands-on skills in a fun, engaging way. Ensuring the workbench is safe and sturdy allows children to explore and learn without worry. This project not only recycles old materials but also creates lasting memories and a space for young imaginations to thrive.
We have more creative workbench ideas. Read our wall-mounted folding workbench!