Last Updated on June 23, 2025 by Team Ideas24
How do you relax and unwind at home when you get the chance? For me, it means lying down on our daybed while reading a good book or simply observing my surroundings. And when I just want to sit and watch, I get really entertained by animals roaming around the neighbourhood just going about their business. For some reason it’s very relaxing!
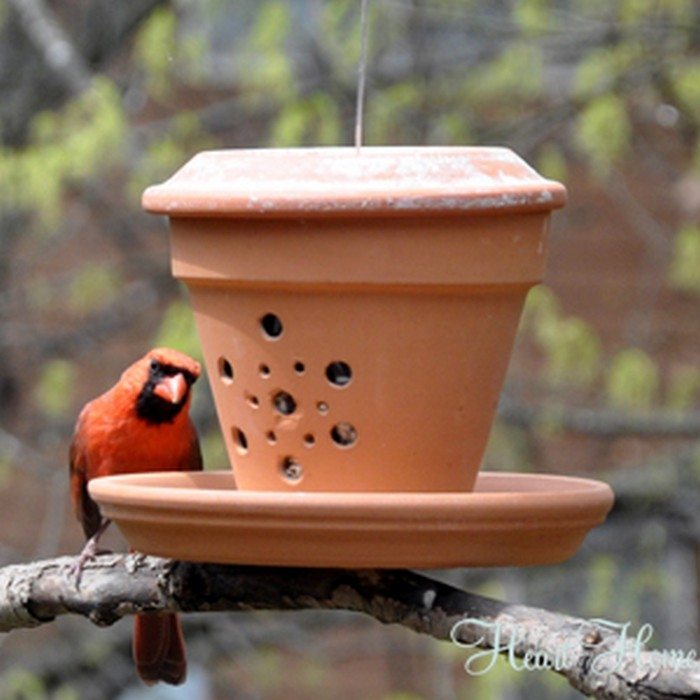
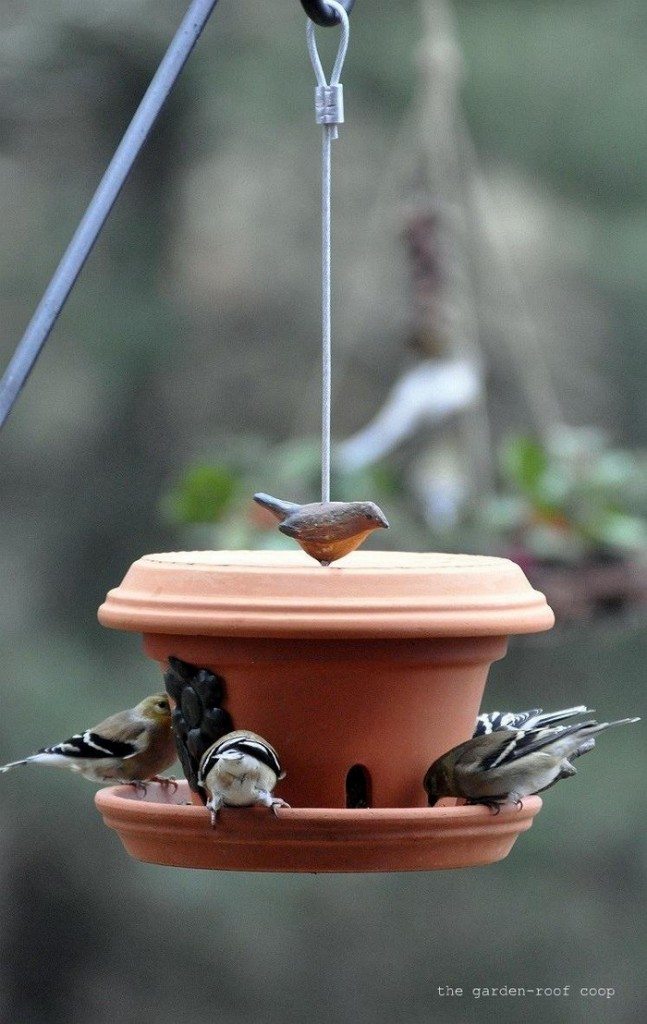
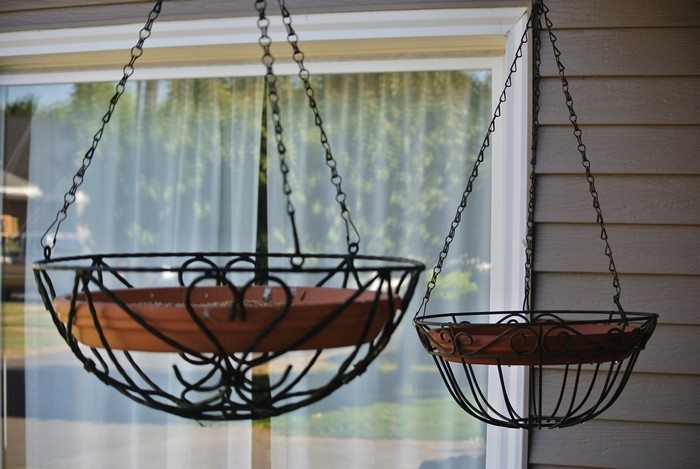
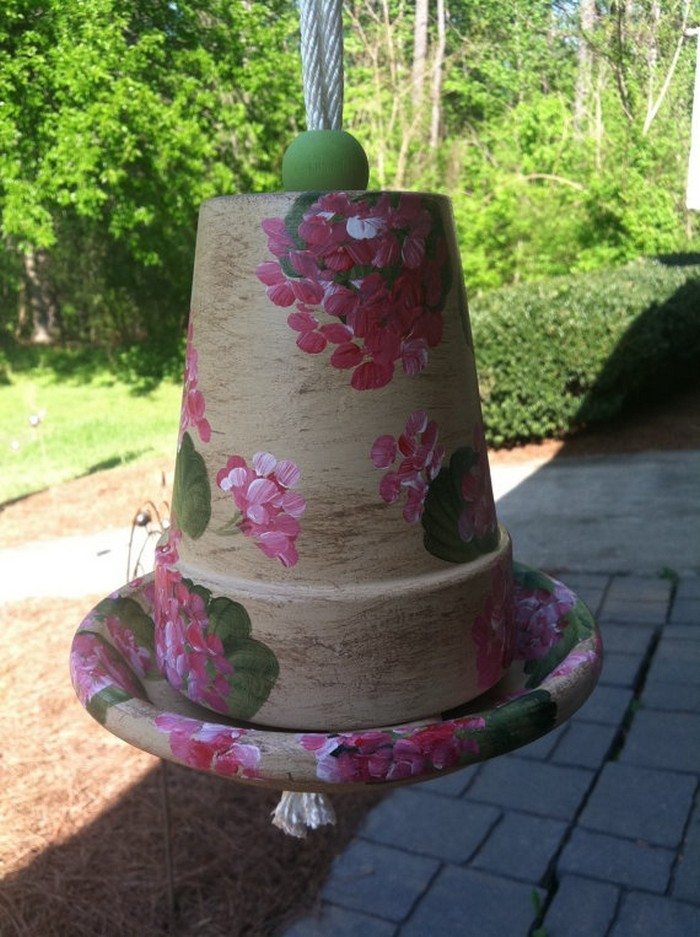
 Birds are my favourite, and I wanted to be able to watch them up close. I wanted to better hear the birds sing, so I made a hanging bird feeder with the extra terra cotta flower pot we had to attract them into our yard.
After finishing the DIY flower pot bird feeder, I hung it on the tree we have in our yard. It’s perfect! I can comfortably observe and listen to singing birds from our daybed!

Contents
Crafting a Terra Cotta Bird Feeder
Do you want to invite birds in your yard or garden, too? Follow our steps below to make your own terra cotta bird feeder:
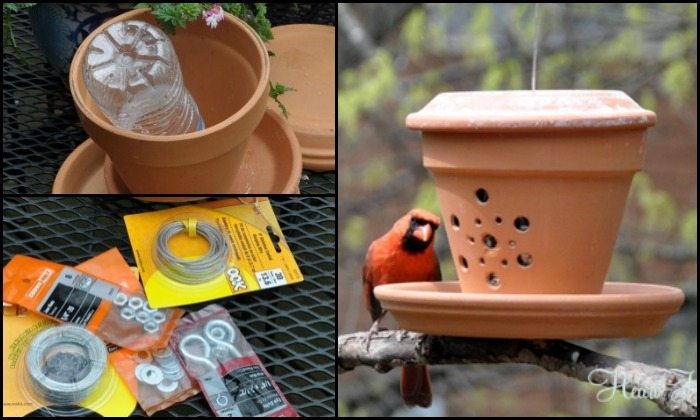
Materials:
- 1 or 2-liter Plastic Water Bottle (3-1/2″ in diameter)
- 6 1/2″ Clay Pot
- 7 1/2″ Clay Saucer
- 9 1/2″ Clay Saucer
- 1/4X 5″ Eye Bolt
- 2 – 1/4″ Washers
- 2 – 1/4″ Nuts (to fit Eye Bolt)
- 12″ of Lightweight Wire
- 48″ of Picture-hanging Wire
- Fishing Swivel
- 18″ long Tree Branch
Tools:
- Cordless Drill with 1/4″ Masonry Drill Bit
- X-acto Knife / Scissors
- Wire Cutter
Step 1 – Mark the center points
Place the 7 1/2″ and 9 1/2″ saucers upside-down on a scrap board. Mark the exact center of each base with a pencil dot.
Step 2 – Drill the saucers and pot
Fit the 1/4″ masonry bit into your cordless drill. Bore a clean hole through the center of both saucers and the base of the 6 1/2″ clay pot. Work slowly to avoid cracks.
Step 3 – Prepare the plastic bottle
Remove the cap and label. Measure 6 inches up from the bottle’s base and draw a line. Use an X-acto knife or scissors to cut the bottle cleanly along that line. Keep the bottom section; recycle the top.
Step 4 – Cut bird seed ports
Draw four evenly spaced rectangles, each about 1/2″ wide and 3/4″ tall, near the new rim of the bottle section. Slice out the rectangles with the knife to create seed openings.
Step 5 – Smooth edges
Run fine sandpaper or the knife’s back edge lightly over every cut edge on the bottle. Birds won’t catch their feet or beaks on rough plastic.
Step 6 – Assemble the feeder body
Slide a washer onto the eye bolt. Push the bolt through the 9 1/2″ saucer (this will act as the roof), then through the pot’s drainage hole, and finally through the 7 1/2″ saucer, which becomes the feeding tray. Add the second washer and nut beneath the tray. Tighten until snug but not overtight—clay mustn’t crack.
Step 7 – Add the seed reservoir
Invert the cut bottle segment so its open top faces down. Nest it inside the clay pot, resting on the upper rim of the tray saucer. The seed ports should sit just above the saucer floor.
Step 8 – Secure the bottle
Cut a 12″ length of lightweight wire. Thread it through two opposite seed ports and around the pot’s inner wall. Twist tight. The bottle stays centered even when birds land.
Step 9 – Attach the hanging line
Loop the 48″ picture-hanging wire through the eye of the eye bolt. Twist the free ends together for a double-strand support.
Step 10 – Add a swivel to prevent tangles
Clip a fishing swivel between the picture wire loop and a shorter 8-inch segment of wire. Birds can spin without twisting the line.
Step 11 – Prepare the natural perch
Drill a 1/4″ hole through the center of the 18″ tree branch. Slide the branch onto the lower threads of the eye bolt under the feeder tray before the final nut. The branch becomes a wide perch.
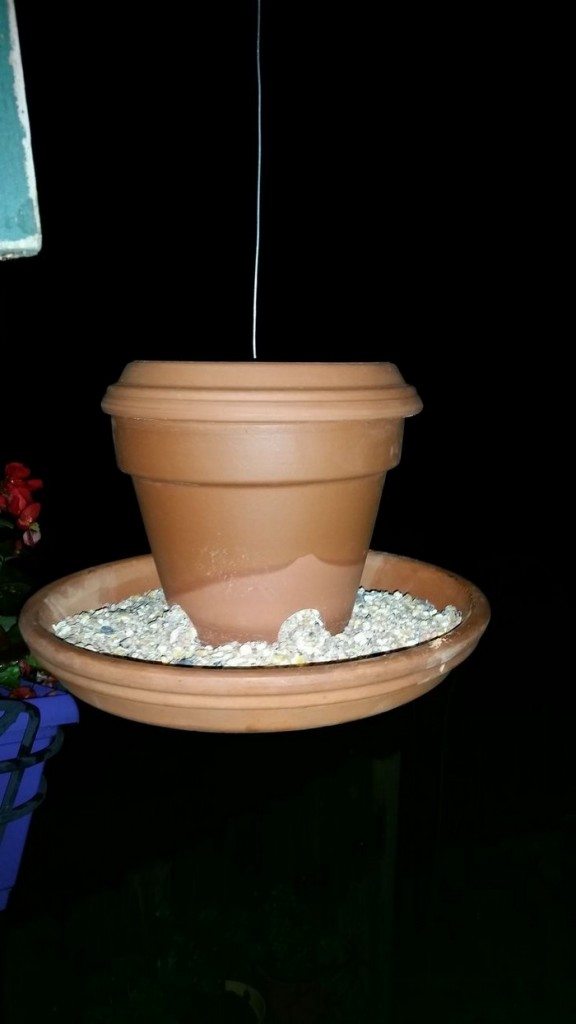
Step 12 – Fill and test
Remove the roof saucer, pour seed into the bottle, and replace the roof. Give the feeder a gentle shake. Seed should flow through the ports to the tray without spilling over.
Step 13 – Hang the feeder
Choose a branch that sits at least 6 feet off the ground and 10 feet from solid surfaces a cat could use. Wrap the upper wire end securely. The swivel lets the feeder turn with the wind.
Step 14 – Maintain regularly
Check seed levels every few days. Tip out husks, scrub the saucer with warm soapy water, and let everything dry before refilling. A clean terra cotta bird feeder keeps backyard visitors healthy.
Design Variations for a Terra Cotta Bird Feeder
Every yard is different, and a single style rarely fits all spaces. Simple tweaks to the classic build let you match any garden theme while keeping birds comfortable.
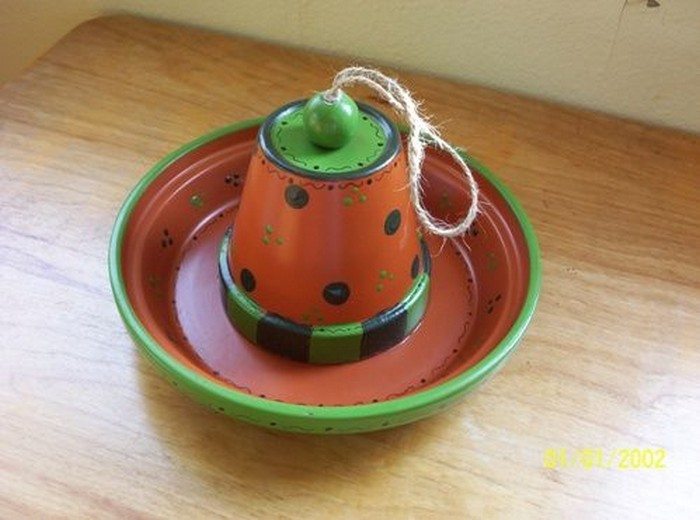
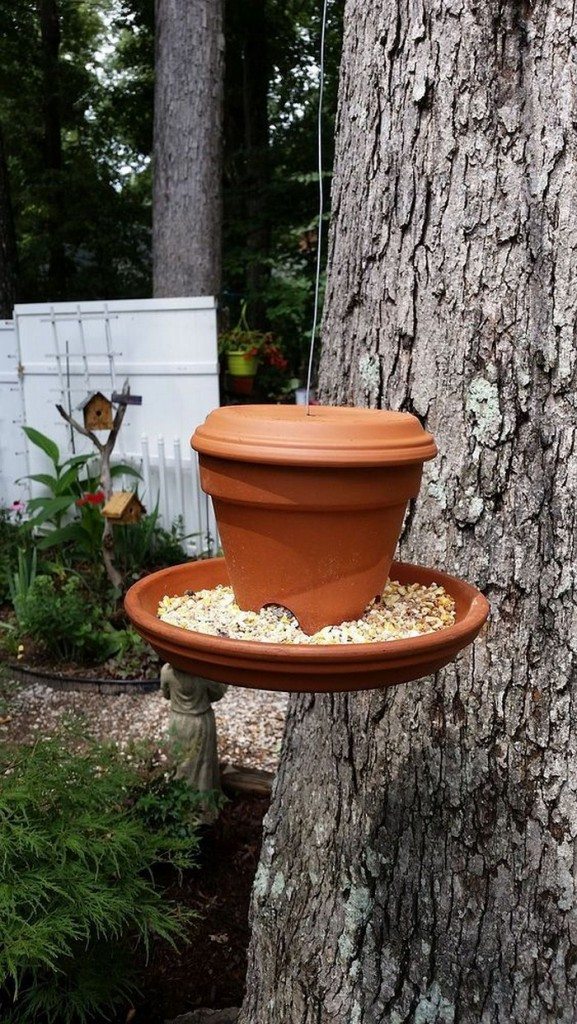
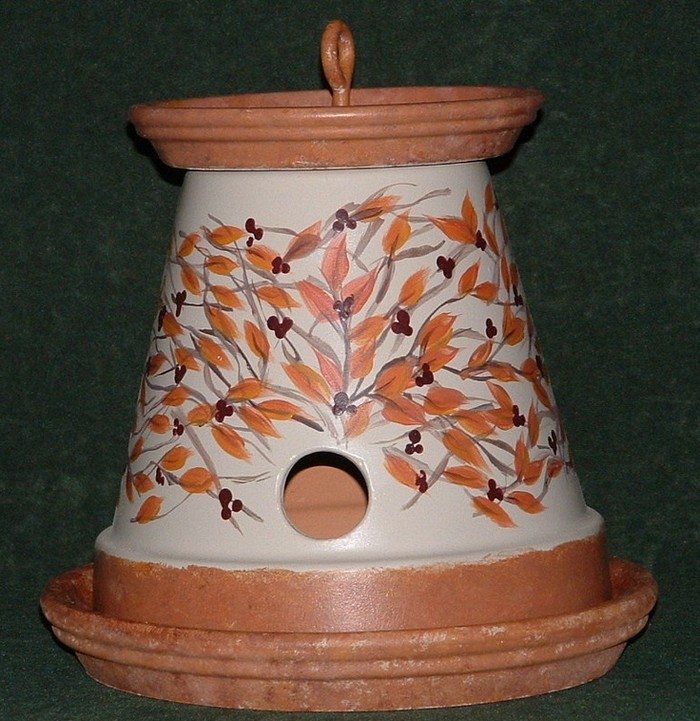
Upside-Down Pot Shelter
Flip the clay pot so the rim faces the sky and the base becomes the seed tray. The pot’s taper naturally shields seed from light rain. Drill small drainage holes near the rim to stop puddles.
Slip a short dowel through two holes for a quick perch. This compact design hangs well under eaves where space feels tight. It lets birds feed in light drizzle without getting soaked. You keep seed dry and waste low.
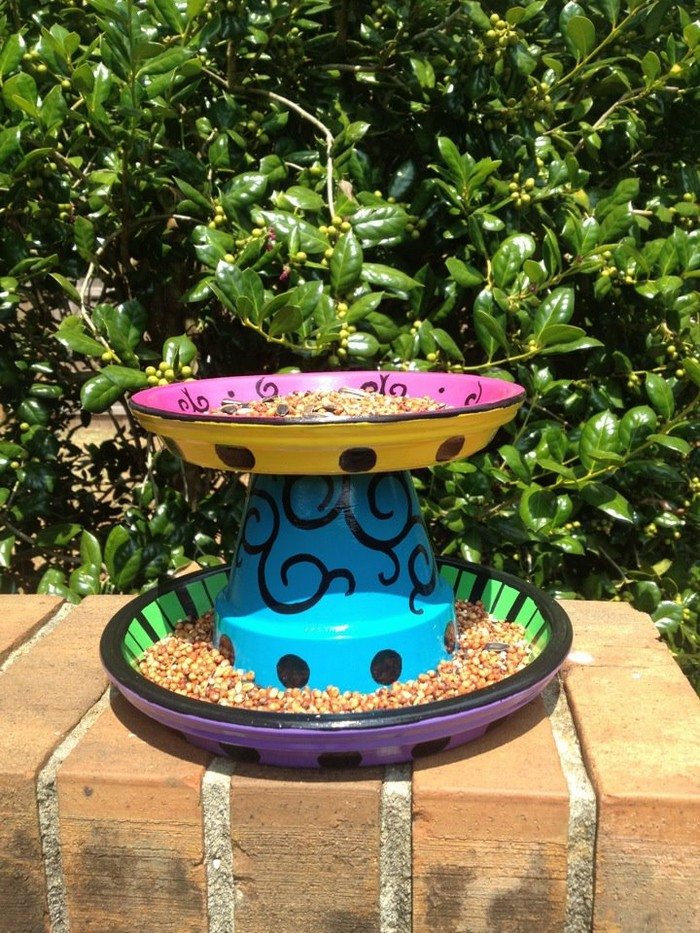
Stacked Tower With Multiple Trays
Thread two or three pots on a single eye bolt. Place saucers between each pot to create staggered feeding levels. Finches and sparrows take the upper floors while ground feeders claim the lowest tray.
The tower look adds height and draws the eye upward. Paint each tier a different earthy tint for playful contrast. Even a small courtyard gains vertical movement when the feeder rises like a totem.
Saucer Roof With Built-In Drainage
A wide 9 1/2-inch saucer makes a generous roof that throws shade and deflects heavy rain. Place three small terracotta spacers between roof and pot to form a discreet air gap. Hot air vents upward so seed stays fresher on humid days.
Pair the roof with a smaller saucer under the pot as a catch basin for fallen husks. Daily cleaning stays quick because debris never hits the ground.
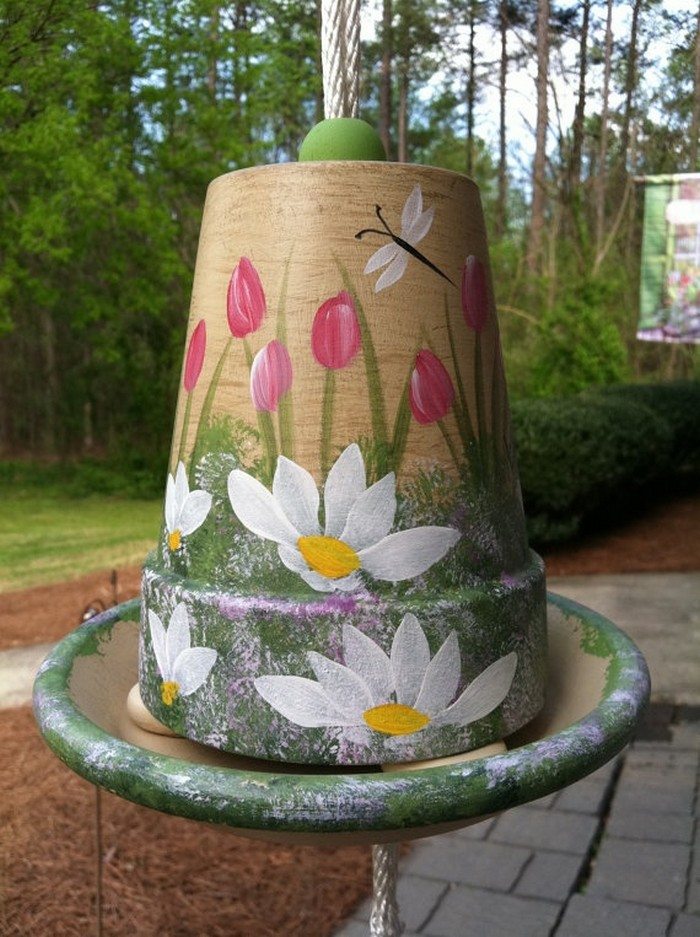
Artistic Finishes That Stand Up to Weather
Unglazed clay absorbs moisture and may crack in frost. Two coats of clear, food-safe waterproofer seal pores without altering the terracotta tone. Prefer color? Outdoor acrylics bonded with a matte varnish resist fading for years.
Stencil leafy silhouettes or songbird shapes around the pot for whimsy. You keep the rustic feel while adding a personal stamp that neighbors will notice.
Attracting Specific Bird Species
Fine-tuning port size, perch length, and seed mix turns a general feeder into a tailored invitation. Quick adjustments help you welcome favorite birds while discouraging pushy visitors.
Tight Ports and Thistle Mix for Finches
Goldfinches and siskins love tiny seeds yet avoid deep cavities. Cut slim oval ports just taller than a sunflower kernel. Install narrow dowel perches two inches long so bulky birds cannot grip. Fill the bottle with a thistle and diced sunflower combo. Light birds cling easily and nibble cleanly, leaving little waste. You enjoy flashes of yellow and cheerful chatter.
Broad Perches and Safflower for Cardinals
Cardinals need elbow room. Glue two eight-inch branches at opposite sides of the saucer rim. Their wider stance feels natural and secure. Choose safflower seed because cardinals relish it but squirrels snub the taste. A light dusting of red paint on perch ends echoes the male’s plumage and helps shy birds spot landing zones at dawn.
Suet Inserts and Berry Bits for Jays and Thrushes
Larger species crave dense energy. Line the pot interior with a removable wire mesh cup packed with suet. Mix in dried raisins and chopped cranberries. Punch three half-inch holes low on the pot wall so birds can peck the suet without squeezing inside. The feeder becomes a winter buffet that fuels migration and keeps song variety high through colder months.
Nectar Extension for Orioles and Hummingbirds
Glue a shallow plastic ring beneath the saucer tray. Fill it with weak sugar water and slip orange rind slices along the edge. Oriole beaks dip easily, and any stray drips fall harmlessly to the ground. Hang a bright orange glass bead on the swivel to catch their eye as they loop overhead. Hummingbirds sometimes hover for a sip, adding aerial excitement to your viewing spot.
Terra Cotta Bird Feeder Gallery
Click on any image to start lightbox display. Use your Esc key to close the lightbox. ![]()
Upcycling Broken Pots into Mini Feeders
Cracked clay often ends up in the trash. Clever cuts and a little wire turn shards into fresh feeding stations that reduce waste and double the fun.
Shard Trays for Ground Feeders
Large curved pieces from a fractured pot make perfect shallow dishes. Sand sharp edges smooth with fine grit paper. Nestle the shard among mulch near shrubs where doves and juncos scratch. Sprinkle millet and cracked corn inside. Rain drains off quickly through hairline fractures, so seed never molds. You turn loss into a rustic accent that blends right into the soil.
Chip Garland Feeders for Small Songbirds
Collect thumbnail-size chips with natural holes or drill tiny ones near each edge. Thread chips onto sturdy twine, spacing them two inches apart. Smear a thin layer of peanut butter on every chip and press in millet. Hang the garland along a fence rail. Wrens land, grab a bite, and dart off. The flexible line moves in the breeze, deterring ants that climb rigid poles.
Mosaic Perch Discs With Seed Wells
Break remaining pot walls into palm-size pieces. Arrange them into a circle on a paving stone, leaving a one-inch gap at the center. Mix exterior waterproof adhesive and secure the pieces like a mosaic. The center gap becomes a seed well. Birds perch on rough edges and reach inward for sunflower chips. Place the disc atop a stump for eye-level viewing from your deck chair.
Half-Pot Water Stations for Daily Drinking
Saw a cracked pot cleanly in half from rim to base. Smooth edges, then bury the cut side halfway into soft soil. The curved outer wall stays exposed, forming a stable basin. Fill with fresh water every morning. Add a small stone so butterflies and bees can land safely. Clean water keeps birds hydrated and encourages longer visits at the seed feeder nearby, turning your garden into a full-service stopover.
These creative spins transform simple clay into a custom network of feeding and watering points. Birds get diverse menus and safe landings. You gain color, motion, and the calm joy of wildlife just outside the window.
Conclusion
Creating a terra cotta bird feeder blends simple tools with creative flair. The project reuses everyday materials and keeps costs low. Clay shelters seed from rain and gives birds a sturdy perch. Custom paint and smart placement turn the feeder into a standout garden piece. Regular cleaning protects visiting birds and ensures seasons of safe, lively song.
We have a more stylish bird feeder you can build. Check out our saloon bird feeder guide next!


