
Last Updated on June 13, 2025 by Team Ideas24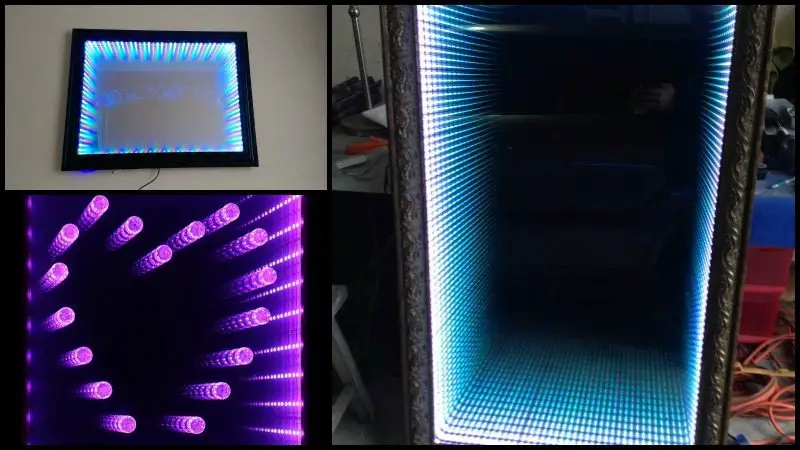
Have you got a big mirror that you don’t actually use? Why not make it a bedroom decor by turning it into an infinity LED mirror?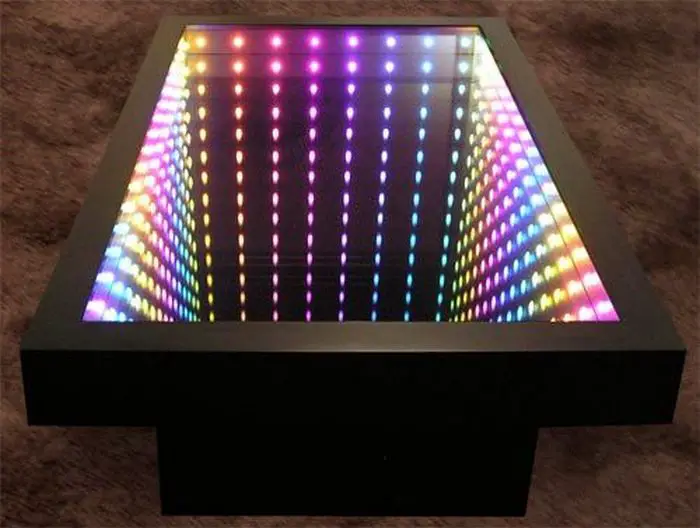
The kids are most probably the ones to want this DIY project in their bedrooms. But the kids at heart who enjoy science fiction will want it, too!
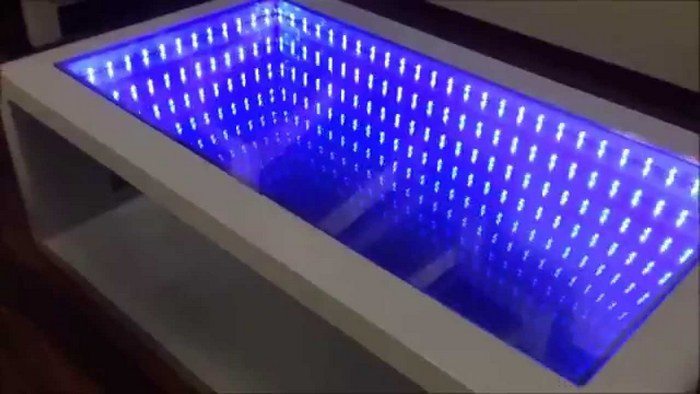
Though not necessarily inexpensive, this infinity mirror is sure to impress anyone who sees it. You can even do this idea to the existing mirror in your living room. When the LED lights are turned off, it functions as a regular mirror.
Do you want an infinity mirror in your home? Who else do you think will love this idea? :)
Learn how to make this fun project by reading
Click on any image to start the lightbox display. Use your Esc key to close the lightbox. 8-)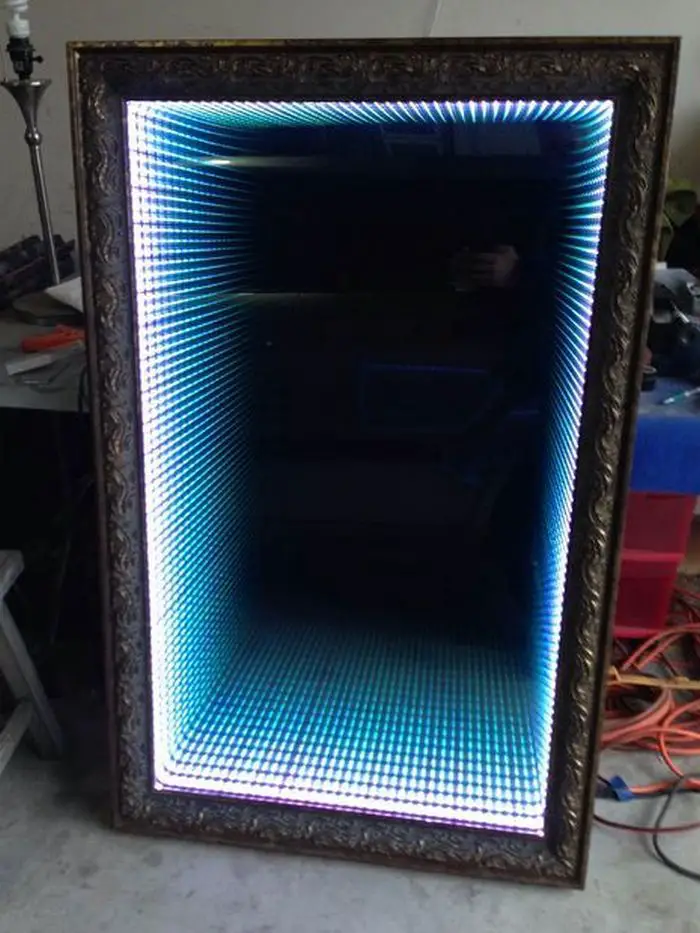
Contents
Making an Infinity LED Mirror
You’ll need these materials:
- Hardwood Frame (frame must be heavy)
- Oak Wood
- Two Way Glass
- Colour Changing LED Light Strip
- Sandpaper
- Corner Trim
- Construction Adhesive
- Screws
- Epoxy
- Glass Suction Cups
- Mirror Adhesive
- Bracket Gun for Mirrors
- Spray Paint (optional)
And these tools:
- Measuring Tape
- Drill
Steps: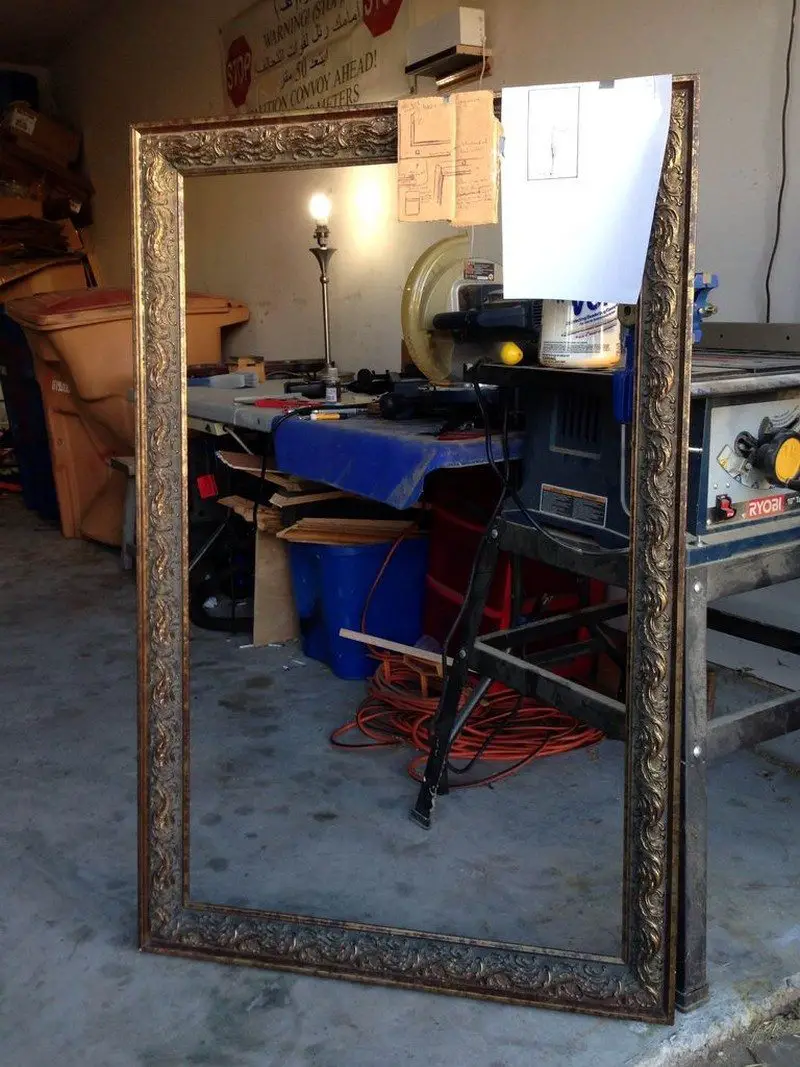
This is the antique hardwood frame that my buddy got for free! I would definitely recommend hardwood for the frame of the infinity LED mirror, as we will be adding on quite a few components and two HEAVY sheets of glass to get the desired reflective effect. Also, make sure that you plan out the entire build before starting.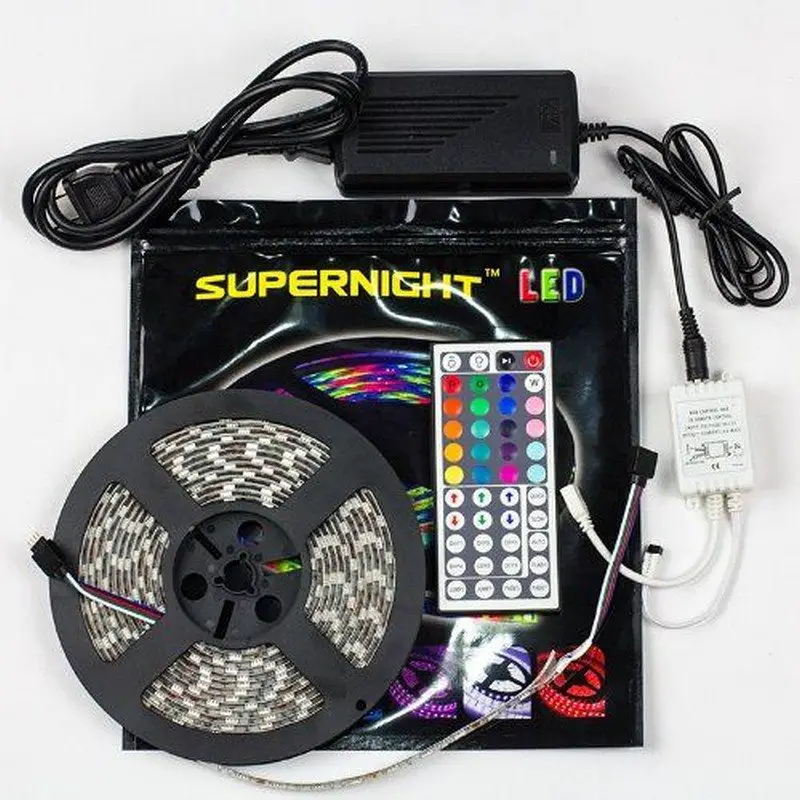
This is the LED used in this project which you can buy here. This kit comes with a power adapter, remote, IR sensor, and 16.4 feet of LED strip w/ adhesive backing for around $30. The LEDs can be trimmed every 1.5 inches or 3 inches depending on which kit you get for your infinity LED mirror.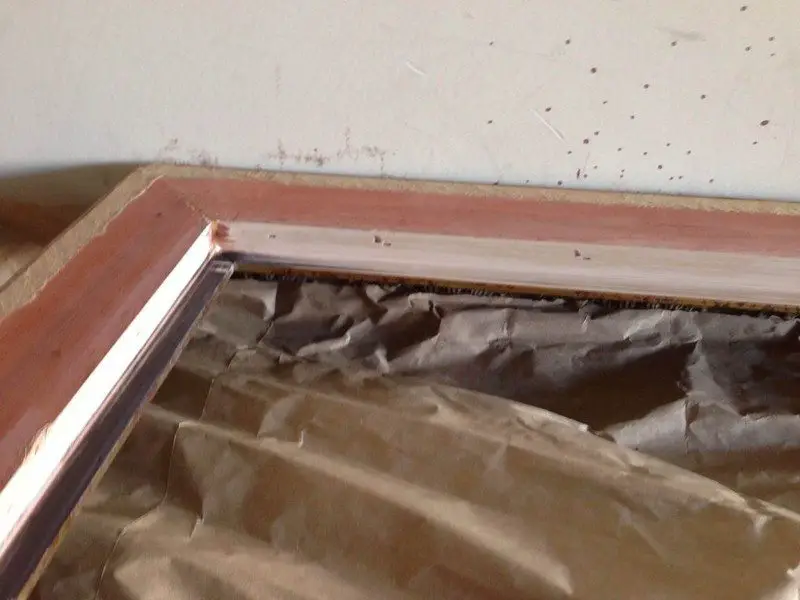
I sanded the inside lip of the infinity LED mirror frame here in order to remove any old paint. I repainted it later, but you’ll want a nice smooth surface to adhere to the LED strip.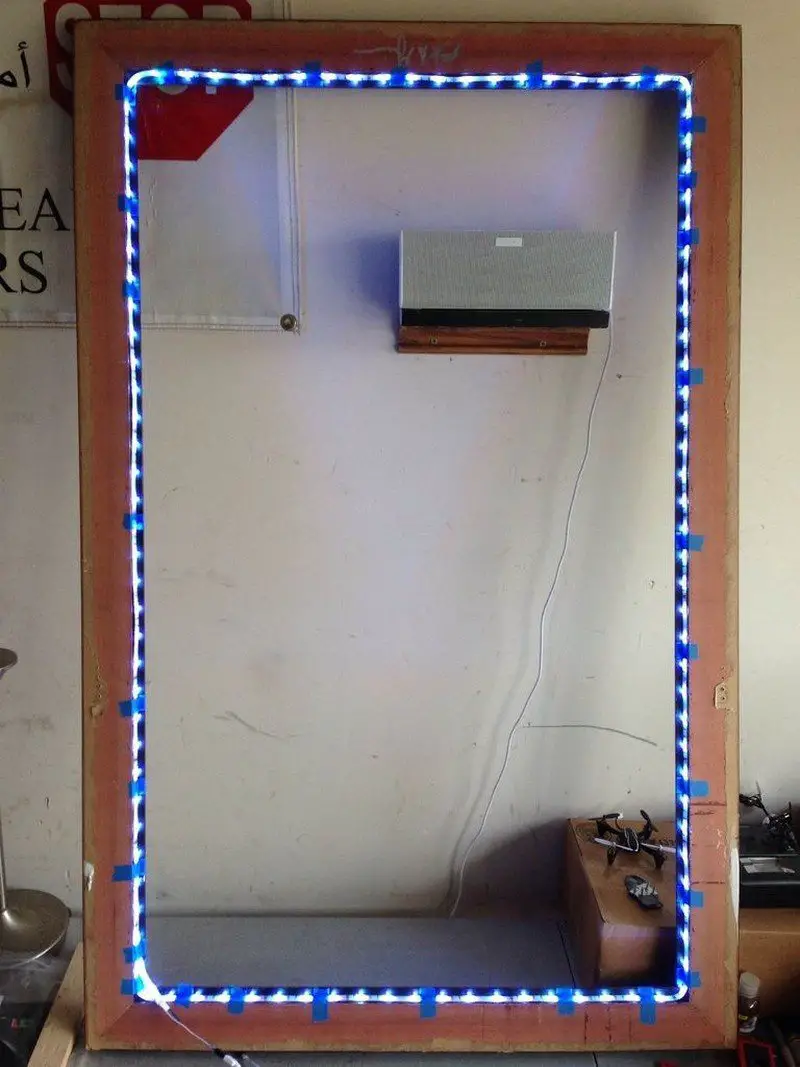
From here, I measured around the interior dimensions of the infinity LED mirror frame to determine the length of the LED strip I would need.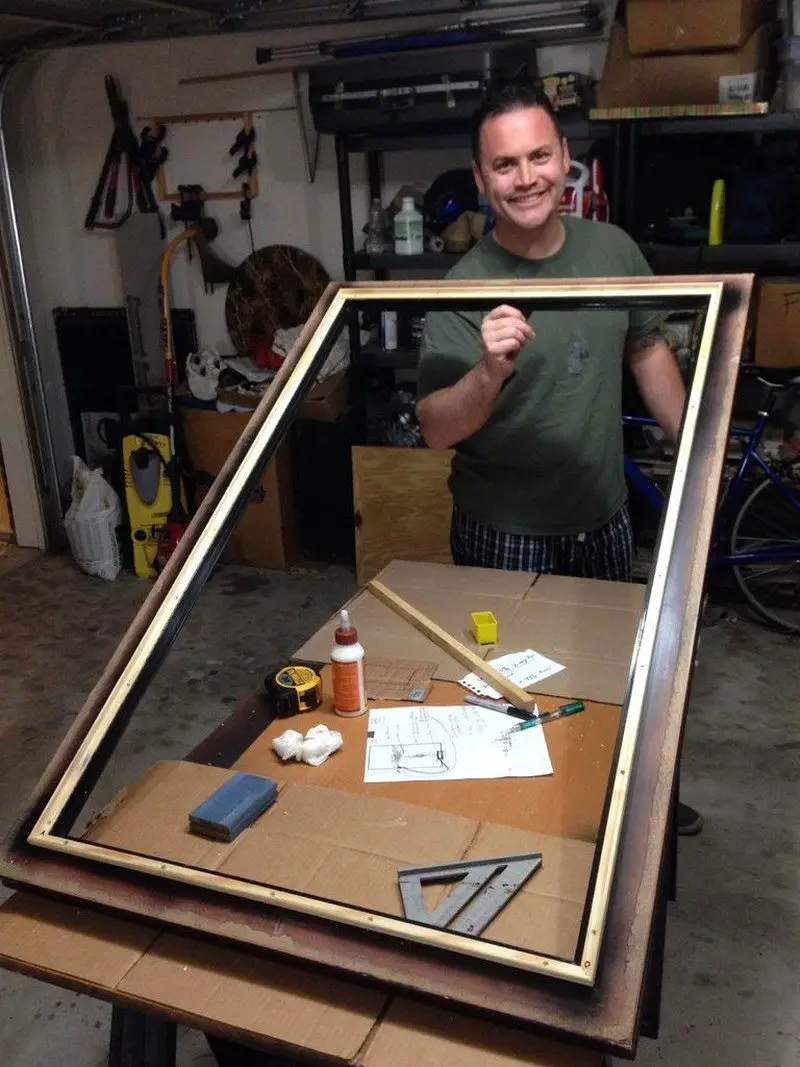
This step can be tricky. You’ll need to account for the thickness of the front pane of infinity LED mirror glass, which will be “two-way” glass. You can purchase this glass from any local glass company, but it can be pricey. Just this front sheet of glass at 4 feet by 2 1/2 feet cost me around 90 dollars! You can also use a two-way film, but that may separate over time. The reflective side of this glass should face the REAR of the frame.
After you get the glass, lay it in the front lip of the infinity LED mirror. From here, place the LED strip around the edge. You’ll want your rear mirror to be as close to flush with the LED strip as humanly possible. This will allow the reflection to be more uniform toward the end of the build.
I found that buying some corner trim from Home Depot allowed me to build a sturdy support rail with the correct offset. Also, make sure you use construction adhesive (PL375 is what I used) and also screw the rails into the frame from the rear. It’s important to note that you will need to countersink the screws into the rail, so your rear mirror is not resting on the screw heads at the end of construction.
More planning ahead here. Using lengths of oak, I again glued and screwed them on the side of the frame. The reason for this step is to have an offset from the back of the frame and the wall after hanging. It also makes sense to attach your hangers for the mirror to the oak rails instead of the original frame.
You can also see more planning here with regard to cutting a channel in the back of the frame for the end of the LED strip. Additionally (not pictured), you can drill a hole through the original frame to run your IR sensor to the front of the mirror. Otherwise, you’ll have to have an ugly little wire hanging off the side of your mirror to have the remote work.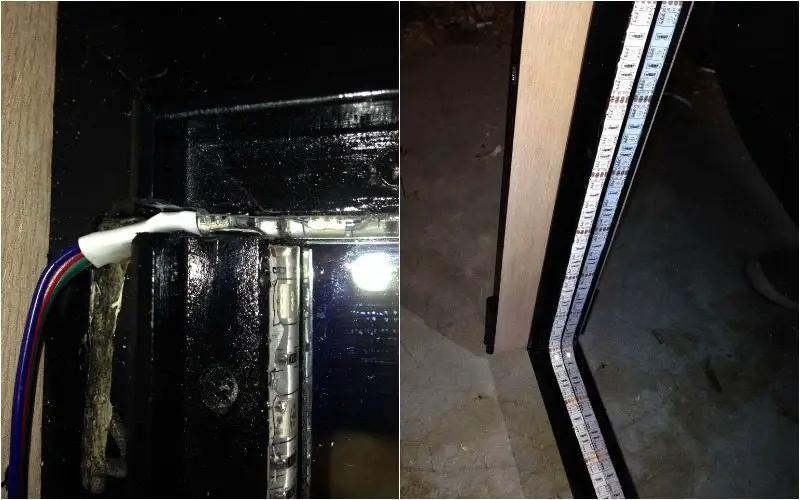
Here’s something I learned the hard way: the adhesive on the back of these strips is good, but not great, and the strip kept separating from the infinity LED mirror frame. Since we’re going to be enclosing them, it made sense to reinforce this adhesive. I used a 2-part epoxy that mixes in the nozzle and ran a thin bead along the edge of the LED strip to make sure it didn’t detach again.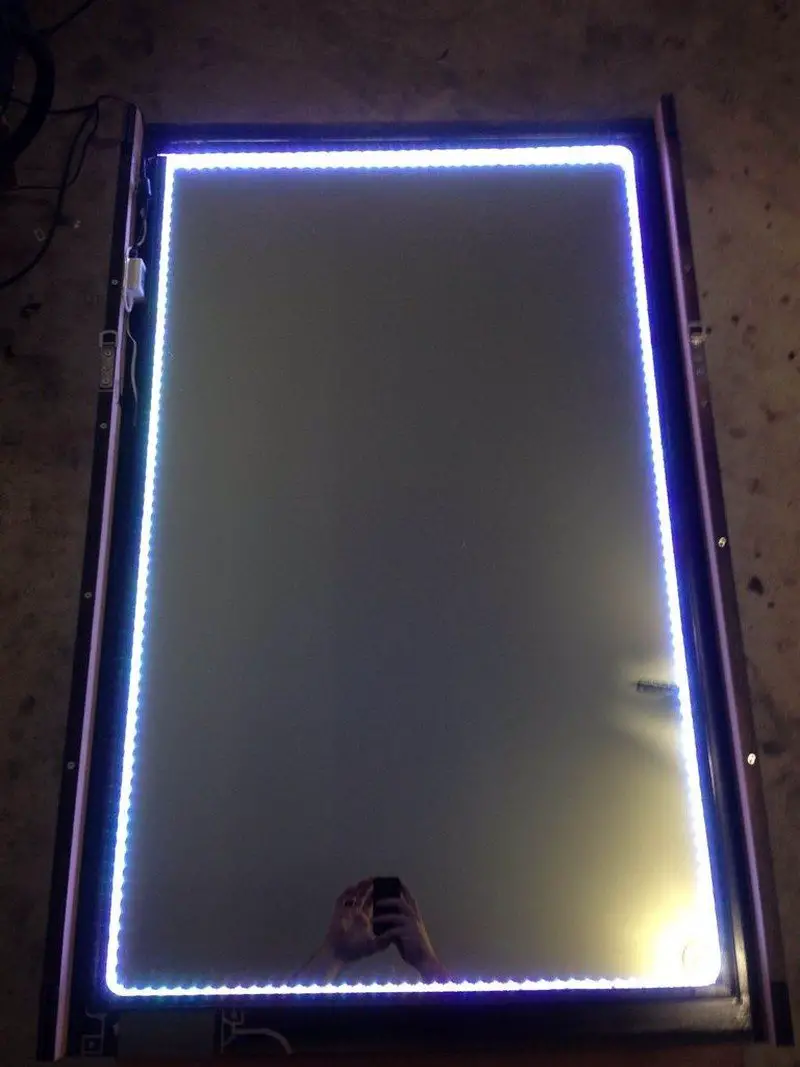
Test your lights before installing the mirror.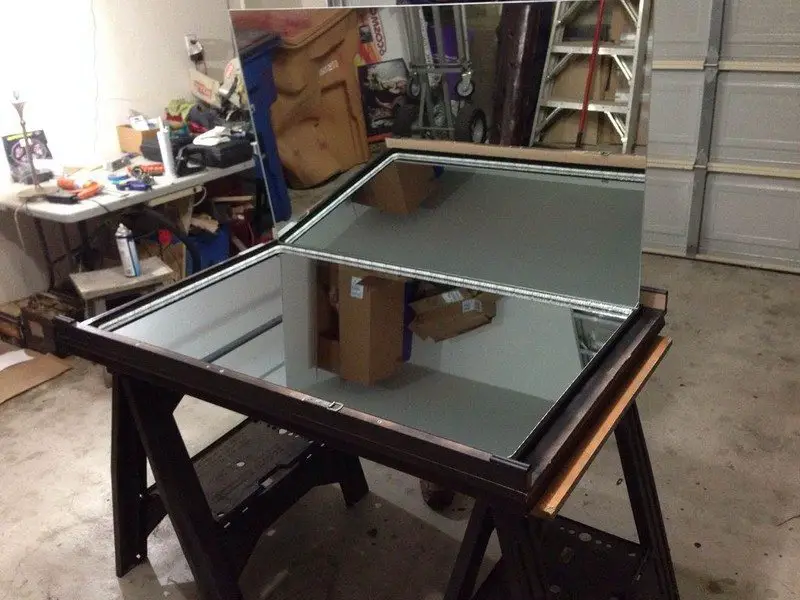
Install the rear mirror.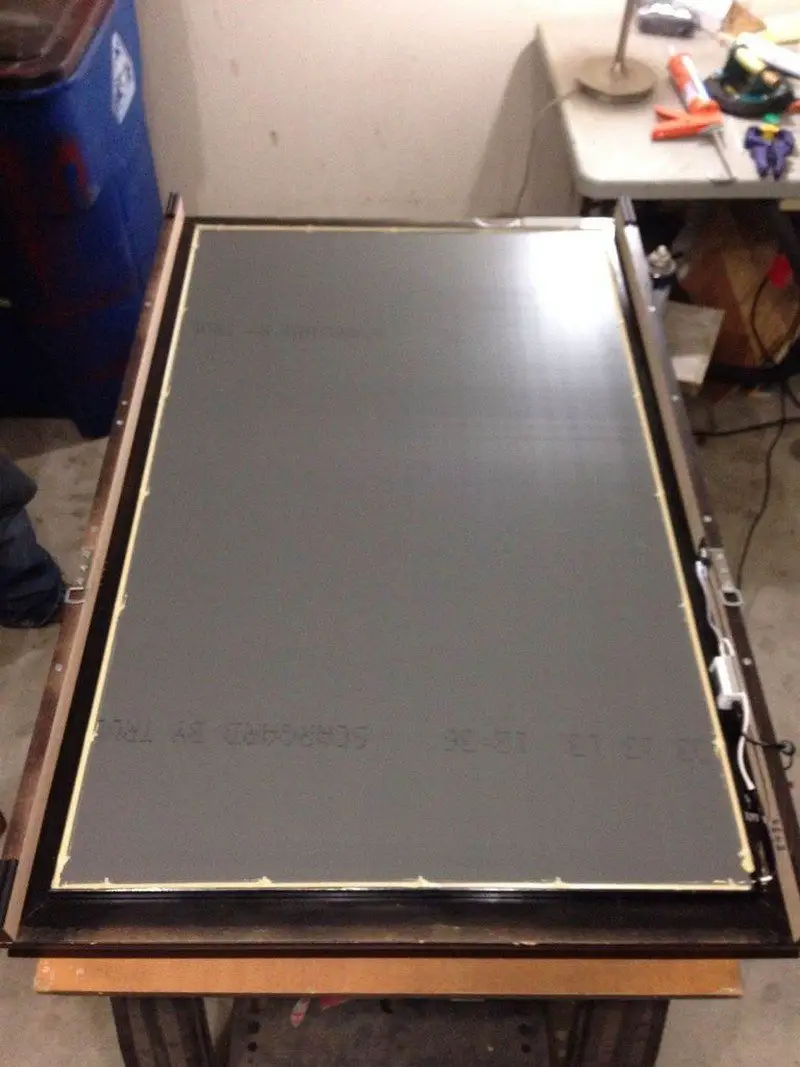
Having a friend who works for a glass company was INCREDIBLY helpful here. He had the big suction cups, mirror adhesive, and a fancy staple gun that fires brackets to support the rear infinity LED mirror. Do NOT put any adhesive or silicone on the inside lip of the support rail before you put this rear mirror in! It will detract from the reflective illusion we’re going after here. Instead, place the mirror in the rail and use adhesive on the back lip for support.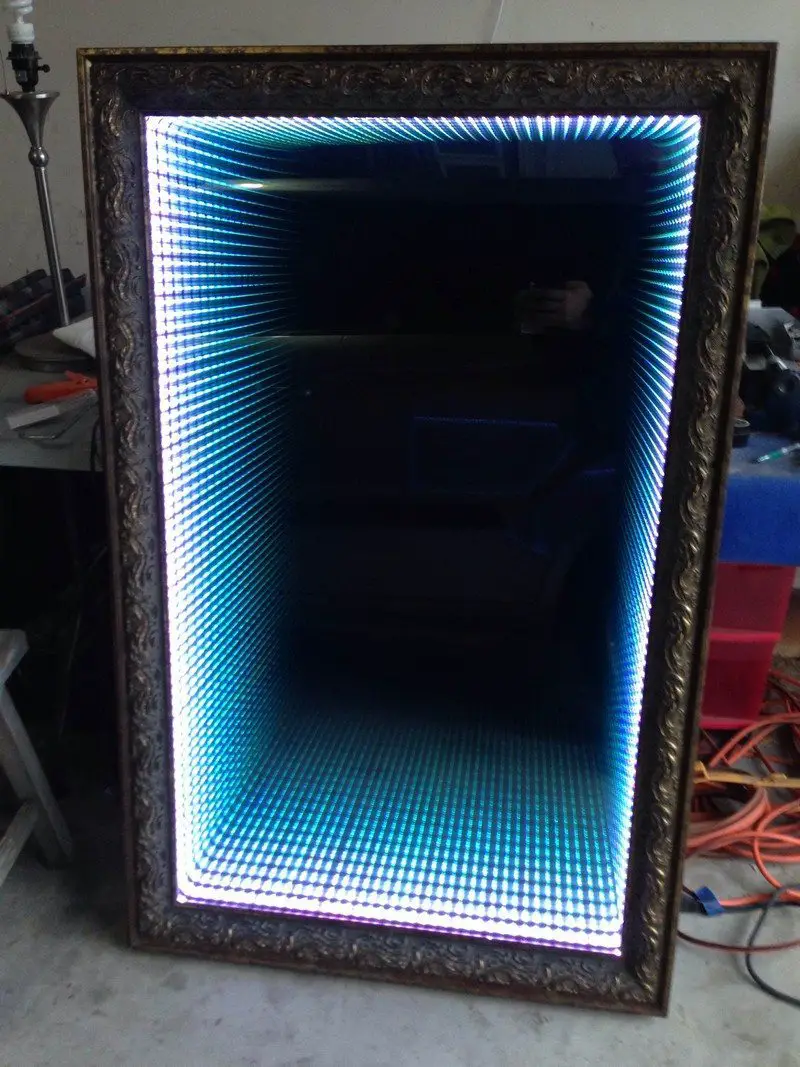
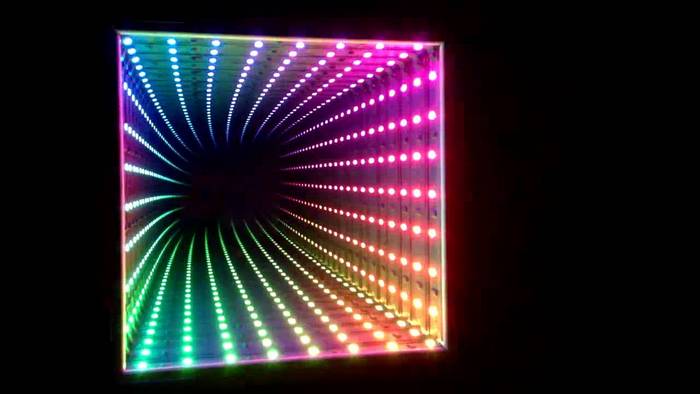
With the remote, you’ll be able to set flashing effects, fade colors, and increase or decrease the brightness of the LEDs.
I hope you enjoyed learning about how to build one of these mirrors; I definitely enjoyed making it!
Thanks to
Safety Precautions and Best Practices
Creating an infinity LED mirror can be a rewarding DIY project, but it involves handling electrical components and potentially heavy materials like glass. To ensure your safety and achieve the best results, here are some essential precautions and practices to follow.
Safety Precautions
- Handling Electrical Components: Always ensure that the power is turned off when installing the LED components. Use a voltage tester to confirm that there is no active current before beginning your work on the infinity LED mirror.
- Working with Glass: Wear safety gloves and goggles when handling the two-way glass, as the edges can be sharp and may cause injury. Ensure a stable working surface to avoid dropping or cracking the glass.
- Secure Mounting: Due to the weight of the two-way glass and the frame, make sure that the infinity LED mirror is securely mounted to the wall or any other surface. Use appropriate anchors and brackets for heavy items to prevent the mirror from falling.
Best Practices
- Measure Twice, Cut Once: Before cutting any materials or drilling into the frame of the infinity LED mirror, double-check all measurements. This prevents material waste and ensures that all components fit correctly.
- Smooth Surface Application: When applying LED strips or any adhesive material inside the frame, ensure the surface is clean and smooth. Sand any rough edges within the frame of the infinity LED mirror to achieve the best adhesive results.
- Test LED Functionality: Before final assembly, connect and test the LED strips to ensure they are fully functional. Checking the lights helps prevent the hassle of disassembling the infinity LED mirror due to lighting issues after installation.
Following these safety precautions and best practices will help you safely create a functional and beautiful infinity LED mirror, enhancing your space while avoiding common pitfalls.
Infinity LED Mirror Maintenance and Care
Maintaining an infinity LED mirror not only ensures it continues to function beautifully but also extends its lifespan. Proper care can keep your mirror looking as mesmerizing as the day you installed it. Here are some straightforward tips on maintaining and caring for your infinity LED mirror.
Cleaning the Mirror
- Regular Dusting: Use a soft, dry microfiber cloth to gently dust the surface of the infinity LED mirror. This will prevent dust accumulation that can dull the reflective quality.
- Avoid Harsh Chemicals: When cleaning the glass parts of the infinity LED mirror, avoid using harsh chemicals that can damage the reflective coating or the LED lights. Instead, use a solution of mild soap and water, applying it gently with a soft cloth.
- Streak-Free Shine: For a streak-free finish, use a glass cleaner that is safe for mirrors. Spray it onto the cloth rather than directly onto the glass to avoid moisture seeping into the LED components.
LED Care
- Check Connections Regularly: Periodically check the connections and wiring of the LED lights to ensure they are secure and not frayed. Loose connections can lead to malfunctioning lights or potential hazards.
- Replace LEDs as Needed: LEDs have a long lifespan, but if you notice dimming or flickering, it may be time to replace them. This will keep your infinity LED mirror looking its best.
General Maintenance
- Secure Installation: Periodically check that the installation is secure, especially the brackets and mounts holding the mirror. The weight of the glass and frame can cause loosening over time, which might make the mirror unsafe.
- Temperature and Humidity: Keep your infinity LED mirror away from high humidity areas and out of direct sunlight. Excessive moisture can damage the electronic components, while too much heat can affect the adhesives used in the mirror assembly.
By following these maintenance and care guidelines, your infinity LED mirror will continue to be a stunning feature in your home, captivating all who see it with its endless depth and mesmerizing lights.
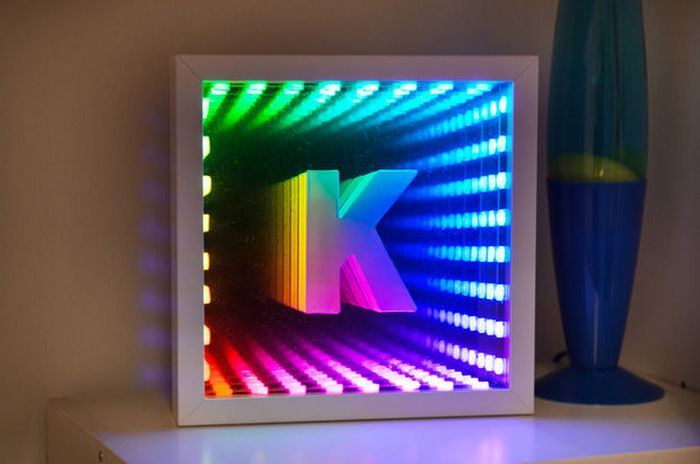
Beyond the Rectangle: Creative Infinity Mirror Shapes and Sizes
Changing your mirror’s form transforms its impact. Creative shapes and custom sizes let you match your infinity mirror to any room, theme, or mood for a personalized effect.
Circular Wonders
A round infinity mirror suits modern and minimalist interiors. The continuous curve enhances the illusion of endless depth while softening harsh angles. This shape works well above vanities and consoles.
It also makes a subtle statement in living rooms or hallways by echoing organic forms found in nature. Circular mirrors lend a sense of harmony and flow while maintaining a modern edge.
Geometric Marvels
Octagonal, hexagonal, and diamond-shaped frames add visual intrigue. Sharp angles and symmetrical lines draw the eye deeper into the mirror’s layers. You can mix finishes, like matte black edges with polished metal trim, to highlight the geometry.
These shapes pair perfectly with industrial or eclectic decor styles. They transform any plain wall into an art piece that doubles as functional lighting.
Oversized Statements
Large-format infinity mirrors instantly become focal points. Think wall-spanning panels, floor-to-ceiling installations, or custom sizes that fit unique architectural nooks. Bigger mirrors amplify light and depth, making spaces feel larger.
Ensure sturdy wall mounts and consider the weight of glass and frame when planning your installation. Oversized designs work in commercial settings, galleries, or open-concept living areas for maximum impact.
Creative shapes let you adapt an infinity mirror to any style. You can choose round, geometric, or oversized options for a bold statement. Each form adds unique depth and visual interest. These designs turn simple mirrors into functional art. Explore shapes and sizes to create a one-of-a-kind feature you’re proud of.
Conclusion
Building an infinity mirror is a rewarding blend of planning and creativity. You’ll ensure precise measurements for a seamless LED fit. Safety steps protect you when handling glass and wiring. Reinforcing adhesives and testing lights prevent future hiccups. With simple upkeep, your mirror will dazzle for years.
We have more interesting mirror projects. Check out our garden mirror illusion decoration!


