
Last Updated on November 7, 2025 by Team Ideas24
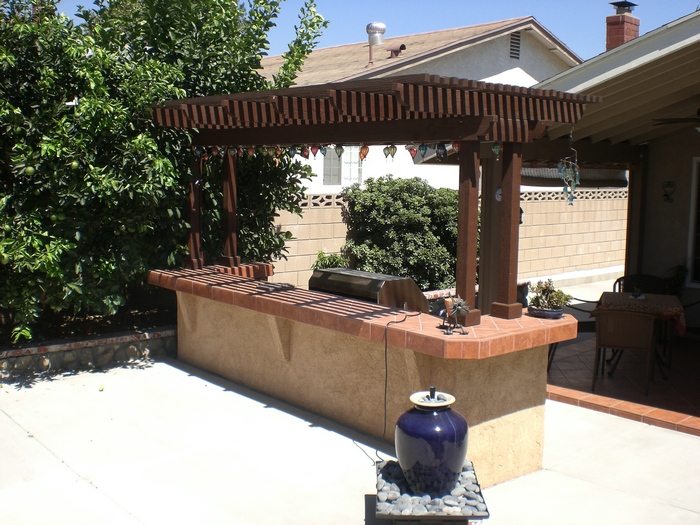
Thinking of ways to enhance your backyard? Then build an outdoor kitchen! It will encourage you to get outdoors more and there’s every chance that it will also increase the value of your home!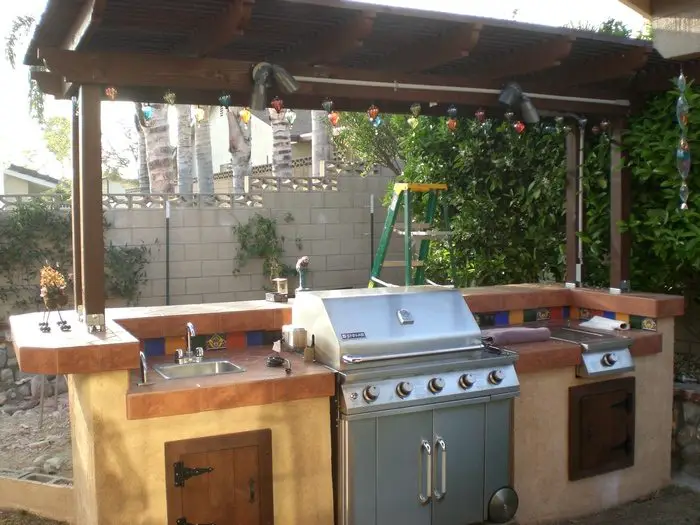
OK, this is not an over-the-weekend project… it’s going to take a couple of hard weekends to complete. But we’re sure it will be worth the effort.
Instead of hiring a contractor to build this outdoor kitchen, doing it yourself can save you a lot on costs. Aside from not having to spend on labor, you can look for used/reclaimed building materials for more savings! For example, the doors in this project are made from used pallets. Drainage consists of a barrel that they also got for free!
Now how about putting your building skills to serious practice for the next couple of weekends? :)
Materials:
- Concrete Mix
- Coarse Gravel
- Mortar
- Stucco Mix
- Bricks
- 2×4 Molds
- 4×4 Wood – roofing
- 2×6 Wood – roofing
- 2×2 Wood – roofing
- Cement Epoxy
- Rebar
- Barrel
- Drain Pipes
- Tiles
- Tile Glue
- Pallet
- Hinges
- Door/Drawer Handles
- Switches
- Stain
- Sink
- Bolts/Screws
Tools:
- Shovel
- Cement Mixer
- Carpenter’s Level
- Drill
- Trowel
- Tile Cutter
- Paint Brush
Click on any image to start the lightbox display. Use your Esc key to close the lightbox. 8-)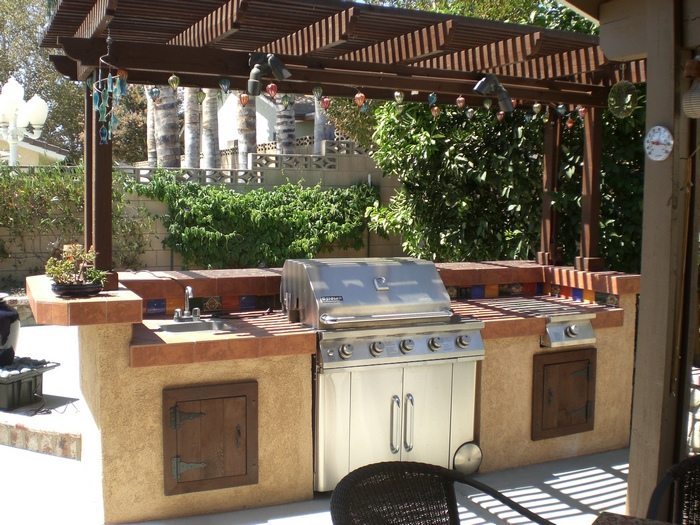

Steps:
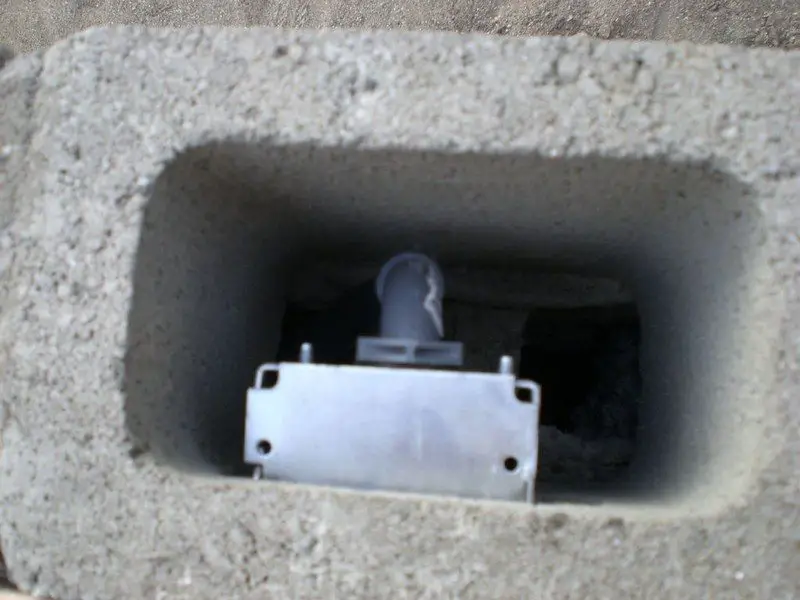
Dig and level the patch of ground that the barbecue will sit on. before pouring the concrete make sure that all your water, power, and gas lines are laid, because it will be hard to get them in thereafter it is poured. Run all connections through the foundation and cap them. Ours was 3’x11′. create a form to pour the concrete in from 2×4’s.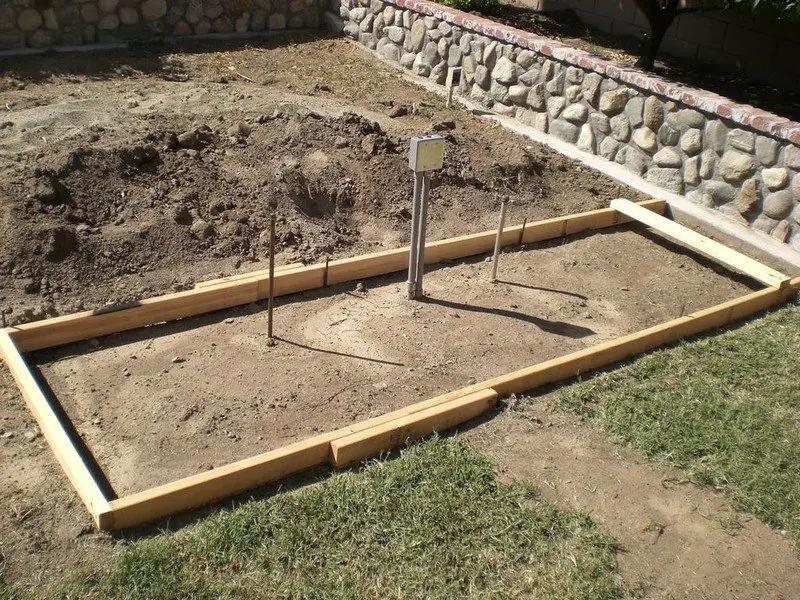
Mix the concrete according to the directions on the package. Pour into the mold. 
Level and smooth the concrete with another 2×4. It would be easiest to rent/borrow a cement mixer because we will be mixing a lot of them. 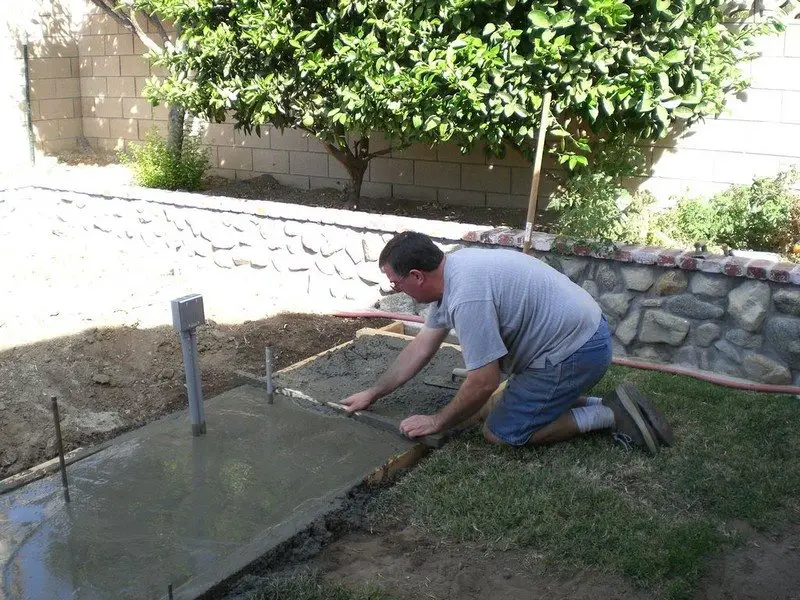
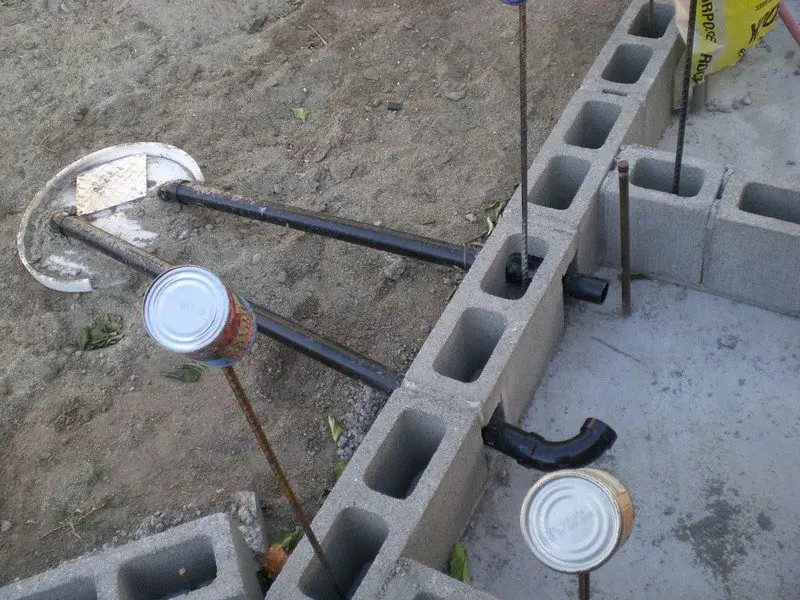
The first thing to do is to use some cement epoxy to embed the rebar securely into the concrete foundation. drill the hole and epoxy it in. 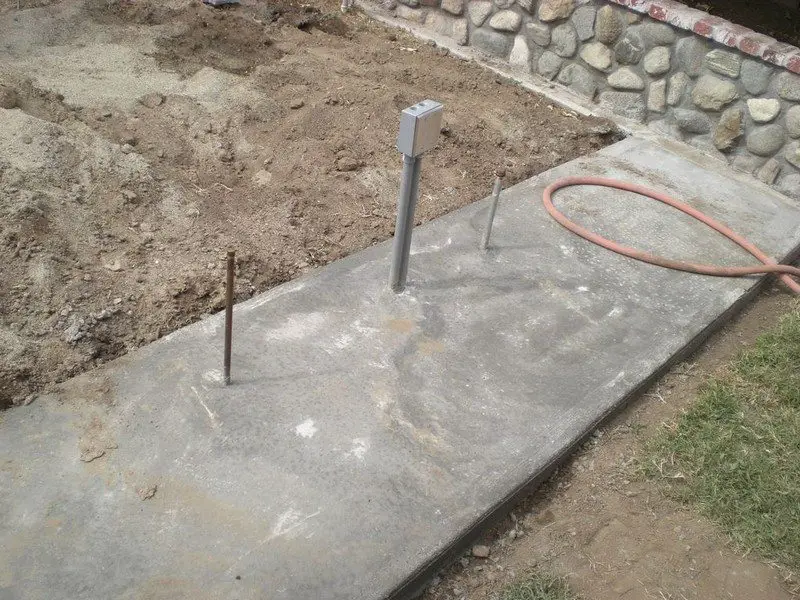
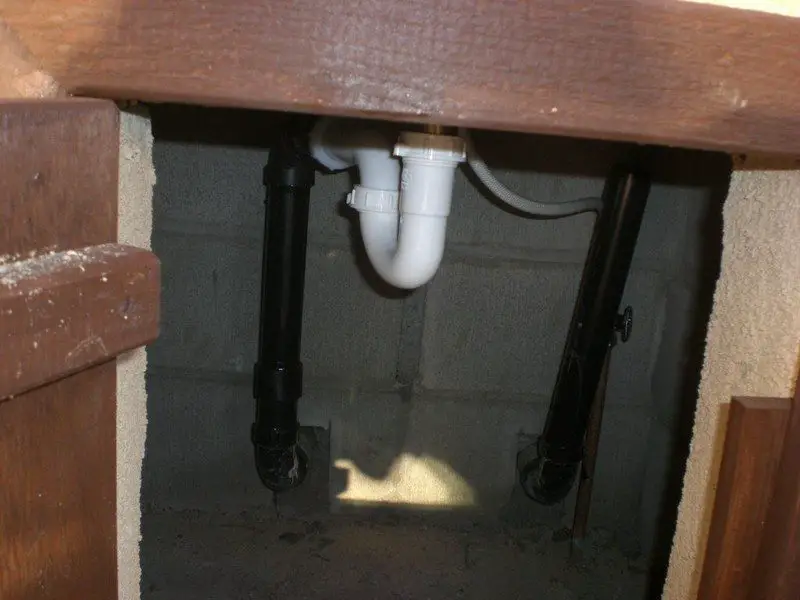
Next, create a dry well for the drain water to go. If you can just connect the drain for the sink to a house drain pipe, this isn’t necessary. 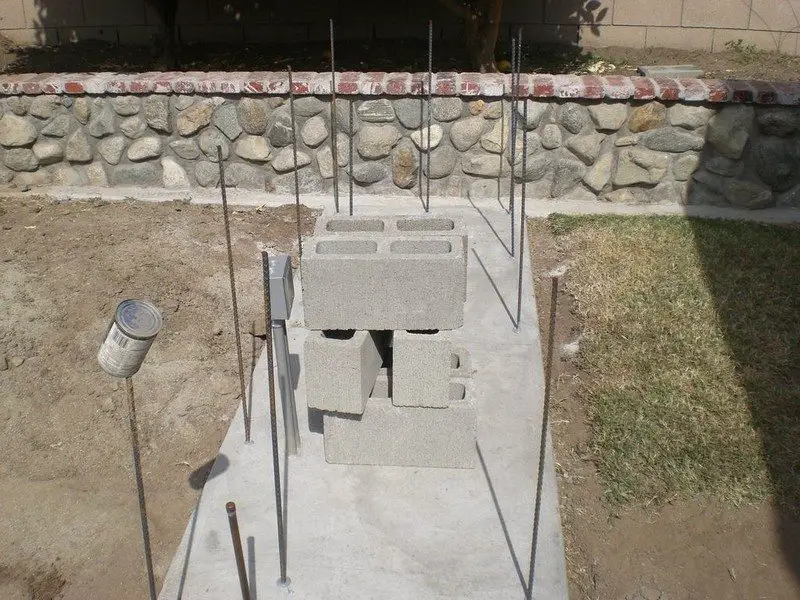
Dig a deep hole that is a bit larger than the barrel that you have. Drill many holes into the barrel, and put the drain pipes through the lid. The bottom of the barrel isn’t necessary. Put the barrel into the hole and fill around it with coarse gravel.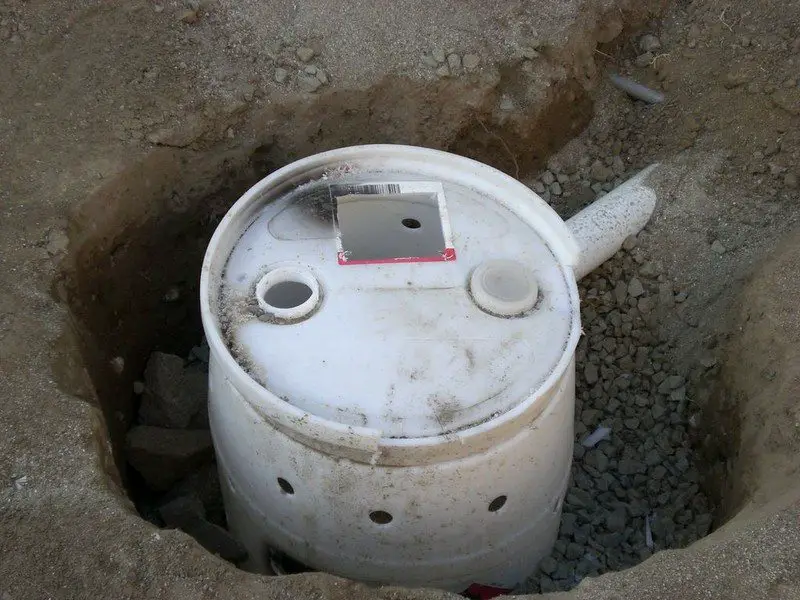
Mix up the mortar/mud and lay the first layer of bricks. They should be as close to perfectly level as possible. 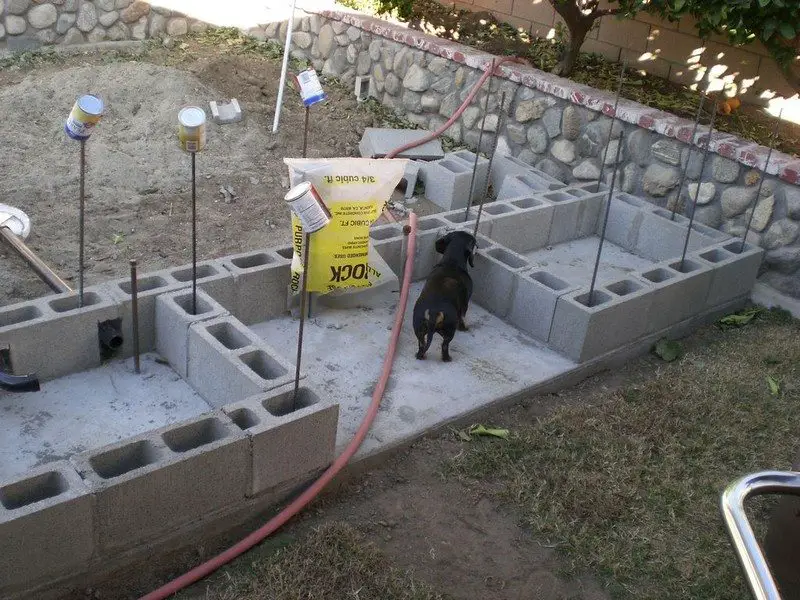
Fill around the drain pipes with cement. The barrel and drain pipes will be buried, since the area behind the barbecue will be back-filled with dirt. 
Lay the next few courses of blocks, leaving an opening for doors in the front. Lay them according to the pictures below, use a brace to hold up that middle brick above the door.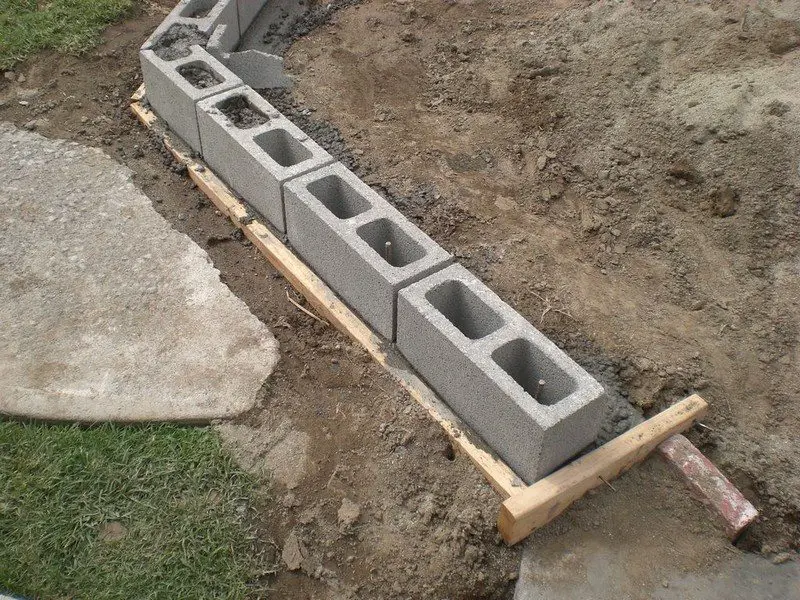

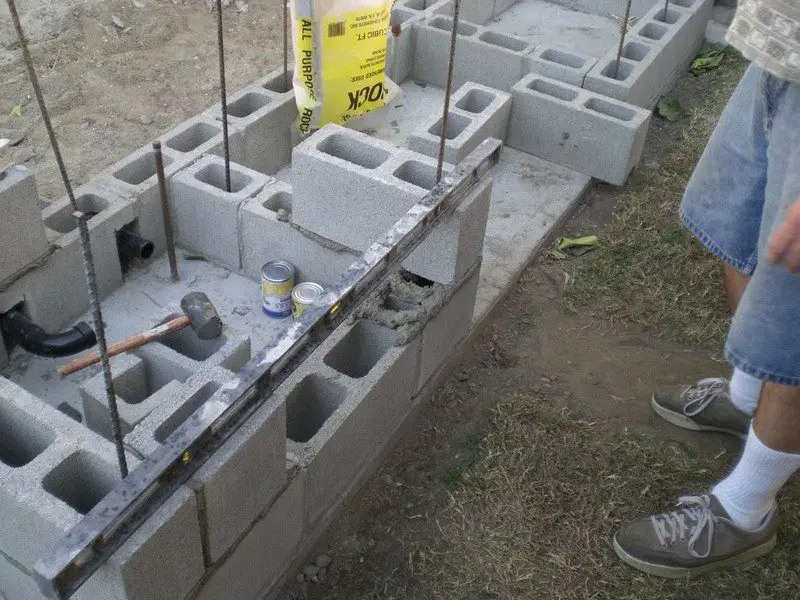
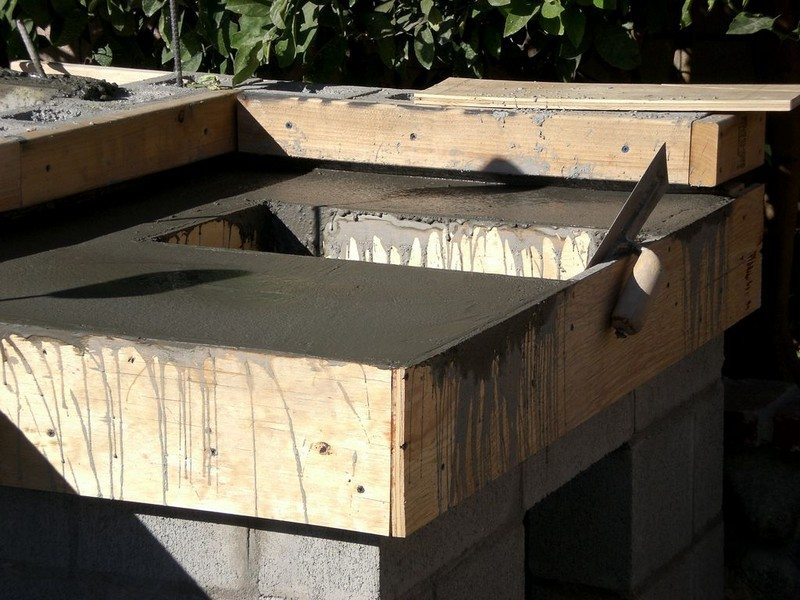
Create a form to pour the lower countertop surface. Before pouring get your electrical and water lines to where they need to go and make sure everything is good BEFORE pouring the concrete. 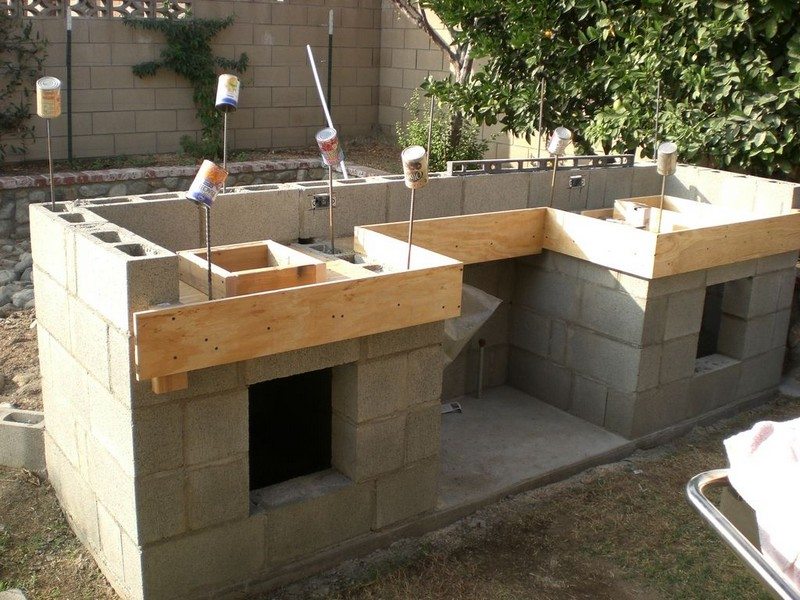
Make sure the forms are well braced, and won’t bow with the concrete’s weight. Also, make sure to take counter overhang into account. Try to get air bubbles and pockets out, but it isn’t terribly important because it will be covered with tile later. 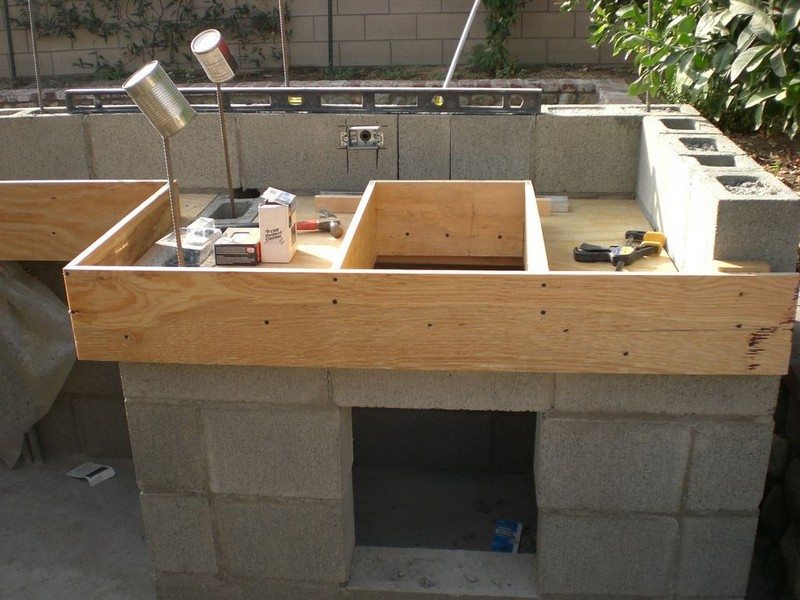
Make sure to use plenty of rebars.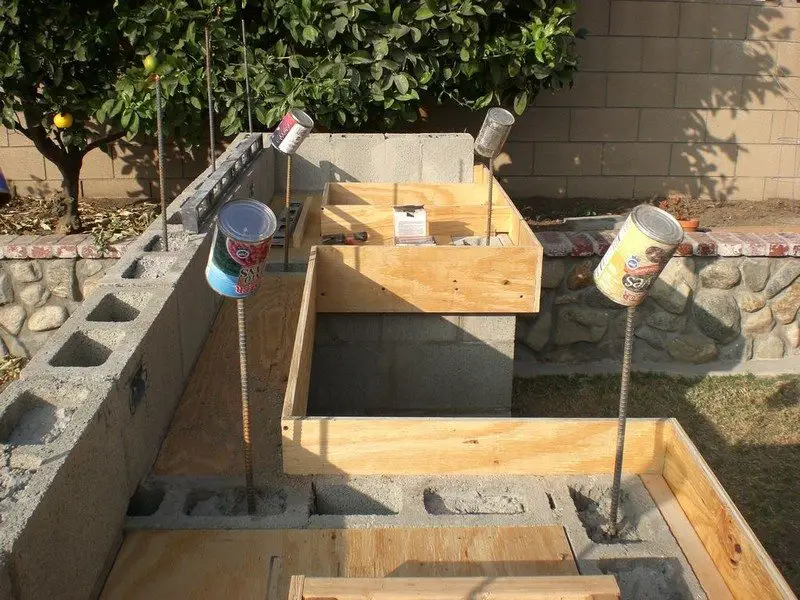
Extra rebar sticking out of the blocks can just be bent over to be cemented into the countertop.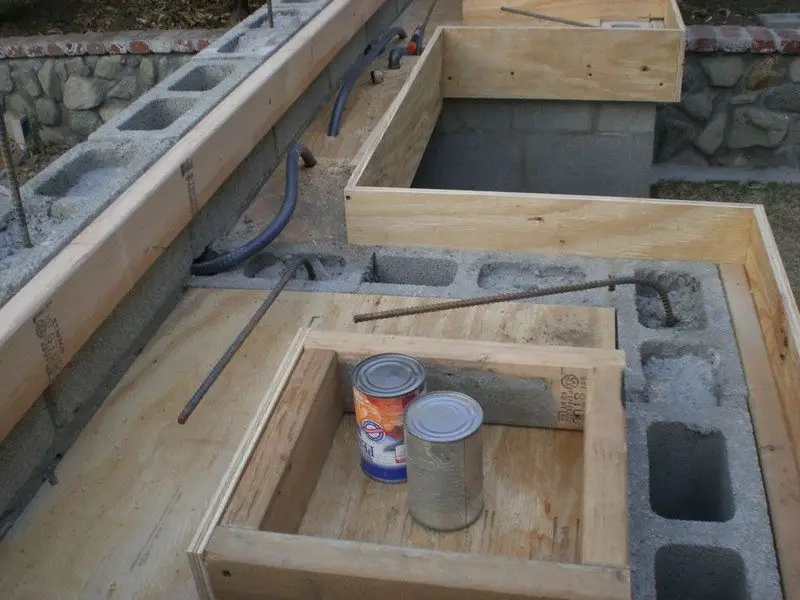
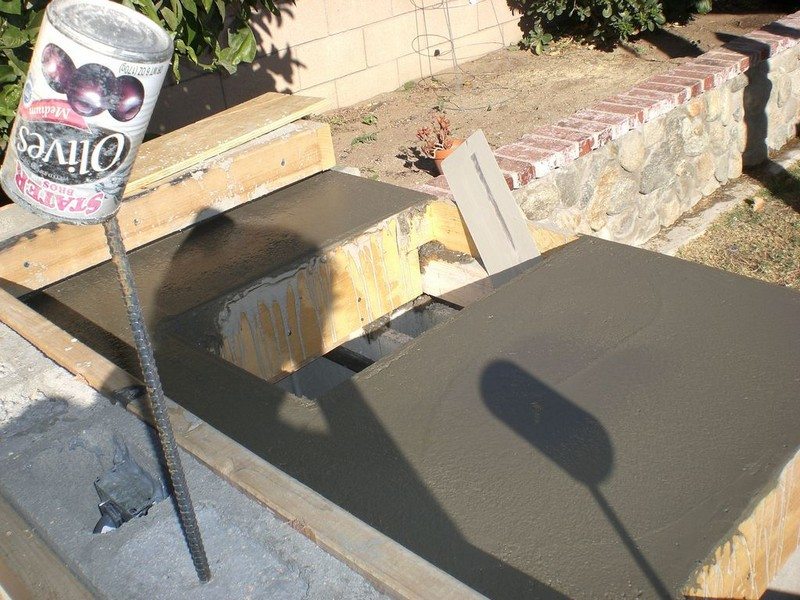
Create a form for the upper countertop. Because it overhangs the barbecue by a few feet, it is a good idea to brace it. This may be slight overkill, but better safe than sorry. Create brace forms out of wood, we made 3. 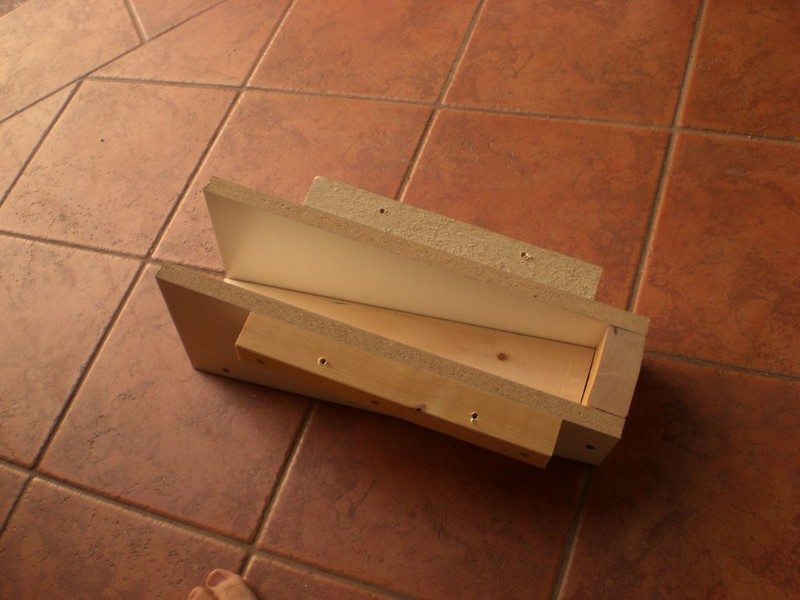
Attach them to the side of the barbecue and pour them first. Make sure to add rebar to them before they dry. These braces will stick up through the bottom of the countertop form. 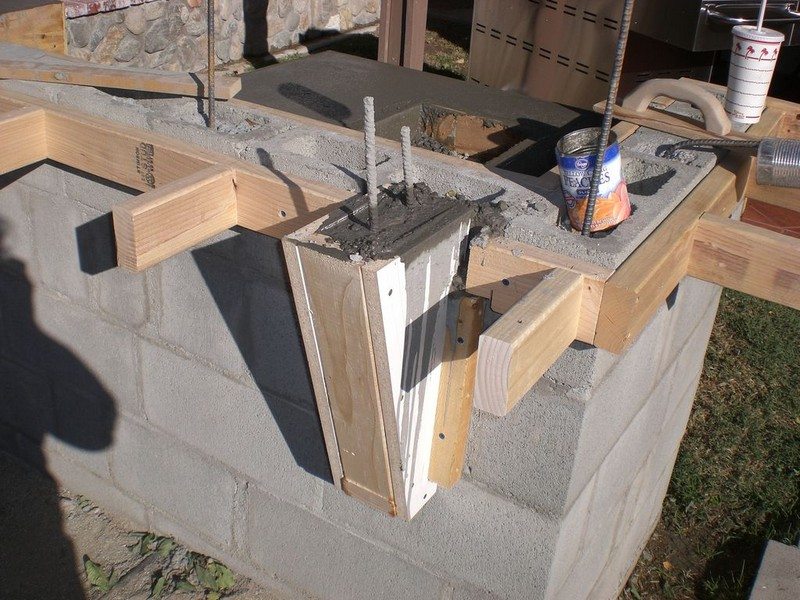
Create that form from wood. Ours overhangs by about one foot. Make sure this is very well supported and contains rebar. 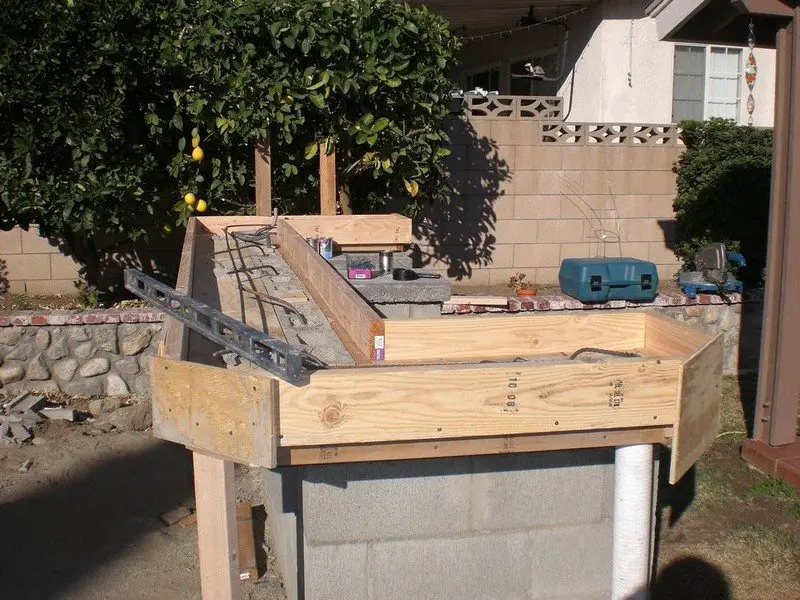
Mix concrete and pour it into the mold. make sure it is thoroughly set for a few days before even attempting to remove the form. 
Mix up the stucco mix and add whatever color you like. Trowel it onto the outside of the blocks. Don’t put it on the countertop. Go and select what tile you will use. 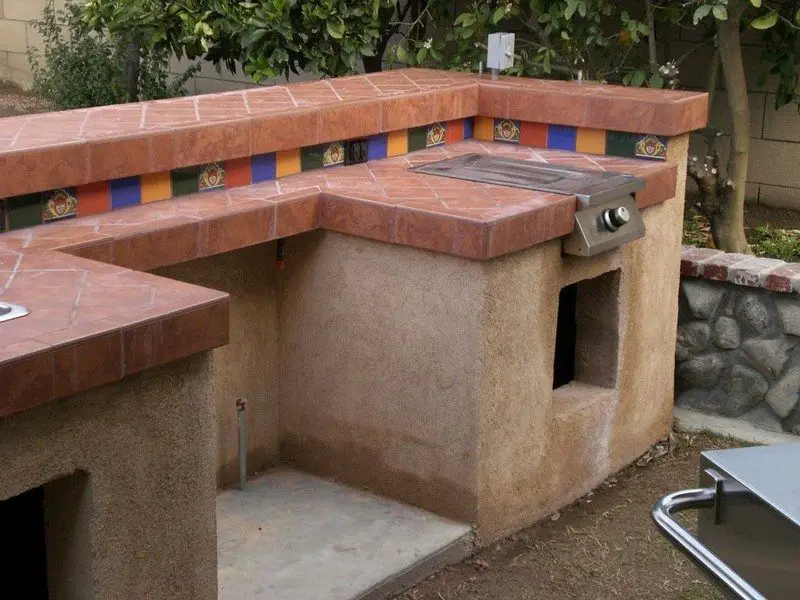
Select what tile you will use and get a tile cutter. Mix up the tile glue. 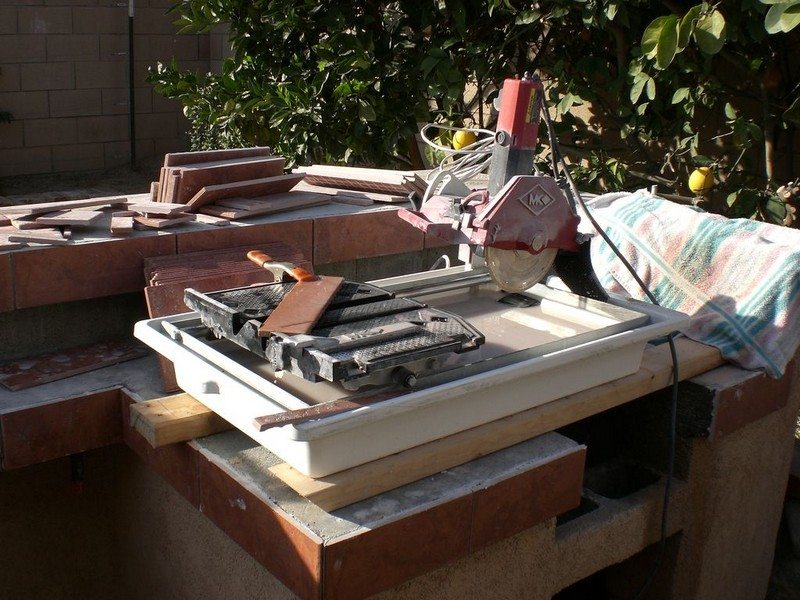
Trowel on the glue and apply tile to countertops and short backsplash area between the upper and lower counters in the front. 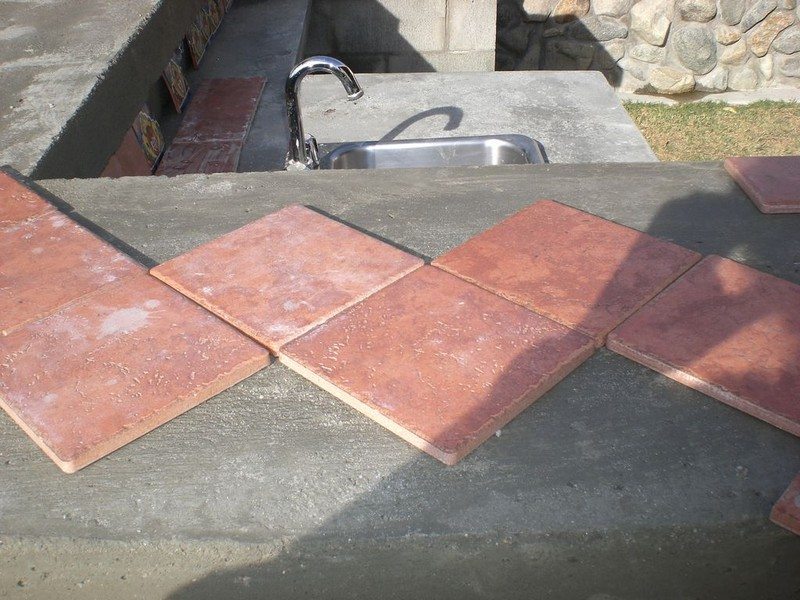
We applied the edge tiles first, then put in the tiles around the perimeter on the top. Then we laid the center tiles diagonally. Once that is all laid install the sink and side burner.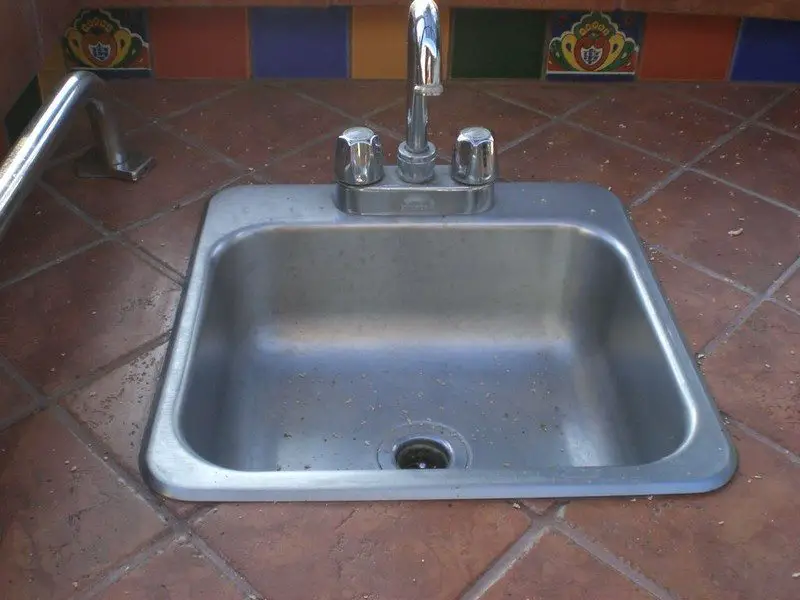
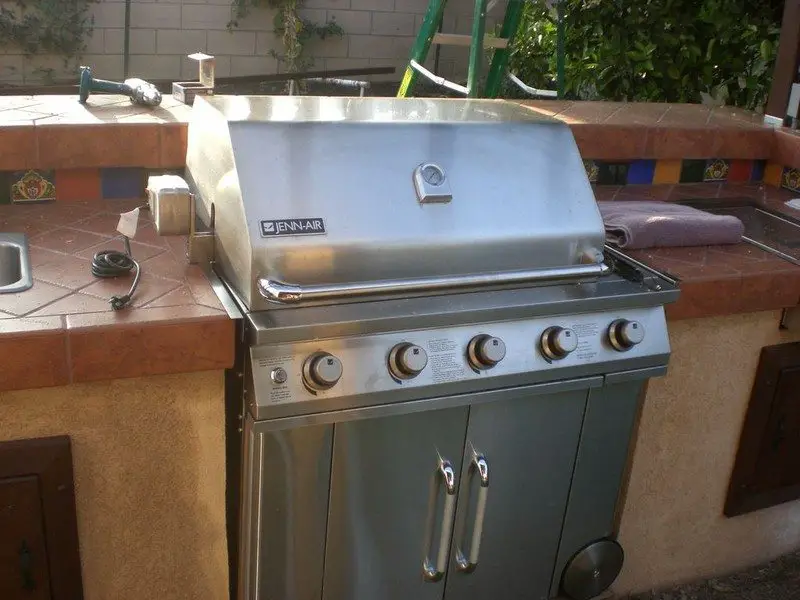
Create trim around it from steel if desired. test fit your barbecue. 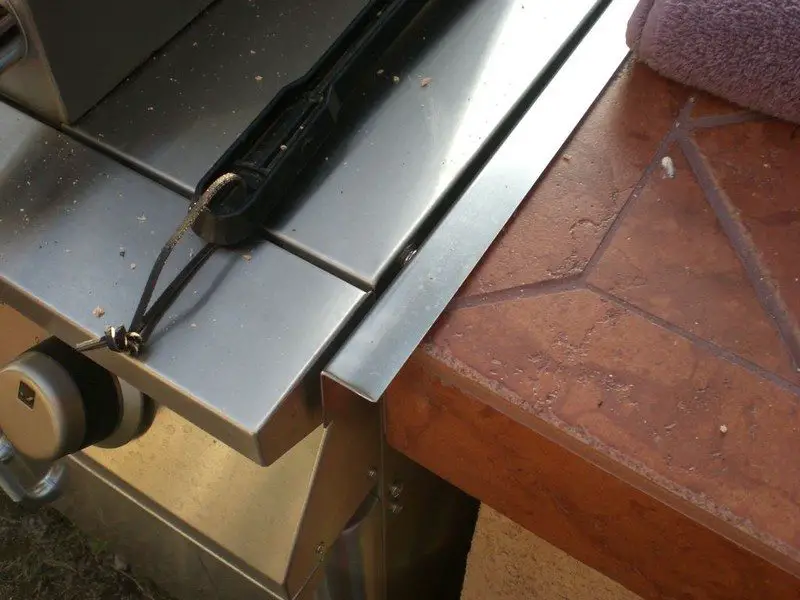
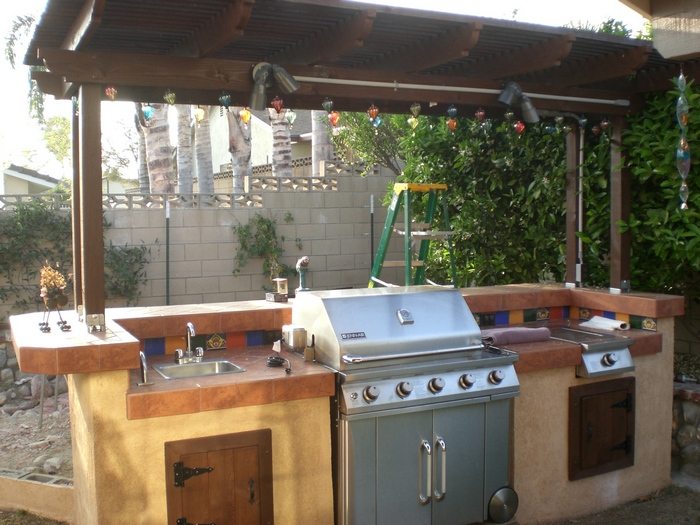
Use whatever wood is available to you for doors. We used some wood that we got for free from a pallet for the doors to get that slightly rustic rough sawn look. We used some antique-looking hinges and handles to further this effect. 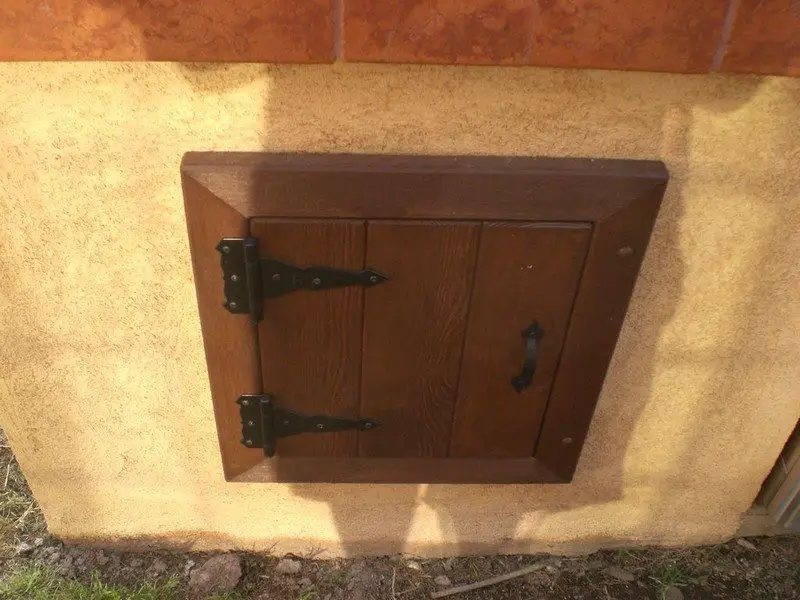
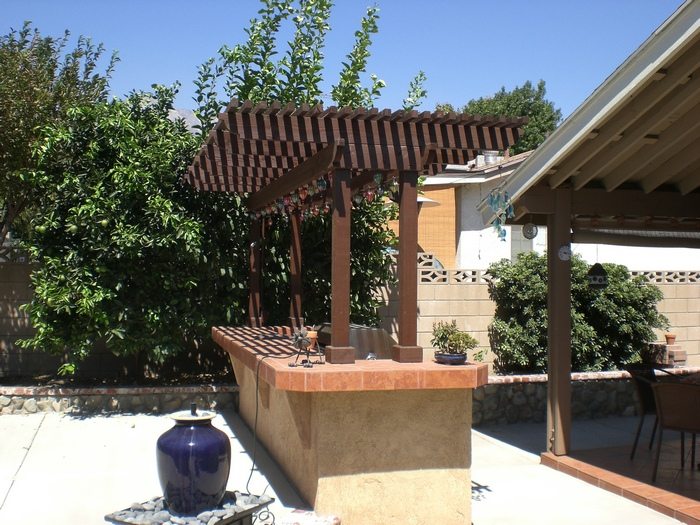
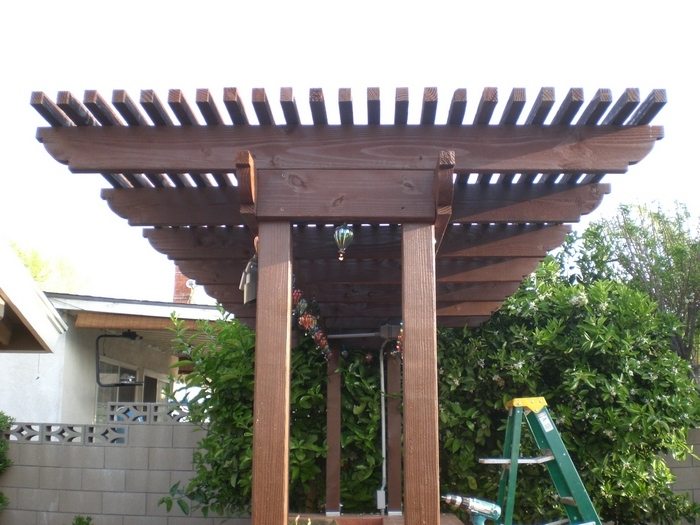
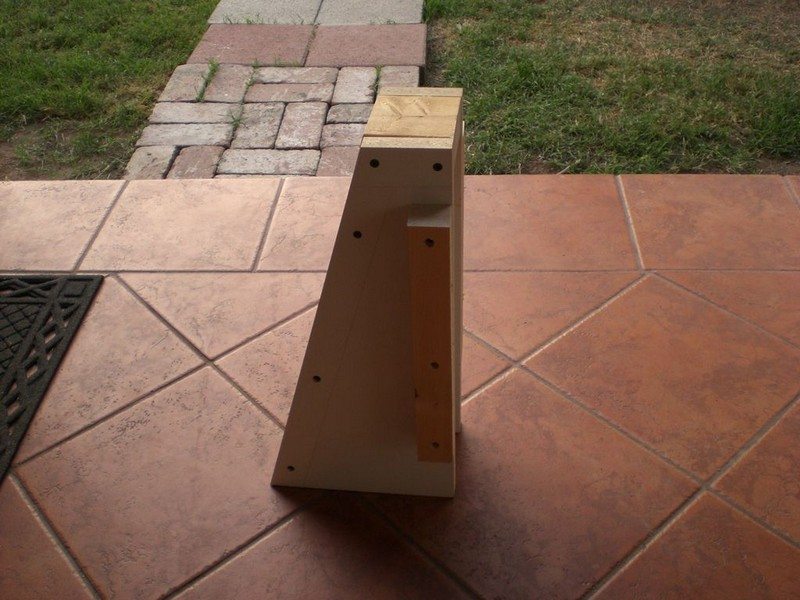
We decided to go with a more open style roof. Stain the wood to match the rest of the barbecue. use a template to get the end cut right.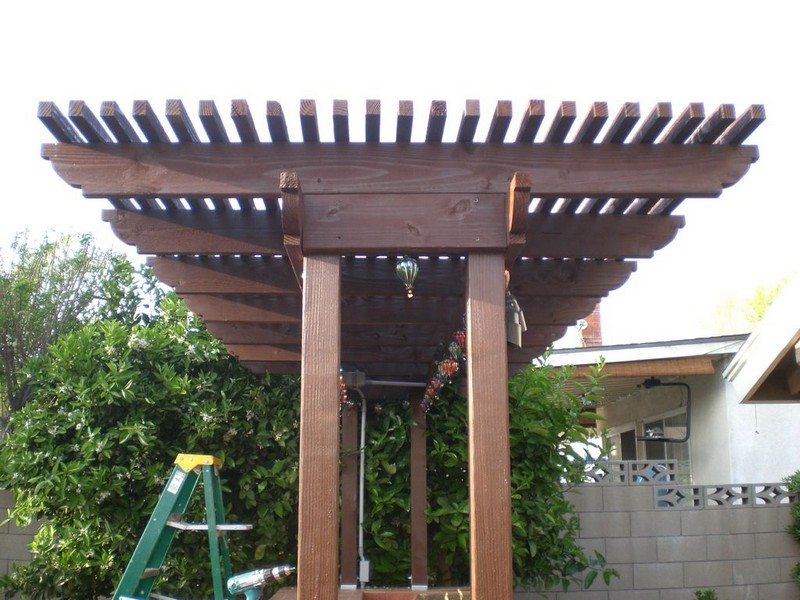
Run all electrical up to a box on the post. Use wet location switches and outlets.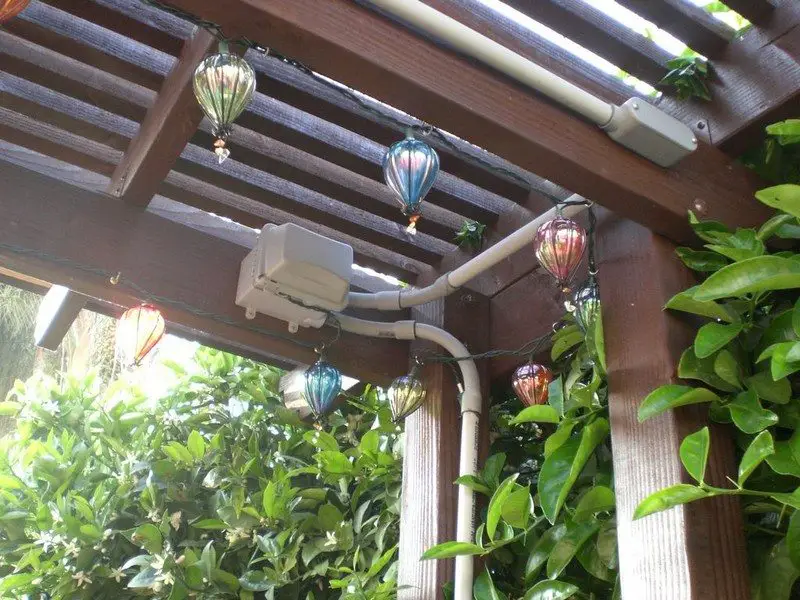
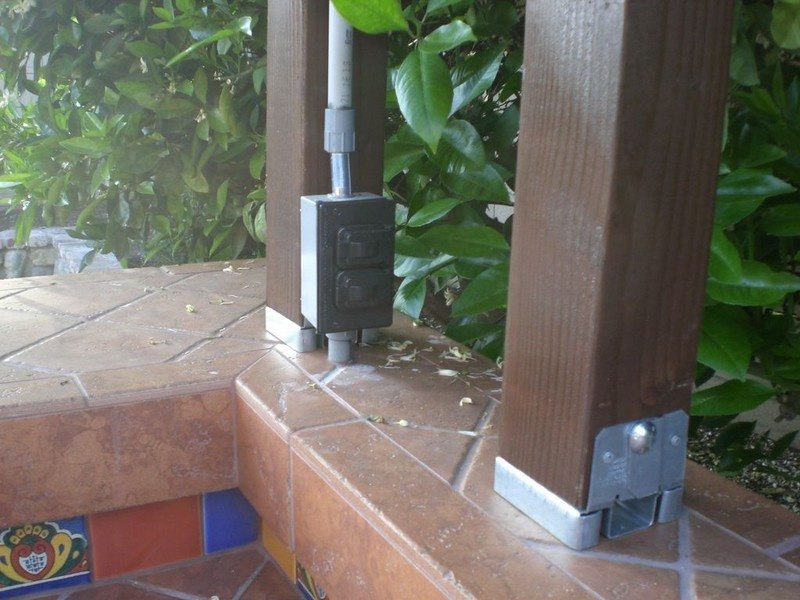
Paint the pipe to match the stain of the wood. Install at least four lights to make grilling at night possible.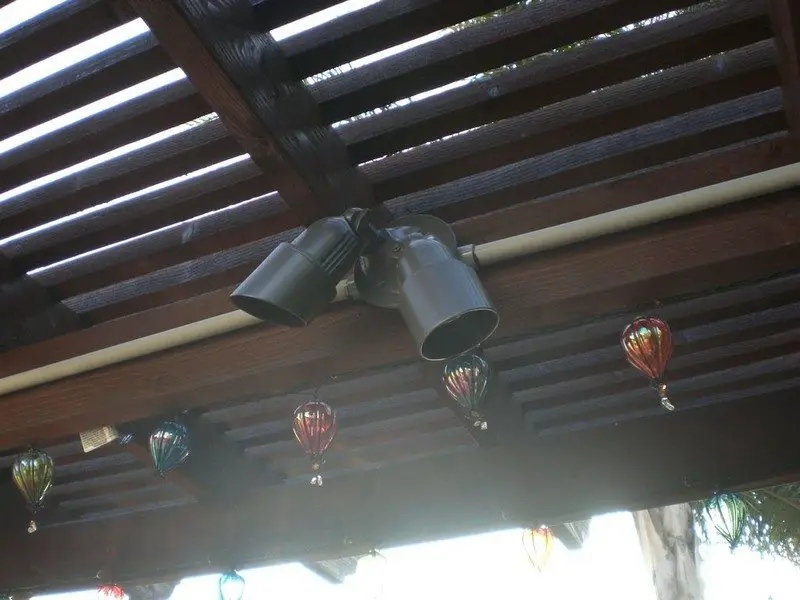
Backfill this area with dirt to cover the dry well and drain pipes, and either cover with pavers or use cement. We have since poured new concrete around the barbecue, and have used it a lot. Especially in the heatwave that we’ve been having lately here in SoCal. It has worked out great for us.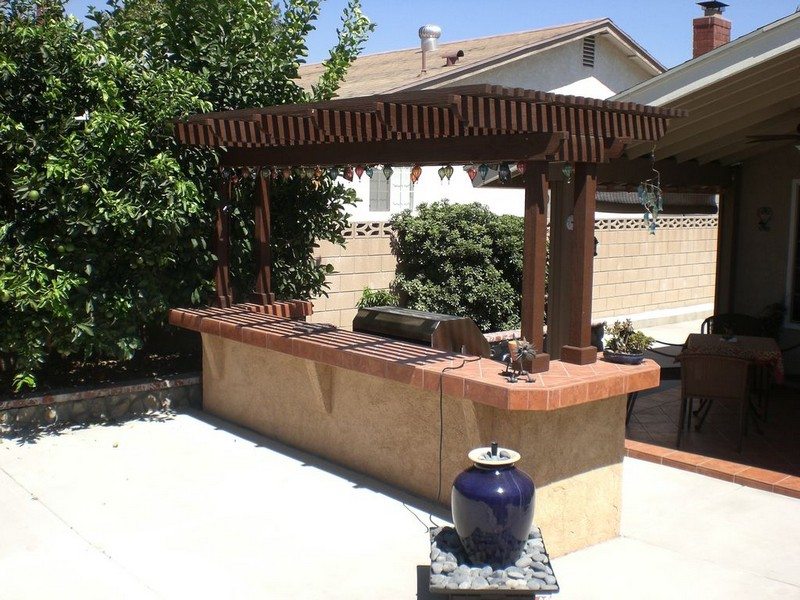
Thank you hivoltage for this beautiful project!


