Shiplap can change your home with simple wooden boards. It’s an easy way to add texture to walls. You’ll find it fits both modern and rustic styles. This guide covers tools and steps for a flawless install. You’re ready to bring new character to your space.
Contents
What Is Shiplap?
Shiplap consists of wooden boards milled with a rabbet joint so each plank overlaps the next. This overlap creates a tight seal that keeps out drafts and moisture. It also forms a subtle shadow line that adds texture and depth to any surface. Shiplap boards lock together easily, making them a favorite for both interior and exterior siding.
Early builders used shiplap on barns, cabins, and seaside cottages. The overlapping planks kept wind and rain at bay while letting wood expand and contract without warping. Craftsmen praised its durability and simple installation. You could erect a full wall of shiplap in hours with just basic tools and affordable lumber.
Today, shiplap appears in living rooms, kitchens, bathrooms, and even on ceilings. You’ll find it in pine, cedar, or engineered boards. Smooth or rough-sawn finishes suit modern lofts or rustic retreats. You can paint it bright white, stain it to reveal grain, or mix board widths for a custom look. In every style of home, shiplap brings character and timeless appeal.
Benefits of Shiplap in Your Home
Adding shiplap brings both style and function to a room. It works with any décor while hiding flaws, adding texture, and improving durability.
Visual Depth and Dimension
Shiplap’s overlapping boards create subtle shadow lines that catch light and draw the eye. This adds depth to flat walls and makes rooms feel larger. You’ll notice a richer, layered look that doesn’t overpower other design elements.
Hides Imperfections
Shiplap covers uneven drywall seams, nail pops, and minor dents without major prep work. You’re left with a clean surface that needs only light sanding before painting. It’s a smart way to refresh tired walls.
Versatile Design Appeal
You can paint shiplap crisp white for a coastal vibe or stain it to highlight natural grain. It suits farmhouse, modern, and industrial styles. Mixing board widths or alternating colors gives each project a custom feel.
Low Maintenance
Once installed and painted, shiplap needs only routine dusting or a quick wipe. Its tight joints keep out dirt and cobwebs. You’ll spend less time cleaning and more time enjoying your space.
Durability and Longevity
Quality shiplap boards resist cracking and warping even in humid rooms like bathrooms. Proper sealing and paint protect wood from moisture. This makes shiplap a long-lasting choice for busy homes.
How to Install Shiplap Walls
Installing shiplap is simple with the right prep. You’ll learn how to measure, cut, and secure boards for a seamless look in any room with our guide on how to install shiplap.
Materials and Tools Needed:
- 1×6 or 1×8 shiplap boards
- Stud finder
- Level and chalk line
- Tape measure and pencil
- Miter saw or circular saw
- Brad nailer or finish nails and hammer
- Construction adhesive
- Caulk and caulk gun
- Paint or stain and brushes
- Safety gear (goggles, gloves)
Step-by-Step Guide:
- Locate studs using a stud finder and snap a chalk line at your starting height.
- Acclimate boards in the room for 48 hours, then cut to length.
- Apply construction adhesive to the back of the first board.
- Place the board on the chalk line, check level, and nail into studs at the top edge.
- Fit the next board by overlapping its rabbet joint. Tap gently until snug.
- Continue across the wall, checking level periodically.
- Fill nail holes with wood filler and sand smooth.
- Caulk seams and corners for a tight finish.
- Prime, then paint or stain boards as desired.
Design Ideas and Creative Applications
Shiplap shines beyond plain walls. You can use it on ceilings, shelves, and more to create focal points and visual interest in your home.
Accent Walls in Living Spaces
A shiplap accent wall becomes a focal point behind a sofa or bed. You can paint the boards in a soft neutral for calm vibes or a bold hue to energize the room. The overlapping planks hide minor wall flaws and create subtle shadow lines. Add floating shelves or wall art to highlight the texture. You’ll enjoy a custom look without covering every wall.
Ceiling Treatments
Applying shiplap to a ceiling turns it into an unexpected feature. You’re drawing the eye upward and giving low ceilings a cozier feel. Whitewashed boards bounce light and brighten the space. In kitchens, the panels resist minor humidity when sealed properly. Bedrooms gain a cottage-chic charm that guests will notice.
Open Shelving Backdrop
Shiplap behind open shelving adds depth and frames décor beautifully. You’re hiding wall marks and making each item pop against the boards. Paint or stain the planks to match your cabinetry or island. Layer in baskets or pottery for added warmth. The effect feels like a high-end built-in without the contractor price.
Exterior Siding
Outdoor shiplap siding offers clean lines and classic appeal for your home’s façade. You’re choosing rot-resistant cedar or treated pine to stand up to weather. Proper installation with breathable underlayment keeps moisture out. A durable finish protects against UV and rain. This approach boosts curb appeal and modernizes traditional exteriors.
Mixed Material Combos
Combining shiplap with brick, stone, or metal creates striking contrast. By pairing smooth wood planks with rugged masonry, you’re highlighting each texture. Try it above fireplaces or around entryways to make a statement. Metal accents, like steel beams or hardware, add an industrial edge. The mix feels curated and unique to your style.
Maintenance and Care Tips
Keeping shiplap looking fresh requires only a few simple tasks. You’ll learn how to clean, touch up paint, and fix common issues to prolong its beauty.
Dusting and Dry Cleaning
Use a soft brush or vacuum attachment with gentle bristles to remove dust from grooves and shadow lines. Focus on corners where debris collects. Do this every few weeks to prevent buildup.
A microfiber duster glides smoothly across painted or stained surfaces without scratching. It preserves finish and keeps colors true. If you prefer, you can vacuum crevices with a nozzle attachment, which prevents hidden dust.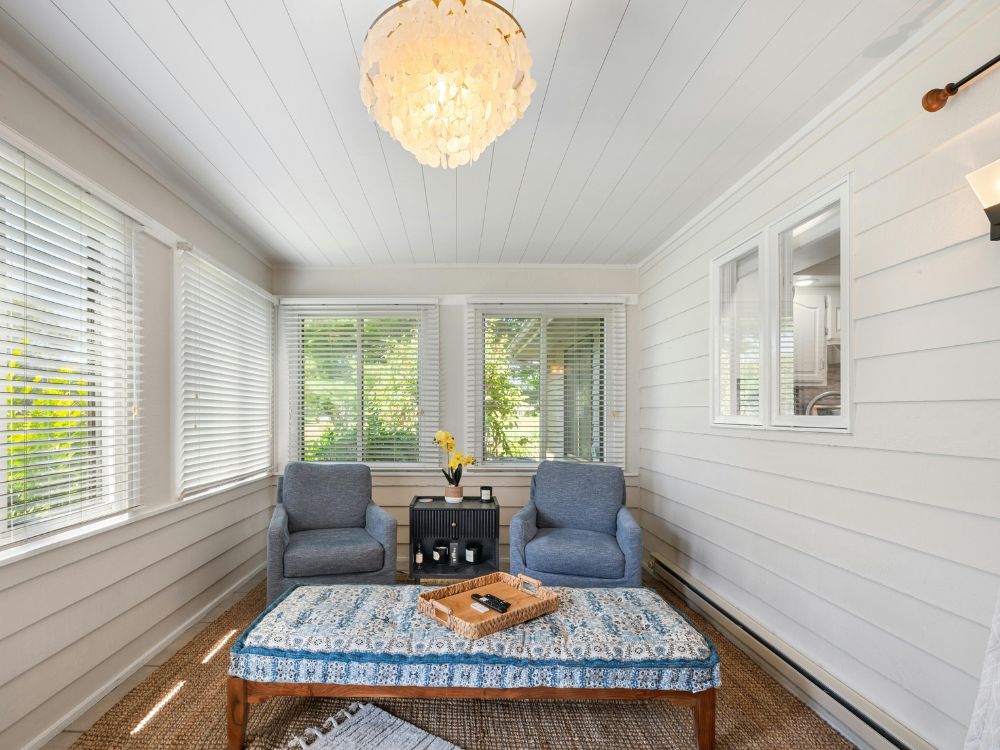
Damp Wipe for Stains
Mix a few drops of mild detergent with warm water in a bucket. Dip a soft cloth into the solution and wring it until damp. Gently wipe marks and spills along each plank’s surface. Follow with a clean, damp rag to rinse away soap residue.
Never saturate boards; excess moisture can seep into joints and cause swelling. After cleaning, dry each board with a towel or soft cloth to prevent water damage. Test in a hidden area to ensure finish holds.
Repainting and Touch-Ups
Keep leftover shiplap paint or stain on hand for quick touch-ups. Lightly sand scuffed or chipped spots until smooth. Wipe dust away before applying paint with a small brush for precise coverage.
Feather the edges to blend repairs into surrounding boards. If you’re changing colors, apply primer first for an even finish. Allow each coat to dry fully before adding another. This ensures a seamless look and keeps your shiplap walls looking new.
Moisture Control
Run a dehumidifier or ceiling fan in rooms prone to humidity to keep the air dry. Open windows when the weather allows to improve ventilation. After showers, wipe down the shiplap in bathrooms to remove excess moisture. Inspect the nearby plumbing and roof for leaks regularly and fix them promptly.
Consider installing a vapor barrier behind exterior shiplap to block moisture intrusion. These steps prevent warping and mold growth and protect your boards for years.
Sealing and Resealing
Inspect painted or stained shiplap every five years for worn or chipped areas. Clean surfaces with a damp cloth and allow to dry completely before sealing. Apply a clear sealant, varnish, or water-based polyurethane with a brush or sprayer for even coverage.
For exterior shiplap, use a UV-protective finish to guard against sun damage. Follow product instructions for drying and curing times. Resealing preserves wood integrity and keeps boards looking crisp and vibrant.
DIY vs Professional Shiplap Installation
Whether you do it yourself or hire a pro will shape your budget, timeline, and final look. Before starting your shiplap walls, you’ll weigh skill, cost, and convenience.
Skill Requirements
DIY lets you learn new skills. You might install shiplap with basic carpentry knowledge and careful measuring. Mistakes can happen with uneven boards or misaligned joints. A pro brings years of experience.
They know how to handle irregular walls and tough corners. You’ll need patience to measure and align each plank. Drilling pilot holes reduces splitting. Learning proper nail placement can save rework later. You’re more likely to get a uniform finish with expert know-how.
Tools and Equipment
Installing shiplap yourself requires tools. You will need a stud finder, level, miter saw, nail gun, and safety gear. Buying or renting these tools adds to cost. DIYers often need clamps and a miter box for straight cuts.
You may also invest in a compressor if using a pneumatic nailer. These extra items can increase upfront costs. A professional brings all their gear. They’re set up with commercial saws and high-end nailers. You’ll save on tool rental fees.
Time Investment
DIY installation takes longer. You’ll spend hours learning, measuring, and cutting each board. Setup and cleanup add more minutes. Any mistake means re-measuring and recutting. Professionals work in teams.
They follow a plan and can finish walls in a day or two. They manage waste and remove debris quickly, so you’ll enjoy a faster turnaround. That reliability makes a big difference for busy homeowners.
Cost Analysis
DIY labor is free if you do it yourself. You’ll only pay for materials and tool rental. Mistakes can cost you extra boards. A professional charges a fee for labor. You’ll pay more upfront. But you avoid wasted material and hidden repair costs.
Professionals include cleanup and disposal in their quotes. You’ll avoid trips to the dump and hidden disposal fees. They often get bulk pricing on materials, which can offset some labor costs.
Quality and Craftsmanship
DIY efforts show your personal touch. You control paint color and board placement. You might struggle with fine details and straight seams. Professionals deliver consistent quality. They ensure perfectly filled joints and flush boards.
A pro uses jigs and guides to maintain precision. They adapt to uneven substrates on the fly. Their attention to detail makes a visible difference in the final look.
Warranty and Guarantees
DIY work has no warranty, so you’re on your own if issues arise. Professional installers offer guarantees on workmanship. They cover gaps, warping, or damage under normal conditions, and you can call them back for repairs at no extra cost.
Many pros back their work with a 1- to 5-year warranty. They use certified installers and follow best practices. This warranty backing adds real value.
Choosing the right path depends on your budget, timeline, and confidence in your skills. If you have time and patience, DIY can be rewarding. However, professional installation may be worth the investment for a polished finish and peace of mind.
Conclusion
Installing and styling shiplap at home transforms plain walls into striking focal points. You’ll enjoy the texture and warmth it adds to every room. Proper prep and precise cuts lead to clean, tight seams. Playing with paint and board patterns boosts custom flair. With simple maintenance, your shiplap installation will look fresh for years
If shiplap is not your style, there are more wooden walls that can enhance your space. Check out our guide on 8 amazing wood accent wall ideas next!


