Last Updated on April 11, 2025 by Team Ideas24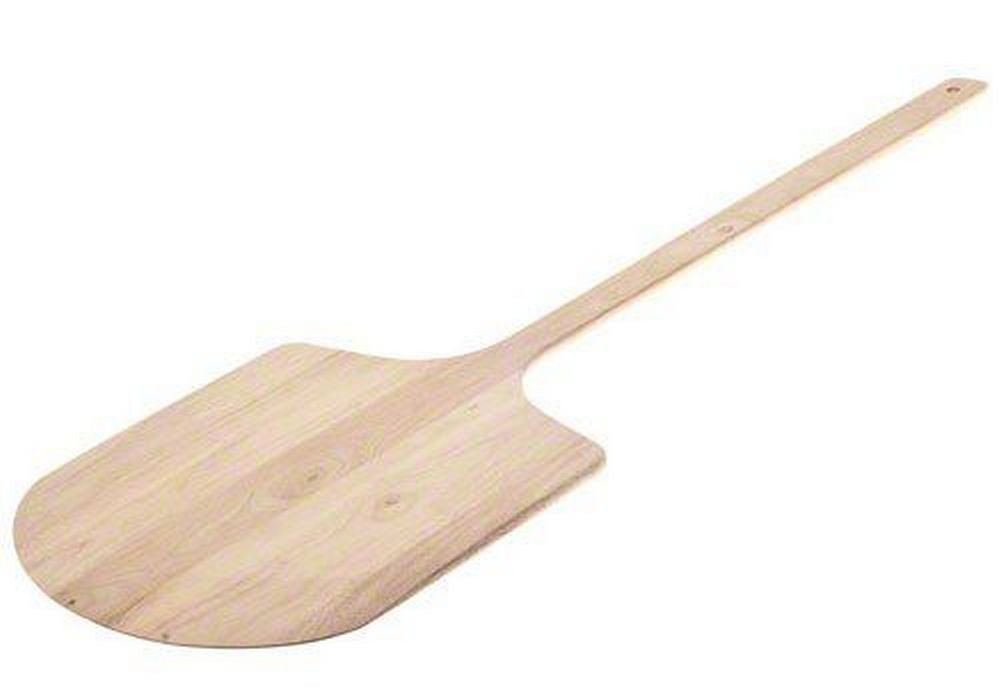
My whole family loves pizza. I mean, who doesn’t? I can hardly think of any person who doesn’t like pizza. I couldn’t see any reason for anyone to dislike them, either. For me, pizza is the ultimate comfort food. As to whether I prefer it with pineapple or none, that’s another story.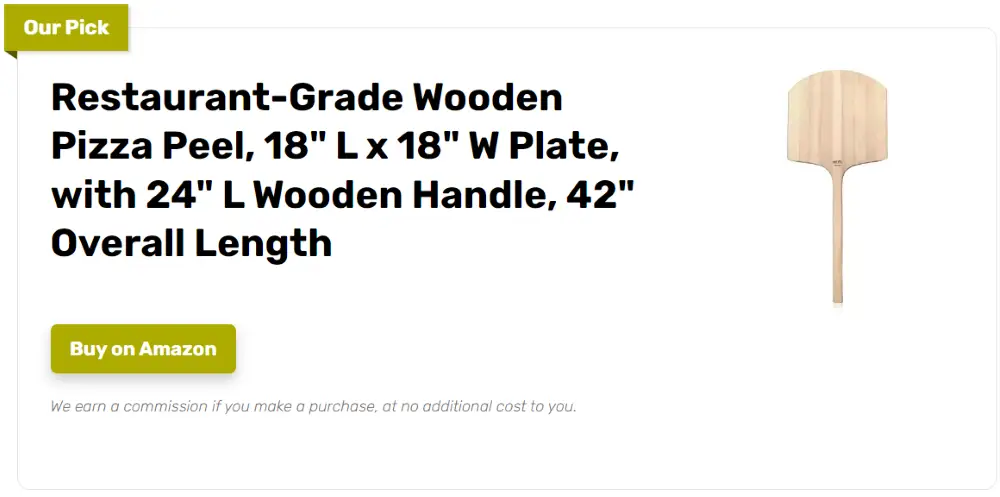
My friends and I have pizza and pasta parties every now and then. It happens so often that my husband had installed a brick pizza oven in our backyard. Now our parties are made more fun as we get to make our own pizza. The kids loved it, too!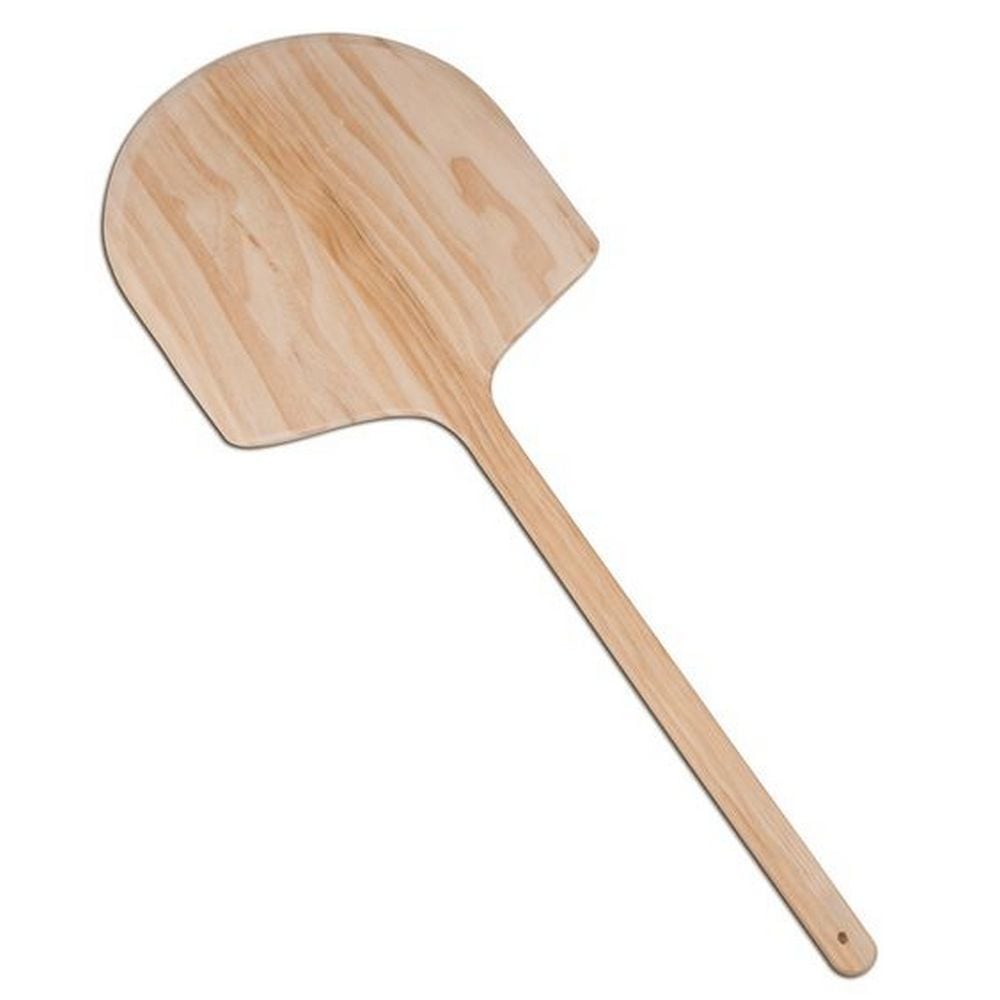
A few months back, we used to point at each other as to who will pull the pizza out of the oven. I tell you, that oven was hot! But after we came across a DIY project for a pizza peel with a long handle, it was problem solved.
If you’re having the same problems that I used to have, this project is perfect for you. This will make your life a whole lot easier, believe me.
Contents
Building a DIY Pizza Peel
Materials:
- Wood
- Mineral oil
- Linseed oil and beeswax
Tools:
- Table saw
- Miter saw
- Clamps for table saw jig
- Band saw
- Wood glue dispenser
- Wood glue
- Orbital sander
Steps:
Step 1: Choose and Prepare the Wood
Select a hardwood like maple, birch, or beech. Avoid softwoods and toxic species. The board should be at least 12 inches wide and around 1/2 inch thick. If you’re using multiple pieces to reach your desired width, use the wood glue dispenser to apply glue along the edges. Clamp the boards together and let them dry overnight.
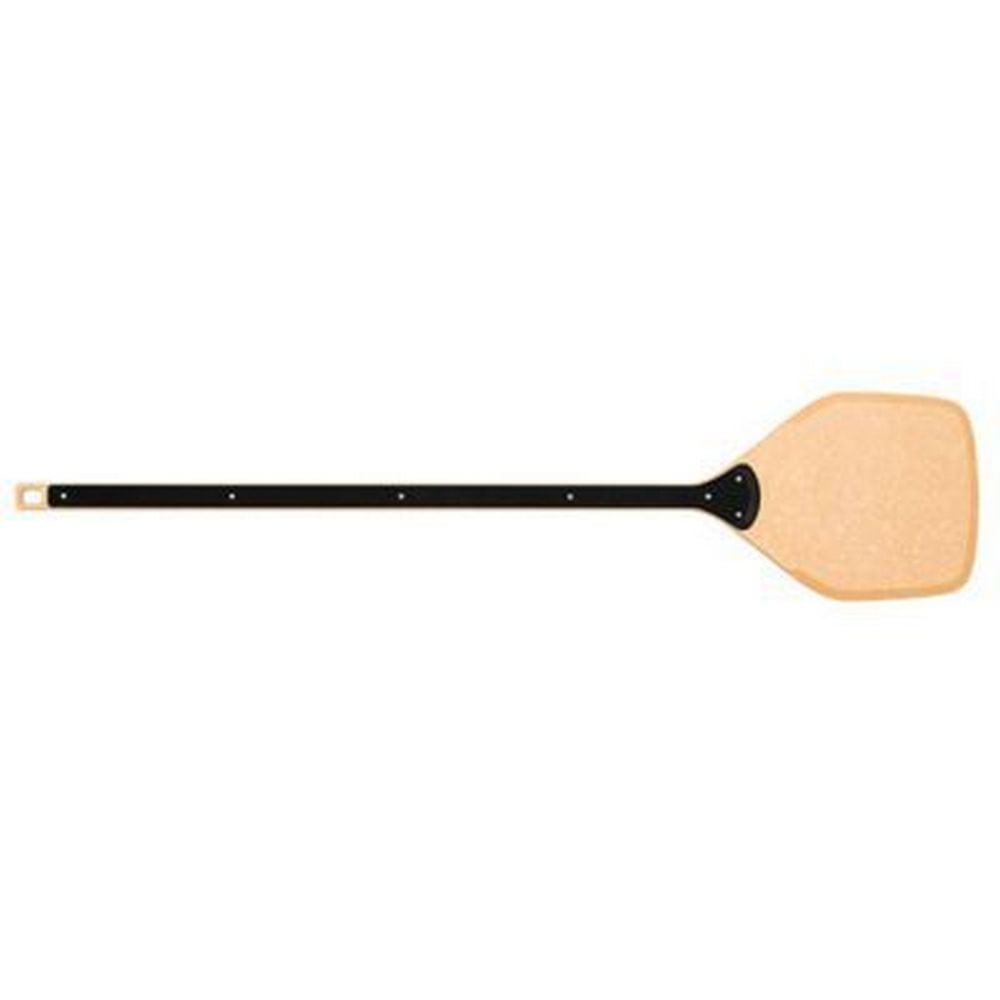
Step 2: Cut the Basic Shape
Once the glued-up board is dry, use the table saw and miter saw to trim it into a rectangular blank. A good size is about 14 inches wide for the peel surface and 24 to 30 inches long including the handle.
Step 3: Create the Handle Taper
Mark your handle design with a pencil. It should be centered and about 1 to 1.5 inches wide. Use the band saw to carefully cut along the outline, tapering the handle smoothly into the peel surface. This makes the transition comfortable for holding.
Step 4: Shape the Front Edge
The front edge of the peel needs to be thin and angled to slide easily under a pizza. Mark a tapered line along the front edge. Use the band saw to make the initial cut, then smooth and even the taper using the orbital sander. Aim for about a 1/8 inch thickness at the tip.
Step 5: Round and Sand All Edges
Use the orbital sander to round over the corners and edges. Focus on smoothing the handle for comfort and refining the peel surface to eliminate splinters. Start with coarse grit and finish with fine grit for a polished feel.
Step 6: Apply a Food-Safe Finish
Mix mineral oil, linseed oil, and beeswax to create a food-safe finish. Apply it evenly using a clean cloth or paper towel. Let it soak in, then buff off the excess. Repeat the process after the first use and periodically afterward to keep your peel protected and looking great.
Step 7: Let It Cure and Test It Out
Allow the finish to cure for a day. Then give your DIY pizza peel a test run. Slide it under a homemade pizza and enjoy the satisfaction of using a tool you built with your own hands.
Choosing the Right Wood for Your DIY Pizza Peel
The success of your DIY pizza peel doesn’t just depend on your woodworking skills. It starts with the material you choose. Wood selection directly affects how your peel performs, how safe it is with food, and how long it lasts. Choosing the right wood ensures your pizza peel is lightweight enough to handle easily, strong enough to hold a heavy pie, and safe enough for repeated use.
Why Hardwood Matters
Hardwoods are the preferred choice for a DIY pizza peel. They’re dense, durable, and resist warping over time. Unlike softwoods, they don’t dent easily and provide a smoother surface for sliding pizzas on and off. They also tolerate sanding and oil finishes better, which is important when you want to maintain a food-safe surface. Hardwoods also handle heat better. You’re not sticking the peel into the fire, but it still gets close to a very hot oven. A strong hardwood peel will hold its shape and protect your hands more effectively than softwood.
Top Wood Choices for Pizza Peels
Maple is one of the best choices for a pizza peel. It’s dense, fine-grained, and readily available. Maple doesn’t splinter easily and takes a food-safe finish well. Beech is another solid option. It has a smooth texture, similar strength to maple, and a light color that looks great when oiled. Birch is also worth considering. It’s not as dense as maple, but it’s easy to work with and has a neutral tone. All three are food-safe and non-toxic when untreated.
Woods to Avoid
Avoid softwoods like pine or cedar. Pine dents easily, and cedar contains natural oils that can transfer to your food and alter its taste. Some exotic hardwoods may also be unsafe. Woods like purpleheart or padauk may look beautiful but can be irritating to the skin or unsafe for food contact. Oily tropical hardwoods can also interfere with finishes and glue adhesion. If the wood isn’t commonly used for kitchen utensils or cutting boards, it’s probably not right for your peel.
Grain and Board Quality
Look for boards that are straight-grained and free of knots. Knots can weaken the peel and create uneven surfaces that make sliding pizzas more difficult. Check for warping or bowing before you start cutting. You want a board that’s as flat as possible. Edge grain boards are best, as they offer a good balance of strength and smoothness. End grain can be hard to shape, and face grain is more prone to warping under pressure and heat.
Thickness and Weight
Choose wood that’s about 1/2 inch thick. Anything thicker gets heavy and harder to handle, especially with one hand. A peel that’s too thin, however, may feel flimsy. A medium-thick hardwood board gives you that sweet spot between strength and maneuverability.
Picking the right wood makes your DIY pizza peel safer, more attractive, and easier to use. It also means fewer issues with maintenance and durability. Spend a little extra time choosing your wood, and you’ll end up with a tool that adds to your kitchen for years.
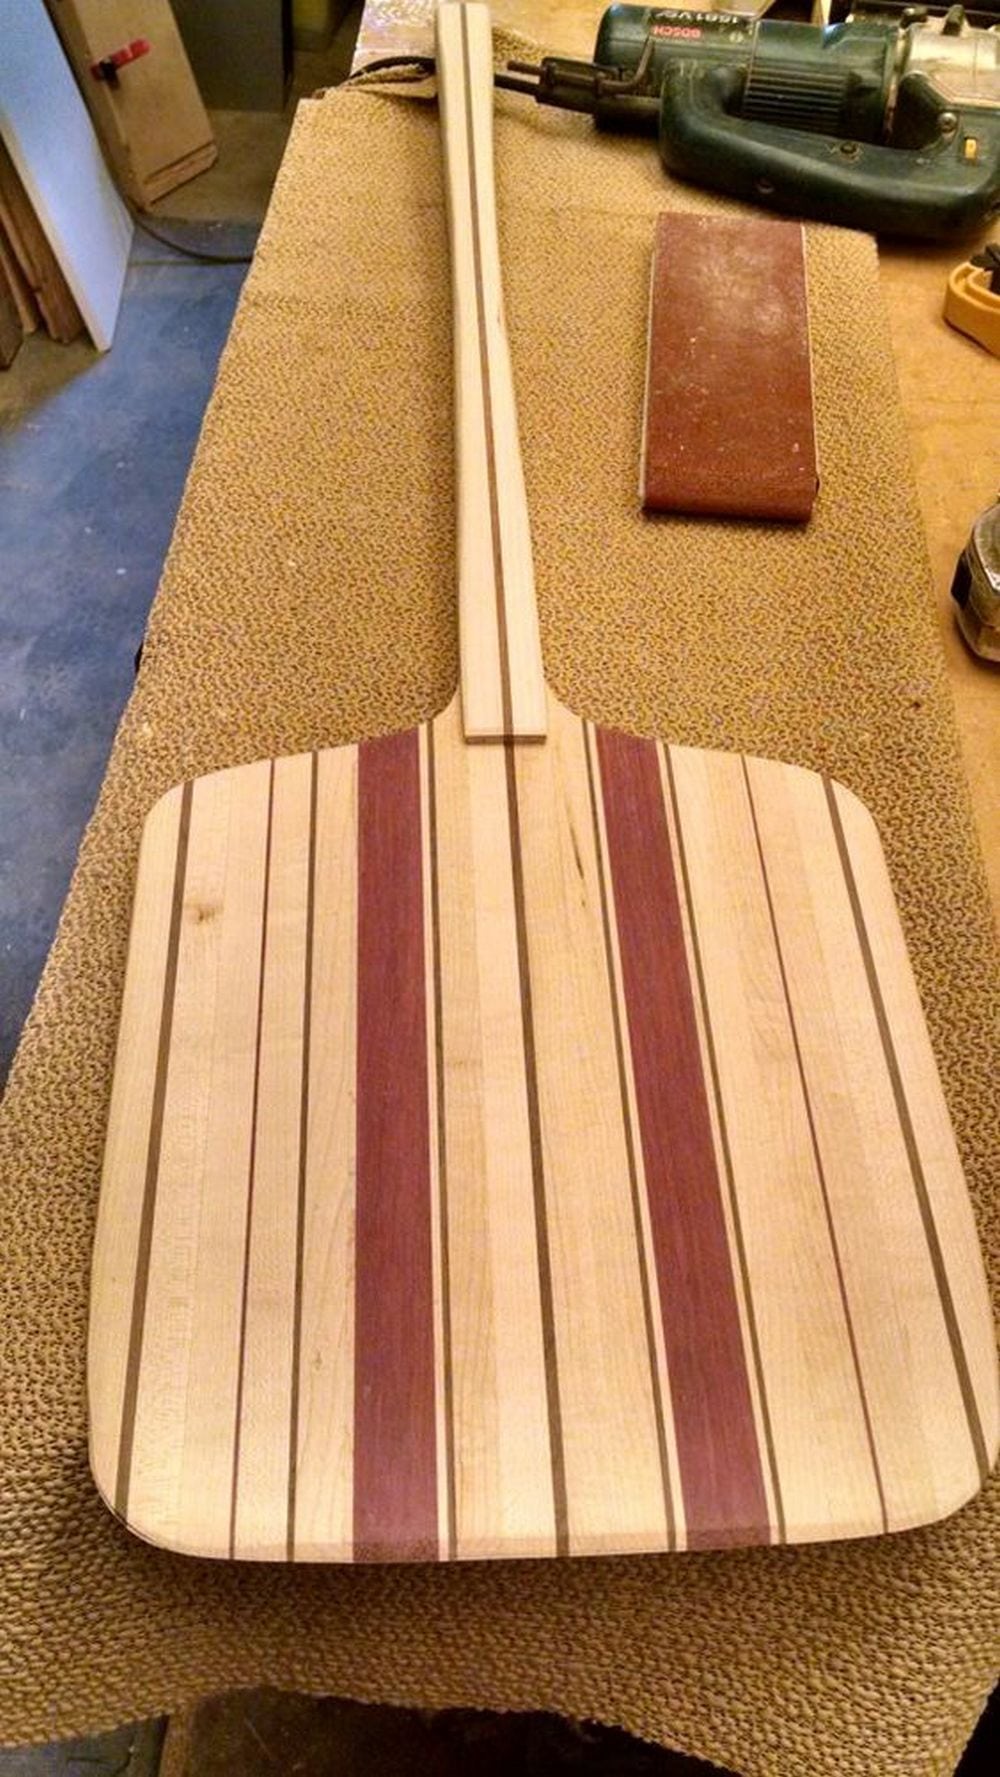
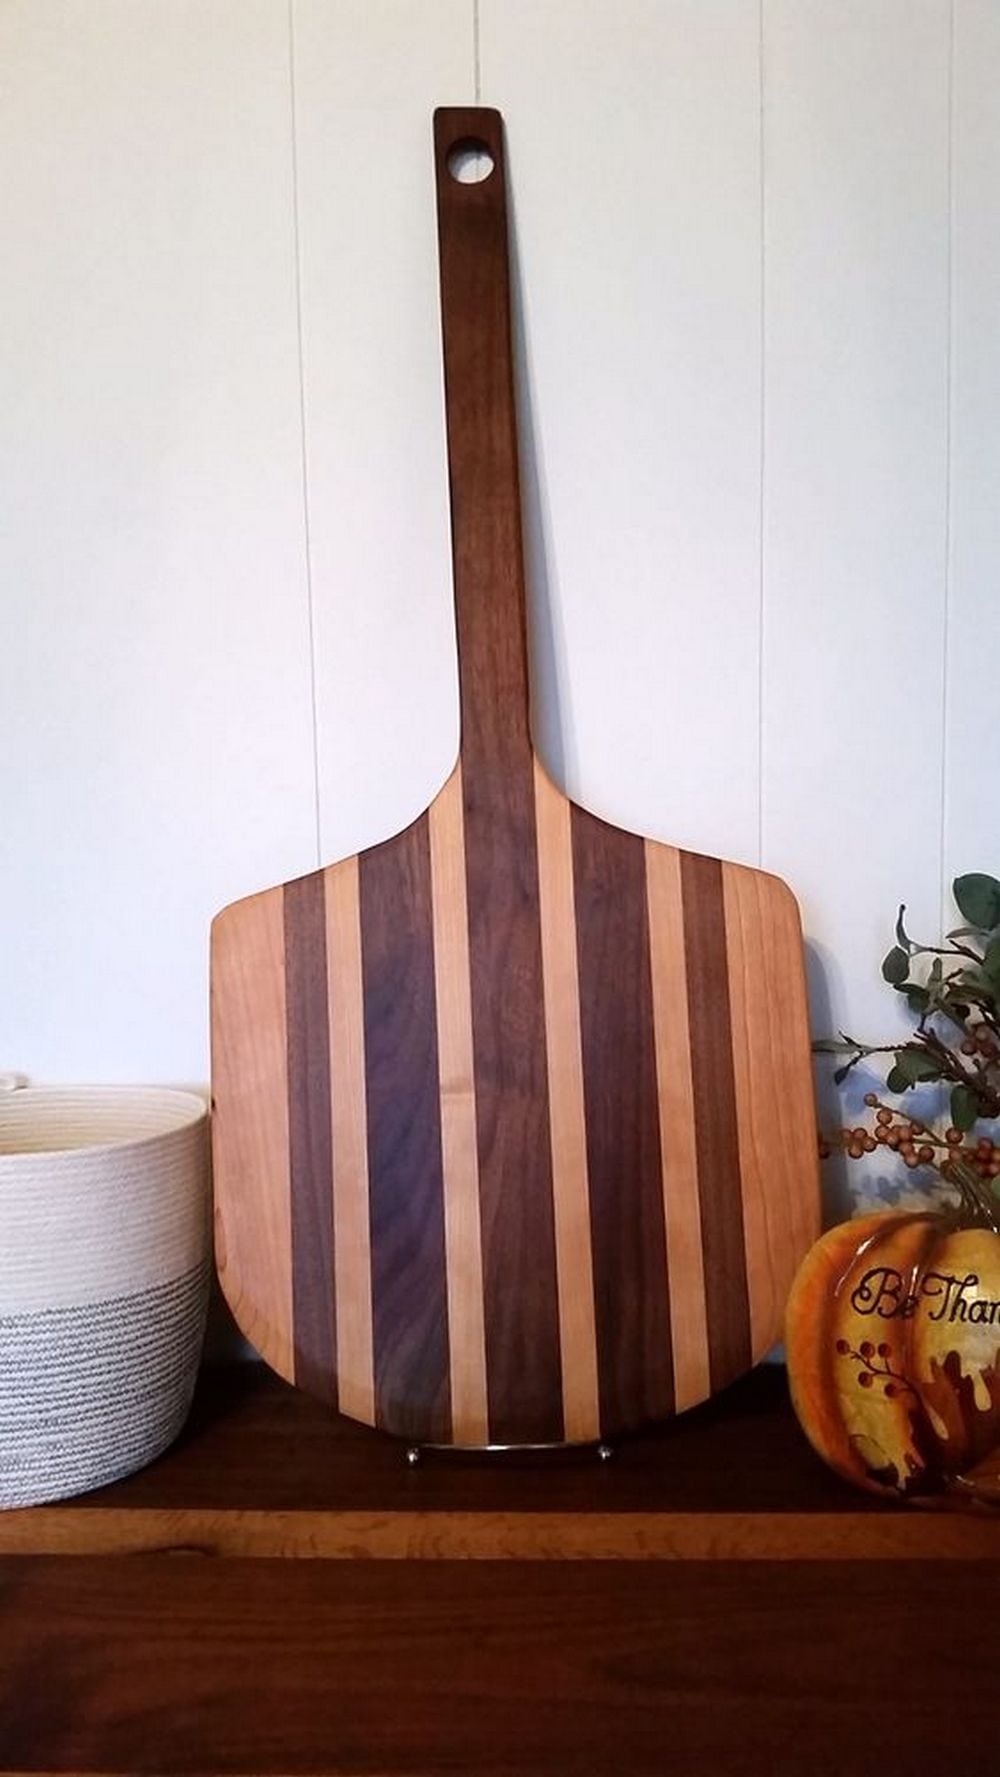
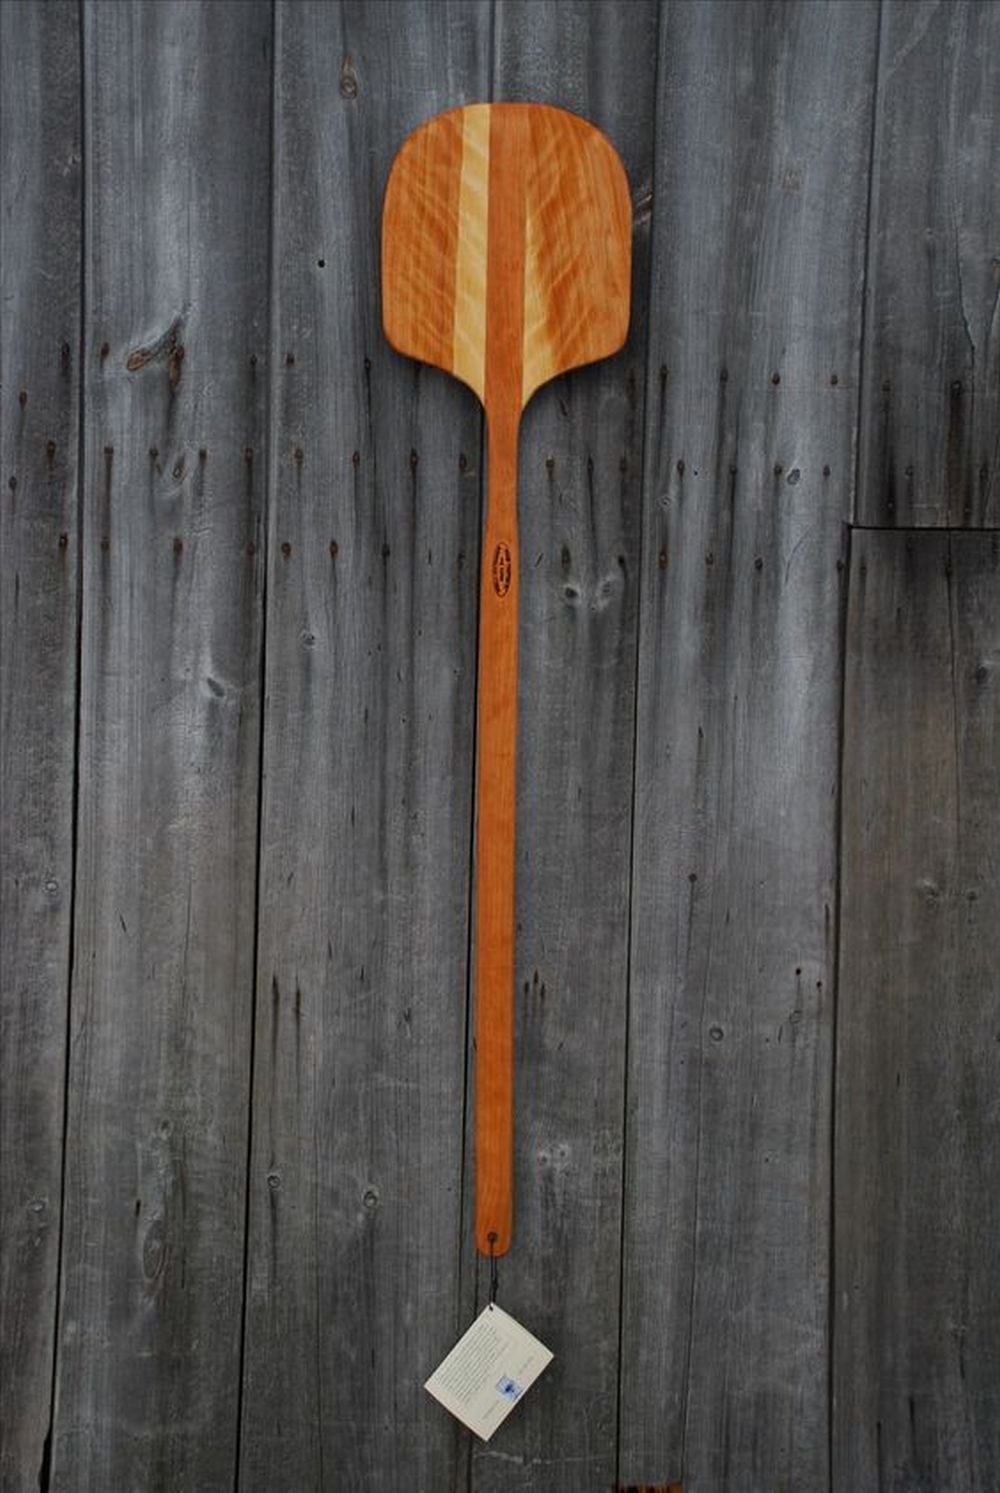
DIY Pizza Peel Gallery
Click on any image to start the lightbox display. Use your Esc key to close the lightbox.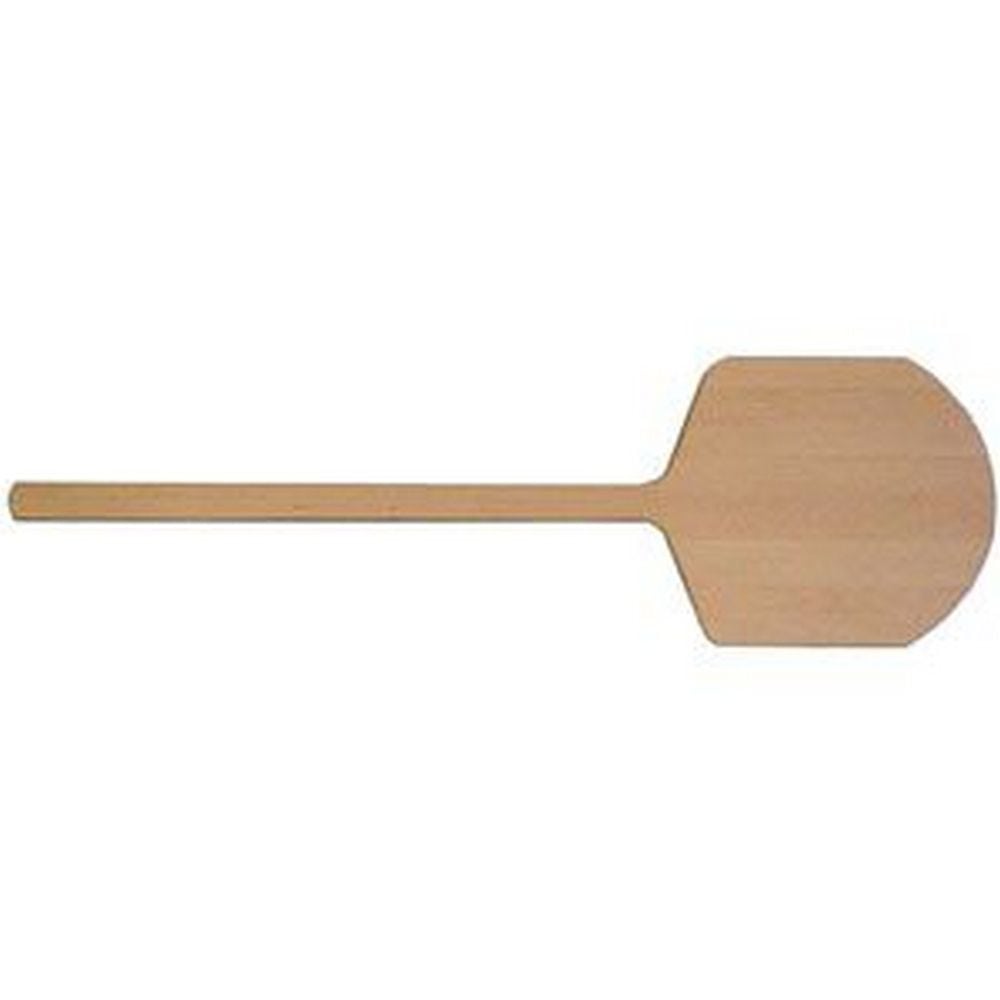


How to Maintain and Oil Your DIY Pizza Peel
A well-made DIY pizza peel isn’t just a one-time project. It needs regular care to stay safe, smooth, and long-lasting. Without proper maintenance, wood can dry out, warp, or absorb moisture and odors from food. Oiling your pizza peel helps protect the surface, enhances its appearance, and keeps it easy to use.
Why Maintenance Matters
Your pizza peel is exposed to heat, flour, moisture, and oil every time it’s used. Over time, this can wear down the surface and lead to cracks or rough patches. A well-maintained peel slides easily under pizza and resists absorbing unwanted smells or food particles. It also feels better in the hand and looks more polished when properly cared for.
Cleaning After Each Use
After using your pizza peel, don’t soak it in water or run it through the dishwasher. This will damage the wood and cause it to warp or crack. Instead, use a damp cloth or sponge to wipe off any food debris. If dough is stuck to the surface, gently scrape it off with a plastic scraper. Avoid using soap unless absolutely necessary, and if you do, rinse quickly and dry immediately with a clean towel.
Drying the Peel Properly
Let the peel air dry completely before putting it away. Set it on its side or hang it up so that air can circulate around it. Never store a damp peel flat or in a drawer—it can trap moisture and lead to mildew or warping.
When and How to Oil
Oil your DIY pizza peel once a month or whenever the surface looks dull and dry. The best oiling mixture includes mineral oil, linseed oil, and beeswax. These ingredients are food-safe and help create a protective barrier on the wood.
To apply:
- Warm the oil and wax mixture slightly so it spreads easier.
- Use a clean, lint-free cloth to apply the oil in a circular motion.
- Cover the entire surface, including the handle and edges.
- Let the oil soak in for at least an hour, or overnight if possible.
- Wipe off any excess with a dry cloth and buff until smooth.
Regular oiling prevents the wood from drying out and enhances its resistance to moisture. It also gives the peel a warm, rich finish that only gets better with time.
Inspecting for Wear and Tear
Check your pizza peel regularly for signs of cracks, splinters, or rough edges. Use an orbital sander with fine-grit paper to smooth out any rough spots. After sanding, reapply the oil mixture to restore the finish. If glue joints start to loosen, apply a small amount of wood glue and clamp the area until it sets.
Storing It Safely
Store your pizza peel in a cool, dry area. Hanging it on a wall hook or pegboard is ideal. Avoid laying it flat in humid or enclosed spaces. With proper storage, your peel will stay flat and ready for your next pizza night.
Maintaining and oiling your DIY pizza peel is quick and simple. With just a few minutes of care, you’ll keep it in top condition for years of safe and satisfying use.
Conclusion
Making your own DIY pizza peel is a simple project that adds both function and charm to your kitchen. With the right materials and care, it can last for years. It’s a tool you’ll enjoy using every time pizza night rolls around.


