
Last Updated on June 4, 2025 by Team Ideas24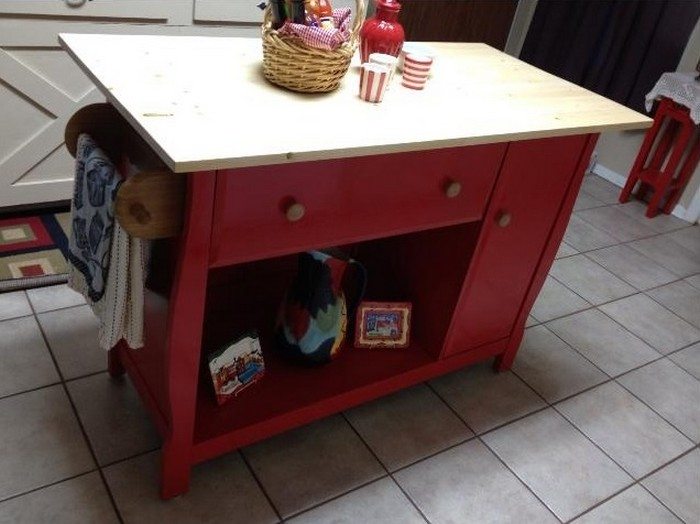
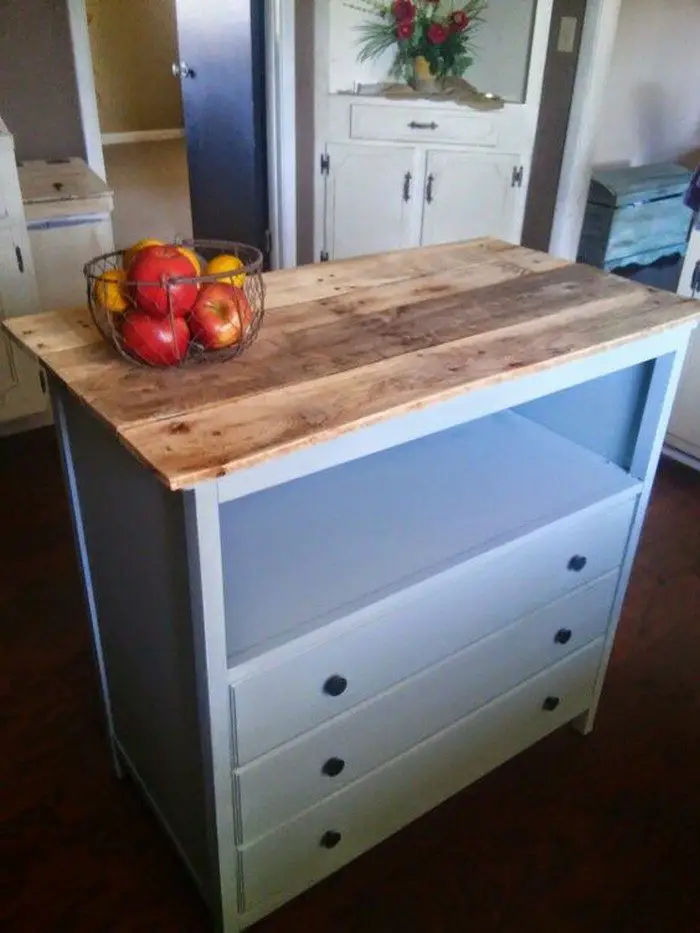
What can you do with a baby changing table that you don’t need anymore? How about turning it into a DIY kitchen island!
You can build a small kitchen island or kitchen cart for a small kitchen with it. But you can also build a large one if you have the space. Yes – while still making use of the changing table! ;)
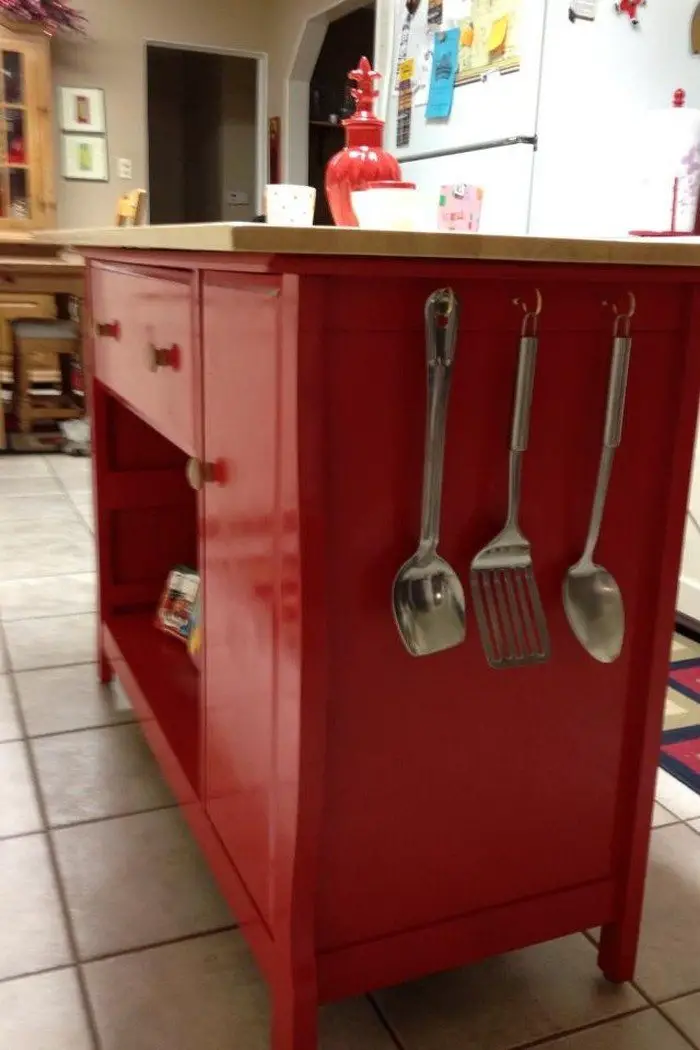
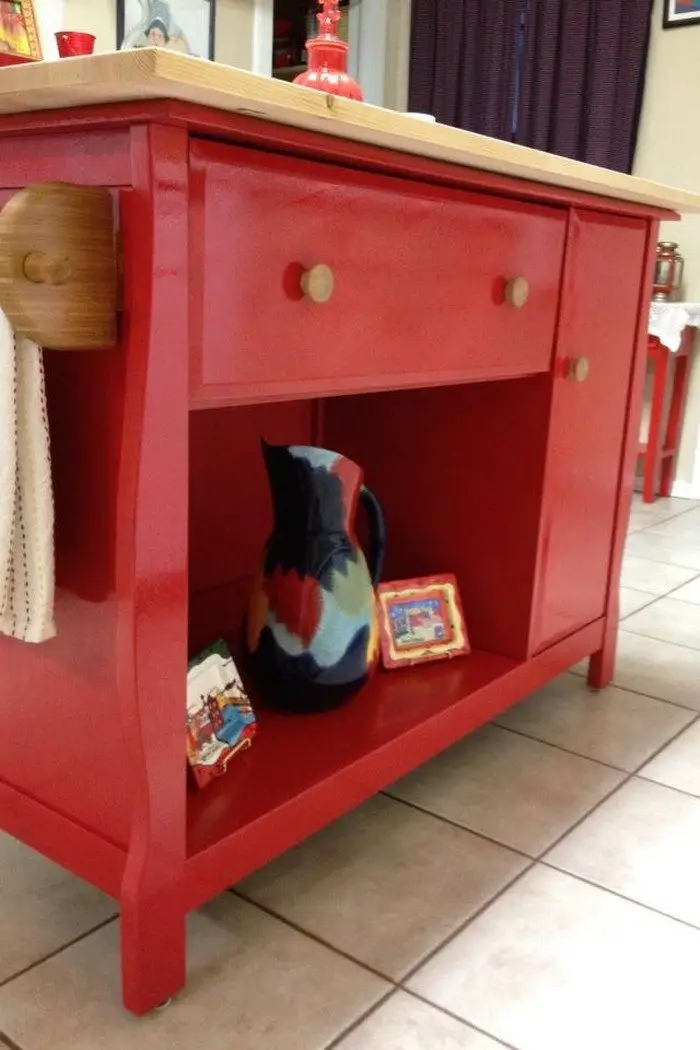
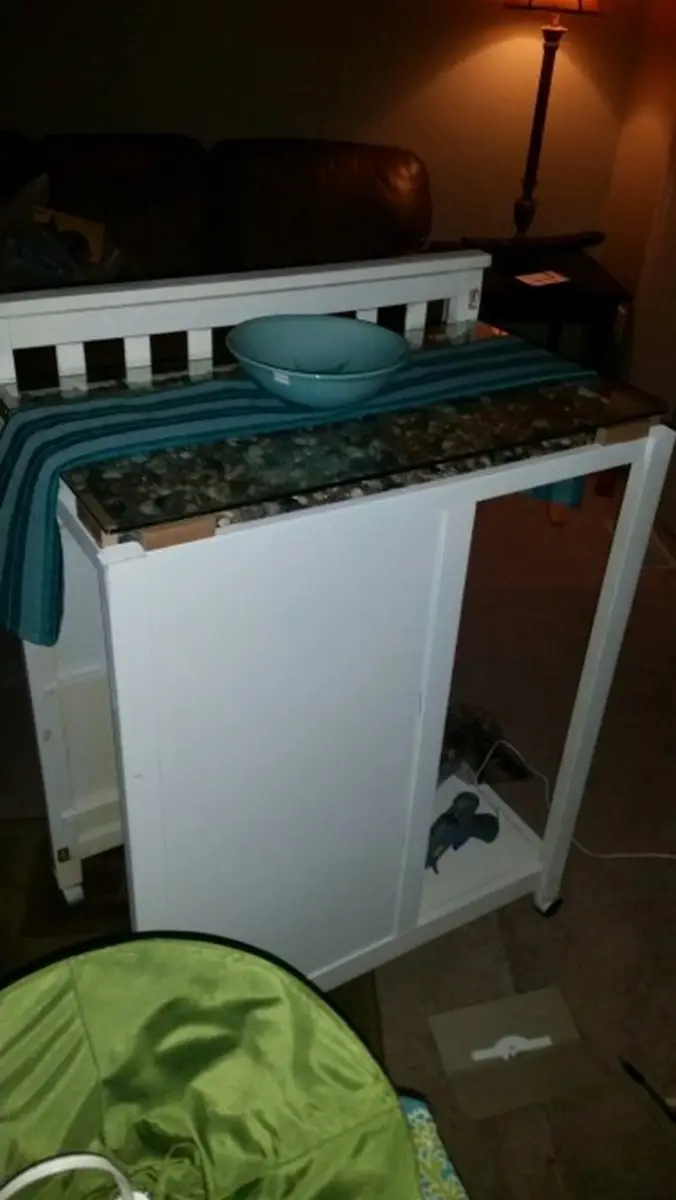
The idea is to have a large tabletop and use the old changing table as one of its legs. Therefore, you will only have to get 3 table legs for this project. It’s a clever solution for providing storage under a large DIY kitchen island without having to start from scratch.
If you want more storage space, you can simply add a small wire rack beside the changing table as shown in the featured project. Another thing that we like about this idea is that the changing table still provides some space under one side for keeping stools out of the walkway.
For these reasons, turning a changing table into a kitchen island is definitely a nice way for giving this piece of furniture a new purpose.
So if you or you know someone who has a changing table lying around then have your tools and materials ready and start working on the newest addition to your kitchen!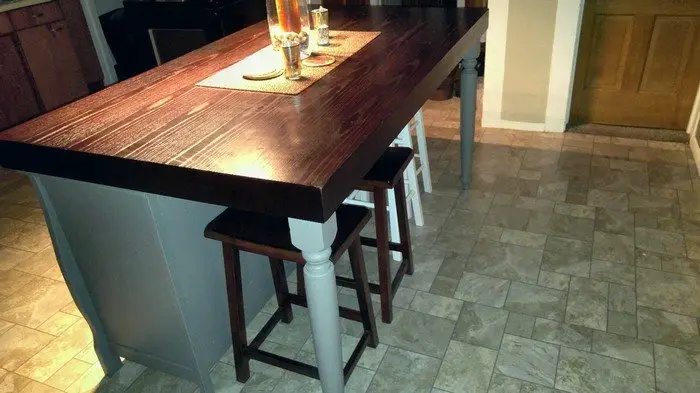
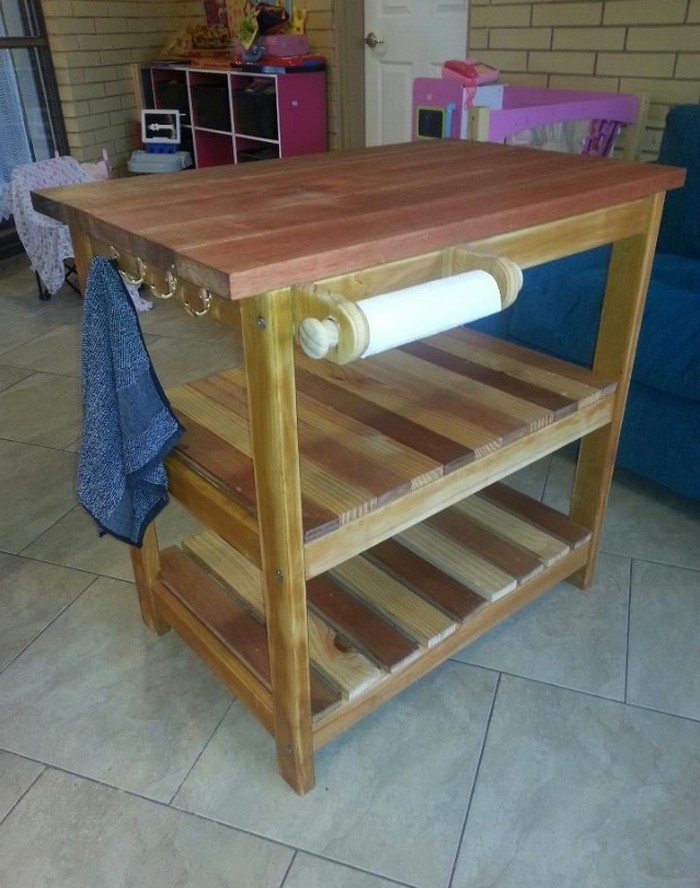
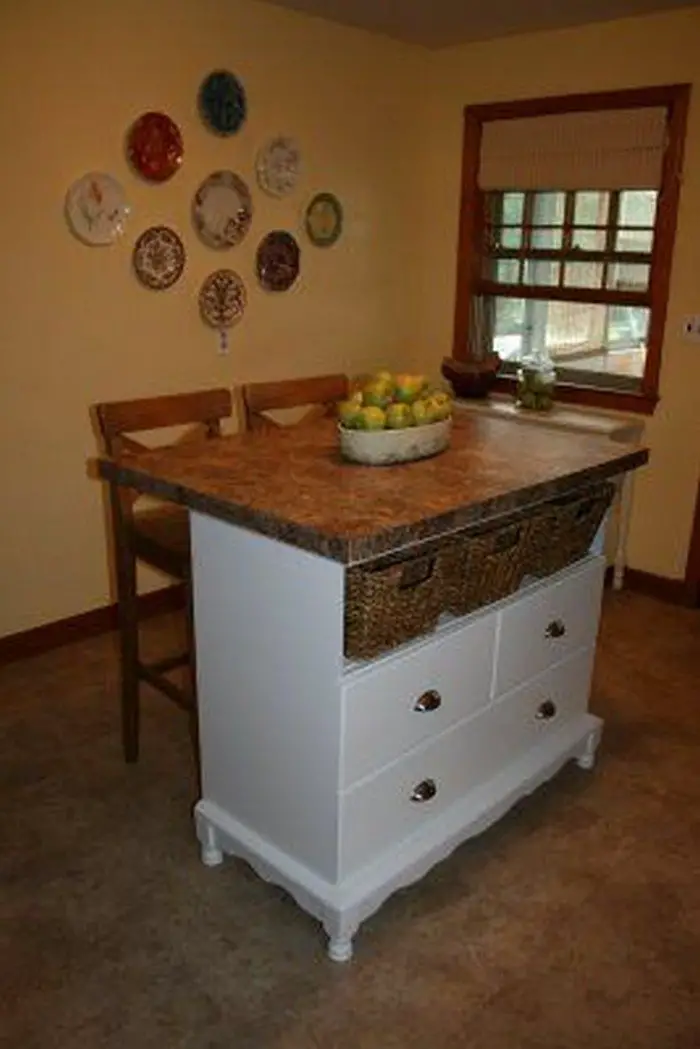
Now as we’ve mentioned at the start you can definitely build a small version. If you don’t have the required space for this large size, we’ve also added other changing table kitchen island examples to our album below where you can get inspiration from. ;)
Contents
Turning a Table into a Kitchen Island
Materials:
- 35″ Table Legs
- 36″ x 60″ Table Top
- 2″ Zinc L-Bracket Corner Braces
- Non-Swivel Furniture Furniture Glides
- 3 Door Pulls
- Semi-gloss Paint
- Wood Screws
Tools:
- Measuring Tape
- Sander
- Saw
- Cordless Drill
Steps:
Step 1: Measure and Plan Your Build
Use the measuring tape to confirm the dimensions of your table base and tabletop. Make sure your new kitchen island will fit comfortably in your kitchen space with enough room to move around it. Decide where the legs will go and how the changing table or existing structure will act as support.
Step 2: Prep the Table Components
Sand down all surfaces, including the table legs and top. This helps remove old finishes and smooths out the wood for painting or staining. Use the sander for large surfaces and hand-sand tight corners. Wipe away dust with a clean cloth after sanding.
Step 3: Cut and Modify if Needed
If you’re repurposing a changing table or another piece as one side of your island, use the saw to trim any parts that prevent stability or alignment. Make sure it’s level with the table legs you’re adding.
Step 4: Attach the Table Legs
Position the 35″ table legs at the corners where support is needed. Mark their placement underneath the tabletop. Drill pilot holes and secure the legs using wood screws. Reinforce the corners with 2″ zinc L-bracket braces for extra stability.
Step 5: Install the Furniture Glides
Attach non-swivel furniture glides to the bottom of each leg. This protects your floor and allows for slight movement if needed. Use your drill to secure them into place.
Step 6: Secure the Table Top
Center the tabletop over the base structure. Make sure it overhangs evenly on all sides. Use wood screws to fasten it down from underneath. Check that all connections are firm and the island doesn’t wobble.
Step 7: Paint the Kitchen Island
Apply a coat of semi-gloss paint to the legs, base, and tabletop if you want a finished, kitchen-friendly look. Use a paint formulated for furniture and kitchens. Let it dry completely before moving to the next step.
Step 8: Add Door Pulls for Functionality
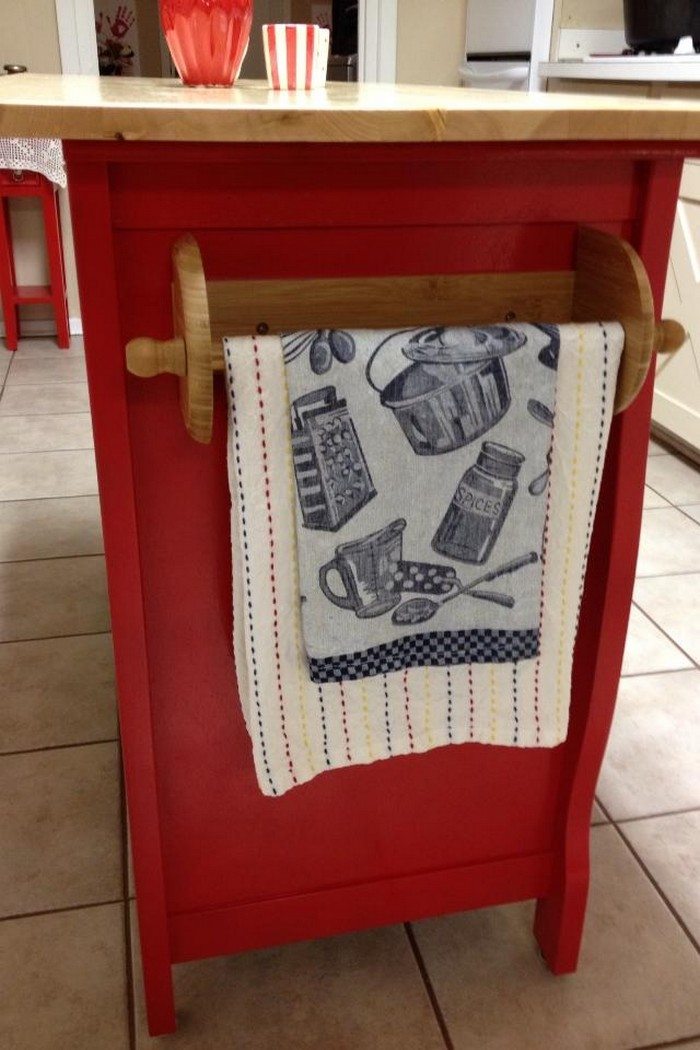
Screw in the three door pulls on the sides. You can use them as towel bars or handles for easy movement. They also give the kitchen island a more polished, built-in look.
Choosing the Right Table for a Kitchen Island Conversion
Before picking up a drill or paintbrush, it’s important to start with the right foundation. Not every table is built the same, and choosing the wrong one could make your kitchen island less functional or even unstable. Whether you’re going for a rustic, farmhouse look or a sleek, modern design, the table you choose sets the tone for the whole project.
Assess the Table’s Structure
The first thing to check is the frame. A solid wood table is the best choice since it can handle modifications, weight, and wear better than pressboard or particleboard. Look underneath to see how the joints are connected. Tables with sturdy legs and crossbars will hold up better once you start adding shelves, glides, or a heavier top.
Measure for Size and Height
Kitchen islands work best when they’re around 36 inches tall, including the countertop. If your table is shorter, you may need to swap out the legs or add risers. The surface area also matters. A table that’s too narrow won’t give you enough prep space, while one that’s too large might block kitchen flow. A standard kitchen island measures at least 36 x 60 inches, which provides a balance of function and footprint.
Look at Storage Potential
If your goal is to gain more storage, evaluate how the table’s base can be used. Tables with lower shelves or built-in drawers are easier to convert. If you’re using a changing table as part of your build, it already provides some hidden storage and open shelving. That can save time and materials when turning a table into a kitchen island.
Choose a Style That Suits Your Kitchen
Visual appeal matters just as much as practicality. Choose a table that blends with your kitchen’s cabinetry and overall theme. A vintage farmhouse table can add warmth to a modern kitchen. A mid-century table brings a minimalist flair. If the base isn’t quite right, focus on the shape and sturdiness—paint or stain can change the rest.
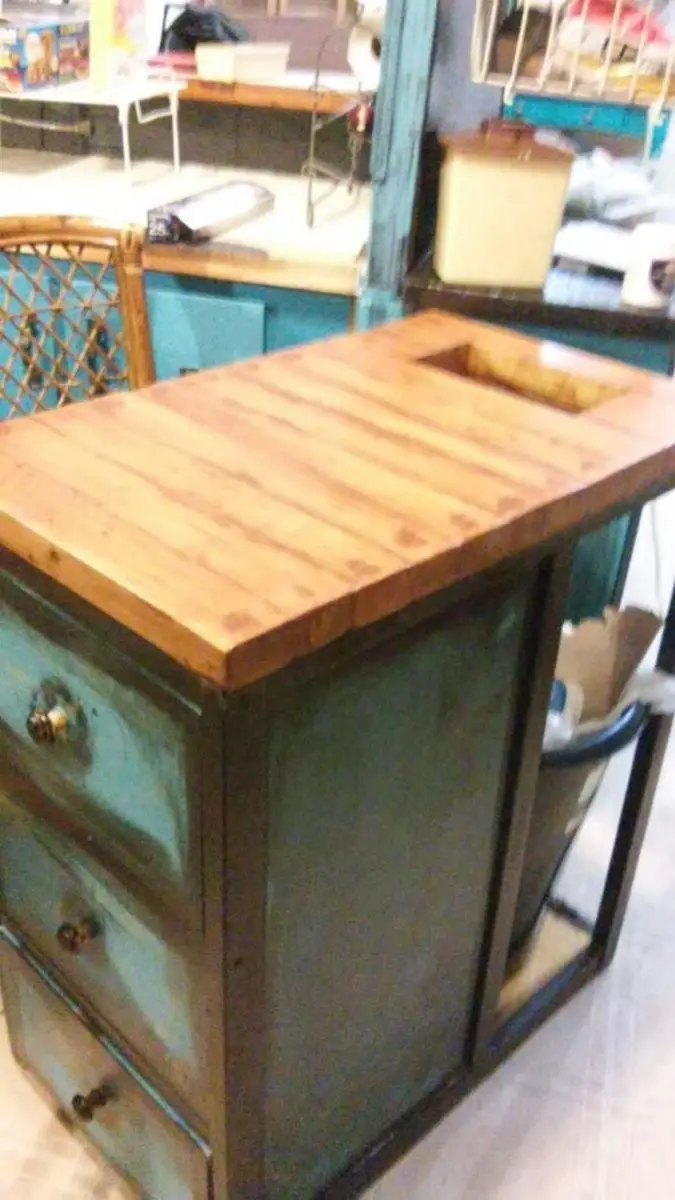
Don’t Overlook the Surface Condition
The tabletop should be clean and free from deep cracks or water damage. If it’s not in great shape, you can always replace it with a butcher block or a custom wood slab. When turning a table into a kitchen island, the surface will become a focal point—make sure it’s strong, level, and ready for daily use.
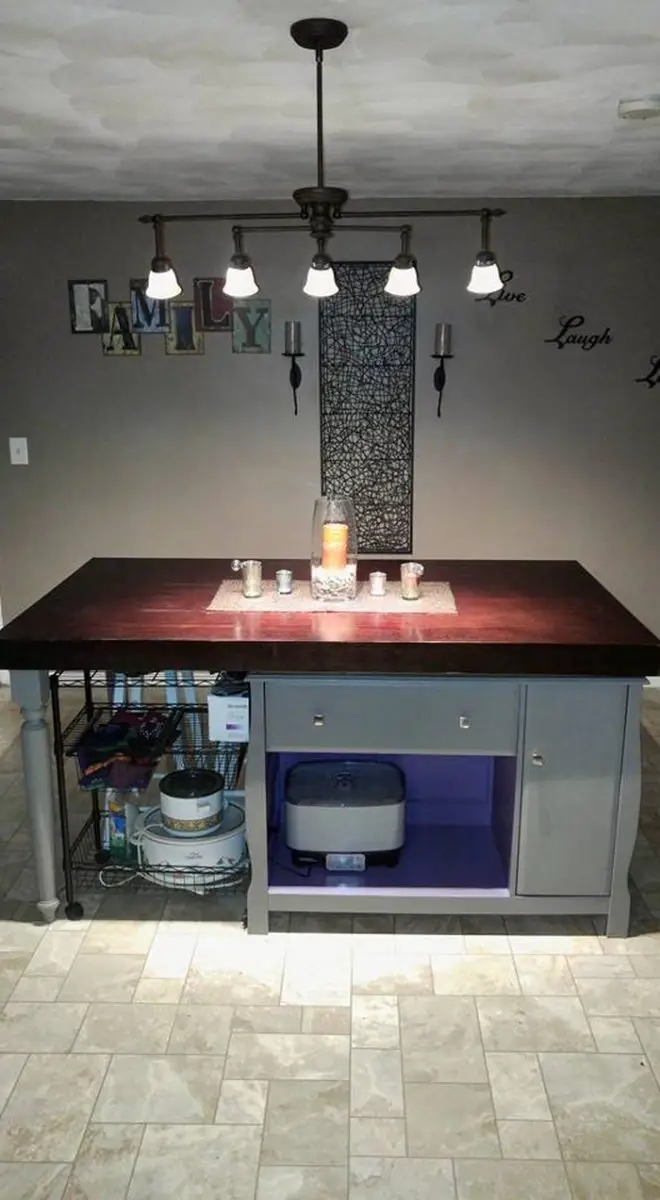
Kitchen Island Gallery
Click on any image to start lightbox display. Use your Esc key to close the lightbox.![]()

Design Ideas to Match Your Kitchen Style
Turning a table into a kitchen island isn’t just about functionality. It’s also a chance to bring more personality into your cooking space. Your kitchen is the heart of the home, so the island should feel like it belongs—visually and practically. The good news is that with a little creativity, you can adapt your DIY kitchen island to suit almost any interior design theme.
Rustic Farmhouse Charm
If you love the look of warm woods and vintage finishes, lean into a farmhouse design. Use a table made from reclaimed wood or sand down and stain your chosen table in a warm oak or walnut tone. Add cast iron pulls, antique-style hooks, and a distressed paint finish for that cozy, lived-in feel. Turning a table into a kitchen island with rustic charm also pairs well with open shelving and woven baskets underneath.
Modern Minimalist Appeal
For modern kitchens, aim for clean lines and neutral colors. Choose a table with simple legs and a smooth surface. Sand it thoroughly and paint it matte white, soft gray, or charcoal black. Use sleek metal hardware and keep accessories minimal. A concrete-look laminate or solid surface top adds a sophisticated touch. This style works best if the surrounding kitchen cabinetry is also streamlined and clutter-free. Turning a table into a kitchen island like this lets it blend seamlessly into a modern design.
Coastal and Cottage Vibes
Soft blues, whites, and natural textures create a breezy, relaxed feel. Choose a table with turned legs or a beadboard panel. Paint the base in pastel or sea-inspired hues like aqua, sand, or pale gray. Use a light-colored wood top, like maple or ash. Add bronze or brushed nickel pulls and consider rope accents or wicker baskets underneath. This is a great approach if you’re turning a table into a kitchen island for a beachside or cottage-inspired home.
Industrial Edge
If your kitchen has exposed brick, metal elements, or an urban vibe, an industrial-style island can tie it all together. Use a table with a metal base or reinforce a wooden one with steel brackets and pipes. Opt for a darker wood top—something rugged and unfinished. Install oversized casters or wheels for a functional, workshop-inspired look. Turning a table into a kitchen island in this style adds texture and depth to modern loft or warehouse-style spaces.
Vintage and Eclectic Flair
Mixing colors, textures, and styles can make your kitchen island a true conversation piece. Use a table with unusual features, like spindle legs or ornate carvings. Don’t be afraid to combine a bold paint color on the base with a patterned tile or mosaic top. Add mismatched knobs or pulls for a collected-over-time feel. You can even decoupage the sides with vintage prints or repurposed wallpaper. When turning a table into a kitchen island for this type of space, anything goes, as long as it’s functional and full of character.
Traditional and Classic Touches
In a more traditional kitchen, keep things refined. Choose a well-crafted wood table with elegant detailing. Stick to classic colors like cream, navy, or espresso. Use polished brass or brushed gold hardware and finish the top with a smooth, high-gloss surface. Add a towel bar or built-in wine rack to elevate the design. Turning a table into a kitchen island this way can make it feel like a custom-built feature, especially when paired with traditional cabinetry and molding.
When it comes to kitchen islands, one size doesn’t fit all. Your island should reflect how you cook, how you entertain, and how you want your kitchen to feel. Turning a table into a kitchen island opens up endless style possibilities—you just need to choose the look that feels like home.
Conclusion
Turning a table into a kitchen island is a creative way to add function and charm to your space. It’s budget-friendly, practical, and completely customizable. With the right table and a few upgrades, you’ll create a centerpiece that works as hard as it looks good.


