Last Updated on November 3, 2025 by Team Ideas24
Smart control makes ceiling fans easier to live with. A ceiling fan smart switch lets you change speed, light, and timers without hunting for chains. You can use voice or automations. The right model depends on motor type, wiring, and load limits. This guide explains compatibility, setup, and safety so you buy once and avoid headaches.
Contents
Key Takeaways
- A ceiling fan smart switch gives precise speed, light, and timer control with voice and automations for everyday comfort.
- Match the switch to your motor type, wiring, and load limits to avoid hum, heat, and LED flicker.
- Use fan-rated controls, dim only the light, and consider canopy modules or approved bypasses in no-neutral boxes for safe, quiet operation.
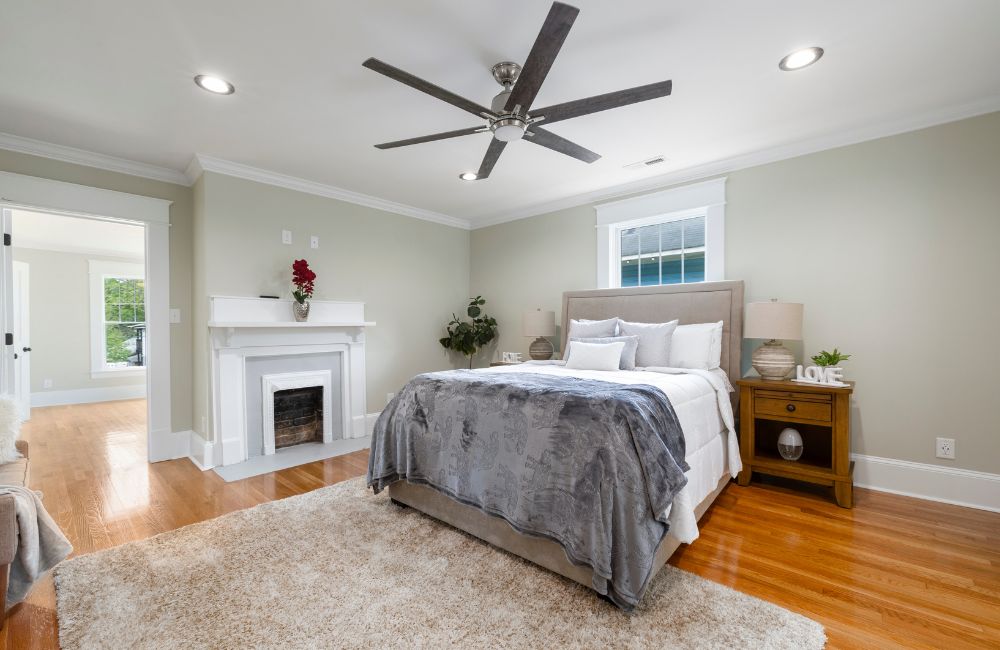
What a Smart Switch Does for a Ceiling Fan
A ceiling fan smart switch replaces pull-chain guessing with precise, repeatable control. You set the exact speed you want at the wall or in the app, and it stays consistent every time.
Integrated light control keeps the interface clean. One wall control manages on/off and smooth dimming when paired with LED-rated bulbs, so you get even brightness without flicker or hum.
Automations handle routine comfort. Timers wind the fan down after bedtime, and schedules start airflow before you arrive so the space feels comfortable when you walk in.
Reliability improves day to day. Status in the app shows what’s running, and local control in many ecosystems keeps the switch responsive even if your internet drops.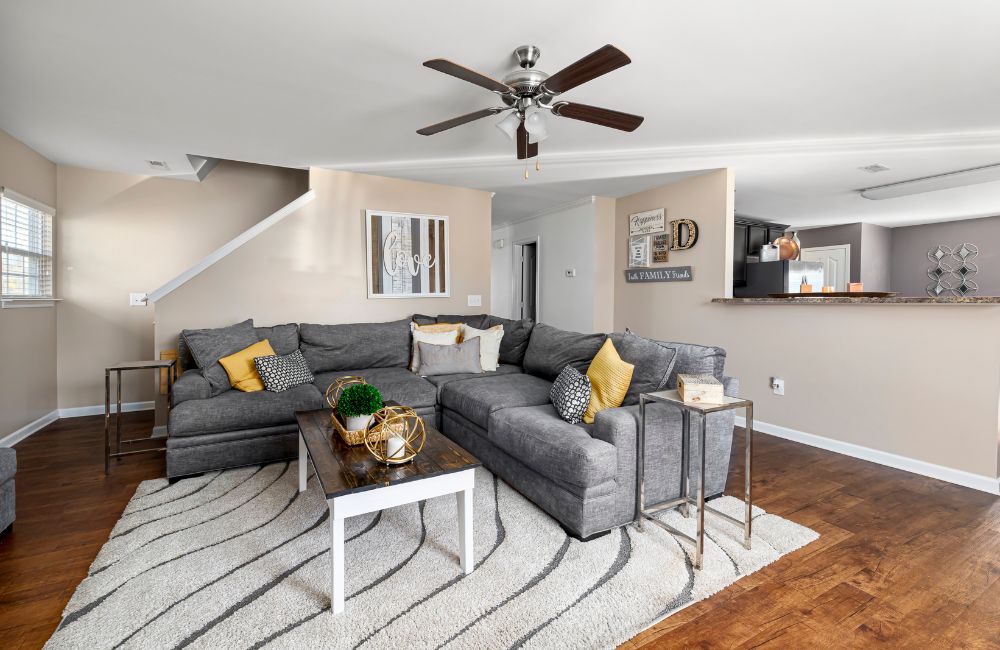
Compatibility Checklist
Check compatibility before buying. Smart wall controls must match your wiring, motor, and load. This checklist covers motor type, neutral and ground, box size, circuits, and code basics for installs.
Motor and Control Type
Confirm the fan uses an AC motor with pull-chain speeds before you buy. Electronic wall controls replicate those discrete steps using capacitors. A mismatch can cause hum, heat, or stalling at low speeds. DC motor fans often rely on a factory receiver and remote. Forcing a wall control onto a DC system can void warranties and damage electronics.
If the fan is shipped with a remote only, plan to keep or replace the canopy module rather than adding a wall dimmer meant for lights. The goal is clean speed mapping that stays quiet and repeatable with a ceiling fan smart switch.
Neutral Wire and Box Capacity
Identify line, load, neutral, and ground in the box. Many smart controls need a neutral to power their radio and sensors. No neutral models exist, yet they restrict lamp choices and total load. Cramming extra conductors into a shallow box traps heat and raises fire risk.
Smart fan controls run warmer than simple toggles. Verify box cubic-inch capacity and conductor count. Upgrade to a deeper box or move control to the canopy if space is tight. Proper fill, solid grounds, and strain relief prevent nuisance trips, melted insulation, and intermittent dropouts.
Light Leads and Dimming Rules
Decide how you’ll control the light. If the fan has separate fan and light leads to the switch box, you can use a paired fan controller and light dimmer. Combined fan-and-light circuits need an in-canopy receiver or a dual-load wall unit.
Only dim the light load. Never dim a motor. Match the ceiling fan smart switch with LED-compatible dimming to prevent flicker and to keep driver noise low.
Load Ratings and Environment
Read the amperage and watt limits. High-capacity fans or long downrods can increase load at startup. LED bulbs draw less power but can create inrush spikes with some drivers. Choose damp-rated gear for bathrooms and covered patios.
Wet locations demand listed enclosures and gaskets. Verify a metal, fan-rated ceiling box supports the hardware. Keep switch and canopy modules within the temperature range stated by the manufacturer.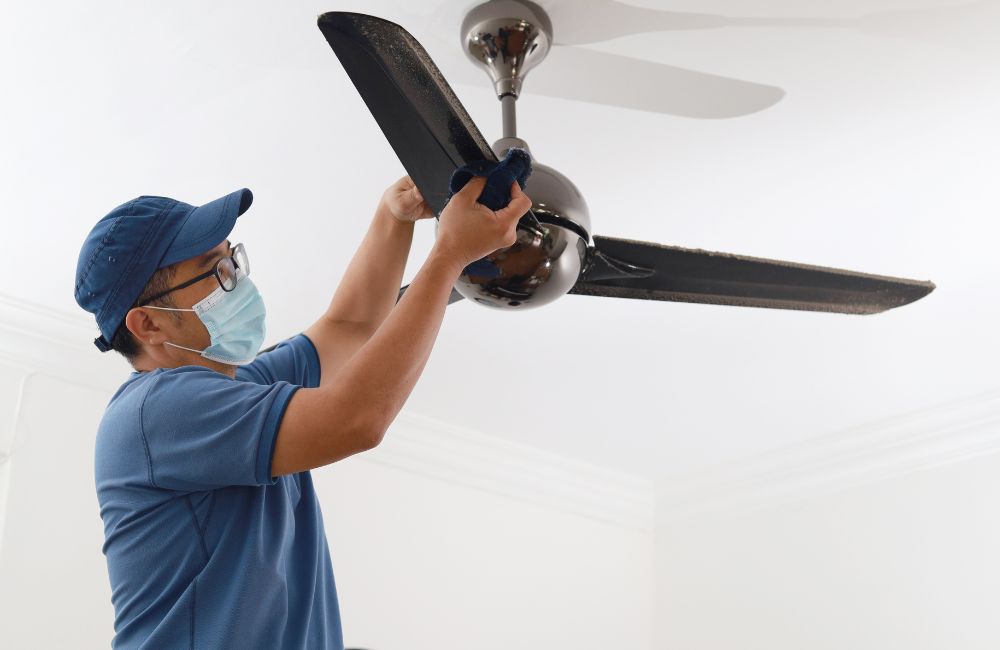
Multi-Location Control and Ecosystems
Plan for 3-way or multi-location control. Some switches support travelers. Others pair wirelessly to a battery remote for the second location. Check protocol support for your home hub. Wi-Fi works without a hub but can crowd networks.
LED Bulb Compatibility Protocol
LEDs can be quiet and smooth when set up correctly. This protocol provides a reliable method for testing, tuning, and documenting results before guests complain or warranties expire completely.
Map the Circuit and Switch Capabilities
Confirm how the fan and light are wired before any testing. Separate fan and light leads allow a true speed controller plus a proper dimmer. A single combined lead needs a dual-load control or an in-canopy receiver with two outputs. Never place a dimmer on the motor feed. That invites heat and early failure. Match the ceiling fan smart switch features to the circuit you actually have, not the one you wish you had.
Use Known-Good Reference Lamps
Start with two dimmable LED bulbs that are rated for enclosed fixtures and marked as compatible with electronic controls. Known-good lamps remove variables while you test the switch. If the reference set behaves, expand to your preferred bulbs. If the reference set flickers or buzzes, the issue is the control or wiring, not the lamp brand. Document the exact model, wattage, and quantity you used in tests.
Set Minimum and Maximum Levels
Calibrate low and high limits so light remains stable at the bottom of the range and bright enough at the top. Drop the slider until shimmer appears, then bump up slightly until steady. Save that as your minimum. Confirm the top end does not cause pulsing or sudden step changes. A clean range prevents eye strain at night and keeps drivers within safe operating windows during long dim sessions.
Test for Flicker, Pop-On, and Ghosting
Watch for visible shimmer at low levels, sudden jump-starts after power cycles, and faint glow when the switch is off. Use your phone’s slow-motion video to spot invisible flicker that still causes headaches. If issues appear, try fewer bulbs, a matched set, or a higher minimum level. Ghosting often points to no-neutral electronics leaking small current. The cure is a neutral-required control or lamps with better driver bleed.
Record Load Size and Thermal Behavior
Count bulbs, record total wattage, and run a five-minute thermal touch check on the wall plate at mid-dim. Warm is normal. Hot to the point of discomfort signals overload or poor box ventilation. Multi-gang installations can derate capacity, so note the gang position. Place a small label inside the faceplate with your tested range, lamp count, and date. Future you will thank present you when a lamp change alters behavior.
Noise and Vibration Diagnostics
Unwanted sound ruins comfort and suggests risk. These diagnostics separate electrical noise from mechanical vibration. You’ll confirm causes step by step and fix them before parts loosen or margins fade.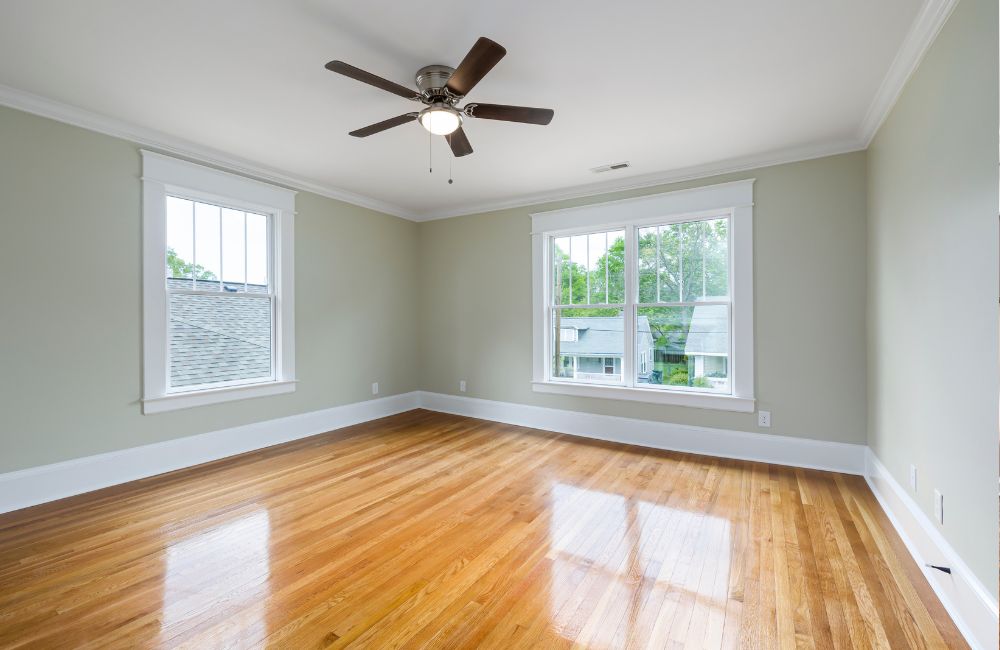
Distinguish Buzz, Hum, and Rattle
Name the noise first. Electrical buzz often tracks the dimming level or a specific speed step. Mechanical hum stays constant with speed and rises with load. Rattle points to loose hardware or blade imbalance. Turn the light off while the fan runs to isolate the source. Change one variable at a time. If buzz vanishes with the light off, focus on the dimmer. If hum follows a speed step, investigate capacitors.
Verify Mounting, Box, and Ground
Shut power at the breaker and check the support. A fan needs a listed, fan-rated ceiling box secured to framing or a brace. Loose screws transfer vibration into the box and drywall. Confirm the ground is continuous and tight. A proper ground reduces stray coupling that can sound like buzz at the switch. Retighten canopy screws, box screws, and mounting bracket hardware. Small gaps here create big noise later.
Balance Blades and Tighten Hardware
Remove dust, then check each blade iron screw, blade tip screw, and light kit fastener. Uneven mass or loose joints cause wobble and ceiling drumming. Use a simple balancing clip and small adhesive weights to tune one blade at a time. Move the clip across the leading edge until the wobble drops, then replace the clip with a permanent weight at that position. Recheck at low, medium, and high speeds.
Downrod, Canopy, and Isolation
Listen near the downrod and canopy. A too-short downrod on tall ceilings can amplify resonance. A very long downrod can sway and knock during speed changes. Choose a length that keeps blades clear while limiting pendulum motion. Ensure rubber isolators or bushings are seated where the manufacturer expects them. Do not add homemade padding. Unlisted materials can creep, loosen, and hide heat issues at the mounting point.
Speed Steps, Capacitors, and Motor Health
If hum appears on one speed but not others, the selected capacitor value may not match the motor well. Recalibrate speed mapping on the controller if available. Persistent hum at low speed can signal aging motor bearings or a failing run capacitor. Test full power by setting the control to high. If high is quiet, focus on the intermediate step. If all steps hum, plan for motor service or replacement.
Noise, Humming, and LED Flicker Fixes
Fan noise and flicker usually trace to vibration, incompatible controls, or poor wiring. Use these checks to pinpoint source, protect motor life, and keep the ceiling fan smart switch stable.
Identify Mechanical vs Electrical Hum
Start by isolating the source. Set the ceiling fan smart switch to full power, then change speeds using the pull chain or onboard controls. If pitch changes with speed, suspect mechanical vibration or a weak capacitor. If hum stays constant, check switch buzzing, loose box screws, or canopy contact. Listen close at the canopy, motor housing, and wall box to locate noise.
Balance Blades and Tighten Hardware
Small imbalances make motors sing. Tighten blade screws, bracket screws, and the downrod ball. Add a balancing weight to the lightest blade and retest. Verify the fan hangs on a fan-rated box and bracket, not a plastic lamp box. Slip thin rubber shims between the canopy and ceiling to isolate harmless vibration that travels into drywall.
Fix Capacitor Buzz and Speed Mapping
Many fans use a run capacitor to set low and medium speeds. A tired capacitor can buzz and cause weak low speed. Choose a fan-rated smart switch that changes speeds with capacitor steps, not a lamp dimmer. Run any switch calibration process so speed steps match your motor. Replace a failing capacitor using the same microfarad rating shown on the schematic.
Quiet the Canopy and Switch Box
Metal touching metal amplifies hum. Ensure the canopy isn’t pinched against textured ceilings or a misaligned bracket. Re-route wires so they don’t press hard on the housing. In the switch box, tighten the mounting yoke, cap unused conductors securely, and consider a deeper box. A loose cover plate or rattling wire nut can create surprising noise at the wall.
Stop LED Strobe and Flicker on Light Kits
Most flicker comes from incompatible dimming. Use a non-dimming fan control for the motor and a separate dimmer channel or switch for lights. Pick LED bulbs listed as dimmable and verified on the switch maker’s compatibility list. If your smart switch needs a neutral, use one. No-neutral models often leak trickle current that makes LEDs glow or pulse at low levels.
No-Neutral Ghosting and Approved Bypass Devices
In older boxes without a neutral, smart switches siphon tiny current through the load. That keeps radios alive but can ghost light or buzz drivers. Prefer a neutral-wire model or a canopy controller that powers at the fan. If that’s impossible, install the manufacturer’s approved bypass across the light leads to stabilize low current behavior and stop shimmer.
Dimmer Incompatibility and Motor Humming
A lamp dimmer chops the sine wave and starves the motor. That creates heat, stutter, and an angry hum. Never feed a fan motor through a standard dimmer. Use a fan-rated wall controller or a smart fan switch that clearly states speed control for inductive loads. If a previous owner used a dimmer, replace it and inspect wiring for heat damage.
When To Call a Professional
Persistent hum at all speeds, hot switch plates, or a scorched smell signals a wiring fault. A wobbly fan on a non-rated box is a hazard, not a nuisance. Bring in a licensed electrician to verify the box, connections, grounding, and circuit capacity. That protects the motor and ensures your ceiling fan smart switch works quietly and safely.
Conclusion
Smart wall controls deliver comfort, quieter operation, and fewer trips to the pull chain. A ceiling fan smart switch works best when you match motor type, wiring, and load ratings before installation. You’ll validate speeds, dimming range, and thermal behavior to catch issues early. Build simple automations that fit daily routines while keeping local control for outages. Keep a yearly checkup on hardware and settings so airflow stays smooth and the switch remains dependable.
FAQ: Ceiling Fan Smart Switch
- Can a ceiling fan smart switch control DC or remote-only fans?
- Usually no. Most wall switches are designed for AC induction motors with a pull chain. DC motors and many remote-only fans need a canopy controller or a full smart fan kit. Check your motor type and look for a smart canopy module that replaces the original receiver.
- How do I get true 3-way or multi-location control?
- Use the brand’s companion remote or auxiliary switch that pairs to the main ceiling fan smart switch. Wireless companions avoid traveler rewiring and work well in finished walls. In hubs that support associations, bind the aux to the primary for instant local control. Map separate buttons for fan speeds and the light.
- Will Matter or Thread improve speed and privacy?
- Yes, when your ceiling fan smart switch and hub support them. Matter enables local, multi-platform control without cloud dependence. Thread creates a low-latency mesh that stays responsive as devices grow. Confirm firmware support, then add a Thread border router for best stability.
- What’s the safest approach in rentals or no-neutral boxes?
- Keep wiring reversible. Use a canopy controller in the fan housing and pair it with a stick-on or battery wall remote. If you must use a no-neutral wall switch, install the manufacturer’s approved bypass on the light circuit to stop ghosting. Always keep the original parts for move-out.
- Can a ceiling fan smart switch lower cooling costs?
- Yes. Set automations that raise the thermostat by 2 to 4 °F while the fan runs. That shift often saves 3 to 10 percent on cooling because fans cool people, not rooms. Add motion or schedule rules so the fan turns off when the space is empty.