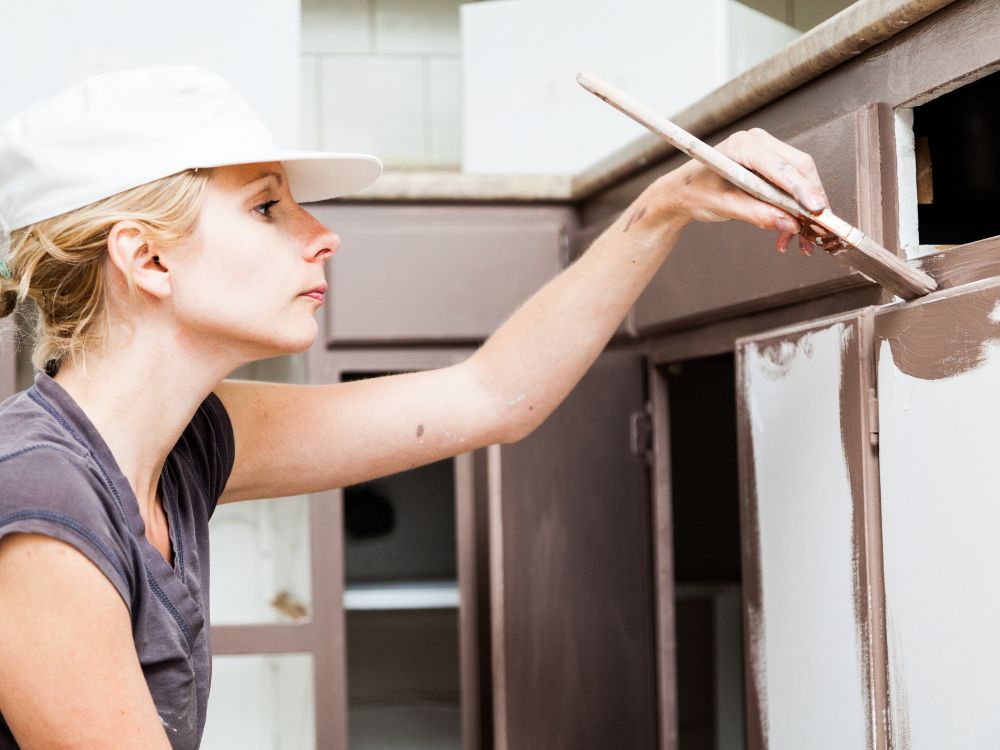
Updating your kitchen can boost its appeal and value. Learning how to paint kitchen cabinets transforms dated doors into a modern focal point. You’re in control from prep to finish. Proper tools and materials matter for a smooth outcome. A fresh coat of paint makes care and cleanup easy.
Contents
Materials and Tools Needed
Knowing how to paint kitchen cabinets prepares you for a flawless result, and mastering this method boosts both function and style. By choosing the right products, you’ll streamline the process and save time.
HomeRight Finish Max HVLP Paint Sprayer
The HomeRight Finish Max HVLP Paint Sprayer offers precision and control for professional cabinet finishes. Adjustable nozzle settings let you switch between wide and narrow spray patterns. It handles latex and oil-based paints smoothly.
The Lightweight design supports extended use without fatigue. Quick-release air cap and easy cleanup reduce downtime. It’s a top choice for DIYers aiming for smooth, even coats on flat panels and recessed details with professional results every time.
Purdy Pro-Extra 2.5-Inch Angular Trim Brush
The Purdy Pro-Extra trim brush excels at cutting in around edges and corners. Its angled sash design reaches tight spots on cabinet panels. Tapered, flagged bristles deliver smooth, uniform coverage.
The hardwood handle feels balanced and sturdy in hand. This brush resists splaying and maintains shape over repeated use. It’s a reliable choice for crisp lines along cabinet frames and door rails. Professional painters trust it for detailed work on doors and drawer fronts.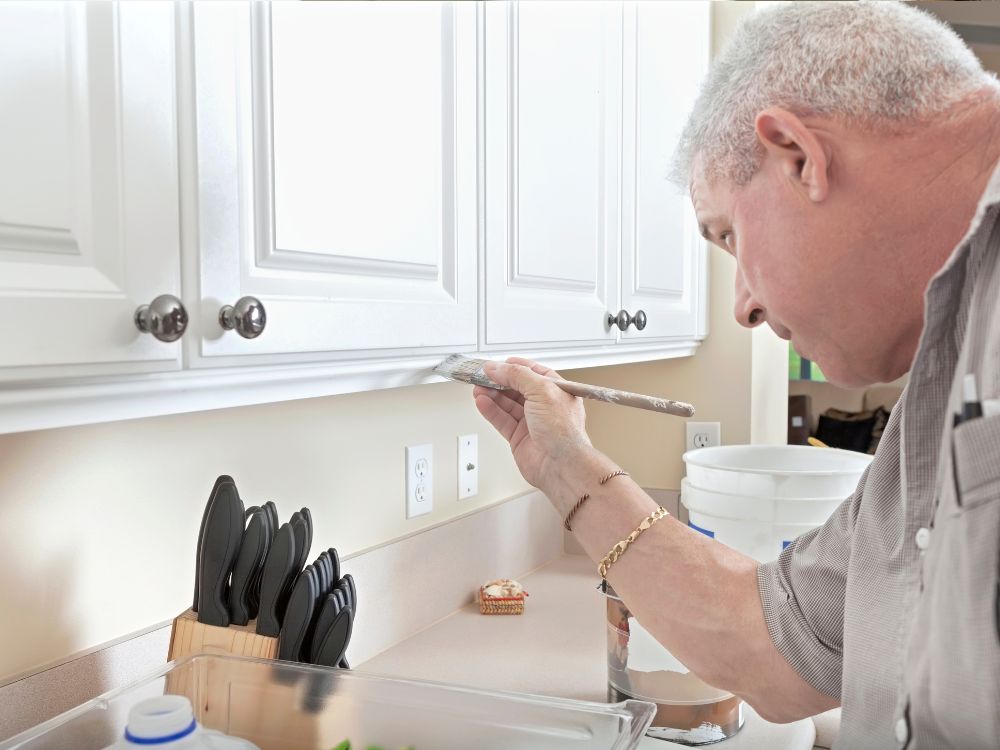
Wooster Shortcut Pro 2.5-Inch Roller Kit
The Wooster Shortcut Pro roller kit includes a compact frame and high-density roller. It fits into tight cabinet interiors and under shelves easily. Foam cover applies paint evenly with minimal splatter. Quick-release handle allows fast roller changes between colors.
The Lightweight design improves control on vertical and horizontal surfaces. Durable construction resists wear for multiple projects. Ideal for smooth application on cabinet faces and trim. Customers praise its smooth finish and ease of use.
KILZ Adhesion High-Bonding Primer
KILZ Adhesion primer creates a strong bond on glossy and hard-to-coat surfaces. It’s formulated for interior and exterior use on cabinets.
This water-based primer seals and prepares surfaces for topcoat adhesion. Low-odor formula suits indoor projects with limited ventilation. Primer dries quickly and sands easily for a smooth finish. It’s a top pick on Amazon for reliable undercoating before painting kitchen cabinets. Users report improved paint durability and reduced peel risk.
Rust-Oleum Cabinet Transformations Kit
Rust-Oleum’s kit simplifies cabinet refacing with an all-in-one system. It includes deglosser, bonding primer, decorative glaze, and protective topcoat. Detailed instructions guide you through each step for a factory-like finish. Product bonds to wood, laminate, and thermofoil surfaces without sanding. The high-build primer fills minor imperfections for smooth results.
This kit receives top ratings on Amazon for its ease and cost savings compared to full cabinet replacement. DIYers love its comprehensive coverage and professional-grade results.
Preparing Cabinets for Painting
Proper preparation lays the groundwork for even coverage and professional results. Learning how to paint kitchen cabinets starts by removing and organizing every component carefully.
Removing Cabinet Doors and Hardware
Begin by taking off doors and drawers from cabinet frames. Use a screwdriver or drill to back out hinges and pulls. Label each piece and store screws in a small bag taped to its corresponding door. This prevents mix-ups when you reattach hardware. Hanging doors on a temporary rack keeps both sides accessible.
Labeling and Organizing Parts
After removal, label each cabinet door, drawer front, and hinge location. Use numbered stickers or strips of tape for clear identification. Store screws and small fittings in compartmentalized trays or zip-lock bags. A quick diagram taped inside a cabinet helps you remember placement. This level of organization speeds up reassembly.
Securing Work Area and Ventilation
Set up a well-ventilated workspace to manage fumes and speed drying. Lay down drop cloths or cardboard to protect floors. Position cabinets on sawhorses for 360° access. Open windows and run fans to improve airflow. Wearing a respirator rated for paint fumes keeps you safe.
Masking Surrounding Surfaces
Proper masking speeds how to paint kitchen cabinets and prevents stray drips from marring your walls and countertops. Use high-quality painter’s tape and paper or plastic sheeting to cover floors, adjacent cabinets, and appliances. Press tape edges firmly to seal gaps. Replace the tape if the adhesive loosens during prep. This step helps you focus on painting without worrying about cleanup.
Cleaning and Sanding Techniques
Thorough cleaning and sanding ensure primer adheres and paint glides on smoothly. Mastering how to paint kitchen cabinets demands removing grease and smoothing surfaces before applying primer.
Degreasing with a TSP Solution
Grease and grime block adhesion and cause paint failure over time. Mix trisodium phosphate (TSP) with water per package instructions. Apply with a sponge in small sections and scrub gently. Rinse thoroughly with clean water and let surfaces dry fully. Effective degreasing sets the stage for lasting results.
Light Sanding for Smooth Finish
Sanding removes gloss and creates tooth for primer to grab. Start with 150- to 220-grit sandpaper on a sanding block. Focus on flat areas and edges but avoid over-sanding. Wear a dust mask to protect lungs. A consistent light sanding ensures an even surface for primer and paint layers.
Tack Cloth Cleaning
Tack cloths lift fine dust particles without leaving residue. After sanding, wipe every surface with a slightly damp tack cloth. Work systematically from top to bottom. Replace the cloth when it picks up debris. This step guarantees no dust shows up under primer or paint, critical for flawless coverage.
Final Wipedown and Inspection
After sanding, perform a final wipe to gauge readiness for primer. An inspection lets you see if new scratches or imperfections appear. It helps when learning how to paint kitchen cabinets to catch flaws early. Use a lint-free cloth dampened with mineral spirits. Ensure surfaces feel smooth and free of dust before moving to primer application.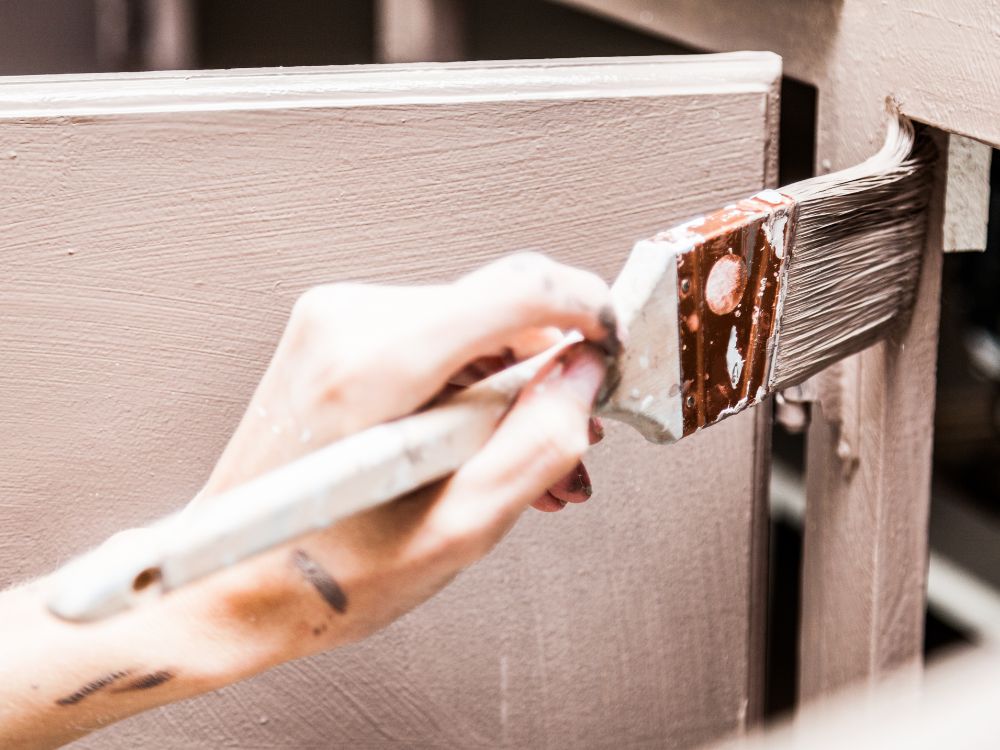
Choosing Primer and Paint Types
Selecting the right primer and paint guarantees durability and ease of cleaning. Knowing how to paint kitchen cabinets correctly involves pairing high-bond primers with cabinet-grade paints.
High-Bonding Primer Selection
When you learn how to paint kitchen cabinets, a high-bonding primer helps paint adhere to slick surfaces like laminate or previously glossy finishes. Choose water-based primers designed for cabinets to minimize odor. Apply two thin coats and sand lightly between layers. This ensures paint sticks for years. Look for products labeled for adhesion and stain blocking.
Cabinet-Grade Paint Choices
Cabinet-grade paints offer low VOCs and durable finishes to withstand daily use. Opt for enamel formulations for easier cleanup and scratch resistance. Consider a satin or semi-gloss sheen for a balance of style and practicality. Use tinted paints to ensure uniform coverage, especially over darker woods. Check for formulas that resist yellowing over time.
Color Sample Testing
Testing small patches helps you see final appearance before committing. It’s a crucial step when learning how to paint kitchen cabinets in a busy kitchen environment. Paint sample cards or spray small sections on scrap wood pieces. View in different lights to confirm the color holds up under natural and artificial illumination. Adjust your choice as needed.
Eco-Friendly and Low-VOC Options
Eco-friendly paints reduce fumes and support better indoor air quality during projects. Look for low-VOC labels and certifications like GreenGuard. These options help create a healthy workspace when planning how to paint kitchen cabinets. Many low-VOC paints now match the durability of conventional formulas. Check for scrubbable finishes for easy maintenance.
Maintenance and Touch-Up Strategies
Regular maintenance keeps painted cabinets looking pristine and prevents minor damage from becoming major issues. Timely touch-ups restore finish and prolong the life of your kitchen upgrade.
Routine Cleaning Tips
Wipe cabinet surfaces weekly with a soft, damp cloth and mild, non-abrasive cleaner. Avoid harsh chemicals or scouring pads that can dull the finish. Tack on microfiber cloths for a streak-free shine. Clean around handles and hinges where grease builds up. Consistent, gentle cleaning preserves your paint and reduces the need for frequent touch-ups.
Inspecting and Identifying Wear
Schedule monthly checks for chips, scratches, and peeling along edges and high-traffic areas. Inspect hinge screws and handles for looseness that can rub away paint. Note any discoloration from spills or heat exposure. Document spots needing attention in a maintenance log. Early detection makes small repairs quick and nearly invisible.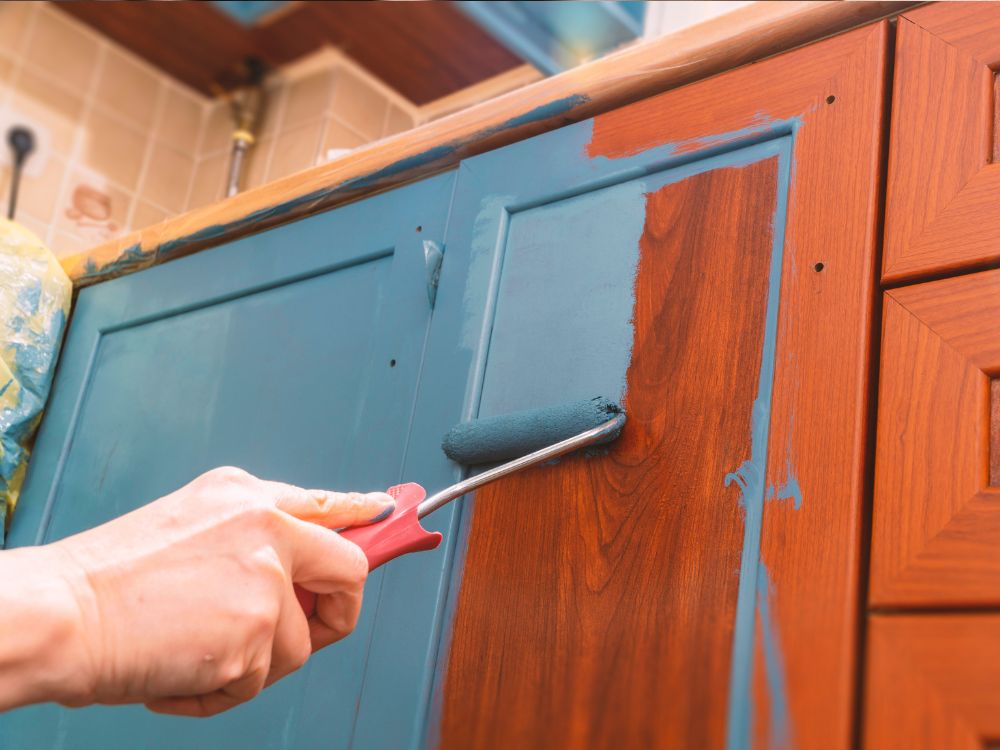
Performing Minor Touch-Ups
Keep leftover paint and a fine artist’s brush on hand for swift repairs. Clean and sand the damaged spot lightly before applying paint. Feather edges outward to blend with surrounding finish. Allow full drying between coats, then buff with a soft cloth. Small, well-executed touch-ups vanish against fresh paint.
Reapplying Protective Topcoat
After two to three years, apply a clear water-based polyurethane or cabinet-grade varnish for extra durability. Lightly sand existing finish with 220-grit paper and wipe clean. Roll on a thin topcoat, following the wood grain for uniform coverage. Let each coat dry fully before lightly sanding and repeating. This adds a barrier against moisture and wear.
Seasonal Deep Maintenance
Once a year, remove doors and drawers to give everything a thorough clean inside and out. Sand any areas showing raised grain or wear, then re-primer and repaint as needed. Check cabinet interiors for moisture damage or warping. Lubricate hinges and drawer slides. A comprehensive annual check keeps cabinets in showroom condition.
Conclusion
Learning how to paint kitchen cabinets unlocks a fresh, modern look for any kitchen. Proper preparation and high-quality products set the stage for flawless finishes. Regular cleaning and simple touch-ups keep cabinets looking new for years. Embrace your new skills and enjoy the lasting impact of this affordable DIY upgrade.
We have more guides in renovating your home. Check out our home painting guide next!


