Last Updated on July 2, 2025 by Team Ideas24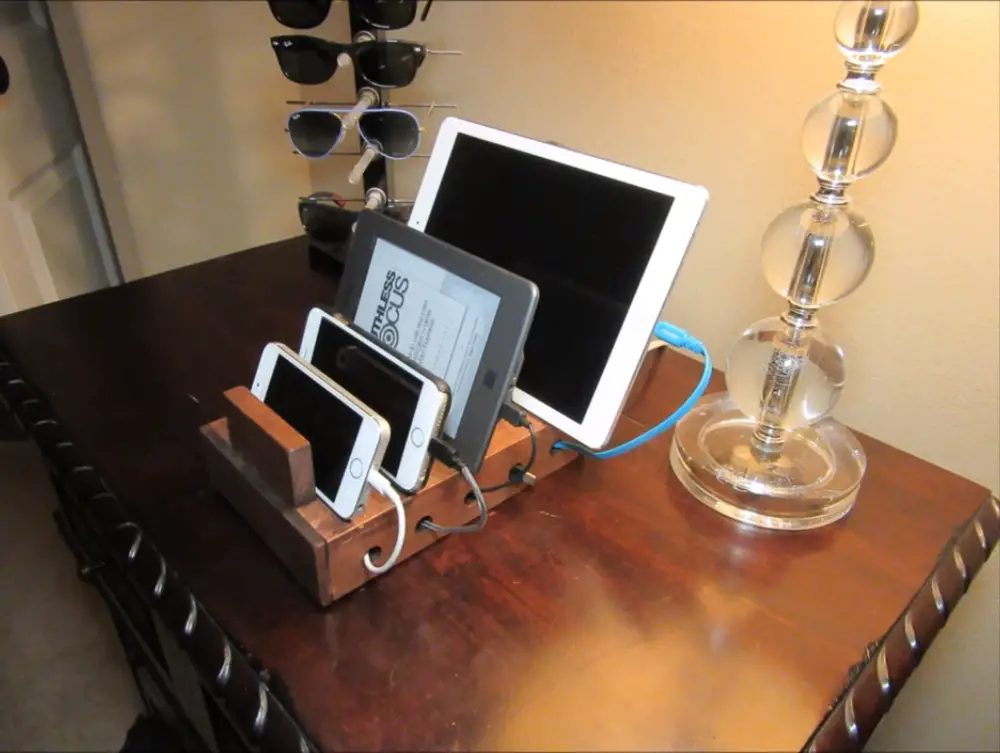
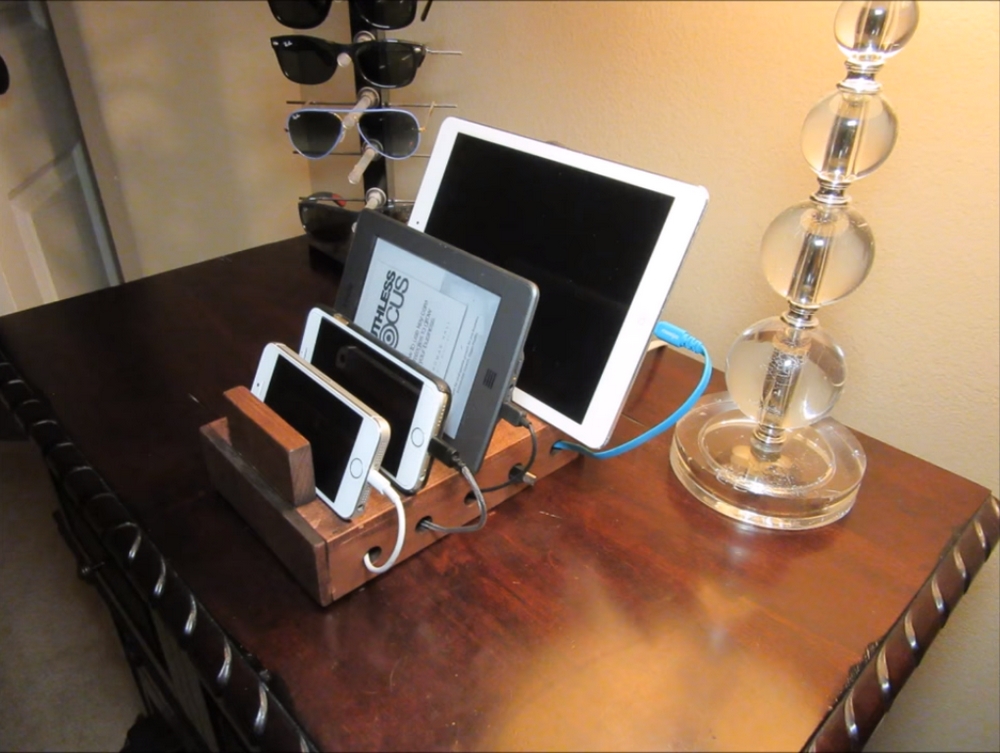
Charging electronic stuff can be a chore. I don’t like having a mess of tangled cables and wires. It used to be a problem for me but not anymore. A few weeks ago, a friend made several charging station organizers and gave one to me. It easily solved my charging problem.
You can also make this charging station organizer at home. Believe me when I say it’ll make your life a whole lot easier. Your chargers are in one place and they’re all easily plugged in. You can also say goodbye to tangled cords.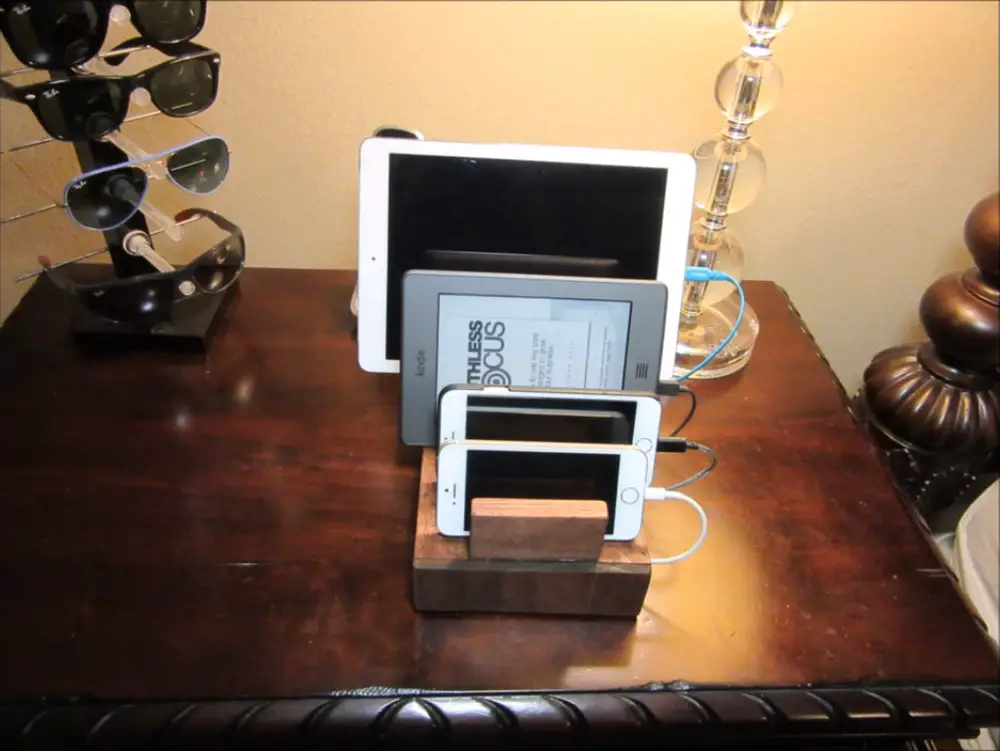
If you have leftover wood, you don’t have to buy anymore. You can also make a couple of these charging station organizers and give them away as presents. It’s a thoughtful gift that’s very functional, too.
Crafting a DIY Charging Station Organizer
Materials:
- Wood
- ½ inch brad nails
- Wood glue
- Sandpaper
- Paint or stain
Tools:
- Miter saw
- Hammer
- Drill
Step 1: Sketch the layout
Decide how many slots you need. Mark phone, tablet, and watch positions on paper. Measure each device and add ⅛-inch clearance so cases fit.
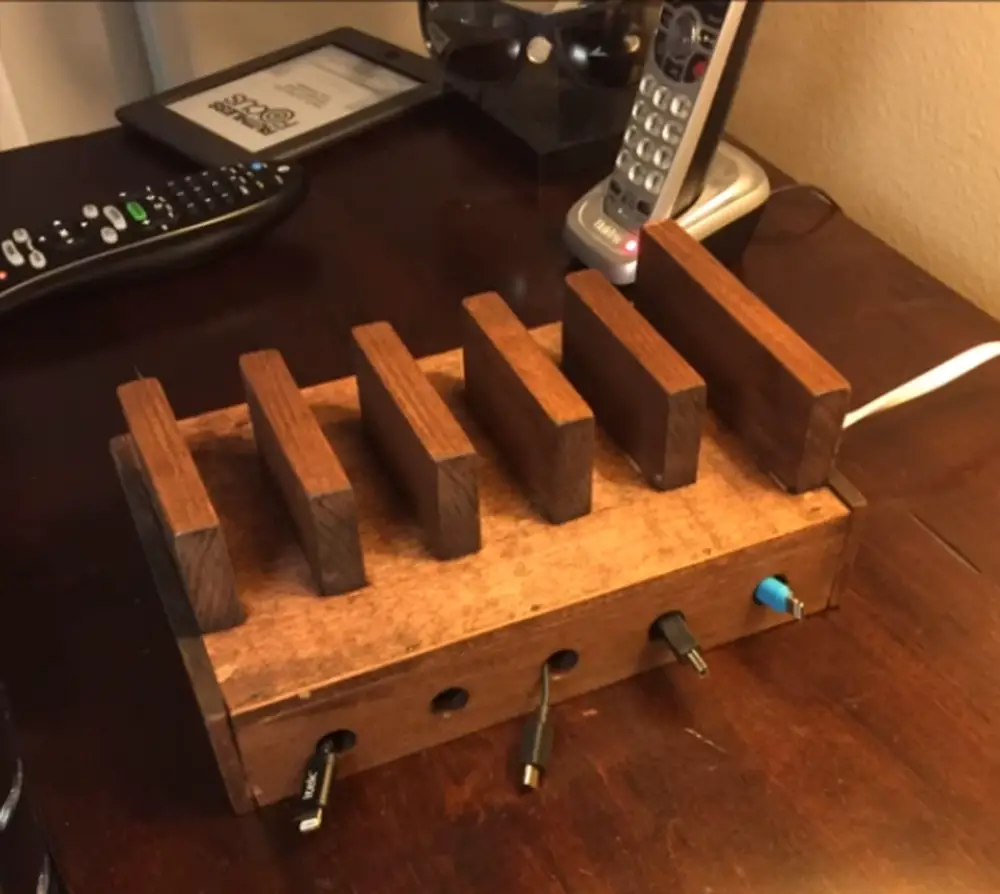
Step 2: Cut the base and dividers
Use the miter saw to cut a base panel about 12 × 8 inches. Rip divider pieces to match device widths. Cut each divider about 4 inches tall so screens stay visible while charging.
Step 3: Drill cable holes
Clamp the base. Drill ⅜-inch holes close to the rear edge, one for every slot. Angle each hole slightly downward so cords slip through without kinking.
Step 4: Create a rear channel
Flip the base. With the miter saw set to ¼-inch depth, nibble a shallow groove along the back. This hidden trench guides cables to a power strip.
Step 5: Sand all parts
Start with medium-grit sandpaper to smooth saw marks. Finish with fine grit for a silky touch. Wipe off dust with a clean rag.
Step 6: Assemble the frame
Apply a thin bead of wood glue to each divider edge. Stand the dividers on the base, aligning them with your marks. Tap ½-inch brad nails through the bottom to lock everything tight. Check that every slot stays square before the glue sets.
Step 7: Strengthen the rear rail
Cut a strip that spans the full width of the organizer. Glue and nail it across the back, flush with the cable holes. This rail keeps devices from sliding out.
Step 8: Finish the wood
Brush on paint or stain in smooth strokes. Let the first coat dry, then sand lightly with fine grit. Add a second coat for richer color and better protection.
Step 9: Thread and label cables
Push each charger cord up through its hole. Pull extra length into the rear channel so only neat loops show on top. Add small adhesive labels if multiple family members share the dock.
Step 10: Mount the power strip
Stick or screw a slim surge-protected strip under the back edge. Plug in every charger. Route the strip’s cord to the nearest outlet, and your DIY charging station organizer is ready for daily use.
Designing a Multi-Device Dock That Fits Phones, Tablets, and Wearables
A solid layout saves space and keeps every gadget safe. This section shows how a DIY charging station organizer becomes a custom fit for mixed-size gear.
Adjustable Slot Spacing
Modular dividers let the DIY charging station organizer grow with every phone upgrade. Cut each block a hair wider than today’s thickest case. Dry-fit devices, slide the blocks until screens stand straight, then mark those spots.
Glue one block at a time, tap in brad nails, and re-check alignment before the glue skins over. A slim cork shim behind each block leaves room to nudge slots wider later.
Slide the shim out, add a drop of glue, and your dock now fits the next-gen tablet. This simple detail keeps the station useful for years instead of a single phone cycle.
Measuring Device Footprints
Getting the base size right stops crowding later. Double-check the depth of cases and the height of watch bands before you cut slots. Leave wiggle room so cords slide without stress.
- Trace each device on paper first to spot overlaps
- Mark the thickest point of every case, then add 3 mm clearance
- Map a watch stand hole near the edge so straps drape neatly
Safe Material Choices for Sensitive Finishes
Wood touches glass and aluminum all day, so pick species that respect fragile coatings. Pine and cedar compress under pressure, which cushions glass backs. Oak or maple fight dents but demand a soft buffer where metal rests.
Stick felt pads or a thin leather strip on every contact edge. Sand to 320-grit, wipe away dust, then seal the surface with water-based polyurethane. The finish blocks moisture, stops static, and adds a light satin glow that matches modern tech. This careful prep means the DIY charging station organizer protects devices instead of scratching them.
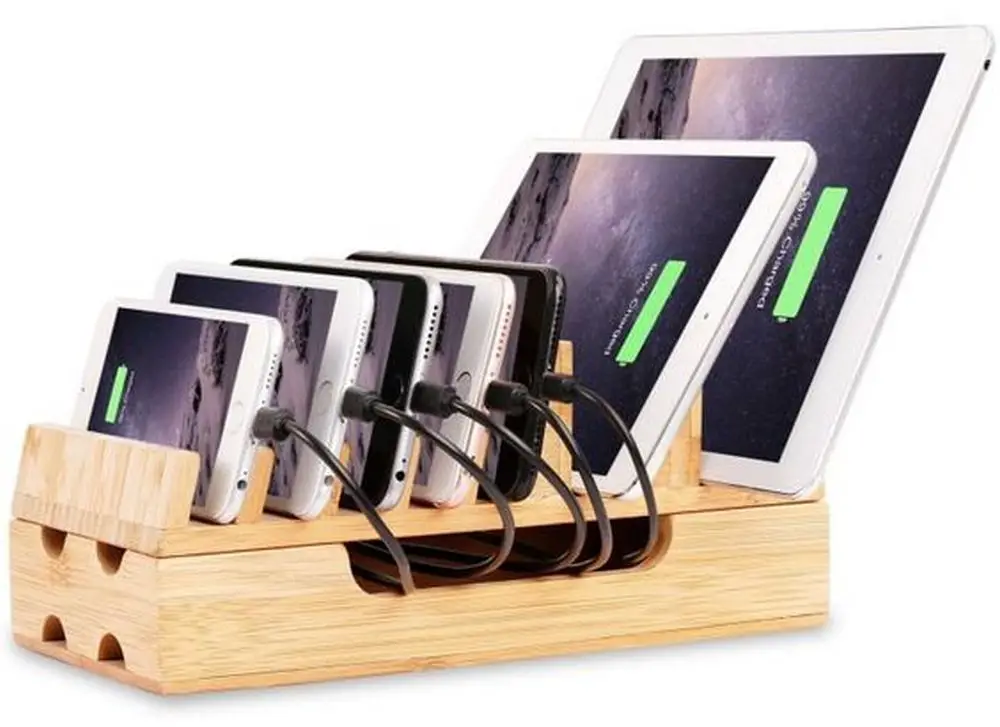
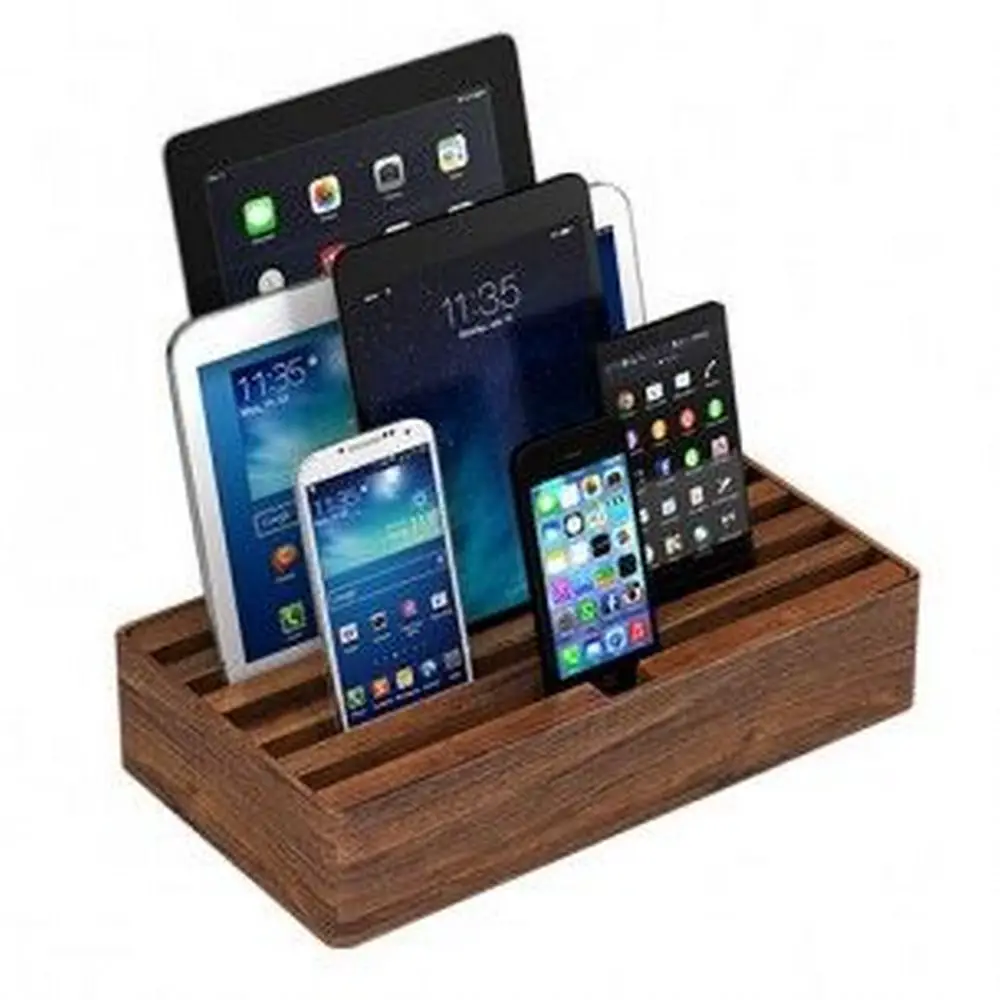
DIY Charging Station Organizer Gallery
Click on any image to start the lightbox display. Use your Esc key to close the lightbox.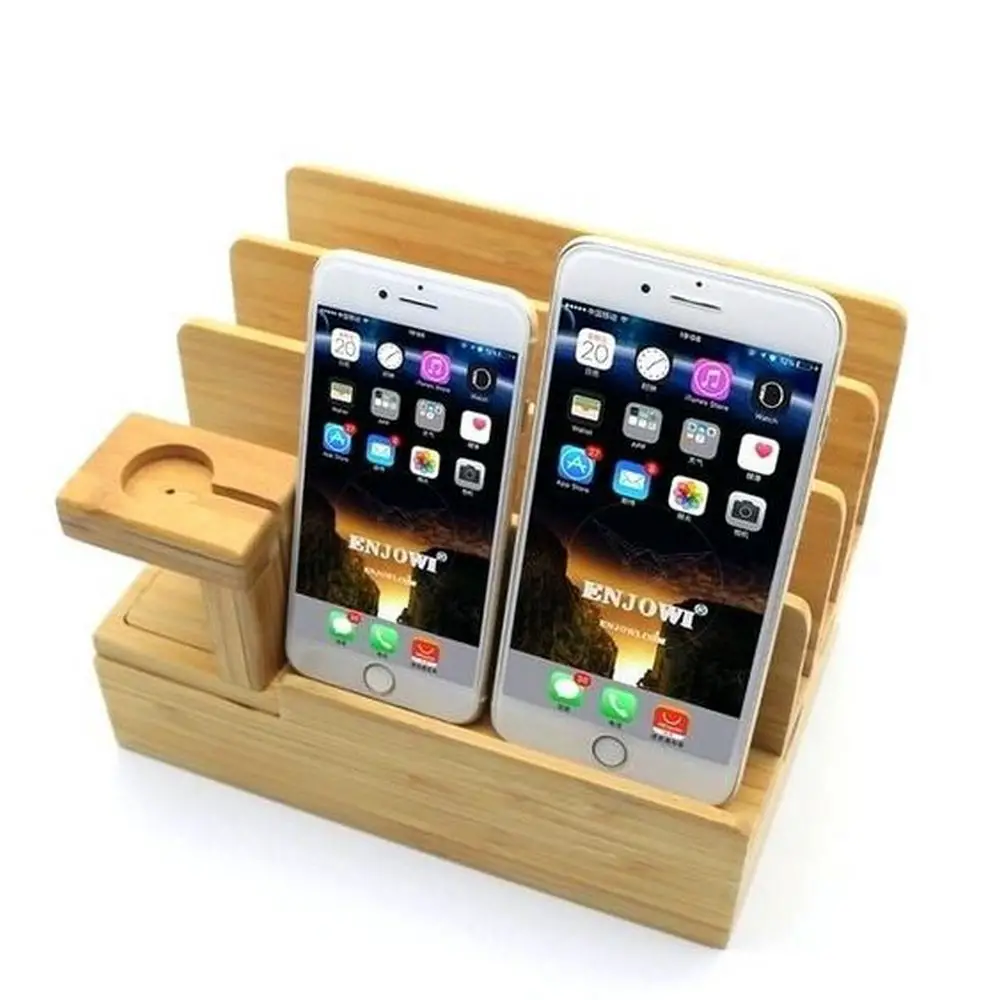
Hidden Cable Channels and Clips for Tidy Cord Management
Nothing ruins a DIY charging station organizer faster than tangled leads. Clever routing turns a wooden box into a clutter-free power hub that still looks sharp on a desk.
Planning the Cable Path
Messy cables disappear once you think like water in a pipe. Short, direct runs cut resistance and heat. A shallow rear trench hides slack without adding thickness.
- Sketch the underside first, noting plug orientations on your power strip
- Drill angled holes that let gravity pull cords downward, not forward
- Test every charger in the channel before final glue-up
Selecting Low-Profile Clips
Cord guides do the invisible work that keeps the station neat. Look for nylon clips under 6 mm tall, so they vanish beneath the lip of the DIY charging station organizer. Pick an adhesive rated for wood, then press each clip for ten seconds to lock it.
Test with the thinnest USB-C lead; if it holds that, thicker cables will stay put. Clear clips blend with any finish, but black hides best against shadowed recesses. Replace any clip that loses grip after heat cycles, because a loose cord quickly turns tidy rows into a knot.
Ventilation Along Cable Runs
Heat sneaks in through chargers even at modest loads. Saw a 4 mm-deep slot along the rear panel and drill finger-sized vents every 3 inches. Warm air escapes upward, cool air draws in below, and batteries stay within the safe 0-35 °C band.
Add a mesh strip inside the slot to block dust without choking flow. If you live in a humid climate, wipe the vents monthly so lint never traps moisture. Good airflow costs nothing yet doubles the lifespan of cords and bricks hiding inside the DIY charging station organizer.
Adding Wireless Charging Pads and USB-C Hubs to Future-Proof the Station
Tech moves fast, but a thoughtful DIY charging station organizer keeps pace. Integrating wireless coils and hubs means fewer wall outlets and zero adapter hunts down the road.
Power Budget and Heat Dissipation
Modern hubs juggle fifteen-watt watches and fifty-watt tablets at the same time. A 60 W GaN brick leaves headroom so no port throttles under peak draw. Mount the hub on brass standoffs that lift it 5 mm off the wood base.
Air slips underneath and whisks heat away before it soaks into timber. Place high-drain devices on outer slots where edges breathe better.
Check temperature by touch; warm is fine, hot means airflow still lacks. Treat heat like an enemy and the DIY charging station organizer stays safe even during overnight top-ups.
Firmware and Adapter Upgrades
USB-C hubs evolve through firmware just like phones. Choose a model with a published update tool and a detachable C-to-C lead. A quick flash unlocks higher power delivery or fresh HDMI modes without grabbing a screwdriver.
Keep an extra 100 W cable in the misc drawer so you can swap failed leads in seconds. When USB4 or Thunderbolt standards leap forward, replace only the hub and slide it back into the same cut-out. Future tech lands softly because the DIY charging station organizer was built with change in mind.
Matching Coil Placement to Device Hotspots
Wireless pads work only when magnets align. Center each coil under where the phone’s Qi hotspot sits. A thin veneer spacer preserves wood aesthetics without blocking the signal.
- Use a phone app that highlights the sweet spot on screen before marking wood
- Cut a 3 mm recess so the pad sits flush and stays cool
- Add a felt ring to stop vibration and micro-scratches
Conclusion
Building a DIY charging station organizer turns scattered gadgets into an ordered hub. Each device gets a custom slot plus steady airflow to keep batteries healthy. You master precise measuring, smart material choices, and cable routing while you build. Wireless pads and USB-C hubs slide in later, so the dock stays current with new tech.
We have more projects to make phone charging convenient. Check out our sewn phone charger holder project next!


