
Last Updated on March 25, 2025 by Team Ideas24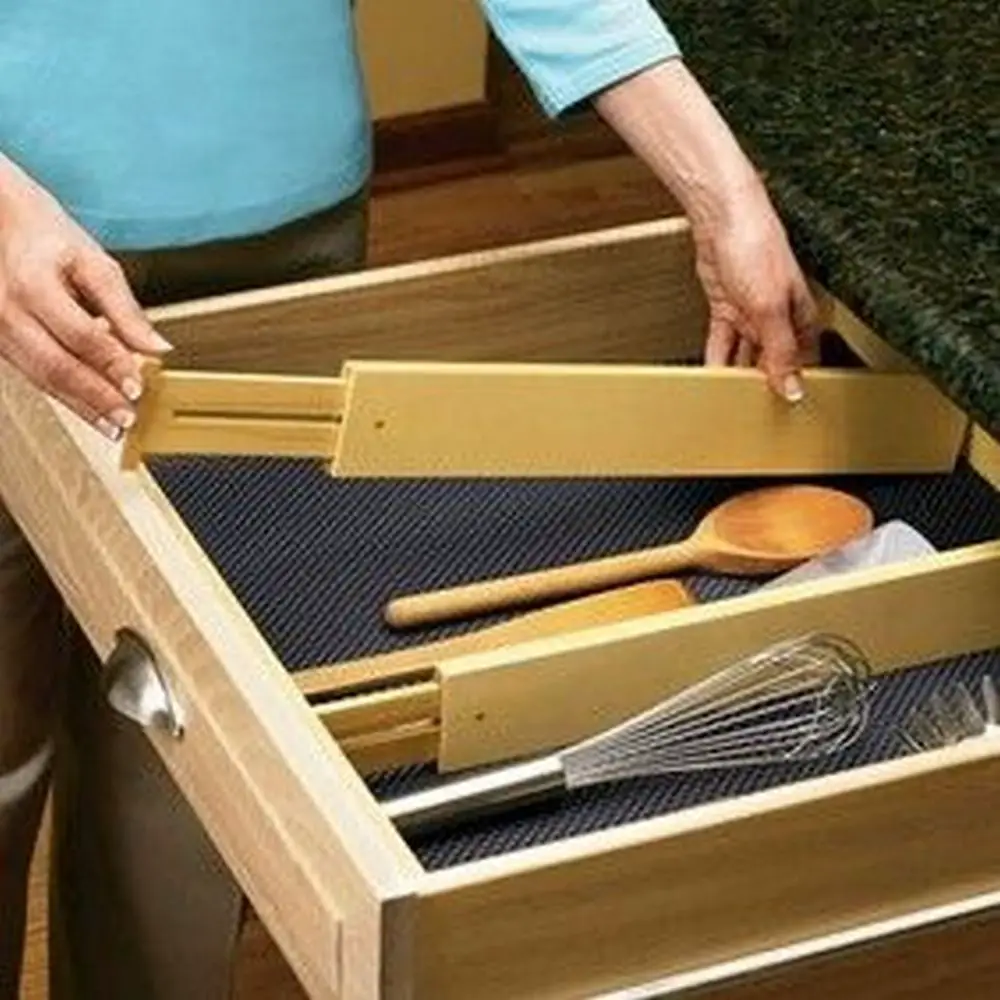
How much time do you normally spend in one day looking for things? Having a “fixed” spot for your necessities will drastically cut down the time spent hunting for them. However, shoving them inside a drawer won’t help. Things inside will mix, jumble, and tangle when left on their own.
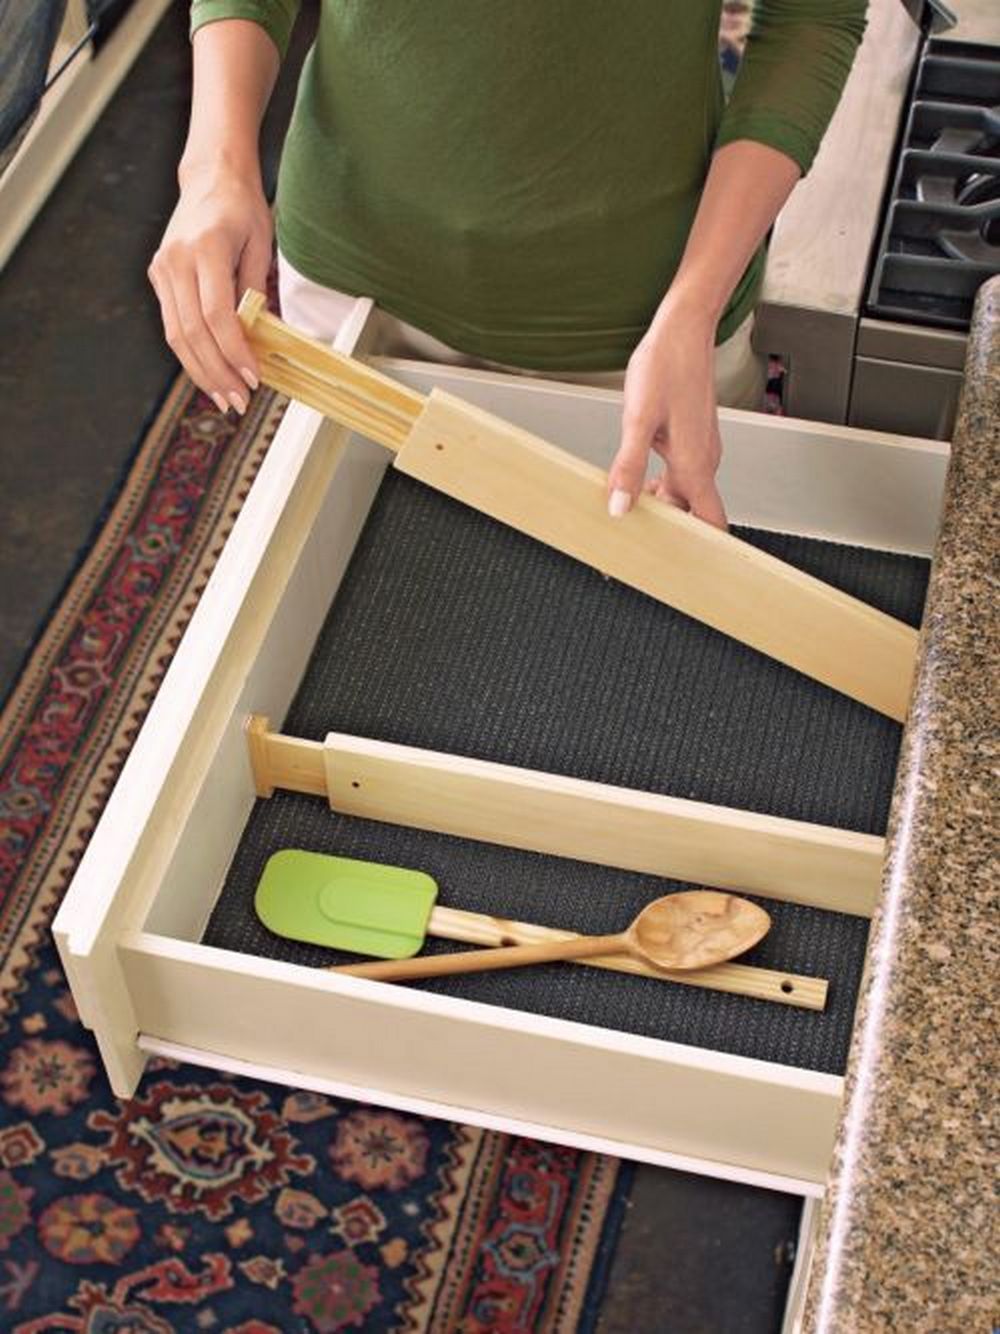
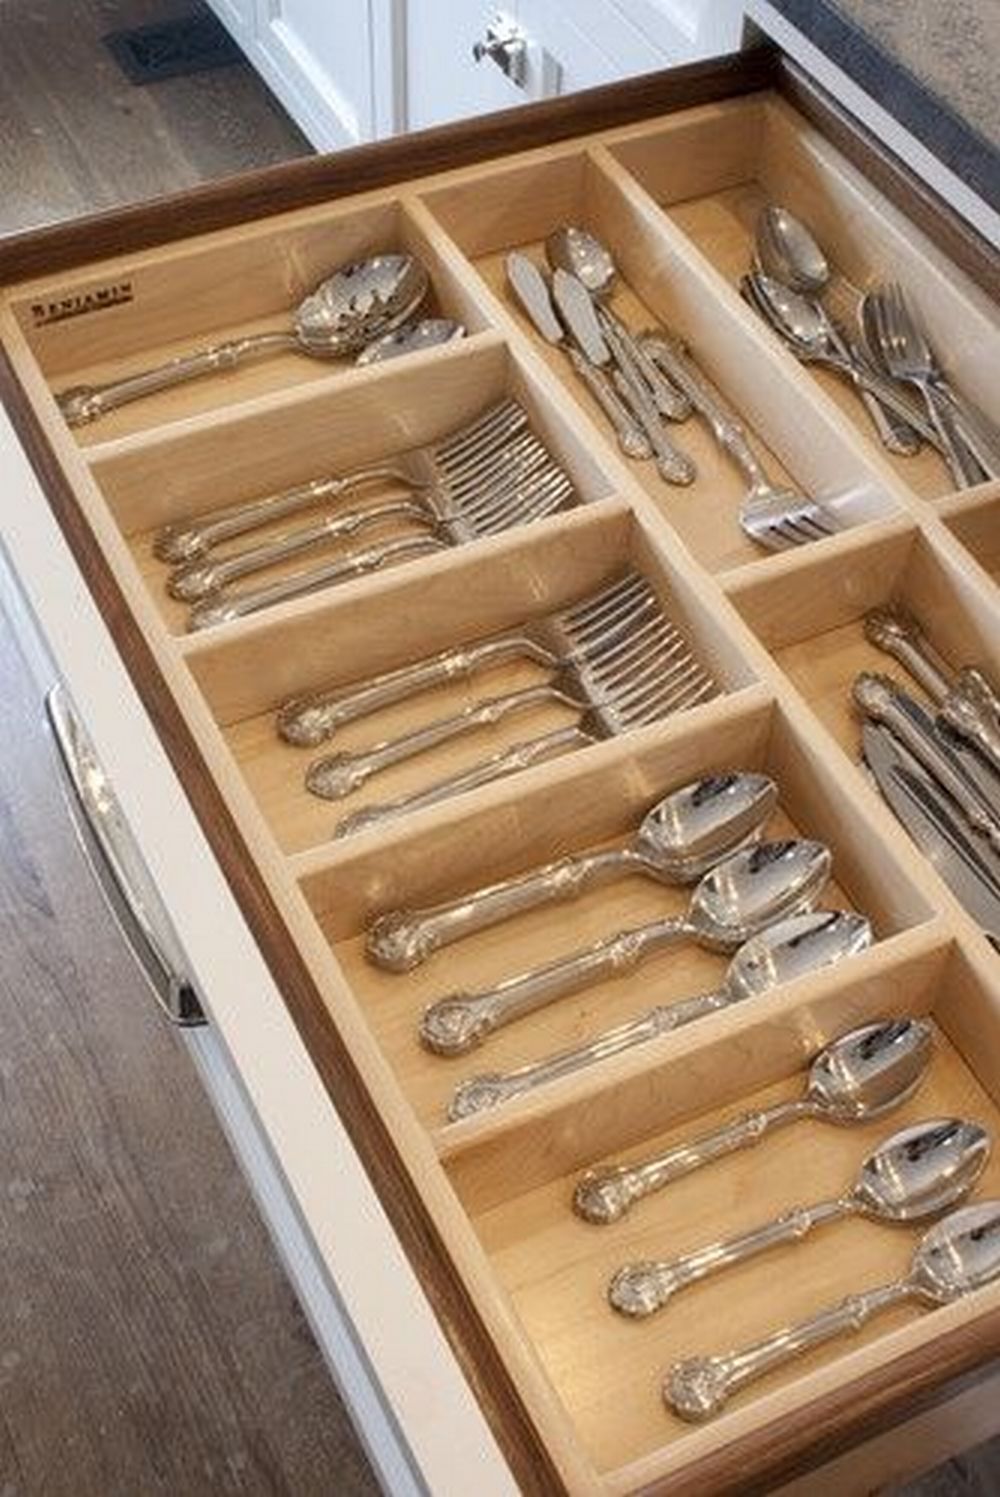
Here’s what you need – adjustable drawer dividers. You can easily adjust the space according to how big you need one to be. This way, you can fit in a lot of items inside. And because they’re properly subdivided, you won’t have to rummage for anything. One look and you’ll see what you need.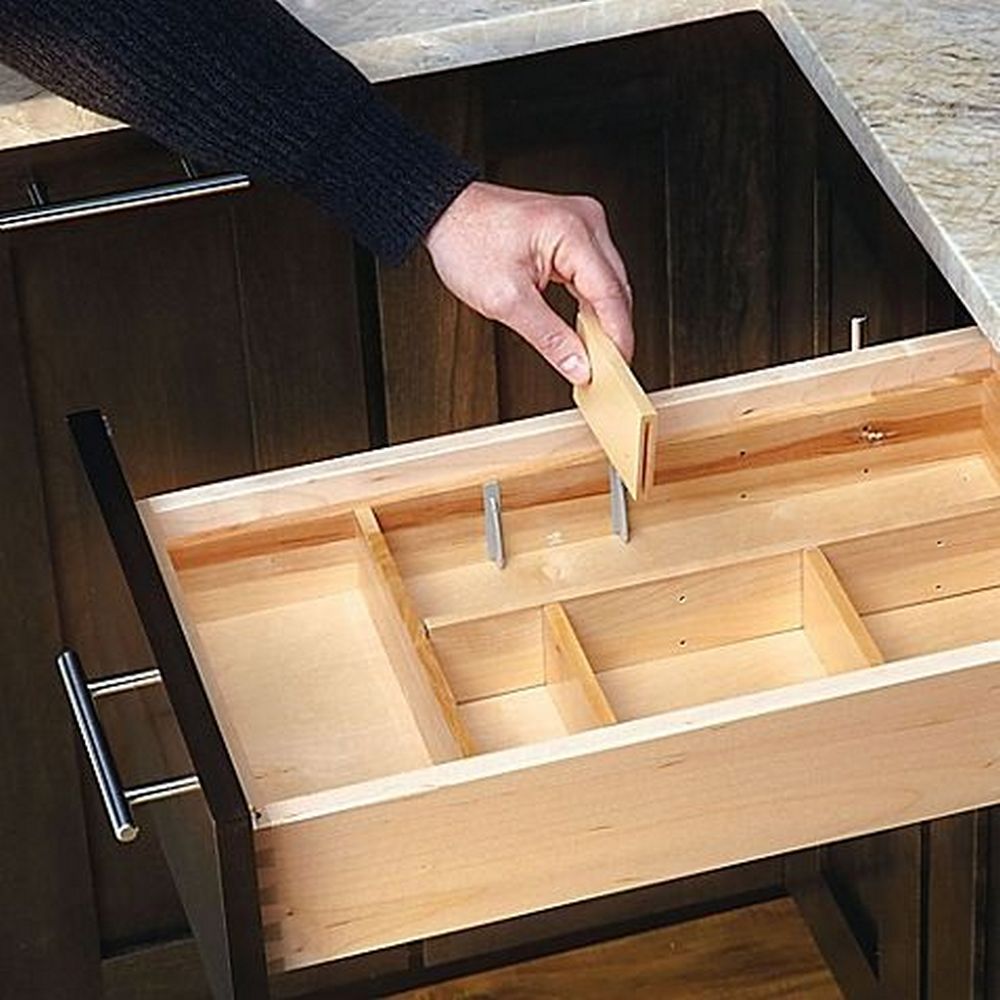
It’s amazing how proper organization can easily turn your life around. You’ll actually have more time left in your hands to do other important things!
Contents
Making DIY Drawer Dividers
Materials:
- ½” plywood
Tools:
- Table saw or miter saw
- Orbital or palm sander
- Tape measure
Steps:
Step 1: Measure the inside of your drawer
Start by emptying the drawer. Use your tape measure to get the exact internal length, width, and height. Jot these down. This will help you decide how many compartments you want and how much wood to cut.
Step 2: Plan your layout
Sketch a simple layout of your dividers. Think about what you’ll be storing and how much space each section needs. Decide how many vertical and horizontal pieces you’ll need. Mark their measurements clearly.
Step 3: Cut your plywood pieces
Use a table saw or miter saw to cut the plywood into strips. Cut the horizontal dividers to match the width of the drawer. Cut the vertical dividers to match the depth. For a snug fit, subtract about 1/16″ from each measurement to account for any irregularities.
Step 4: Mark and notch the divider pieces
To interlock the dividers, you’ll need to create notches. Mark halfway down each piece where another piece will cross it. For example, if you have two vertical and two horizontal pieces, mark two halfway notches on each. The notches should be the same thickness as the plywood—½” wide.
Step 5: Cut the notches
Use your saw to carefully cut the marked notches. Make sure you don’t cut too deep. You want the two pieces to slide into each other and sit flush at the top edge.
Step 6: Sand all the pieces
Use an orbital or palm sander to smooth every edge. Pay extra attention to the notches and corners. This will help the dividers fit together better and remove any splinters.
Step 7: Assemble your dividers
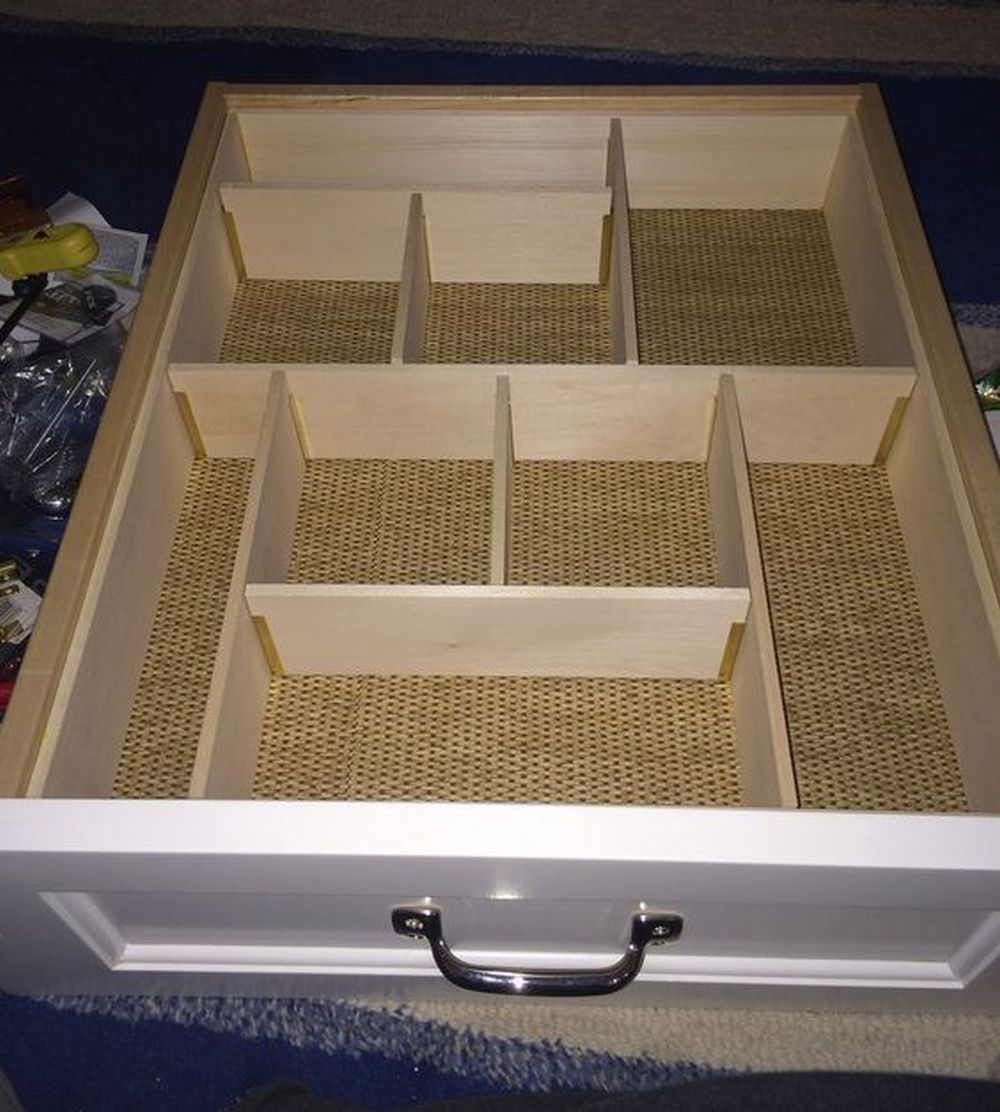
Slide the pieces together at the notches to create the grid. It should hold together snugly without glue or screws. Test the fit inside the drawer. If it’s too tight, sand the edges down slightly.
Step 8: Insert into the drawer
Once the fit is right, place your finished divider grid into the drawer. It should sit securely with no wobble. Rearrange your items and enjoy the organized space.
Below is a visual guide to further help you make your DIY drawer divider.
Benefits of Adjustable Drawer Dividers vs. Fixed Dividers
If you’ve ever opened a drawer only to find a chaotic mess of tangled cords, mismatched socks, or scattered utensils, you’re not alone. Drawer clutter is a common frustration in many homes. That’s why DIY drawer dividers have become such a popular solution. They help bring order to your space and make daily routines smoother. But when it comes to choosing between adjustable and fixed dividers, many DIYers wonder which one offers better long-term value. Both styles have their place, but adjustable dividers offer some key advantages—especially if you want flexibility, ease of use, and a clutter-free lifestyle.
Flexibility That Adapts to Changing Needs
Fixed dividers work well if your drawer contents never change. You measure once, cut the pieces, and install them permanently. But that’s not always realistic. What happens when your needs shift? Adjustable drawer dividers give you the freedom to reconfigure your layout whenever you want. Whether you’re organizing office supplies one month and craft tools the next, adjustable dividers move with your lifestyle. They’re especially useful for shared drawers or spaces used for multiple purposes.
Ideal for Irregular or Oversized Items
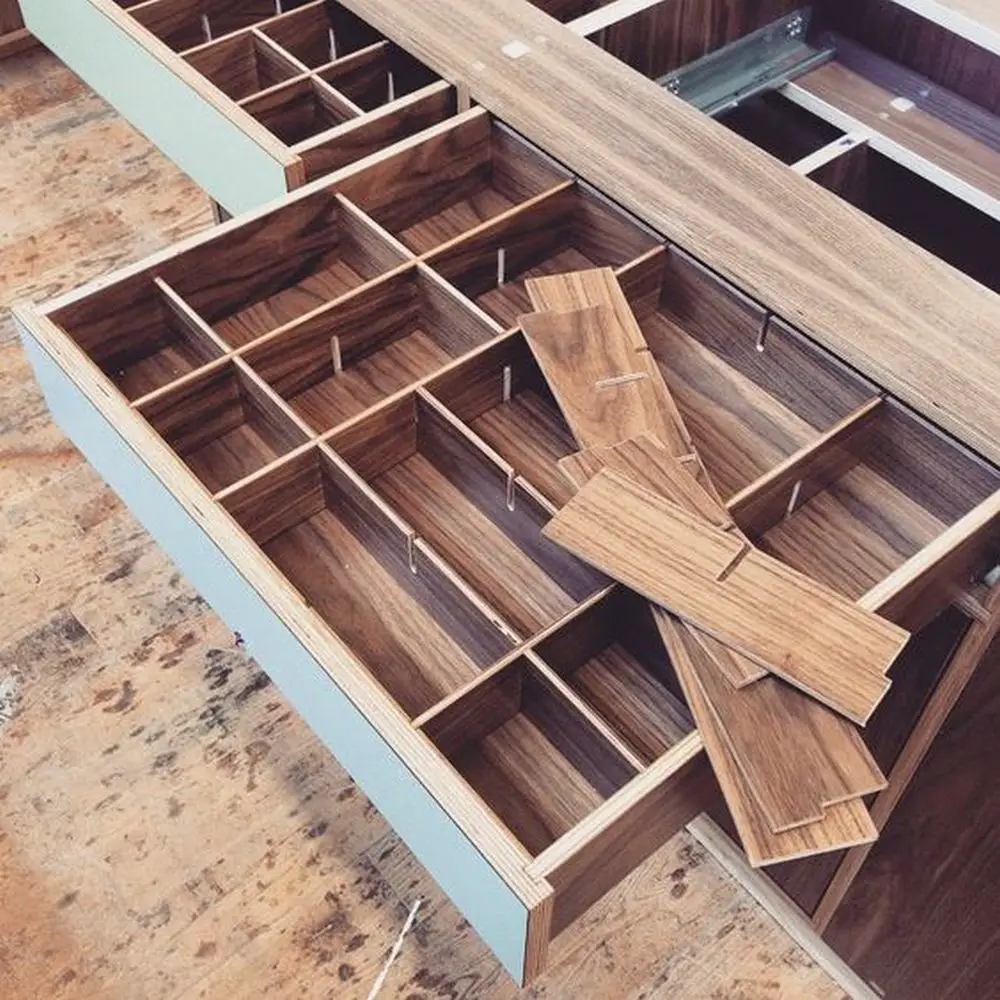
Not everything fits into neat compartments. Sometimes you have odd-shaped tools, bulky kitchen gadgets, or long objects that don’t align with fixed dividers. DIY drawer dividers that adjust let you create custom-sized compartments. This helps you make the most of every inch of space. You don’t have to force an item into a space that doesn’t fit or leave large gaps between items. With adjustable sections, the dividers fit your items—not the other way around.
Easier to Build and Install
DIY fixed dividers often require precise measurements, permanent joints, and commitment. Adjustable dividers can be made using simpler techniques, like interlocking notches or tension-fit systems. They don’t require glue or nails, and you can reposition them without redoing the entire project. For first-time DIYers, this takes away the pressure of getting everything perfect on the first try. If a measurement is off or you want to tweak the layout later, it’s an easy fix.
Cost-Effective and Reusable
DIY drawer dividers that are adjustable can be reused in other parts of the home. If you move or decide to reorganize a different drawer, you can repurpose the same pieces. This saves time and money. Fixed dividers, once installed, are generally stuck in place. You’d need to rebuild new ones from scratch to fit a different drawer or layout. In contrast, adjustable ones are a smart investment for people who like to update their storage systems often.
A Cleaner, More Organized Look
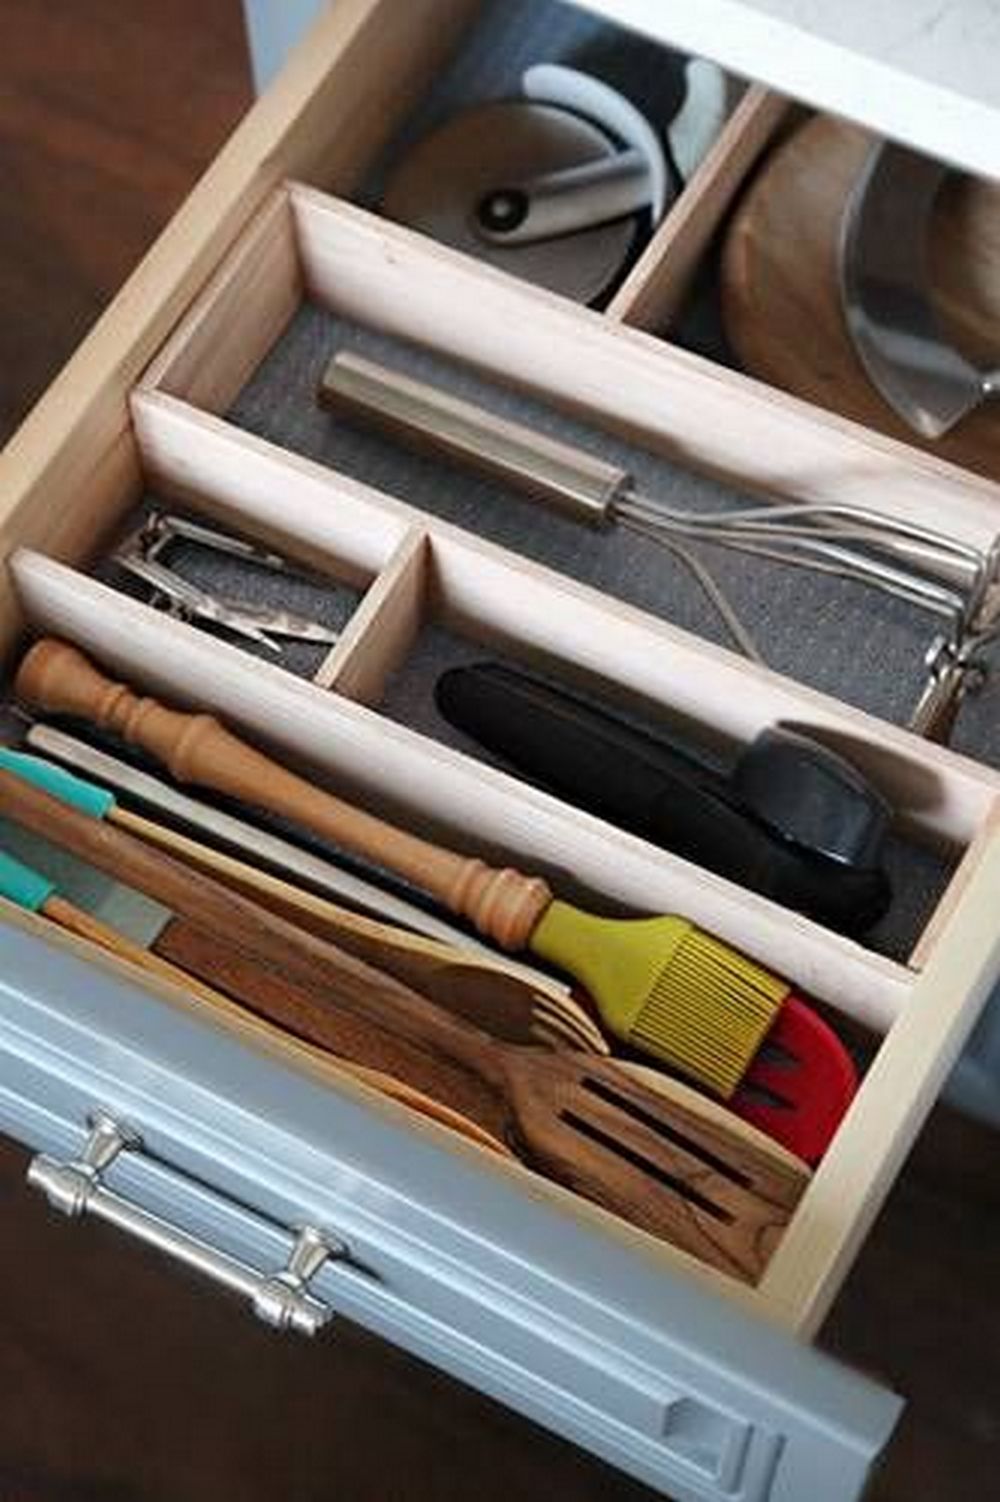
Adjustable dividers give you control over how everything is displayed. That uniform look of perfectly spaced compartments creates visual calm. You can also group similar items together more logically. It’s easier to locate what you need when each item has its own place and nothing feels crammed in. Well-designed DIY drawer dividers, especially adjustable ones, bring structure without adding visual clutter.
If you’re planning your next organization project, consider the long-term benefits of adjustable solutions. DIY drawer dividers that adapt to your needs will serve you better over time, save you effort, and make every drawer in your home more functional.
DIY Drawer Dividers Gallery
Click on any image to start the lightbox display. Use your Esc key to close the lightbox.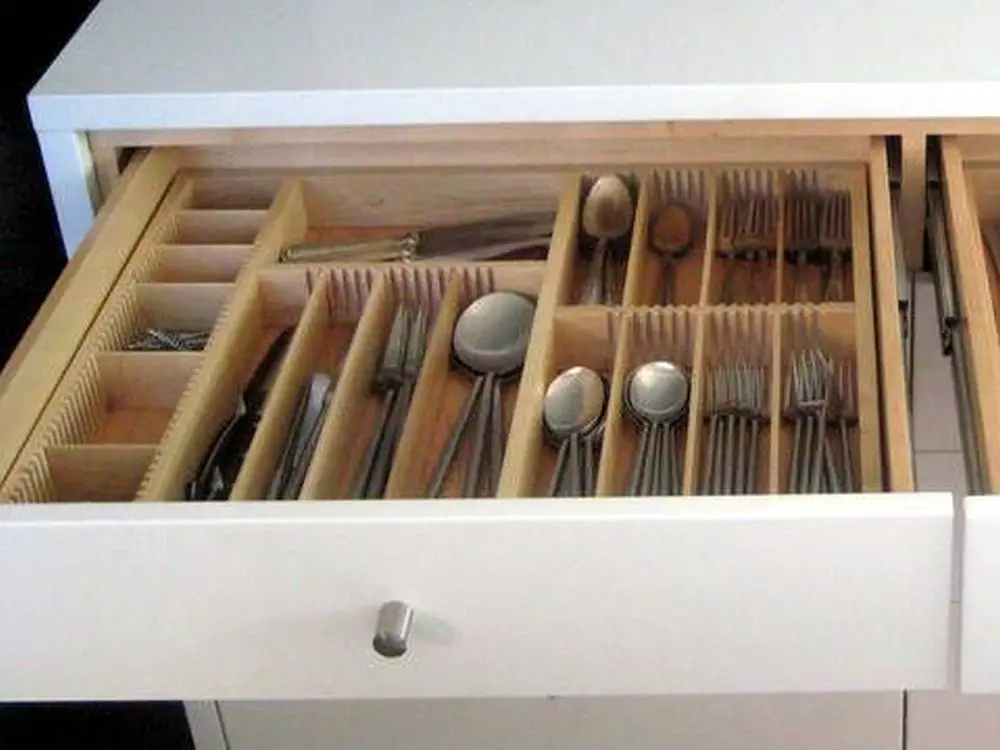

How to Measure and Plan Drawer Layout Before Cutting
Before doing anything else, empty the drawer completely. Remove any liners, clutter, or items inside. This gives you a clean space to work with and allows you to measure accurately. Use a tape measure to record the internal width, depth, and height. Be sure to measure inside edges, not the outer lip. Even a slight error in measurement can throw off the final fit of your DIY drawer dividers.
Visualize What You Want to Organize
Think about what the drawer will hold. Are you organizing flatware, tools, socks, or beauty products? Identifying the items helps you decide how many sections you need and what size they should be. Sketch a basic layout to visualize where each group of items will go. This sketch will serve as your guide when cutting the plywood.
Adjust for Material Thickness
If you’re using ½” plywood for your DIY drawer dividers, make sure you factor in the material’s thickness. For example, if you want to create three equal sections in an 18-inch-wide drawer, you’ll need to subtract the total width of the plywood dividers from the overall measurement. This ensures your compartments come out even and fit snugly.
Map Out the Divider Pieces
Decide how many vertical and horizontal slats you need. Horizontal pieces run side to side. Vertical ones run front to back. For adjustable dividers, plan where the notches will be placed so they can interlock. Make sure the notches are centered and match the exact thickness of your plywood. Take your time with this step to avoid errors when cutting.
Account for Drawer Irregularities
Drawers are not always perfectly square. Use your tape measure to check the width and depth at both ends. If there’s a difference, even by a fraction, make a note of it. You may need to trim one edge of a divider at a slight angle for a better fit. These adjustments are small but make a noticeable difference in the final result.
Test with a Mock-Up
Before you cut any plywood, consider doing a quick test layout using painter’s tape, cardboard strips, or even folded paper. This helps confirm your measurements and gives you a real-world sense of how everything will fit. If anything feels off, adjust the plan now rather than after the wood is cut.
Build with Confidence
Once you’re confident in your measurements and layout, you’re ready to cut and assemble. Careful planning at this stage will save you time and prevent wasted materials later. Well-fitted DIY drawer dividers will slide into place cleanly and stay put, giving you a polished, functional space you’ll appreciate every day.
Conclusion
Making your own DIY drawer dividers is a simple project with a big impact. With the right planning, your drawers will stay neat and easy to navigate. Adjustable dividers give you the flexibility to change your layout as your storage needs evolve. It’s a smart, cost-effective way to keep your home more organized.


