Last Updated on October 7, 2025 by Team Ideas24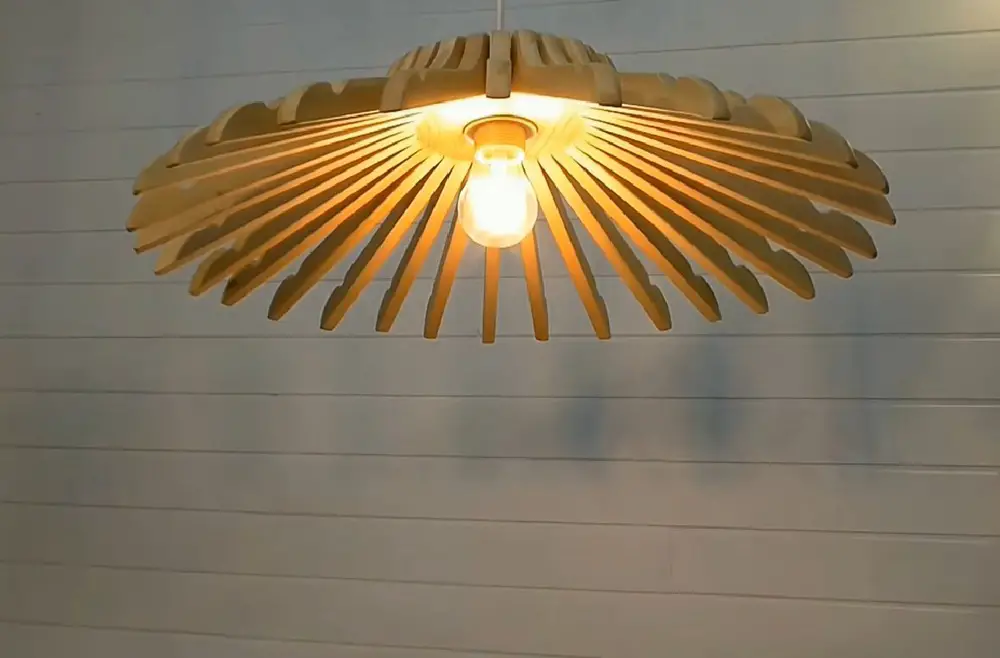
My sister-in-law is obsessed with light fixtures. She’s drawn to those non-traditional, quirky ones. I can’t say I blame her. With almost everything mass-produced nowadays, getting something unique is becoming more difficult.
She’s been raving about a certain lamp for the longest time. She said it was made out of wooden coat hangers. At first, it was kind of hard to imagine but when she showed me the photo, it made perfect sense. I understood why she loved it so much that I offered to help her DIY a coat hanger lamp.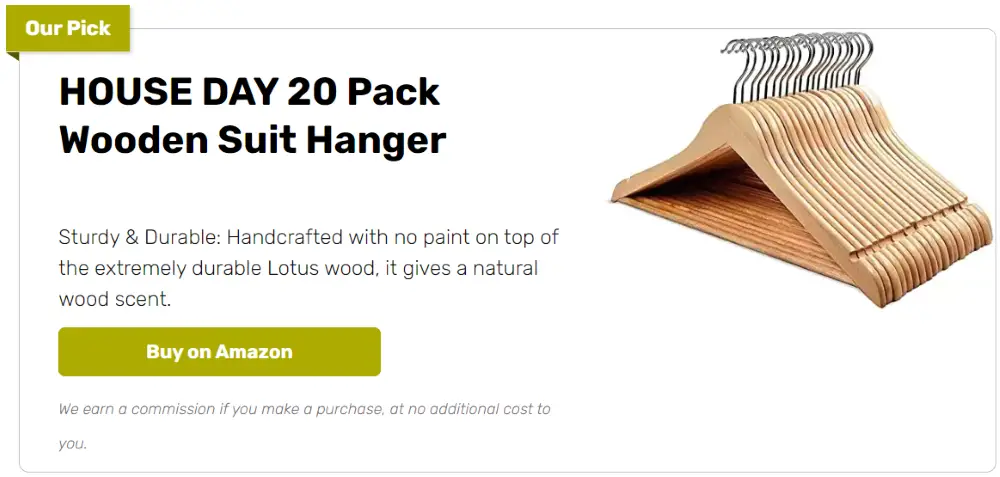
She wanted the piece to stand out so the first thing that we did was get matching coat hangers. We do have several wooden hangers at home but she wanted a different kind. We bought a little over a dozen and then we got to work.
I must say it was a meticulous project, one that involves a lot of precise measuring and cutting. Once you get the hang of it, the rest becomes pretty easy. Plus, the finished product was more than awesome! We loved it so much we’re considering making several for our family and friends.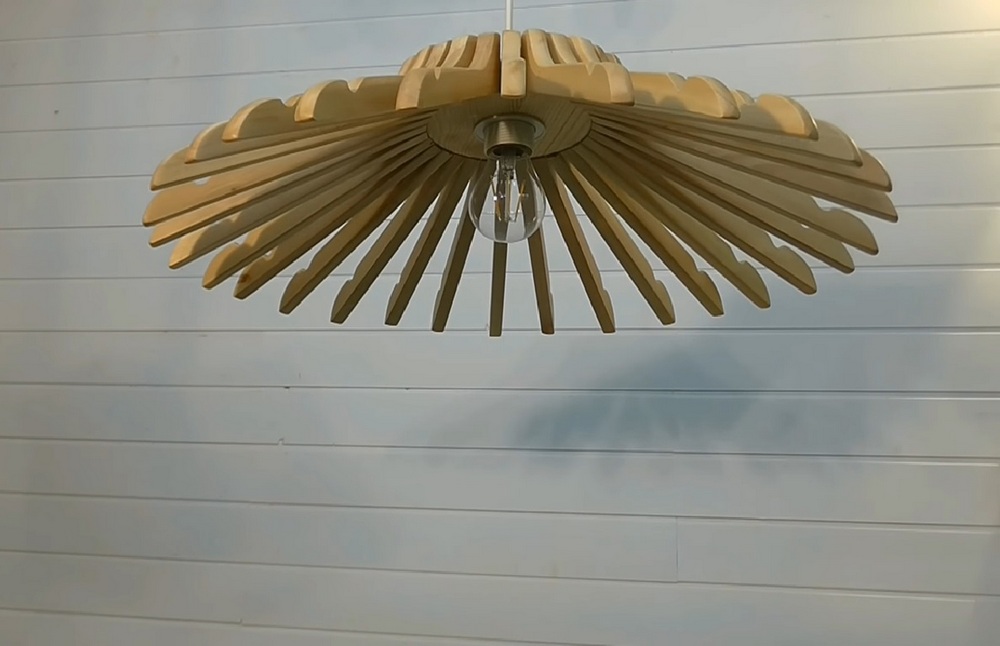
Contents
Crafting a Coat Hanger Lamp
Materials:
- Wooden hanger
- Screws
- Light bulb with sockets
- Dowels
- Wood glue
- Washer
- Nut
- Varnish
Tools:
- Protractor
- Pencil
- Table saw
- Circular saw jig
- Ruler
- Drill with a drill bit
- Disc sander
- Vertical drill press table
- Vise grip
- Chisel
- Sandpaper
- Toothpick
Steps:
- Remove the metal hook from the wooden hanger using a chisel. Use the vise grip to hold the hanger steady. Tap lightly until the hook loosens
- Mark the center point on the hanger where the socket will sit. Use the ruler and pencil. Confirm alignment with the protractor
- Drill the socket hole on the marked center point. Mount the hanger on the vertical drill press table. Choose a bit that matches the socket diameter
- Clean and widen the hole edges with the disc sander. Sand until the socket fits snugly. Finish with sandpaper for a smooth edge
- Measure and mark locations for two dowels on each arm. Use the ruler and protractor to space them evenly. Keep each angle symmetrical
- Drill pilot holes at each dowel mark using the drill with bit. Chisel out any loose fibers. Clear the holes of dust
- Apply wood glue inside each hole with a toothpick. Insert dowels flush with the hanger surface. Wipe excess glue immediately
- Attach the socket base with screws, washer, and nut. Position the socket over the hole. Hand tighten the nut until secure
- Sand the entire lamp frame smooth with sandpaper. Follow up with the disc sander for a uniform finish. Remove any glue residue
- Apply varnish in thin coats. Let each coat dry before adding the next. Wipe off extra with a clean cloth
- Install the light bulb into the socket and test the lamp. You’re ready to enjoy your new coat hanger lamp
Electrical Wiring and Safety Tips for Coat Hanger Lamps
Handling wiring with care prevents shocks and fire hazards. Always test each connection and ground your lamp following local electrical codes and manufacturer guidelines.
Inspecting Components Prior to Assembly
Before you connect any wires inspect each part for damage. Check sockets cables and connectors for wear or corrosion. Use a multimeter to test continuity and confirm there are no hidden faults. Replace any component that fails inspection. Take your time at this stage to note any loose connections or exposed wiring. Document each issue and address them before moving forward. You’re making safety a priority and avoiding potential electrical hazards.
Selecting Appropriate Cables and Connectors
Choose cables rated for at least 125 V and match the lamp’s current draw. Look for cords with proper insulation and strain relief built in. Pick connectors that snap securely and offer good contact pressure. Avoid cheap or undersized parts that can overheat. You’re ensuring long-term reliability by using quality components certified by recognized safety bodies. Always check product labels for voltage and amperage ratings before purchase.
Securing Connections and Strain Relief
Once wires are stripped and twisted secure them with screw-on connectors or crimp terminals. Add a small loop of slack before the connector to reduce tension on soldered or crimped joints.
Use cable clamps or built-in strain relief at the socket entry point. This prevents jerking the socket free when you move or hang the lamp. You’re protecting your wiring and preventing shorts due to pulled or frayed wires.
Grounding and Insulation Best Practices
If your design uses a metal frame add a grounding wire to prevent shock if the hot wire shorts. Attach the ground lead to a visible screw or grounding lug. Cover all joints with electrical tape or heat-shrink tubing to keep them insulated. Ensure no bare wires are exposed once the lamp is assembled. You’re following best practices and reducing the risk of accidental contact with live parts.
Testing and Certification
After assembly plug the lamp into a protected outlet or GFCI tester. Verify the lamp operates without flicker or overheating. Measure voltage at the socket to confirm proper wiring. If you plan to sell or gift your lamp consider having it certified by a licensed electrician. You’re adding an extra layer of assurance for safety and compliance with local regulations.
Finishing Techniques and Varnishes for a Professional Look
A smooth finish enhances both appearance and durability. Proper preparation and application will give your lamp a high-end feel that lasts.
Preparing the Surface
Sand the entire hanger frame with medium-grit sandpaper to remove rough spots and glue residue. Switch to fine-grit paper for a silky smooth finish. Wipe the surface clean with a damp cloth to remove all dust. Let it dry completely before applying any finish. You’re creating the ideal base for varnish to bond and highlight the wood grain.
Choosing the Right Varnish
Pick a varnish rated for interior use that offers UV protection to prevent yellowing. Water-based varnishes dry quickly and have low odor. Oil-based varieties tend to penetrate deeper and resist scratches better. Check the label for durability ratings and compatibility with pine or oak. You’re selecting a finish that balances beauty with long-term wear resistance.
Applying Even Coats
Dip a high-quality synthetic brush lightly into the varnish and wipe off excess. Brush along the wood grain using long smooth strokes. Allow each coat to dry fully before lightly sanding and wiping down. Repeat this process for two to three coats until you achieve uniform coverage. You’re building a strong protective layer without brush marks or drips.
Sanding Between Coats
After each coat dries use fine-grit sandpaper to remove raised grain or dust nibs. Sand lightly and evenly over the entire surface. Clean away dust with a tack cloth or microfiber rag. This step helps the next coat adhere better and gives a glass-like finish. You’re ensuring each layer bonds seamlessly for a flawless result.
Achieving a Durable Finish
Once the final coat cures leave the lamp to rest for at least 24 hours before use. Avoid rough handling during this period to prevent impressions in the finish. Polish the surface with a soft cloth for extra sheen. You’re locking in a professional look that resists moisture and everyday wear.
Coat Hanger Lamp Gallery
Click on any image to start the lightbox display. Use your Esc key to close the lightbox.


Customizing Bulb Types and Light Effects
Choosing the right bulb transforms both function and mood. Experimenting with different options helps you tailor the lamp to your space and style.
Selecting Suitable Bulb Types
LED bulbs run cool and use minimal energy making them ideal for wooden fixtures. Filament-style LEDs mimic vintage bulbs and cast a warm glow. Halogen bulbs offer bright crisp light but run hotter and draw more power. Choose A-shape or globe shapes depending on your lamp’s socket and shade size. You’re balancing ambience with efficiency for the perfect illumination.
Using Dimmer Switches and Controls
Add an in-line dimmer module to adjust brightness with a simple turn of a knob. Choose a dimmer rated for LED bulbs if you use modern lamps. Some smart dimmers integrate with apps or voice assistants for remote control. You’re giving yourself the option to set mood lighting for reading or relaxing. Always check compatibility between dimmer and bulb type before purchasing.
Enhancing Ambiance with Color Filters
Slip a thin colored acetate or glass filter over the bulb for subtle tinted lighting. Warm amber filters create cozy vibes while blue filters add a cool modern touch. Secure the filter in a minimal metal frame to keep it stable. You’re experimenting with color temperature and visual interest without rewiring.
Positioning and Shielding Light
Angle the bulb away from direct eye line to reduce glare and soften illumination. Use small baffles or reflectors made from aluminum sheets to direct light where you need it. You’re shaping the beam pattern to highlight artwork or read without harsh contrasts.
Smart Lighting Integration
Install a Wi-Fi enabled socket adapter to control your lamp with a smartphone or smart home system. Program schedules or scenes so the lamp turns on before you arrive. You’re adding modern convenience and energy savings to your handcrafted design.
Conclusion
Crafting a coat hanger lamp brings a sense of pride and creativity. In one project, you sharpen your woodworking and wiring skills. Testing each connection keeps your lamp safe and reliable. A smooth finish and varnish give it a polished look. Enjoy the warm glow of a fixture you made yourself.
Illumination can define your home space. To create one for productivity, check out our home office lighting ideas!


