
Last Updated on September 19, 2025 by Team Ideas24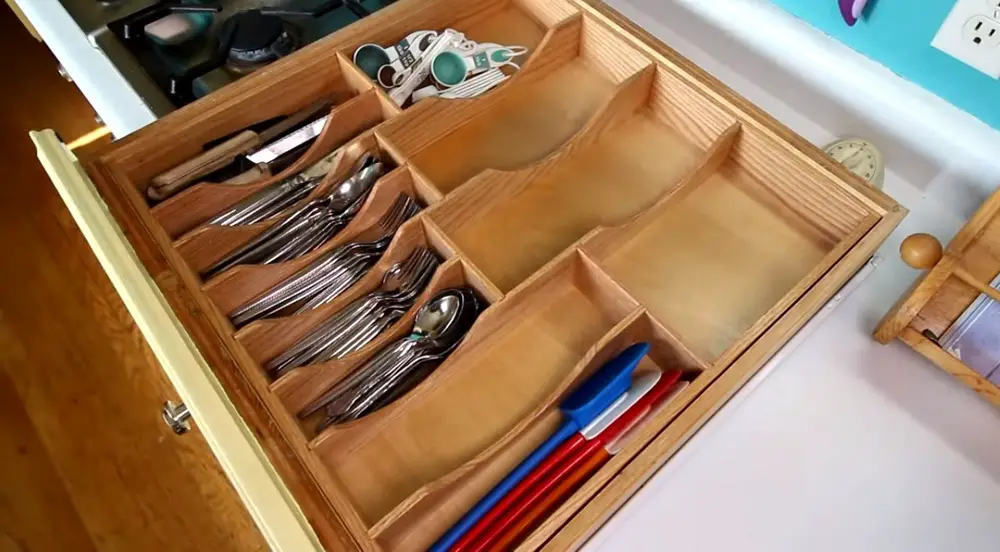
No one likes a disorganized kitchen. At home, we try to avoid the clutter but we’d always end up with a messy pantry and drawers. This is a common household problem, it turns out. Most of my mom’s friends have the same complaints. No matter how much we all try, keeping kitchen drawers organized and clean is a bit of a challenge.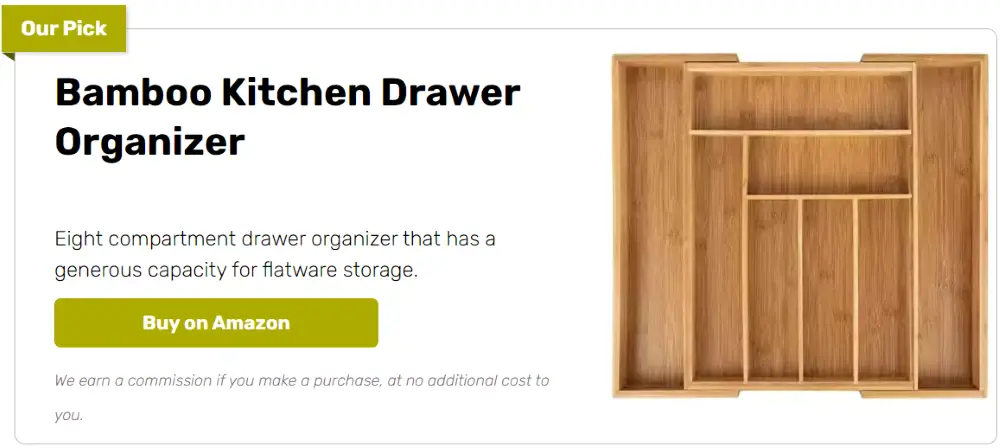
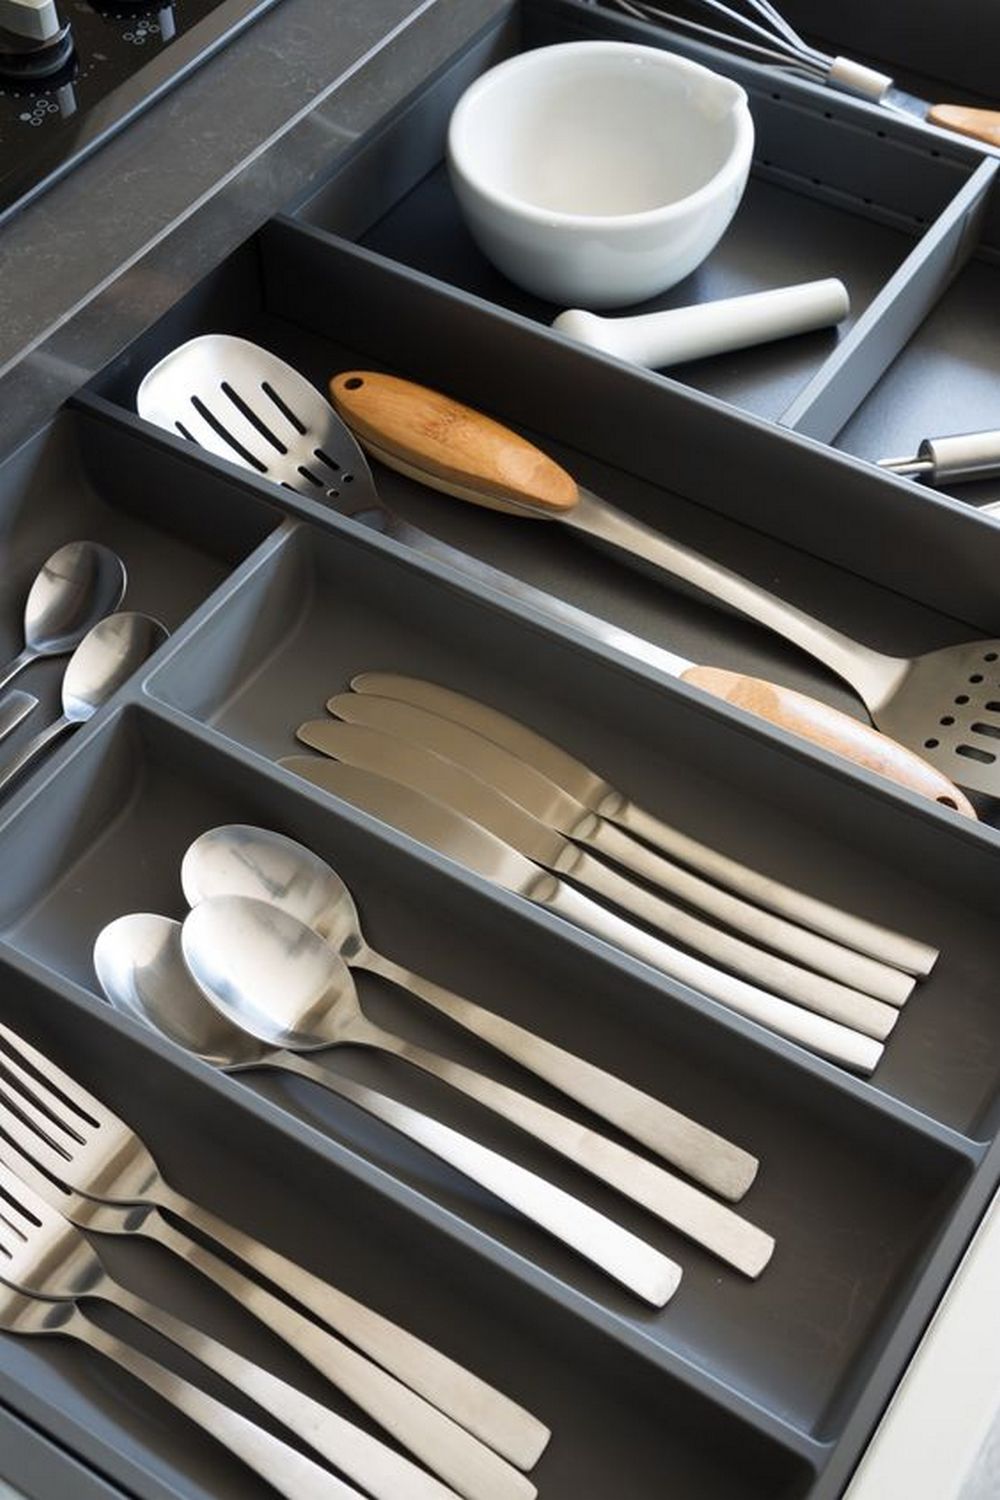
Fortunately, there’s something we all can do. Kitchen drawer organizers are a good start. They put an order, a system of some sort. Say goodbye to the days when you simply throw everything in and then you get a jumble of spatulas, can openers, utensils, etc.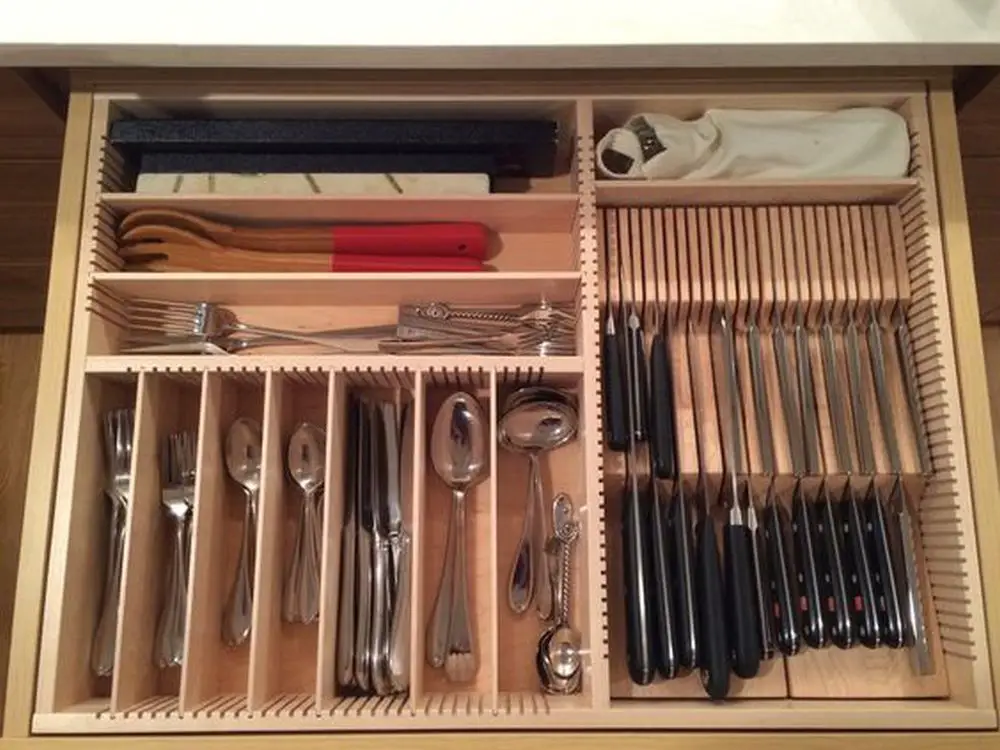
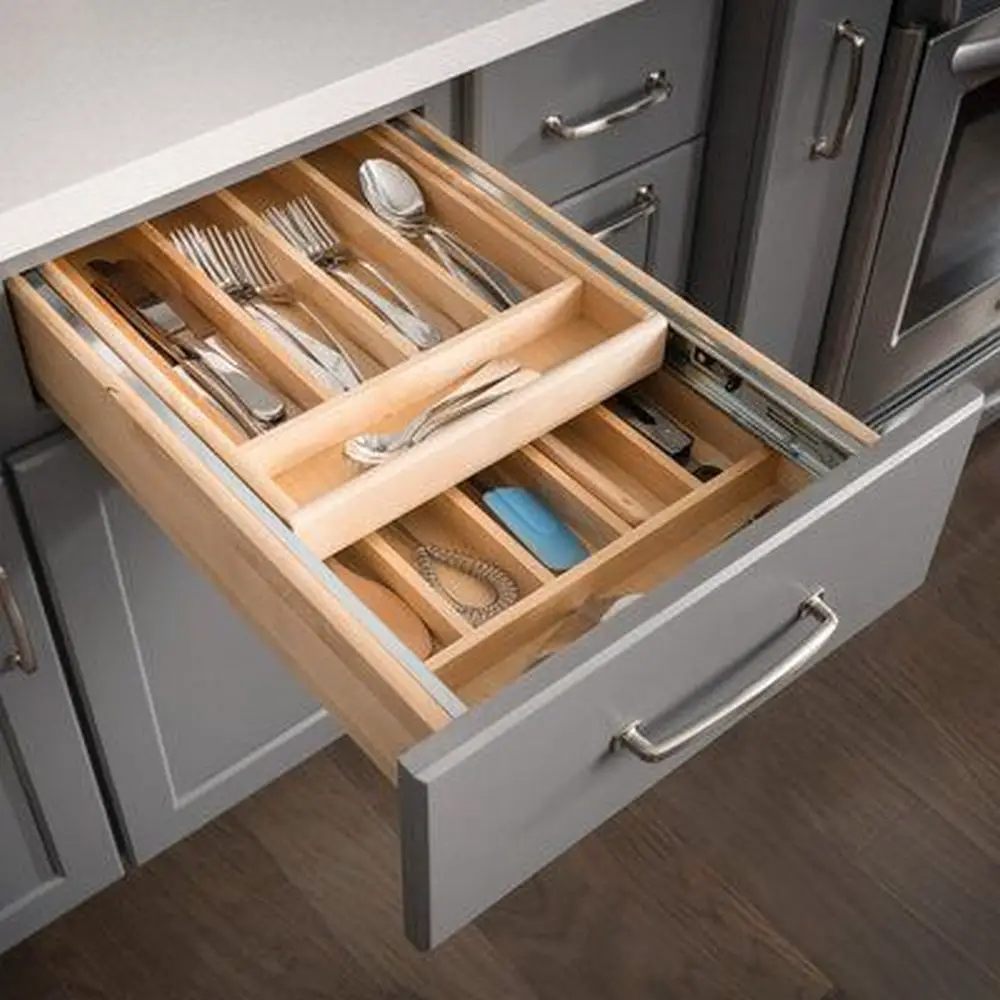
Having a kitchen drawer organizer is a very practical idea. It divides the drawers into sections, making things easier to find. There are ready-made organizers that you can buy but they don’t always give you that perfect fit. Instead of settling, it’s best to build your own. This DIY project is something you can easily put together yourself.
Contents
Building a Kitchen Drawer Organizer
Materials:
- Wood
- Spray lacquer
- Heavy duty adhesive
Tools:
- Table saw
Steps:
- Plan the layout. Empty the drawer and group tools by task. Note internal length, width, and height so the kitchen drawer organizer fits with a little glide.
- Rip stock to width. Set the table saw fence for base rails and dividers. Keep consistent heights so surfaces align and small items don’t jump compartments.
- Crosscut parts to length. Label each piece as you go. A simple code prevents mix-ups when you assemble the insert later.
- Dry fit in the drawer. Place perimeter rails first, then the longest dividers. Leave a thin clearance on all sides so the insert slides in and out smoothly.
- Adjust for obstacles. Check for screw heads or runner hardware. If needed, add shallow relief cuts on the table saw so dividers never bind.
- Glue the perimeter square. Use heavy duty adhesive at the corners and hold pieces in place until initial grab. Work on a flat surface to keep everything true.
- Set primary lanes. Bond the long dividers to the perimeter. Confirm they’re straight and parallel, since these lanes anchor every crosspiece that follows.
- Add cross dividers. Cut simple spacers from scrap to repeat widths. Glue each piece in, press firmly, and verify lift-out room for your tallest tools.
- Finish for durability. Spray lacquer in light coats, letting each coat flash off before the next. Thin finishes protect without adding thickness that could jam the drawer.
- Install and fine-tune. Slide the kitchen drawer organizer into place and load your tools. If anything feels tight, shave a hair on the table saw and re-apply finish to the fresh edge.
Layout Dry-Runs with Tape and Cardboard
Dry-run layouts save time, money, and frustration. Use painter’s tape and cardboard to prototype compartments, validate reach, and refine a kitchen drawer organizer before cutting parts so utensil slots fit perfectly.
Map Inside Dimensions First
Measure interior length, width, and height, then mark runners, screw heads, and any bevels. Add two millimeters of tolerance on each side so inserts glide. Sketch a scaled plan and place your tallest tools first. That sets pocket depths and keeps handles clear. Translate the layout to tape directly in the drawer. This preview anchors your kitchen drawer organizer dimensions before committing to wood or acrylic.
Tape the Pockets
Use painter’s tape to outline compartments at full size, then drop in spatulas, whisks, peelers, and thermometers to test lift-out and knuckle clearance. Nudge lines until nothing scrapes. Label zones and photograph the arrangement for reference. This mockup turns indecision into data and reveals which tools deserve premium space. The result is a kitchen drawer organizer that matches how you actually cook, not generic packaging.
Cardboard to Cut List
Cut cardboard strips to target heights and friction-fit them into the taped plan, then stress-test with heavier items to expose rattles. Adjust widths until movement stops. Transfer final lengths to a simple spreadsheet for ripping and crosscuts, and number parts for smooth assembly. Converting this prototype into a kitchen drawer organizer reduces mistakes, material waste, and finish touchups caused by overly tight fits.
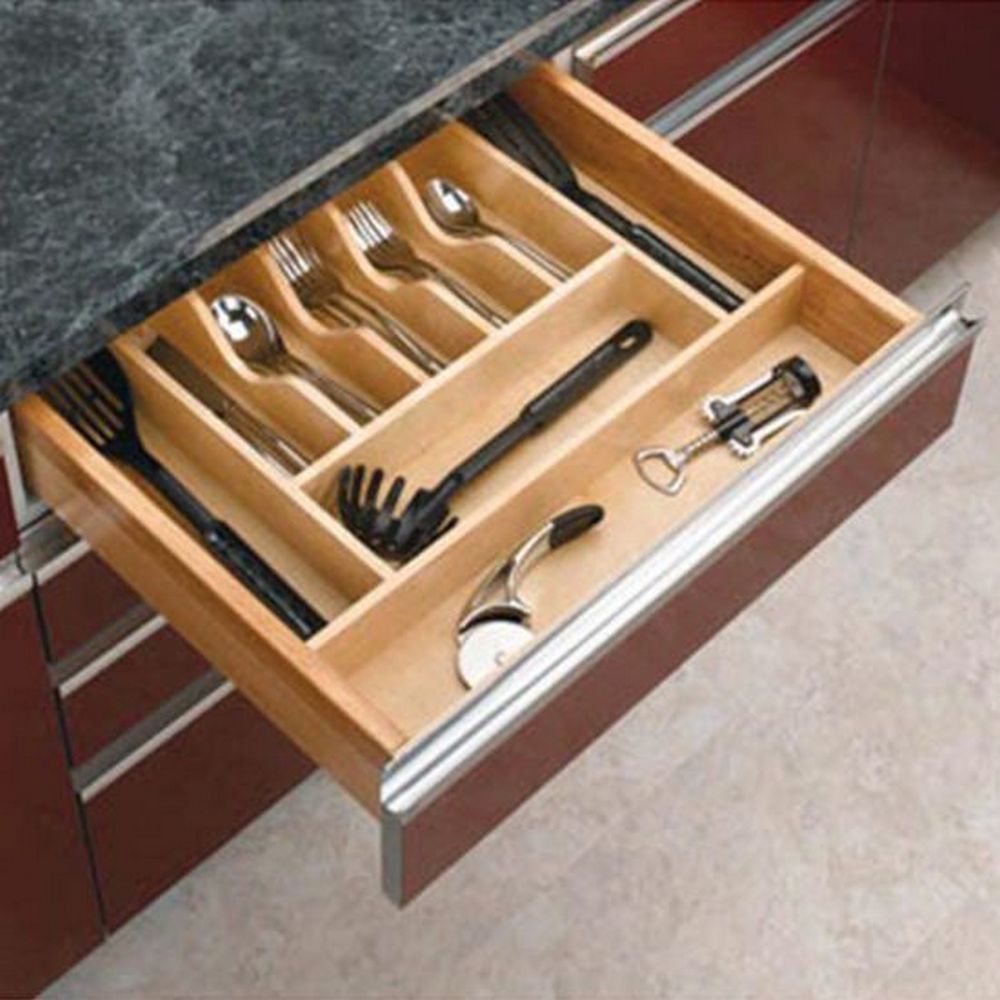
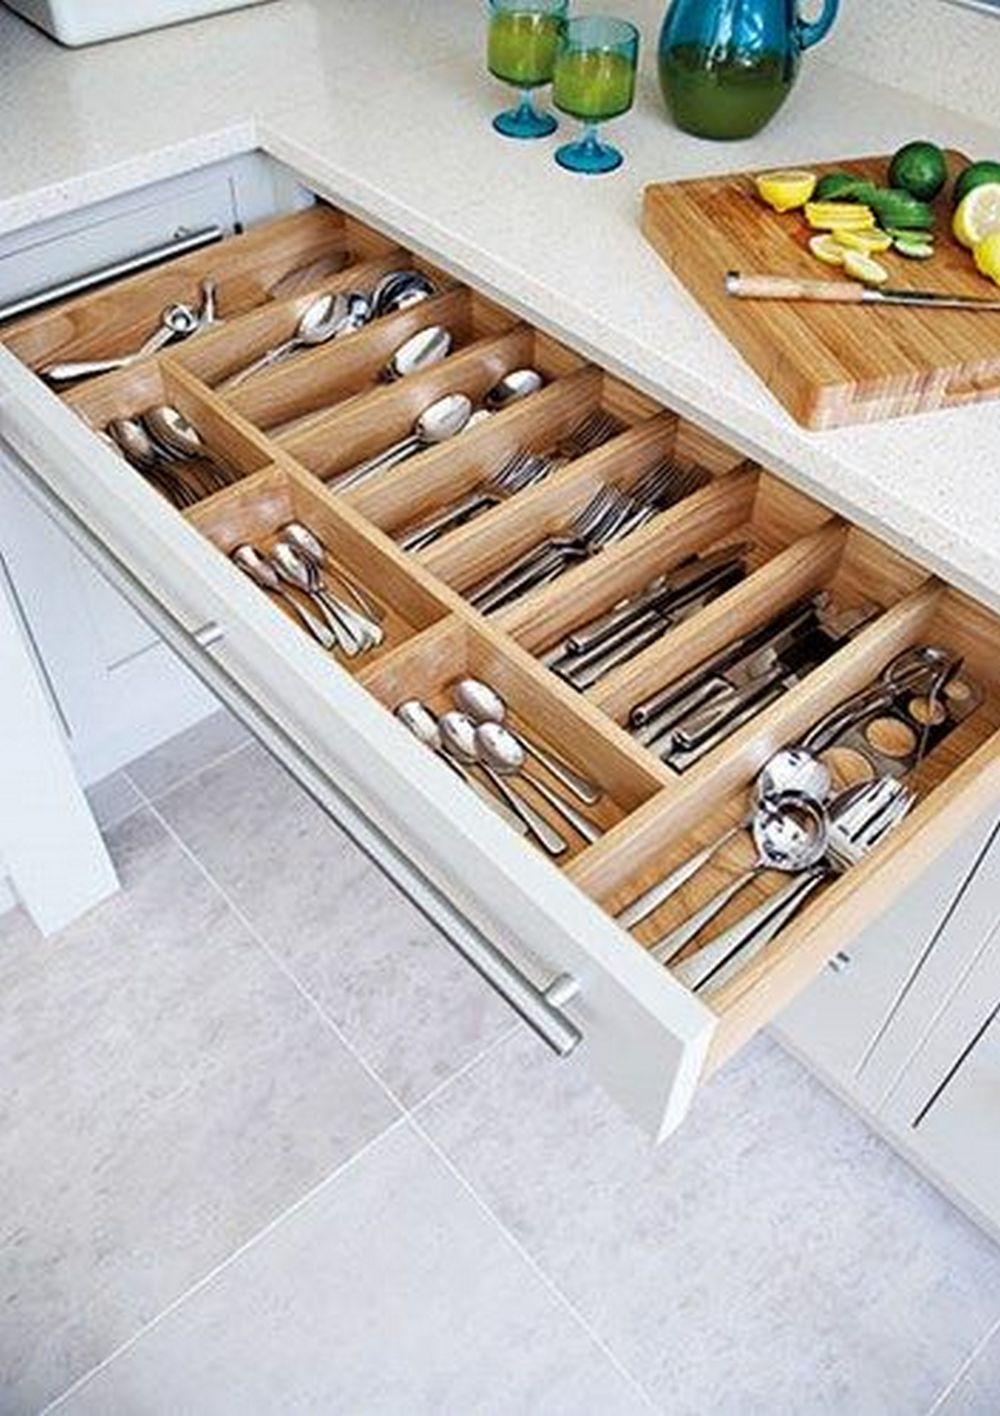
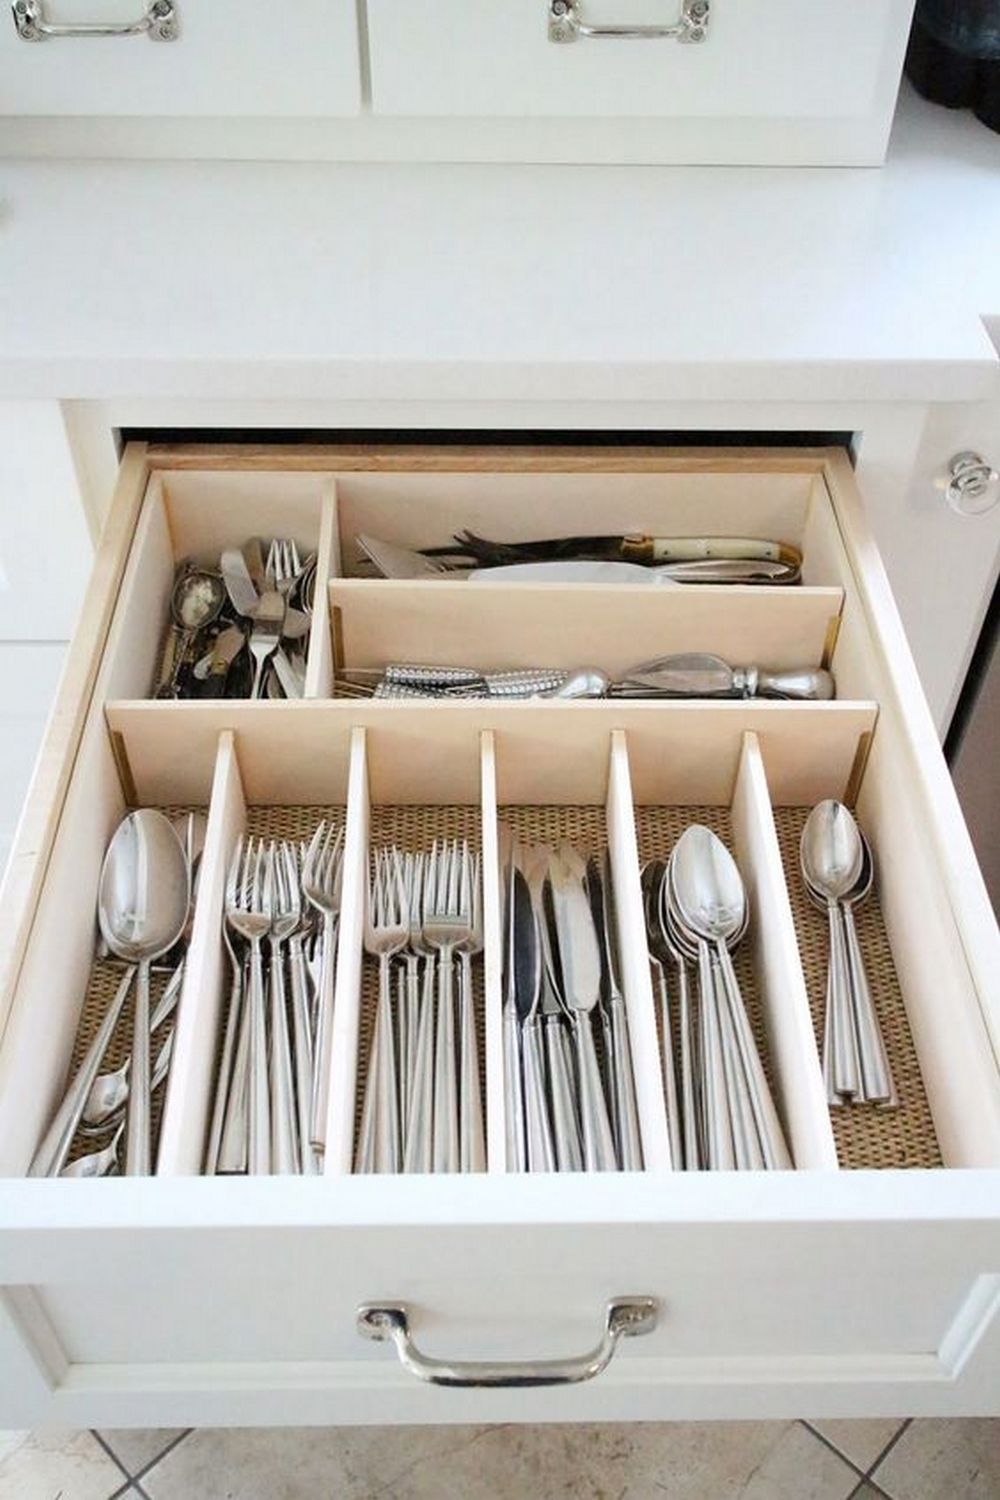
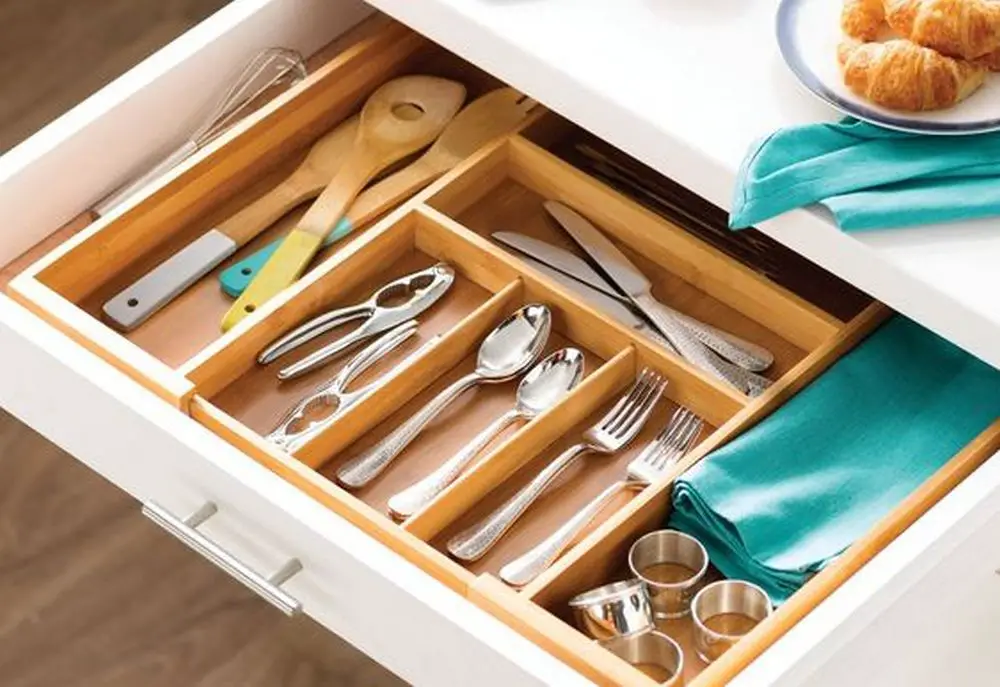
Kitchen Drawer Organizer Gallery
Click on any image to start the lightbox display. Use your Esc key to close the lightbox.
Material Choices that Match Use
Materials shape longevity, cleaning, and look. Compare plywood, hardwood, bamboo, acrylic, and PVC so your kitchen drawer organizer balances strength, moisture resistance, food-safe finishing, and cost without bulky dividers binding.
Plywood as the Workhorse
Cabinet-grade birch plywood stays stable, cuts cleanly, and accepts clear coats beautifully. Edge-band exposed plies or flood with thin CA before sanding for a seamless look. Two or three light coats of water-based poly resist spills without sticking. Pre-finish sheets, then rip and crosscut to final size to keep edges crisp. Plywood’s consistent thickness makes building a square, durable kitchen drawer organizer straightforward for beginners.
Hardwood for Wear Edges
Maple and beech shrug off dings on high-traffic dividers. Use solid wood where impacts happen, like front rails and knife lanes, then tie the remaining structure to plywood to control movement. Pre-drill and glue to avoid swollen grain that throws tolerances off. A light chamfer softens touch points and reduces splinters. Hard-wax oil or mineral oil offers a warm feel and quick refresh without heavy film build.
Bamboo for Green Strength
Strand-woven bamboo delivers excellent dent resistance and a warm, modern tone. It blunts cutters faster than hardwood, so use fresh blades and slower feeds for clean edges. Seal end grain thoroughly because factory laminations can wick moisture. Water-based finishes may raise fibers, so plan a gentle de-nib between coats. Align grain direction across strips to create visual calm that keeps drawers feeling orderly.
Acrylic and PVC for Wipe-Clean
Acrylic brings light and visibility, while PVC board shrugs off spills and wipes clean. Score-and-snap or use a fine-tooth blade to prevent chipped edges. Flame-polish only after dry-fitting to avoid distortion. Solvent-weld joints are fast yet permanent, so plan carefully. For rentals and shared kitchens, these plastics excel because parts re-cut easily and the finished kitchen drawer organizer lifts out for a deep sink wash.
Tool-Free, Renter-Friendly Dividers
Skip drilling and sawdust. Build adjustable inserts with tension rods, foam core, and removable adhesive so a kitchen drawer organizer installs in minutes, moves and leaves cabinets pristine at handover.
Tension Rod Lanes
Small curtain tension rods twist to lock between the drawer’s front and back, forming adjustable lanes without fasteners. Start with tools that roll or migrate, like rolling pins and thermometers. Add a shallow liner to boost grip and quiet rattle. Shift rods as your kit changes and tighten again. The setup disassembles in seconds, so you can reset for holiday baking or a summer grilling loadout.
Foam Core Panels
Foam core cuts clean with a craft knife and creates light yet rigid walls for temporary builds. Score, fold, and hot-glue L-shaped corners, then cap edges with bookbinding tape for durability. Cover the base with a removable liner and anchor panels sparingly. The result is a low-cost kitchen drawer organizer that prototypes spacing, survives daily use, and informs dimensions before you invest in permanent materials.
Removable Adhesive Tabs
Use Command-style tabs to anchor corners to the liner, not the cabinet box. Panels lift out for washing, and tabs pull free without residue at lease end. Add thin cork dots at contact points to silence clatter. For resale or a move, this approach preserves cabinetry and lets a kitchen drawer organizer come out whole, box up neatly, and reinstall in the next place.
Conclusion
Building a kitchen drawer organizer pays off quickly with cleaner prep and faster reach. Careful layout planning and dry-fitting parts help you avoid tight spots and wasted cuts. Durable materials plus a thin, wipe-friendly finish keep the insert stable without binding. Small details like labeled zones and a grippy liner cut noise and make maintenance easy. Measure once more, install the organizer, then tweak spacing as your tools change so your Kitchen Drawer Organizer keeps working for years.
For more ways to organize your wares, check out our lazy susan organizer next!


