Last Updated on October 13, 2025 by Team Ideas24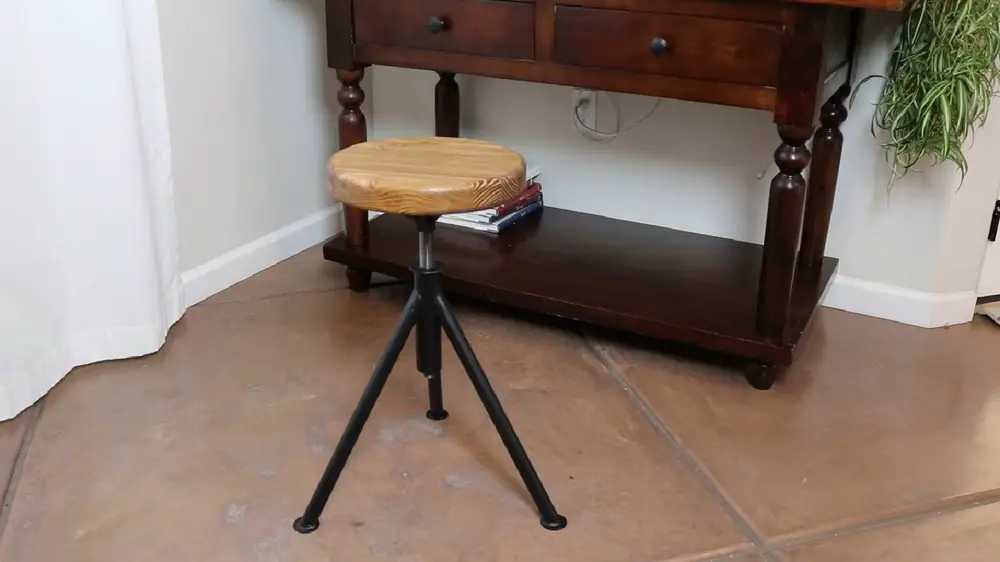
There are at least three generations in our family. Every first Sunday of the month, we all head over to our parent’s house for a get-together. Because we see each other very often, it’s hard to notice that the kids are growing. For us, they’re always going to be little kids. However, some changes are so glaring that they become hard to ignore.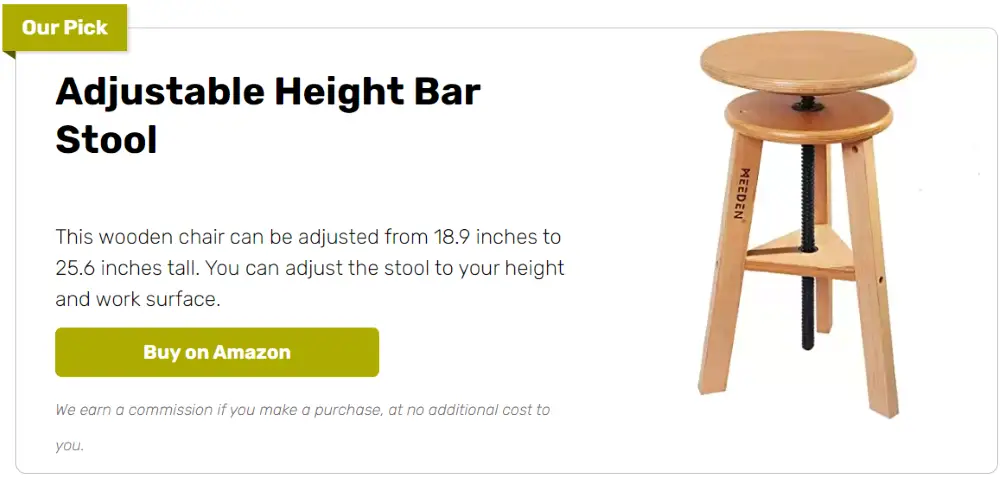
The kids in our family have their own special spot. When the adults come together after dinner, they too go theirs. One Sunday, my sister-in-law noticed that they were starting to outgrow their custom-made furniture. The kids are taller now and kiddie chairs are no longer suited for them – and so my husband went to work the following day.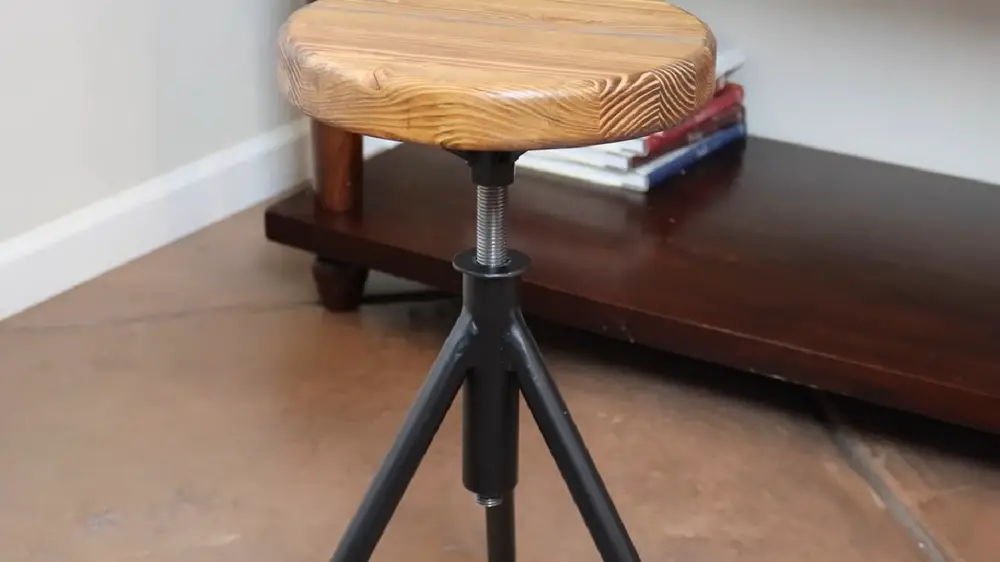
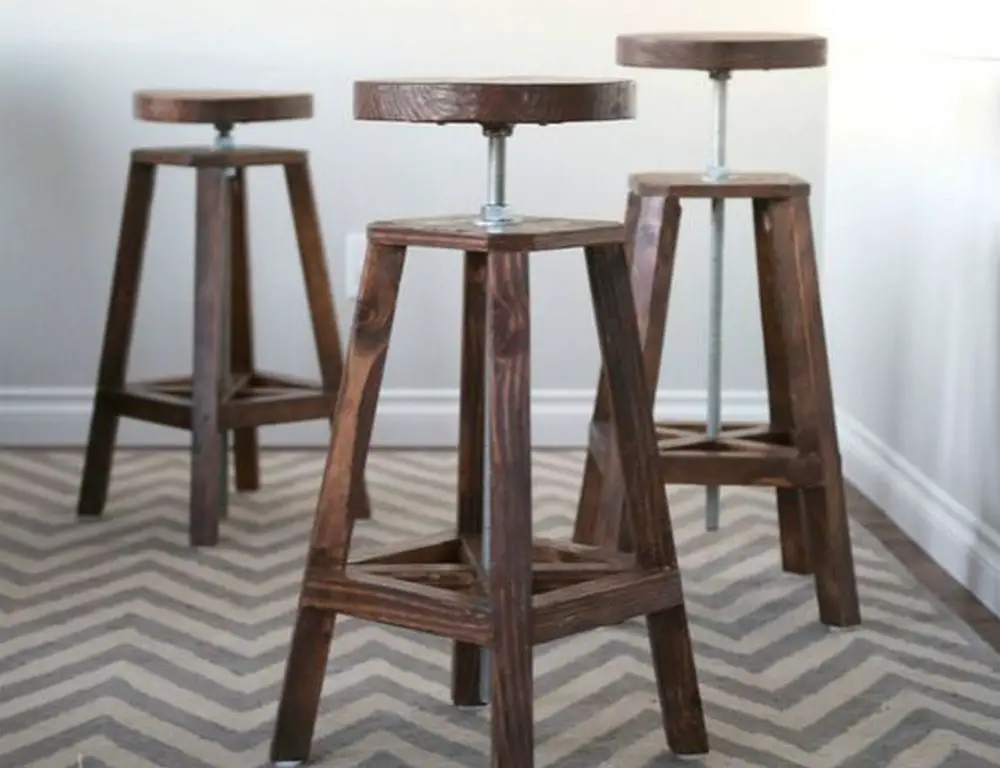
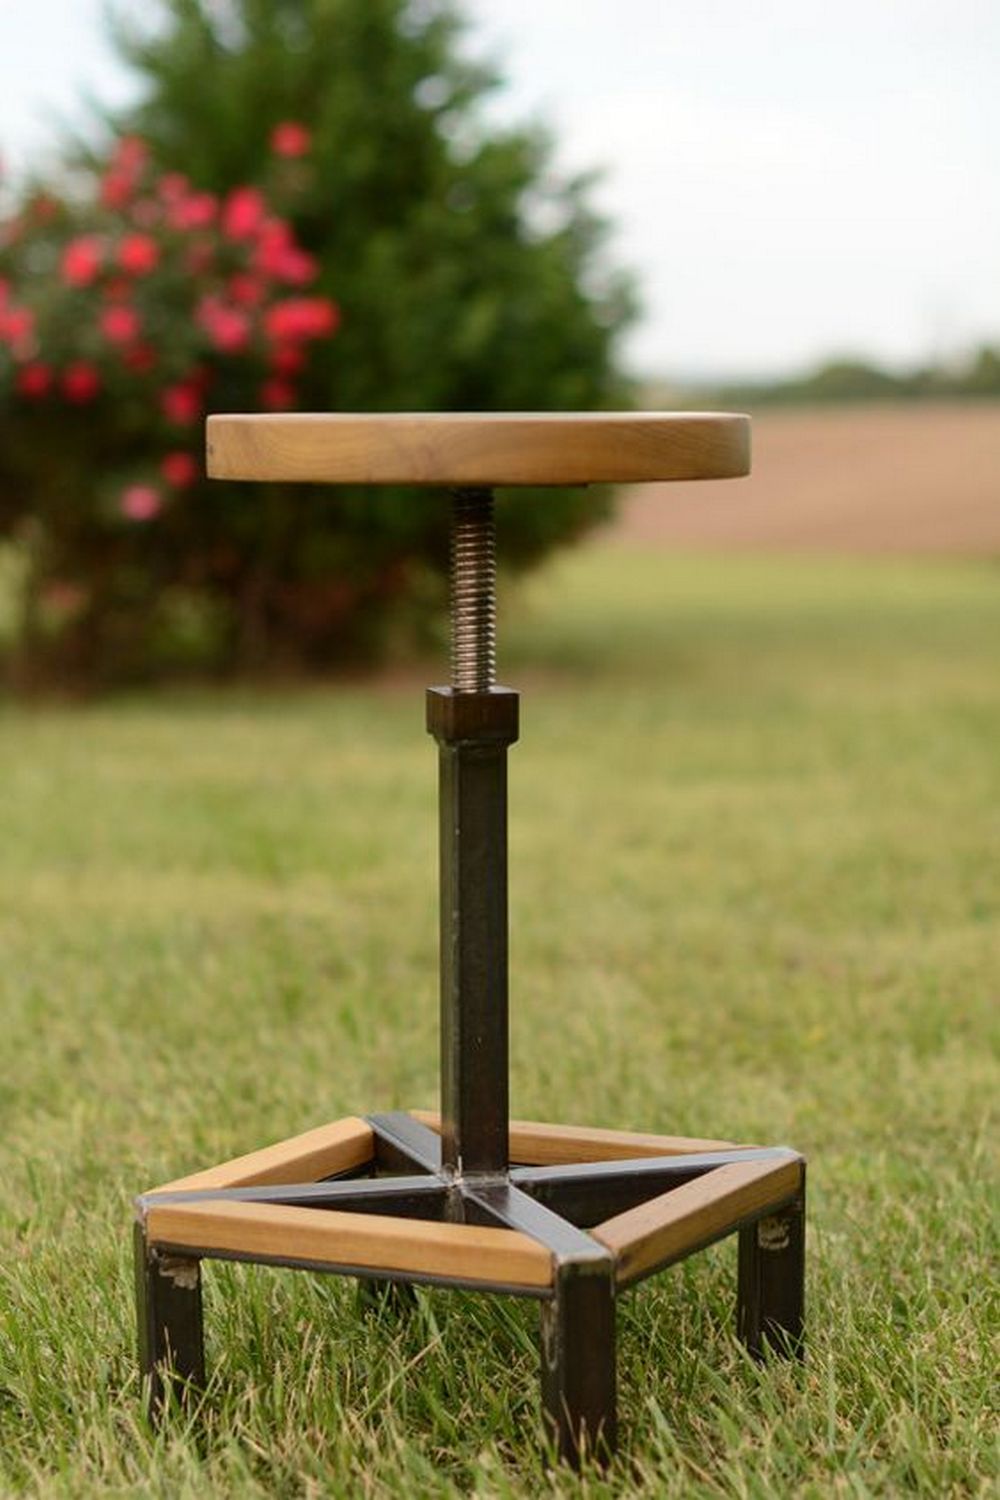
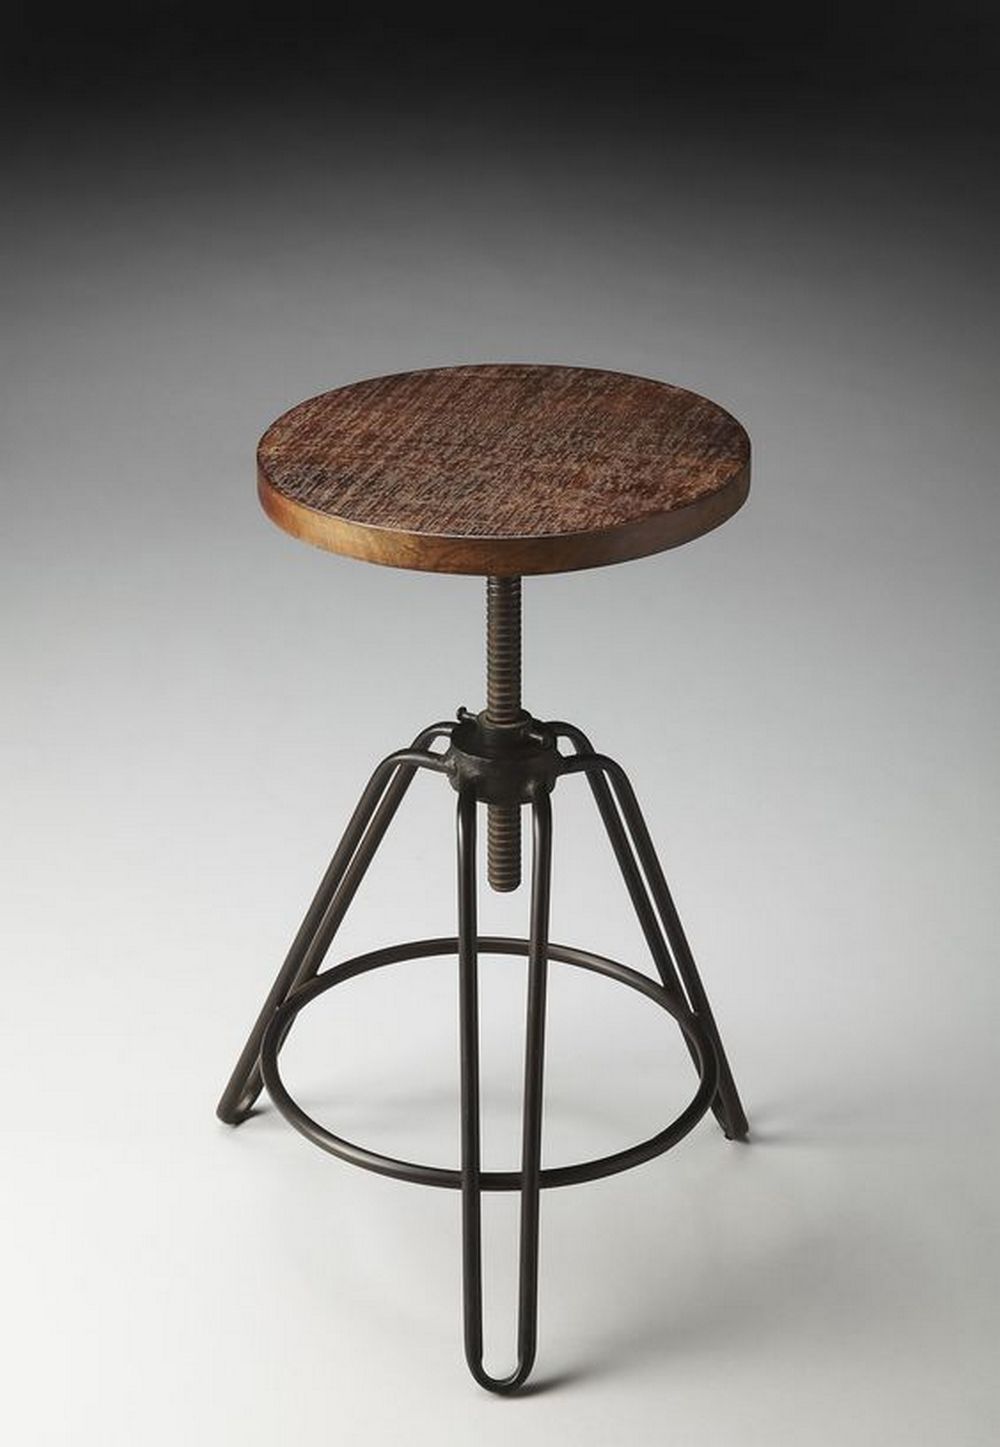
Do you know those bar stools that swivel and are height-adjustable? Those are perfect for growing kids – and grown-ups, too. My husband found a DIY tutorial and followed the step-by-step instructions. He made six stools and set them up near the bar. At the next get-together, the kids went gaga over them. He loved their reactions so I think he’s going to do more.
Building an Adjustable Stool
Materials:
- Scrap steel
- 7/8-inch coupler nut
- Pipe
- Scrap pieces of wood
- Washers
- Spray paint
- Stain
- Screws
Tools:
- Welding machine
- Belt sander
- Circular saw
- Band saw
- Clamps
- Sanding disc
- Plan the range. Target 18–30 inches seat height and an 18–22 inch footprint. Sketch base, column, and seat so clearances under counters are right.
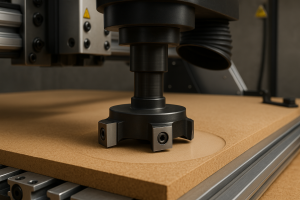
- Prep materials. Cut straight scrap steel for legs and column. Cut the pipe sleeve square. Deburr with a sanding disc.
- Cut the wooden seat. Rough with a circular saw. Shape a 12–14 inch circle on the band saw. Ease edges and sand smooth.
- Build the base. Lay out legs or a ring on a flat surface. Clamp square. Tack weld. Recheck, then finish weld in short passes.
- True the column. Face both pipe ends with the belt sander so plates and washers sit flat. Center it on the base and weld plumb.
- Mount the drive nut. Clamp the 7/8-inch coupler nut square on a small plate. Tack, verify alignment, then finish weld. Add a washer as a thrust surface.
- Install the threaded rod. Cut to length, deburr, and run it through the coupler. Add a top stop plate or nut with a washer. Spin to confirm smooth travel.
- Add a foot ring if desired. Cut or bend a ring. Place it 10–12 inches below seated height. Tack level, then finish weld.
- Finish parts. Degrease steel and spray paint in light coats. Mask threads and sliding areas. Stain the seat, let dry, then pre-drill and screw it to the plate with washers.
- Final checks and safety. Lube threads with dry PTFE. Add rubber feet. Adjust through full range. Load test to 250–300 pounds. Break sharp edges and guard pinch points.
Drive Mechanisms for an Adjustable Stool: Threads, Pins, or Gas-Lift?
Your adjustable stool moves by three common systems. Threads, pins, or gas-lift. Each choice shapes feel, safety, and cost for use. Match the mechanism to load, tools, budget, and users.
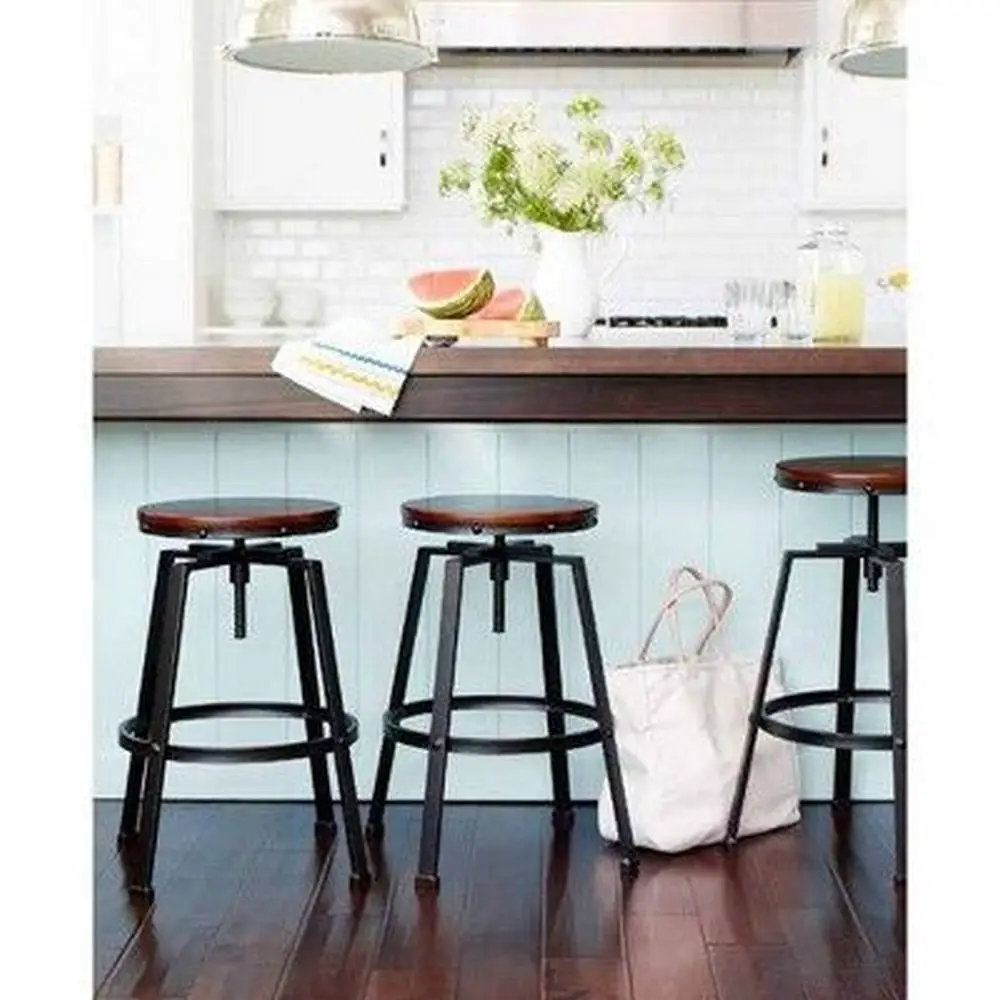
Threaded Rod Drives
A steel rod turning through a coupler nut gives precise height control and a strong self-lock. It’s slow to adjust, yet dependable in shops and kitchens. Parts are inexpensive and easy to source. Add a thrust washer to reduce friction and grind. Mark turns per inch for quick repeat heights. It’s the best value when you want durability, accuracy, and simple maintenance.
Locking Pin Columns
Indexed holes in the post let a cross pin set height fast. It’s intuitive, safe for kids, and great in busy spaces. Adjustment is limited to the hole spacing you drill. Layout must be square so both sides match. Harden the hole edges or use bushings to resist wear. Choose a tethered pin and spring detent to prevent drops during quick changes.
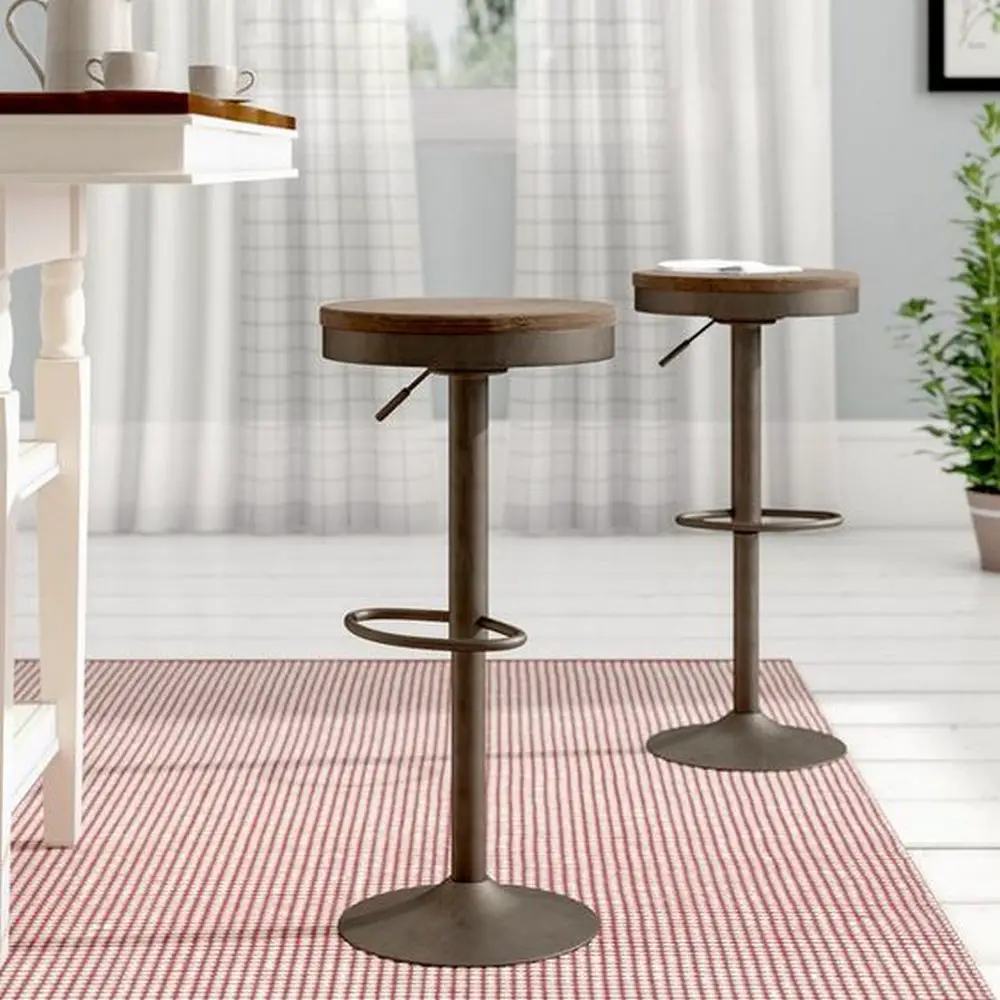
Gas-Lift Cartridges
An office-chair cylinder adds slick, one-handed movement. A lever lifts smoothly, then locks under user weight. It’s ideal for light users and frequent adjustments. Cartridges have weight ratings, so size them carefully. Heat can damage seals, so remove the cylinder before welding. Expect periodic replacements as seals age. The feel is premium, yet lifecycle cost runs higher than rods or pins.
Cost and Skill Snapshot
Threaded builds are cheapest and need basic cutting, drilling, and welding or bolting. Pin systems cost slightly more but assemble quickly with careful jigging. Gas-lift frames feel premium and require precision sockets and brackets. Budget for bearings or bushings on any design. That keeps motion smooth and limits wobble. Choose based on duty cycle, user weight, and your tool set.
Adjustable Stool Gallery
Click on any image to start the lightbox display. Use your Esc key to close the lightbox.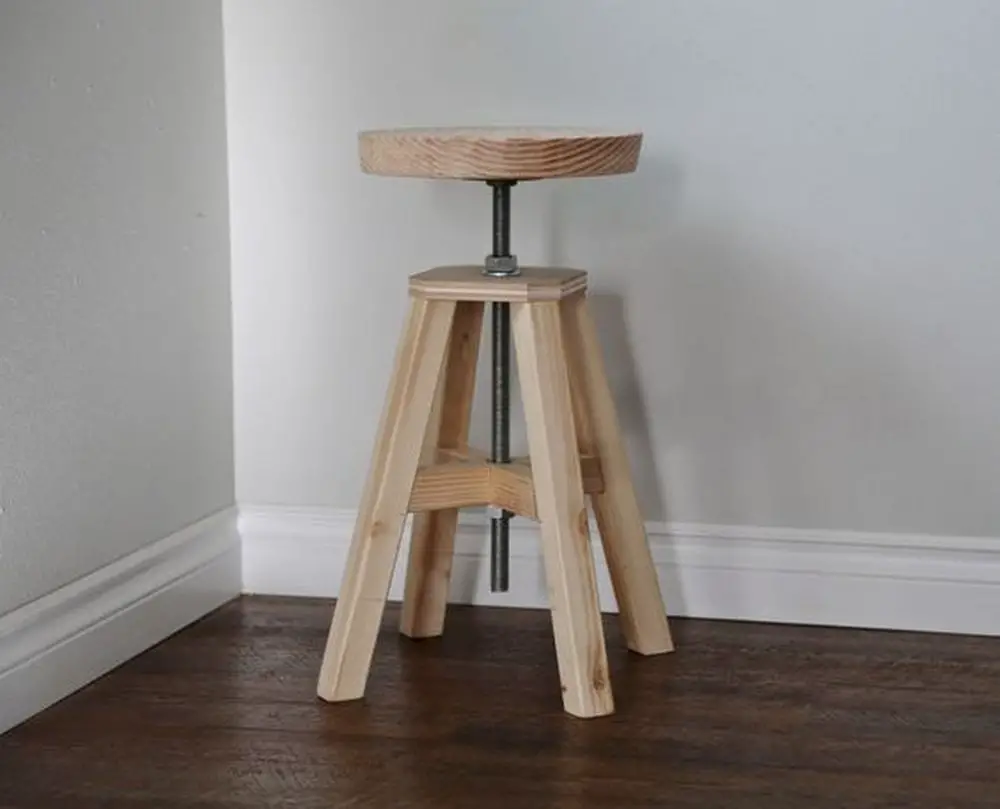

Choosing Thread Size, Pitch, and Coupler Nuts: Smooth, Strong, and Wobble-Resistant
Big threads change how an adjustable stool feels and lasts. Choose a diameter, pitch, and nut that keep posts straight and quiet. Get smooth adjustments, strong lockup, and low maintenance.
Why Big Threads Feel Better
Large diameters spread load, so the stem bends less under side pressure. That keeps the seat tracking straight and reduces chatter. M20–M24 or 3/4–1 inch sizes feel solid and confident. Wear slows because more flank area shares the work. You’ll notice fewer squeaks, less slop, and cleaner starts. It’s the easiest path to a smooth, wobble-free adjustable stool.
Pitch, Lead, and Speed
Pitch sets travel per turn and the effort to hold position. Coarse pitch moves quickly for daily height changes, while fine pitch offers micro control and stronger self-locking. Target 2–3 mm pitch on M20–M24 builds. Target 8–10 TPI on inch threads for similar feel. Mark reference turns on the post. That gives repeatable heights in busy households and shops.
Coupler Nuts and Alignment
Long coupler nuts keep more threads engaged, which cuts wobble and spreads wear. Face the nut square, deburr, and lightly chamfer rod ends for clean starts. A guide bushing above the nut keeps the post centered. Add a jam nut beneath for creep resistance. If loads are heavy, stack two couplers with a spacer. That increases bearing length without complex machining.
Materials and Lubrication
Use hardened steel rod and quality steel couplers for strength. Add bronze, UHMW, or HDPE bushings to guide the column and quiet movement. Dry PTFE lube keeps dust from sticking on shop builds. Light grease feels silky at home bars but needs occasional wipe-downs. Keep threads capped when sanding nearby. Clean with a nylon brush, then relube for consistent feel.
Base Geometry and Anti-Tip Stability: Safe Footprints That Stay Put
Stable bases keep an adjustable stool safe for kids and guests. Footprint width, leg splay, and mass work to prevent tipovers. Tune the geometry of your stool so climbing, swiveling, and fidgeting stay controlled.
Footprint Diameter That Works
A broad base resists tipping when users mount, lean, or spin. Aim for a footprint at least two-thirds of seat height. Many bar stools run 18–22 inches wide and feel planted. Add width for taller builds or narrow seats. Check clearance under counters before committing. Rubber feet improve grip on tile and wood. Test with dynamic rocking, not just static load.
Leg Splay and Center of Gravity
Splaying legs 8–12 degrees pushes contact points outward and lowers the effective center of gravity. That widens the stability envelope without bulky parts. Keep the post centered for even reactions. Triangulate with cross-braces or a ring. Avoid narrow isosceles layouts that create weak directions. Verify symmetry with a tape and angle gauge. Small errors compound at height.
Foot Rings and Mass
A steel foot ring relaxes calves and adds low mass where it helps most. Place it so knees rest open and ankles don’t strain. Lower elevation adds stability, yet avoid toe collisions. Weld in tabs for strength. Fill end caps with sand or shot for hidden ballast. Add grippy pads to feet. That combination keeps the adjustable stool quiet and steady.
Real-World Kid Safety Checks
Load the stool to 250–300 pounds, then rock front, back, and side while watching for early foot lift. Spin slowly and simulate climbing from the side. If lift occurs, widen the base or increase splay. Round edges and break sharp corners. Shield pinch points near moving threads or rings. Label a safe height range and recheck fasteners after the first week.
Conclusion
An adjustable stool rewards careful planning and clean execution. You now have a seat that grows with kids, fits guests, and handles shop duty. Solid base geometry, smooth threads, and a finished seat deliver comfort and safety. Maintain it with quick checks, fresh lube on the threads, and touch-up paint. You built a durable stool that looks good and works hard every day.