Last Updated on March 28, 2025 by Team Ideas24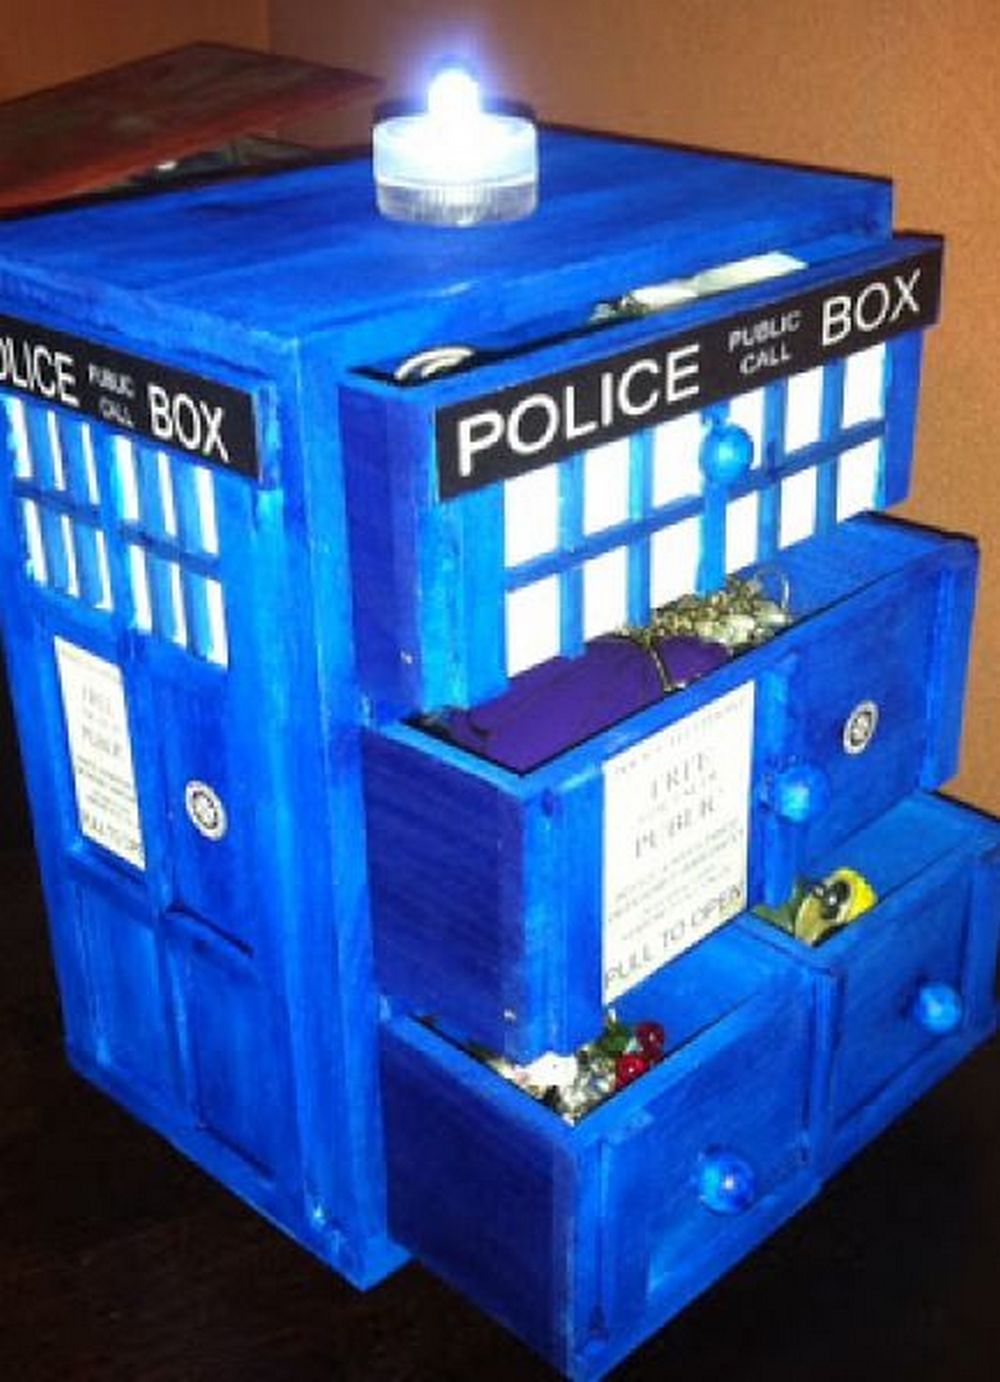
Who doesn’t enjoy a good TV show? There are few things more relaxing after a long day than sitting in front of the TV to enjoy a good show with the family.
My eldest son is a big fan of the TV show ‘Doctor Who.” I wasn’t familiar with it at first. When he went off to college, I started to watch it and got hooked as well. We haven’t seen him for quite a while as he’s busy juggling school and work. So when we knew he was coming home for Thanksgiving, his dad and I decided on a surprise.
We came into his room and the first thing that caught my eye was his bedside table. It has been there since he was a kid and it’s screaming to be replaced. It was definitely time for an upgrade. And then a light-bulb moment: what if we include a Doctor Who references in his room?
The police box that the Doctor travels around in is actually a time and space machine from Gallifrey, his home planet. TARDIS stands for Time And Relative Dimension in Space. Clever, eh?
We came across a DIY TARDIS end table project and we immediately knew this was it. Without any second thought, we gathered all the necessary tools and materials and went to work.
If you have a friend or family member who’s into Doctor Who, they’ll really appreciate this project.
Contents
Building a TARDES End Table
Materials:
- Wood
- Wood glue
- Screws
- Opaque white plexiglass
- Smooth-On Mold star 15
- Smooth-On Smooth cast 300
- Paint
- Piano hinge
- Black primer
- Light grey spray paint
- Drawer handles
- Varnish
- 8-foot electrical cord
- 13-inch chrome tube threaded at each end.
- 2 washers
- Washer cover
- Two 1/4 inch light sockets
- Two 25 watt frosted bulbs
- 3-way lamp socket
- One marette
- Four compression attachments
- 3 feet of electrical cord
- threaded connector (Threads fit the 13-inch pipe)
- 2-inch threaded pipe (Threads fit into the connector)
- One nut to fit on the 2-inch threaded pipe
Tools:
- Table saw
- Tape/clamp
- Pencil
- Drill
- Fine-toothed hand saw
- Cut off saw
- Angle finder
- hacksaw
- Jigsaw
- paintbrush
Steps:
Step 1: Plan and Measure
Sketch out the dimensions of your TARDIS end table. A common size is around 24 inches high and 12 to 16 inches wide and deep. Mark your wood pieces using a pencil and angle finder to get precise cuts for the sides, base, and tabletop.
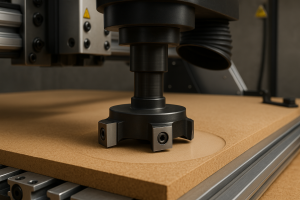
Step 2: Cut the Wood
Use your table saw and jigsaw to cut all panels—four sides, a top, a bottom, and any inner supports. Use the fine-toothed hand saw for smaller trim and window detailing. Double-check your measurements to make sure everything lines up properly.
Step 3: Build the Box
Assemble the main structure by gluing and screwing the sides and bottom together. Use clamps or tape to hold the panels in place while the glue sets. Drill pilot holes to prevent the wood from splitting when inserting screws.
Step 4: Add the Door Panel and Hinge
Designate one side as the door. Attach it using the piano hinge so it opens like a cabinet. Test it to make sure it swings freely before proceeding.
Step 5: Create the Window Panels
Cut window openings on all four sides using the jigsaw. These should be near the top, just like the TARDIS design. Use the opaque white plexiglass to fill each window frame from the inside. Secure it using wood glue or small screws.
Step 6: Mold the Light Housing
Use Smooth-On Mold Star 15 to create a small mold for the beacon on top of the TARDIS. Then cast it using Smooth Cast 300. You can create a simple cylinder or a stylized version that mimics the TARDIS’s top light.
Step 7: Paint the Box
Prime the entire structure with black primer first. Once dry, apply light grey spray paint as a base coat. Finish with blue paint to match the classic TARDIS color. Let each layer dry completely. Use a small paintbrush for detail work like signage or paneling lines.
Step 8: Build and Attach the Light
Assemble your beacon lamp using the threaded chrome tube, washers, washer cover, light sockets, and bulbs. Insert the sockets into your mold housing. Connect the 8-foot electrical cord to the sockets through the threaded pipes, using the marette and compression attachments to secure the wiring. Mount the assembled light to the top of the TARDIS using the nut and connector. Make sure the wiring is stable and insulated.
Step 9: Install the Drawer Handles
Add drawer handles to the door or drawer section to complete the functional aspect of the table. These should be centered and match the overall aesthetic.
Step 10: Seal and Finish
Apply varnish over the painted surfaces to protect the finish. This also adds a subtle shine. Make sure to let the varnish cure according to the manufacturer’s instructions.
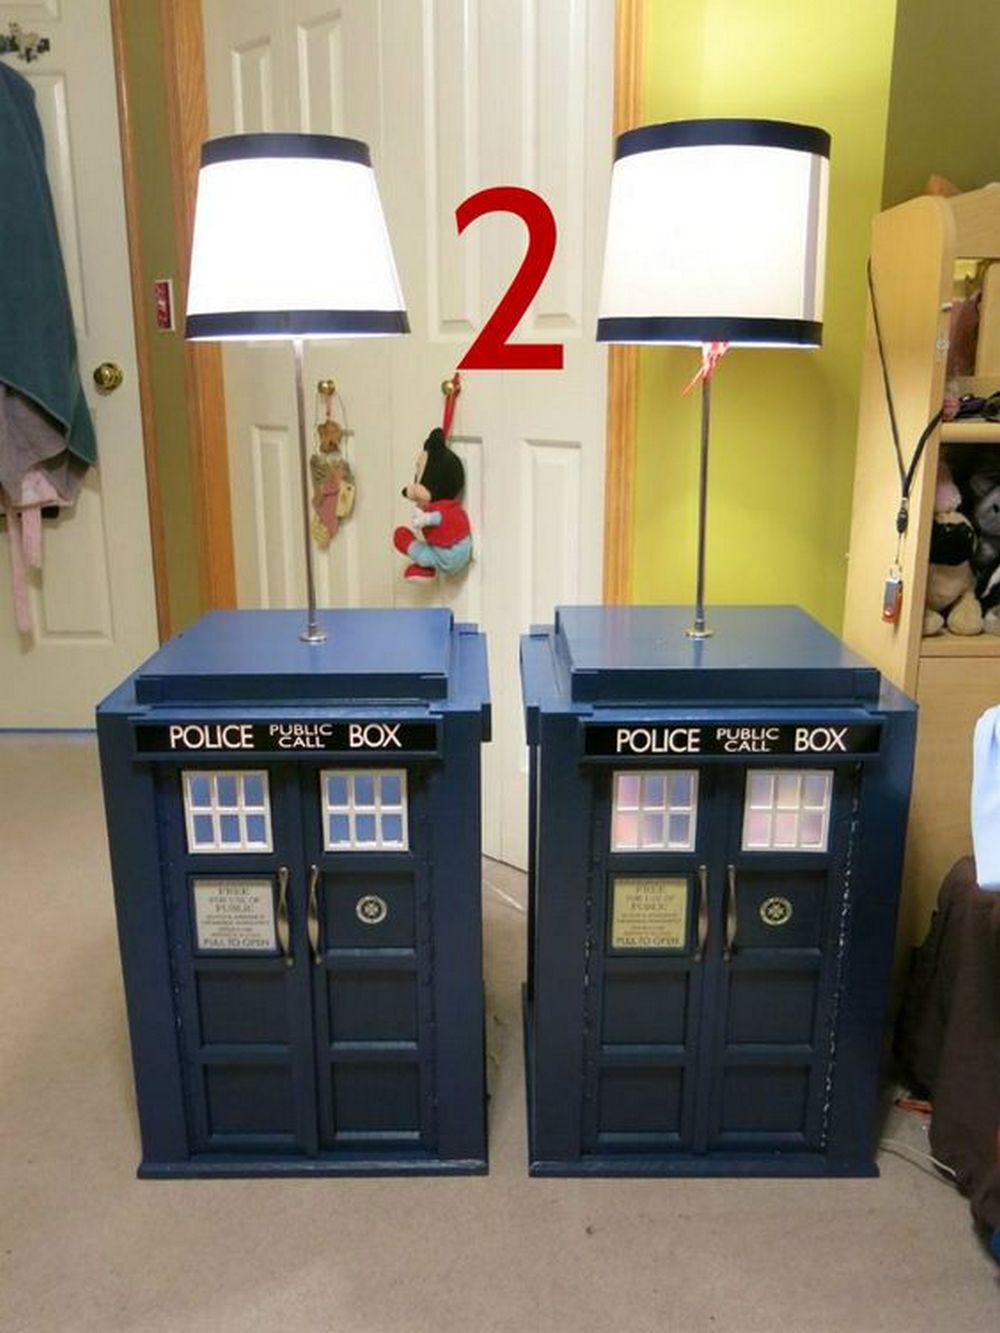
Design Features That Make It a True TARDIS End Table
A true fan of Doctor Who knows the TARDIS when they see it. That iconic blue police box has become a symbol of time travel, adventure, and imagination. When you turn that design into furniture, it’s not just about form—it’s about capturing the spirit of the show. A TARDIS end table isn’t just a piece of décor. It’s a statement. It tells a story and brings a little bit of sci-fi into your living space. But what makes this piece instantly recognizable as the Doctor’s time machine? It’s all in the design.
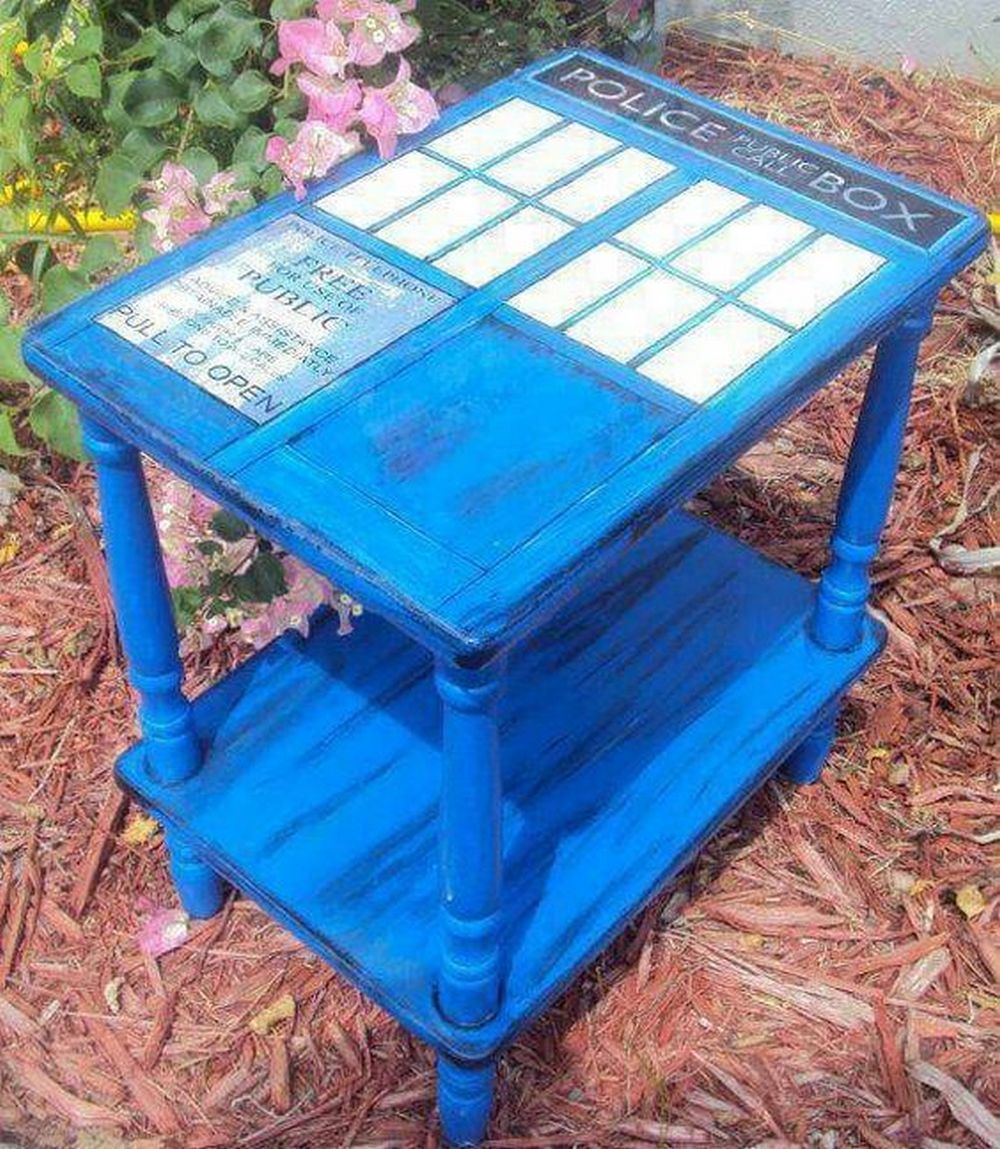
The Signature Blue
The most obvious feature is the deep, rich blue paint that defines the TARDIS. It’s not just any blue—it’s a very specific tone that fans associate with the show. This color sets the stage for the rest of the design. Using a quality paint and finishing with a clear varnish gives the TARDIS end table a smooth, durable surface that mimics the clean yet aged look of the Doctor’s ship.
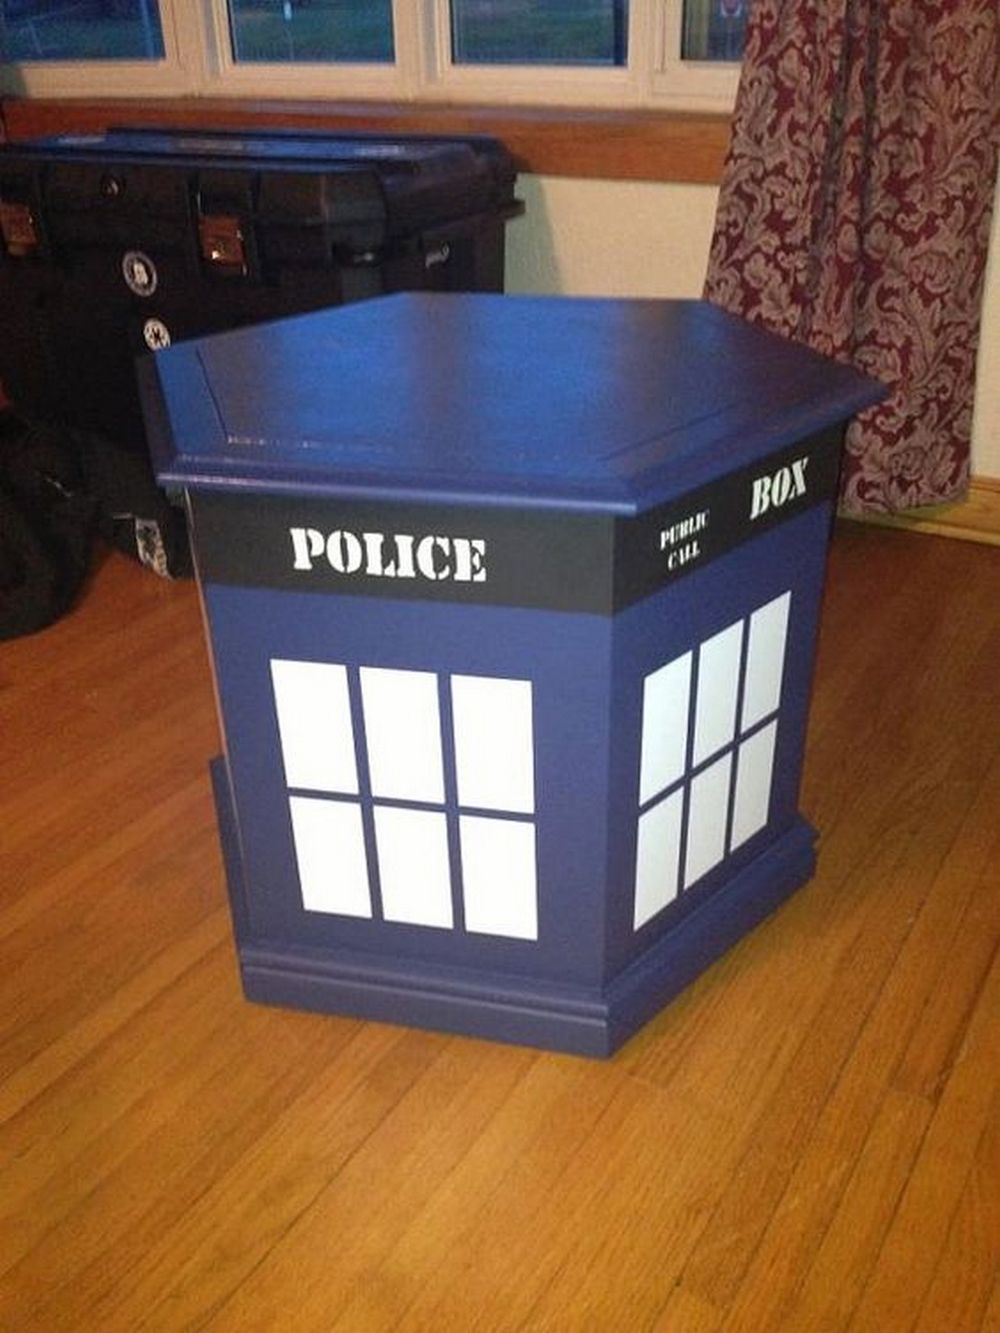
The Boxy Structure
The TARDIS is known for its rectangular, almost monolithic form. Translating this into an end table means building a structure with straight lines, right angles, and a balanced silhouette. This clean geometry gives the piece its signature presence and makes it work well as a side table or nightstand. The boxy shape also gives you room for storage, whether you choose to add a drawer, a door, or shelves inside.
The Front Door Panels
Mimicking the door layout of the original TARDIS adds depth and dimension. These raised rectangular panels give the table visual interest and make it look more like the real thing. You don’t need complicated carving tools—simple wood trim or molding can help create this layered design. Add a faux door handle or a small plaque, and you’re even closer to authenticity.
Opaque Windows
A key part of the TARDIS design is the row of frosted windows at the top of each side. For the end table version, small cutouts filled with opaque white plexiglass do the trick. They let light through if you install internal lighting, but still keep the mysterious, futuristic feel. These windows break up the block of color and add the detail fans instantly recognize.
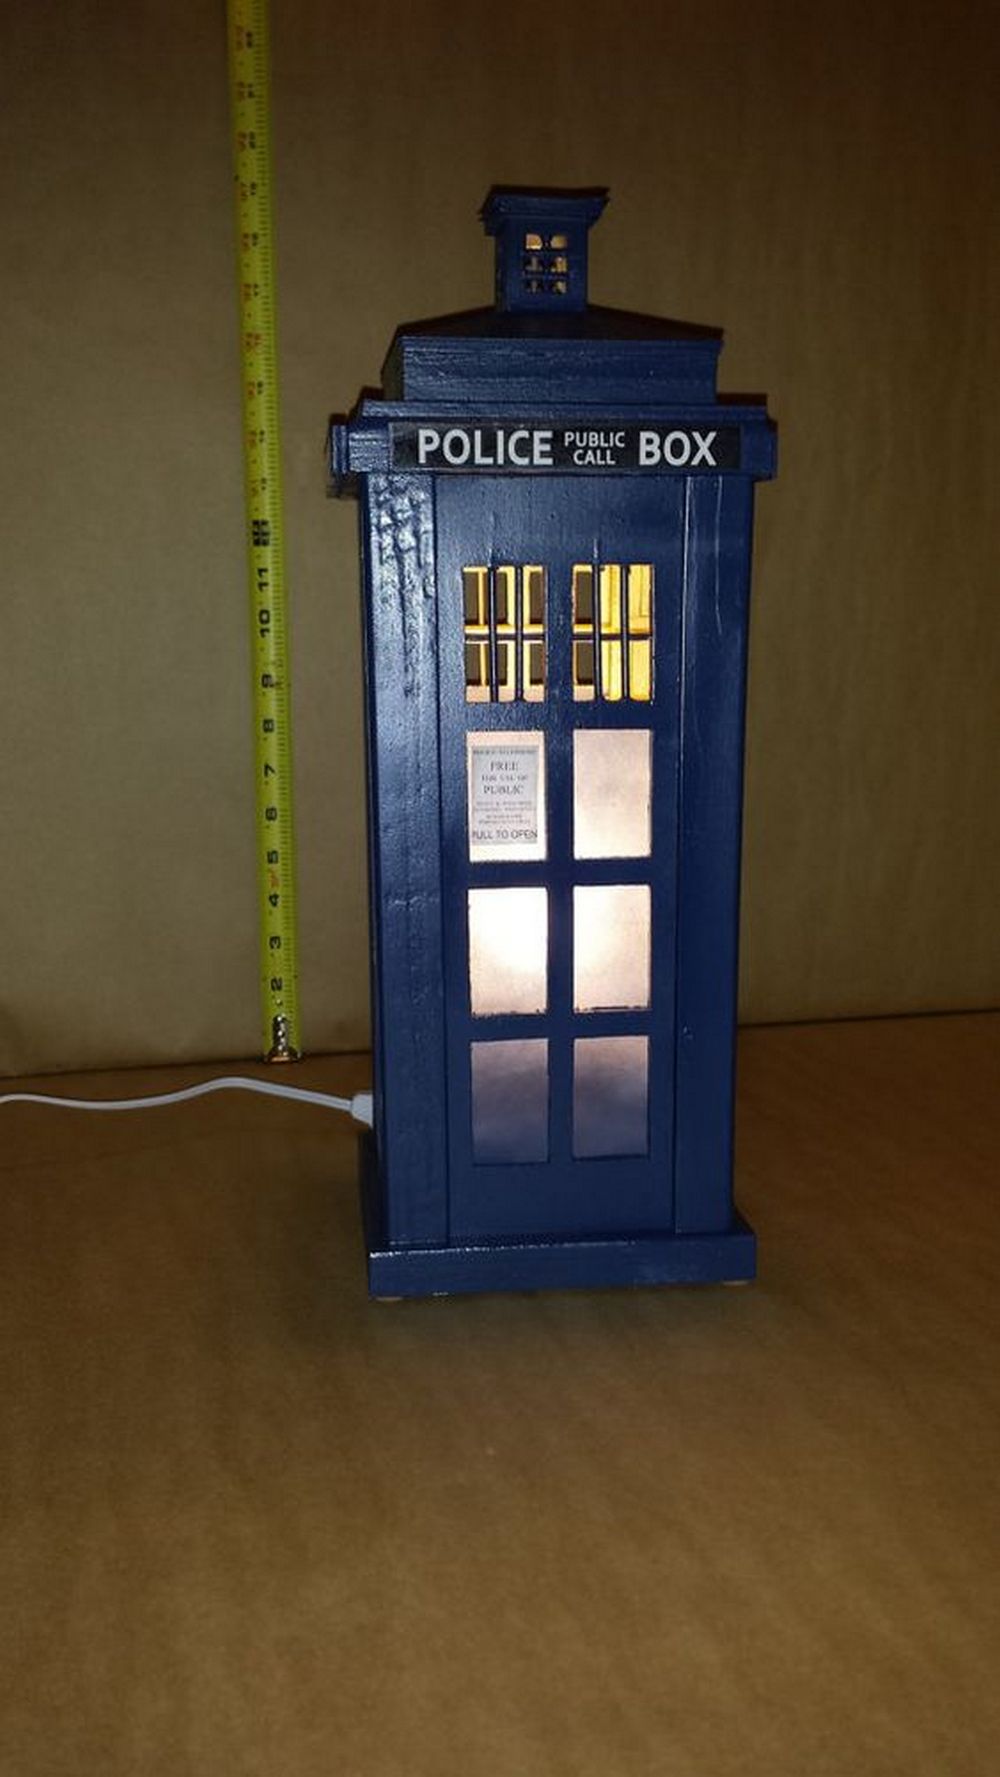
The Beacon Light
No TARDIS is complete without the beacon light on top. This is where your project can really shine—literally. You can cast your own light housing using Smooth-On materials, then wire in working bulbs for a functioning lamp. It’s not just decorative. It adds a glow that brings the whole piece to life. Whether used as a reading light or ambient accent, this feature transforms your end table into a real conversation piece.
Subtle Signage
You don’t need to plaster the words “POLICE PUBLIC CALL BOX” across the top, but a subtle nod—maybe a stenciled sign or painted typography—adds that final touch. For fans, it’s instantly recognizable. For others, it adds a vintage, mysterious flair to an already unique piece.
When all these design choices come together, they create a piece that’s more than a table. A TARDIS end table bridges fandom and function. It’s furniture that tells a story, lights up a room, and holds your favorite book or cup of tea—maybe even some jelly babies.
TARDIS End Table Gallery
Click on any image to start the lightbox display. Use your Esc key to close the lightbox.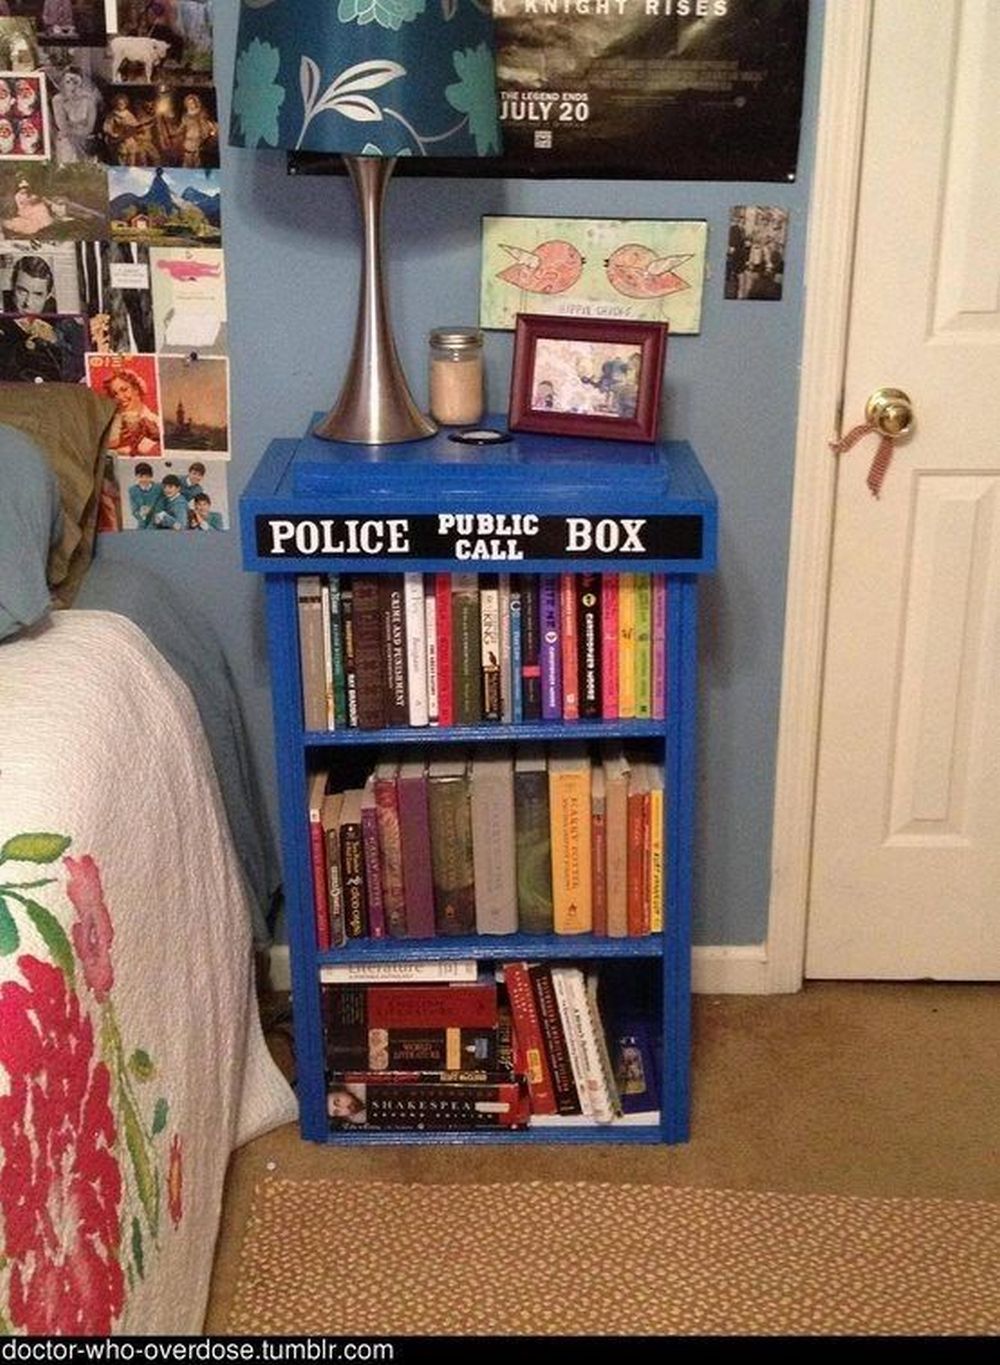

Tips for Customizing Your TARDIS End Table
Creating a TARDIS end table is already a fun and rewarding project, but the real magic happens when you make it your own. The original design gives you a solid foundation to work from, but customization takes it to the next level. Whether you’re building it as a gift or adding it to your personal collection, there are many ways to make your TARDIS end table stand out while still honoring the iconic look of the Doctor’s time machine.
Add LED Lighting for Drama
One of the easiest ways to make your table pop is to install LED lights inside or around the windows. Use warm white or cool blue strips to add glow through the plexiglass panels. You can also add lights under the base to create a soft floating effect. For an extra touch, install a small flickering bulb inside the top beacon to simulate the ship in flight.
Use a Wireless Charging Pad
If you’re building a TARDIS end table for everyday use, integrate modern tech into the design. Cut a hole in the top panel and insert a wireless charging pad. Hide the wiring inside the structure so you can charge your phone or smartwatch without breaking the illusion. This small upgrade turns your fandom furniture into a functional piece for your bedroom or office.
Experiment with Color Finishes
While the classic blue is a fan favorite, you’re not limited to that one look. If you’re going for a rustic or vintage vibe, try using distressed wood techniques. Sand the corners, use a dry brush to add age, or layer different tones of paint for a weathered effect. For a more modern style, you can go with black, silver, or even dark green while still keeping the iconic shape and window layout intact.
Add a Secret Compartment
Channel the “bigger on the inside” concept by including a hidden compartment inside your table. You can use a magnetic latch or false panel to disguise a storage space for keys, remotes, or small collectibles. It’s a clever nod to the show’s core idea and gives your TARDIS end table a practical twist.
Include Gallifreyan Details
If you want to make the table even more personal, add circular Gallifreyan symbols using stencils or decals. You can place them on the side panels, the tabletop, or inside the door. They add a subtle but meaningful touch that true fans will appreciate. You can even write your name or a special phrase in Gallifreyan script for a one-of-a-kind finish.
Install Sound Effects or a Bluetooth Speaker
If you’re up for a bit of tech integration, add a small Bluetooth speaker inside the table. Some builders go even further and install a motion-activated sound chip that plays the TARDIS take-off noise when the drawer opens or when the light turns on. It’s a small detail, but one that adds a big impact.
No matter how you choose to customize it, your TARDIS end table should reflect your style and imagination. You’re not just building furniture—you’re creating a functional tribute to a sci-fi classic.
Conclusion
Building a TARDIS end table is more than just a woodworking project—it’s a tribute to a timeless sci-fi icon. With thoughtful design and personal touches, you can create a functional piece that sparks joy and conversation. It’s the perfect blend of fandom, creativity, and practical use.
We have more amazing end table projects for your bedroom or living room. Check out our scrap timber end table project next!