Last Updated on October 13, 2025 by Team Ideas24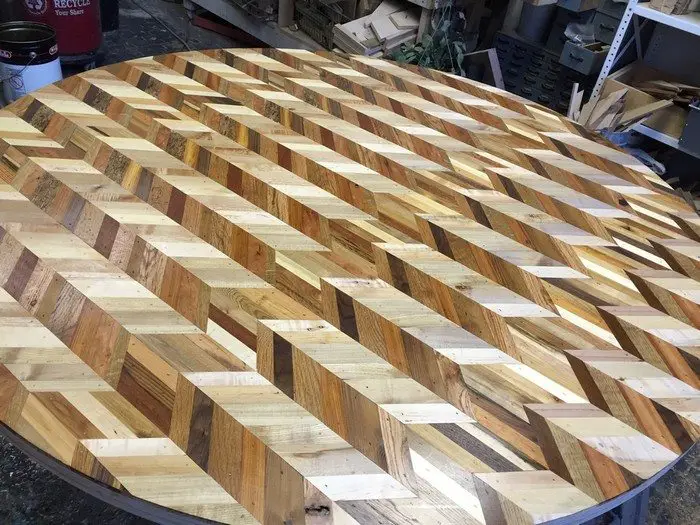
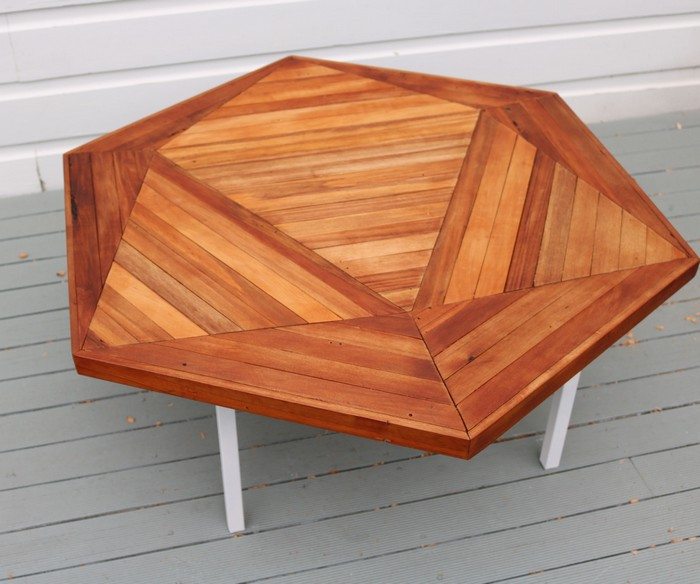
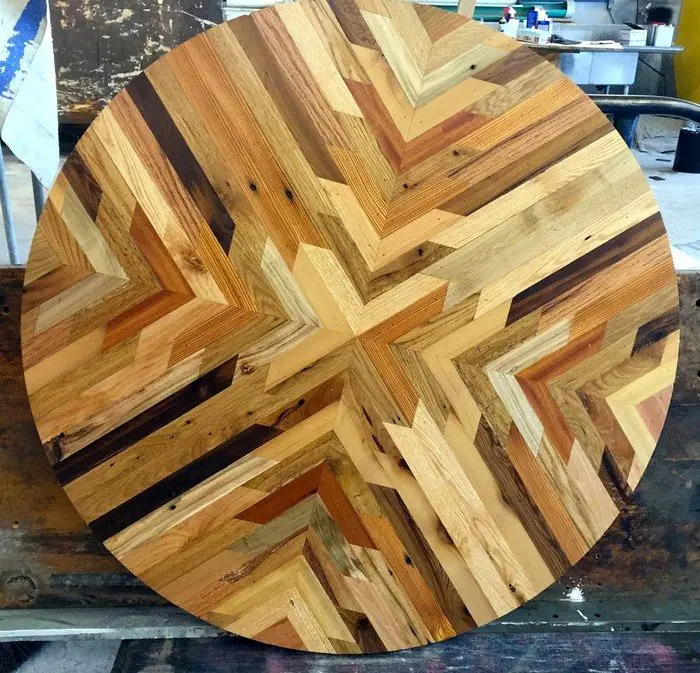
There’s something about geometric shapes and designs that draw some people to them. Its hypnotic repetitive pattern in furniture makes them a popular design preference. If you’re fond of them, then this is one DIY table for you!
This beautiful furniture project uses reclaimed wood. Despite its exact geometric pattern, it’s simple and easy to make given the proper tools.
You can build it if you need a coffee table, an end table, or an outdoor table for your porch or patio. It would also make a great gift idea for friends and family!
Be inspired to DIY an icosahedron table by having a look at our album – it includes other similar table design ideas which you can also get inspiration from, too!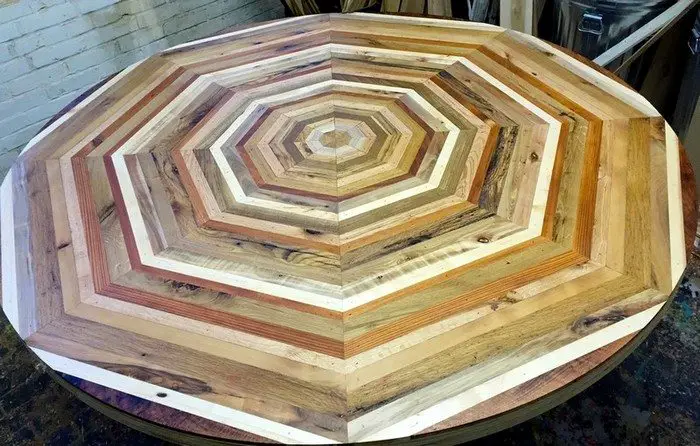
Is this going to be your next weekend project?
Materials:
- Reclaimed Wood
- Table Legs of choice
- 6mm MDF Board
- 12mm Plywood
- Wood Glue
- Wood Screw and Nails
- Danish Oil
Tools:
- Ruler and Pencil
- Random Orbital Sander
- Circular Saw
- Trim Router (or Jigsaw)
- Hot Glue Gun
- Paintbrush
- Cordless Drill
Steps: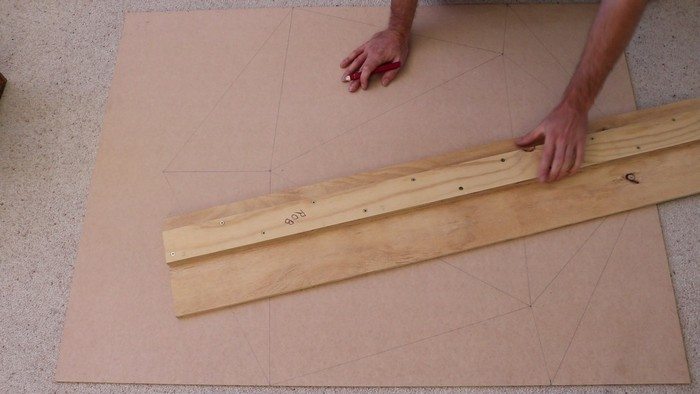
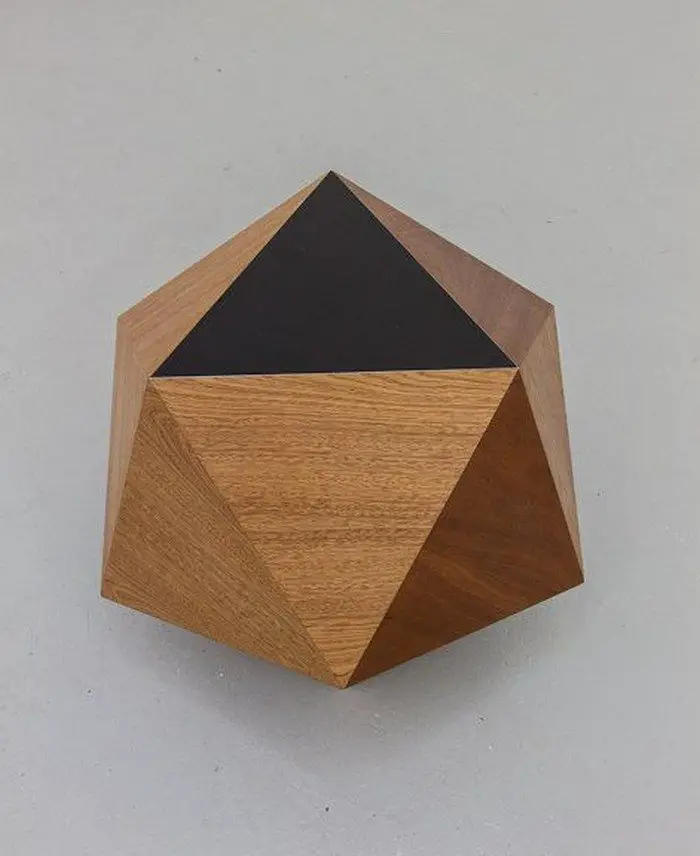
Measure and mark: The triangle pattern is a 2D representation of an Icosahedron, which is a polyhedron with 20 faces.
There are some ways that you could approach getting the dimensions of an icosahedron for your table surface. The way I did mine was to first draw it to size in a CAD program (900mm edge to edge). Then measure the relative distances of each point (within the CAD program) where the lines intersected each other (also known as a vertex). I then transferred those measurements onto a large piece of 6mm MDF that was going to be my template.
Another way to do it if you are not fluent with CAD is to draw an Icosahedron on a piece of gridded paper and then scale up the dimensions to the size of the table you want. To help you do this, I’ve attached a DXF vector file for all you CAD users, and a PDF image for you old school peps.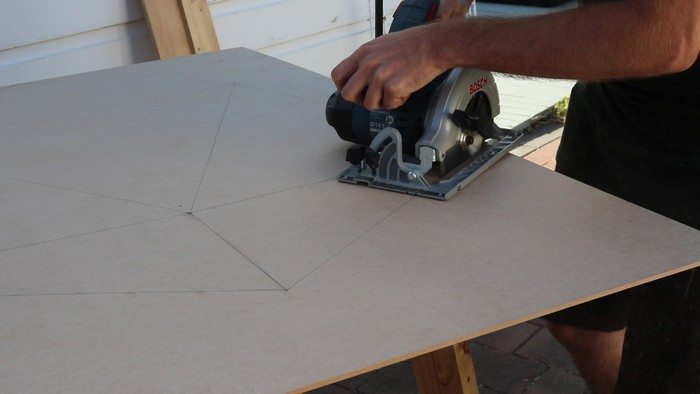
Cut out the template: Now before you finally break out the power tools and start slinging wood dust, just bear in mind that the more accurately you cut out your template pieces, the better your table will go together. Therefore, I recommend against freehand cutting like I did, as any slight miss-cut just makes it harder to get a nice tight fit between the pieces later on.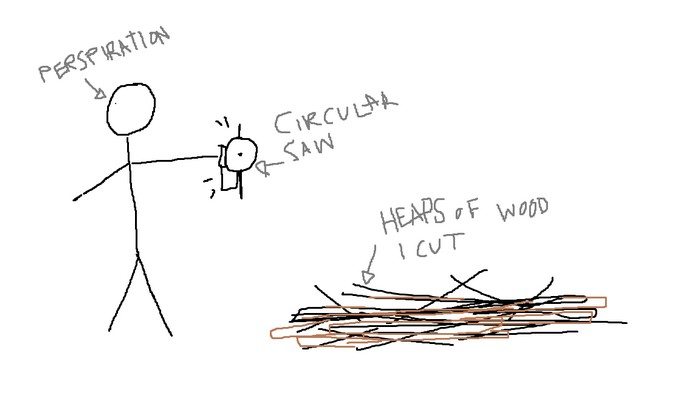
Prepare the reclaimed wood: I haven’t got a photo of this, but I’ve drawn a fairly accurate representation so you can properly visualize the techniques as you read.
I’ve used native hardwood floorboards that I found at the local landfill. Unfortunately, they were all tongue and groove, and more warped than a candy bar left in your back pocket. So I spent an arduous day cutting out the usable pieces and trimming each board so they were all roughly the same width (35mm in my case) using an edge guide attached to my circular saw. The thickness of your timber doesn’t especially matter, mine was around 12mm. What DOES matter is that each piece is the same thickness (or very close), otherwise you will end up with a very lumpy table. The best way to do this is to use a Thicknesser. I don’t have one so I skipped this step and just hoped for the best later on…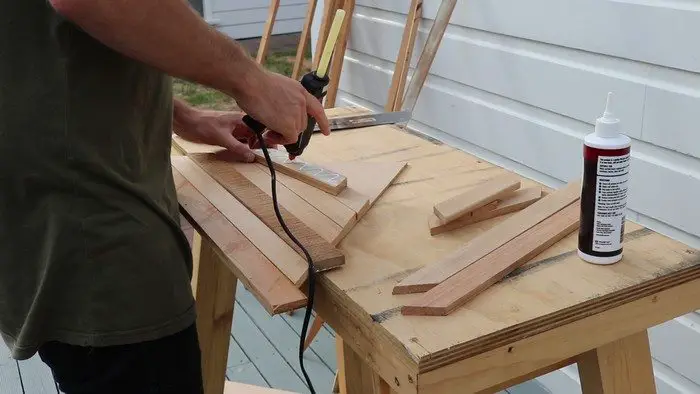
Stick reclaimed wood to the templates: Line a piece of wood up with the MDF template and roughly cut the wood to the width of the template (don’t worry about the overhang, we’ll sort that later).
Lay down a good squiggle of wood glue and put a few blobs of hot glue in between the squiggles, then position the wood on the template triangle. The hot glue will set fast, effectively ‘clamping’ the wood down while the wood glue dries, giving a much more effective bond than either one alone. Once you’ve done a full template, flip it over and put some small nails(or screws) through the back to secure the wood to the template. Repeat this process for all the triangle templates.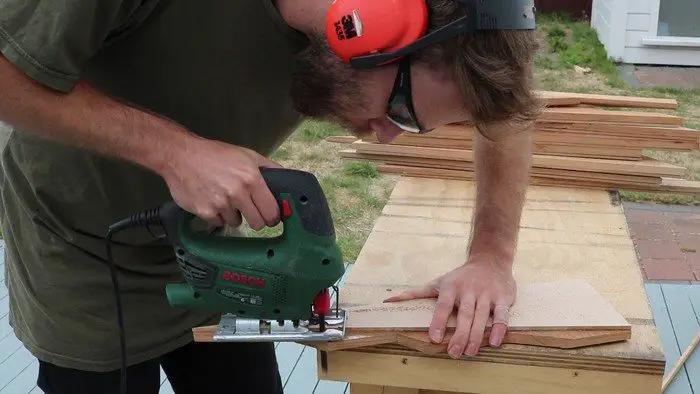
Trim up the templates: Trim back the overhanging wood to be flush with your MDF templates.
I used a jigsaw and just went slow and let the blade lightly graze the edge of the template. It worked fairly well, but the better way to do this would be to use a trim router with a flush trimming bit.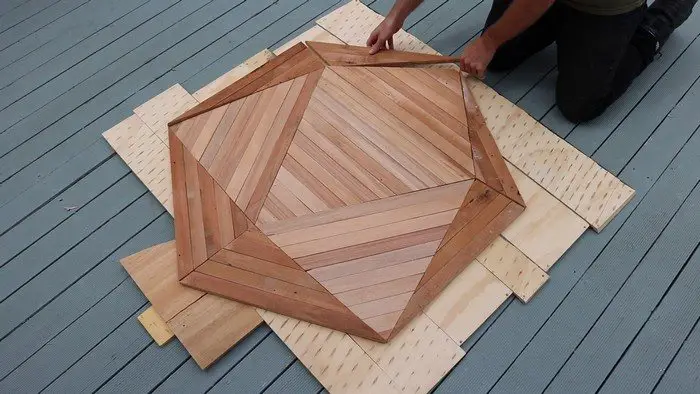
Assemble the pieces: You now want to assemble your little jigsaw of template triangles onto some sort of backing board.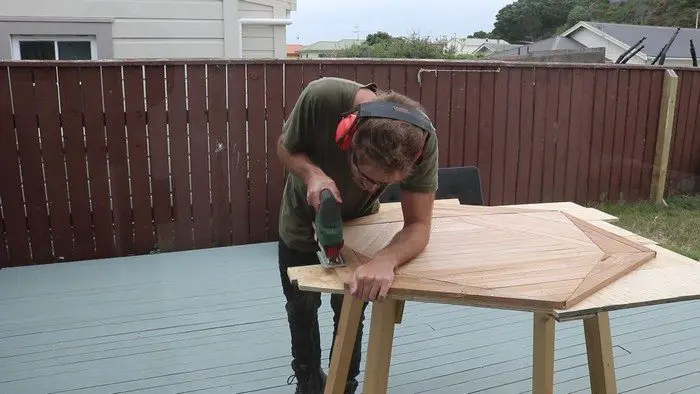
I used 12mm pieces of scrap plywood I had lying around. Attach the triangles by putting screws up through the bottom of the backing board. Next, go around the edge of the table-top and trim off any overhang.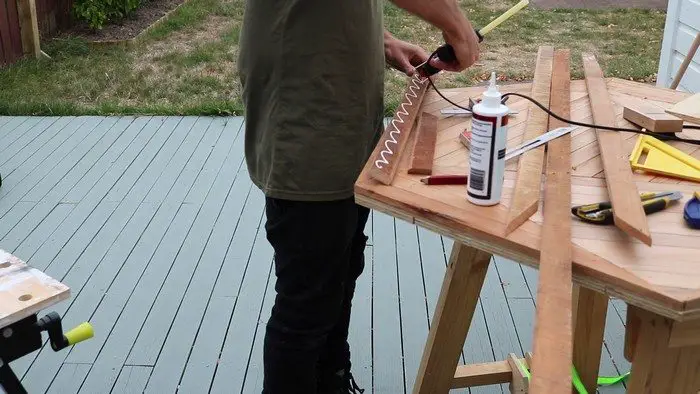
Edging: Hide the wood sandwich showing at the edge of the tabletop by using some more off-cuts to run an edging around.
I used the same wood glue and hot glue trick to attach the edging.
Make it flat and smooth: Remember that bit when I said to make sure your wood has even thickness before attaching it to the templates? This is why. Because any kind of planning or surfacing you do now is going to have the added complication of running up against conflicting grain direction, which will cause tear-outs and generally just be a pain to deal with.
On my table, my wood had up to 4mm difference in thickness on some of the pieces, making the surface quite uneven – which is bad. It’s not ‘I tried to wrestle a bear whilst covered in honey’ bad, more like, ‘I need to cut a tomato but all I have is a spoon’ kinda bad. I had to use a small block plane to do my surfacing here, which did get the job done, but it was more work than it needed to be.
A random orbital sander is a good way to take the wood up through the sanding grits (80,120,240) as it doesn’t leave as obvious sanding scratches when crossing alternating grain directions.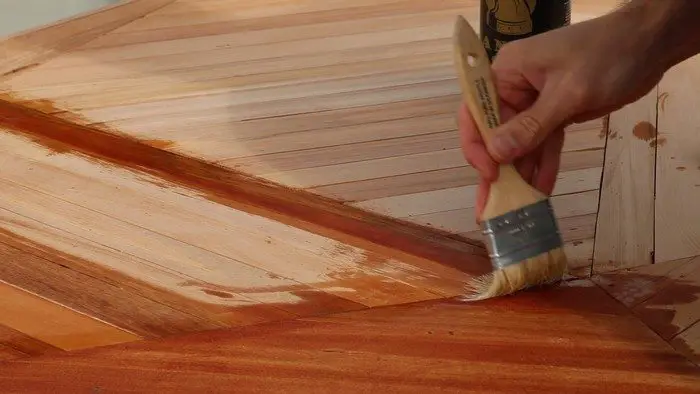
Make it pretty: Once you’re happy with your sanding, apply your wood finish of choice. I’ve used danish oil but there are many suitable products out there.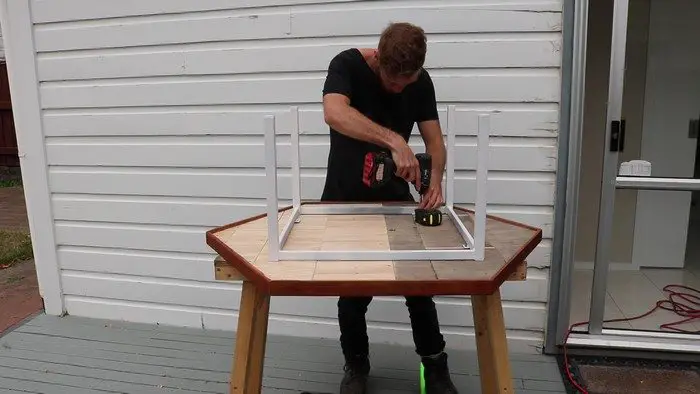
Show some leg: Depending on your final use of the table and what style of interior you have, you’ll want to build some legs that work for you. (I won’t go into that because there are plenty of better resources that can explain this if you need it.)
I stole some legs off an old, bad looking table; sanded and repainted before attaching them to my new coffee table.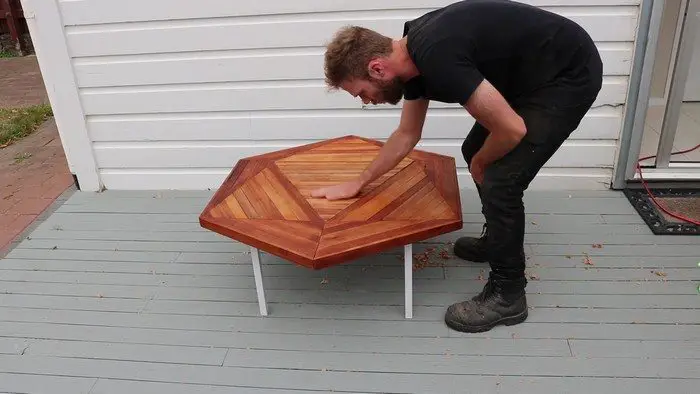
That’s it!
Contents
Selecting Sustainable Reclaimed Wood for an Icosahedron Table
Salvaged hardwood carries unique grain and trims your carbon footprint. Careful selection ensures the icosehedron table stays flat, crack-free, and visually striking through decades of daily use.
Assessing Structural Integrity
Old planks look charming, yet hidden splits and insect galleries can wreck joints. Examine every board under strong light and tap with a hammer; a dull thud signals rot you must discard. Check ends for cracks that run with the grain because they travel under stress.
Grab the board at both ends and twist gently; excessive flex means weak fibers. Pick stock that feels dense and rings when struck. Solid pieces let the icosehedron table lock together without gaps or future sagging.
Ethical Sourcing Channels
Responsible builders never strip barns just for fashion. Instead, they buy from architectural-salvage yards that document origin and species. Reclaimed tropical hardwood should carry Forest Stewardship Council certificates proving legal harvest.
Urban sawmills rescue fallen street trees and kiln-dry slabs for hobbyists. You can also trade with builders who replace floors during renovations.
Keeping the chain transparent adds credibility when you showcase the icosehedron table on social media or sell it at a craft market. Buying this way also keeps heritage timber out of landfills, honoring the tree twice.
Preparing Timber for Precision Cuts
Consistent thickness is vital because twenty triangles meet tightly. Run boards through a planer, or hand-plane if noise rules out machines. Set a marking gauge and scribe width lines so each strip matches your template exactly.
Mill one straight edge first and use that edge against the fence for ripping multiple blanks. Label grain direction before gluing to avoid tear-out later. Lightly mist the surface and sand to raise grain, preventing fuzz after finishing.
These habits save hours when assembling the icosehedron table surface. Consistent blanks reduce sanding time once glue sets.
Icosahedron Table Gallery
Click on any image to start lightbox display. Use your Esc key to close the lightbox. ?
Manual Geometry: Laying Out an Icosahedron Table Top Without CAD
Drawing perfect triangles by hand sounds old-school but it’s liberating. With simple tools, you’ll map an icosehedron table top that rivals any CAD-generated pattern.
Compass and Straightedge Basics
Start by drawing a circle that matches the intended table diameter. Keep the pencil sharp so lines stay thin. Use your compass to step the circumference into ten equal arcs, yielding a regular decagon.
Connect every third vertex with a straightedge; intersecting lines create the twenty equilateral triangles of the polyhedron net. Check each angle with a small machinist square. Repeat the entire layout on scrap first.
Practicing on cardboard boosts muscle memory and reveals mistakes while pencil marks still erase easily. Use a large T-square to extend edge lines cleanly.
Scaling Up From Paper Templates
If the ideal tabletop exceeds your drawing board, scale the pattern with a simple ratio. Measure the edge length on a printed plan and multiply by your chosen factor, then mark that distance on dividers.
Transfer enlarged points onto full-size builder’s paper taped to the workshop floor. Keep the layout flat to avoid stretch. Use push-pins at every vertex, then stretch fishing line between pins to verify straightness. Once satisfied, trace bold lines in marker so they remain visible amid sawdust.
Transferring Points Accurately to MDF
MDF makes a rigid master template that guides every wooden triangle. Place carbon paper under the enlarged drawing and burnish each vertex through with a ball-point pen, labeling coordinates as you go to avoid confusion during cutting.
Drill small 1 mm holes at every point; these indexing holes accept finishing nails that register strips while gluing. Sand the template edges smooth because rough spots catch the router bearing.
Store the template flat after use so humidity never warps your hard-won accuracy. Clamp the sheet to sawhorses so drilling stays perpendicular.
Conclusion
Crafting an icosahedron table teaches patience, precision, and respect for every salvaged board. Each triangle coaxes reclaimed timber into a new life. When glue sets and finish cures, the geometric surface almost glows. Stable legs complete the transformation and invite daily use. Take photos, note lessons, and start planning the next polygon project.
We have more eye-catching table for your living room. check out our seashell coffee table next!


