
Last Updated on June 11, 2025 by Team Ideas24
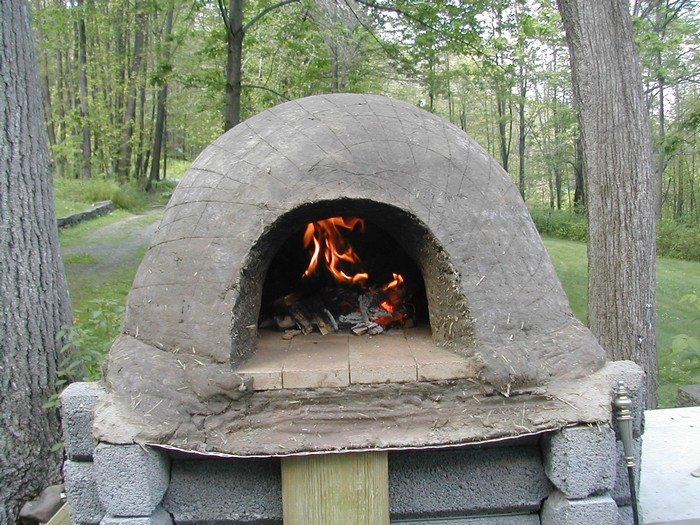
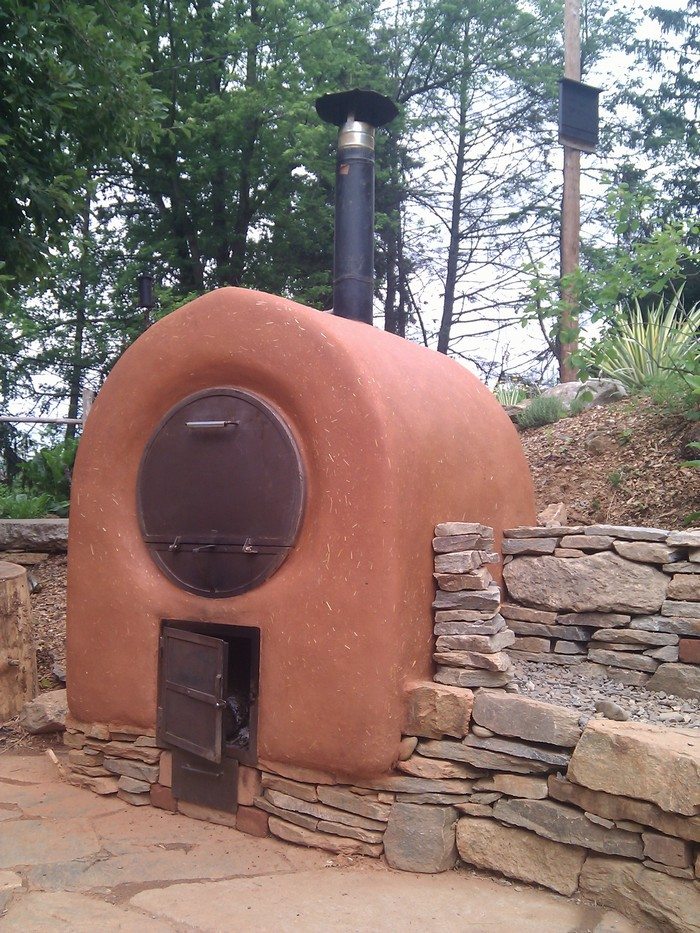
Say the words “earthen oven” and most folks will envision wood-fired pizza in a traditional restaurant. While pizza is a perennial favorite, an earthen oven is actually a very versatile piece of cooking equipment. What can you cook in it? Well, anything you can cook in a regular oven, really.

Earthen ovens like this have existed since the 18th century. Given that, one can already figure that the building process is very basic, and can be done even by first time DIY-ers. You don’t even need any tools to put everything together.
Watch the video below for more details on the materials and the tutorial. You’ll see an earthen oven is actually fun to build just as it is to use!
Do you want to have this kind of oven in your backyard? :)
You’ll need these materials:
- Bricks
- Sand
- Dry Clay
- Straw, Hay, Dry Grass
- Canvas Tarp
- Water
- Paper
Steps:
- Clear and level the ground. Lay the bricks in a tight formation to form a stable base. Use enough bricks to support the oven.
- Mix sand and dry clay in a 3:1 ratio. Add straw, hay, and dry grass. Pour in water and knead until the cob holds its shape.
- Mound sand on the brick base. Shape it into a dome form. Cover the mound with crumpled paper.
- Drape a damp canvas tarp over the paper form. Smooth the tarp so it fits snugly. This creates the oven mold.
- Pack the cob onto the tarp. Build a 2-inch-thick dome. Smooth the surface as you go.
- Mist the dome lightly and let it set for 48 hours. Keep it damp. Avoid direct sun.
- Remove the tarp and paper. Scoop out the sand from inside the dome. Clean the cavity.
- Brush a thin clay slip over the dome. Press straw and dry grass into the slip. This adds insulation.
- Cover the dome with the tarp to slow drying. Cure it gently for seven days. Check moisture daily.
- Start small fires inside the oven. Increase the fire size over ten days. Perform a final test bake.
Contents
Benefits of a low cost earthen oven
A low cost earthen oven unlocks big savings on fuel, materials, and labor. It adapts to many cooking styles without high price tags.
Cost savings
Building with local materials cuts expenses. Bricks, clay, straw cost little or nothing. Cob mixture is cheap. DIY labor saves funds. You skip pricey factory ovens. The result still heats well and bakes evenly. Investing time yields long term food cost reduction.
You avoid high energy bills. Oven’s mass stores heat. You cook with minimal fuel. Lower bills free resources for other projects. This makes dinner parties and daily baking affordable.
Eco friendly cooking
An earthen oven uses natural materials and low-impact methods. When you burn dry wood, it emits minimal soot. The clay and sand mix is fully biodegradable. By avoiding electric or gas ovens, you reduce your carbon footprint.
Straw and hay waste get a second life in the insulation. That minimizes landfill contributions. You cook with sustainable resources. You can also compost leftover ash. This supports a zero waste lifestyle and healthy soils.
Versatile cooking options
In one oven, you can roast, bake, smoke, and even grill. The high heat capacity suits pizza and artisan breads. Low heat retention works for slow-cooked stews and casseroles. You can adjust the fire size for a range of dishes.
The dome shape creates even heat circulation. That delivers consistent results every time. You swap recipes without changing equipment. It handles both quick meals and long cooks with ease.
Thermal efficiency
Thermal mass absorbs heat during the fire stage and releases heat slowly as the fire dies down, keeping cooking temperatures stable for hours. When you use small amounts of wood and kindling, the oven heats up fast and cools down predictably, saving fuel and reducing environmental impact. A thick cob layer boosts efficiency, lowering the fire frequency you need, and giving you more cooking time per load of wood.
DIY satisfaction
Building your own oven gives a strong sense of achievement. You learn traditional techniques and local building skills. The process brings friends and family together for a fun project. You can customize size and look to suit your backyard.
That adds a personal touch to outdoor cooking. You also gain maintenance know-how as you build. You’ll feel proud each time you fire it up. It turns cooking into a hands-on craft.
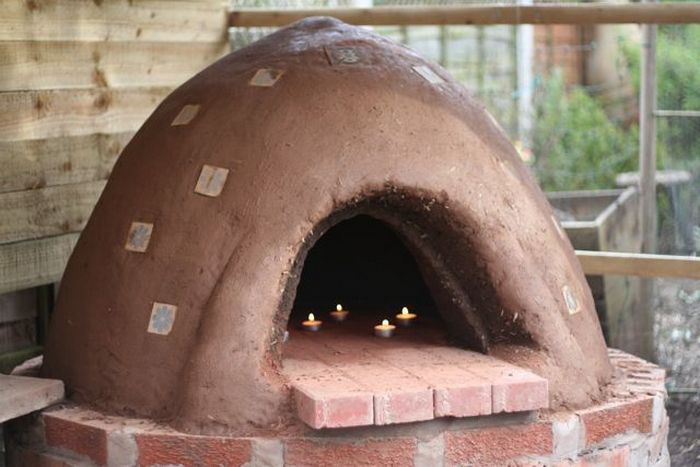
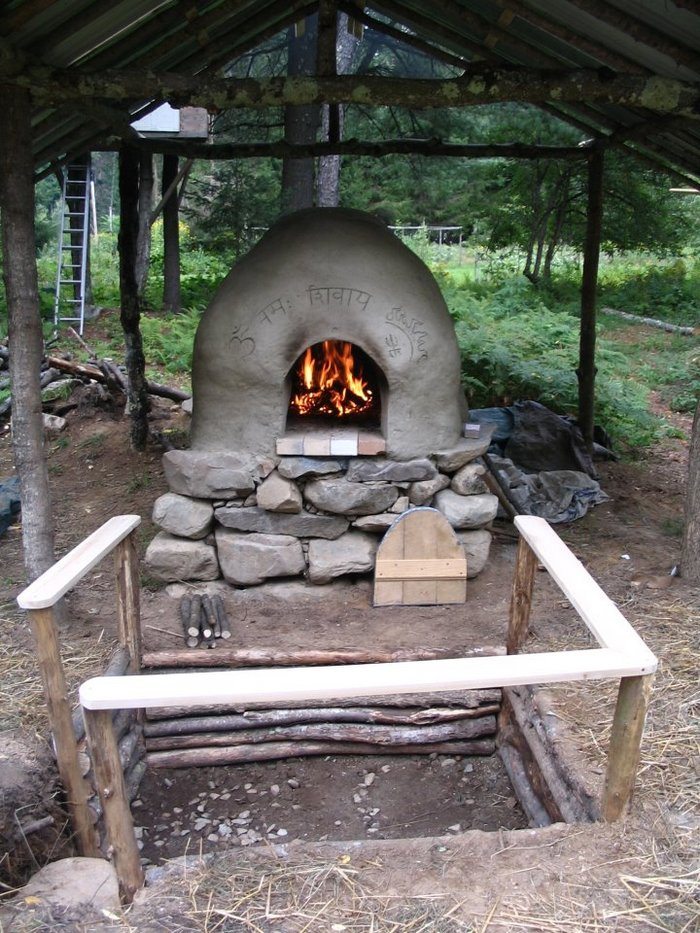
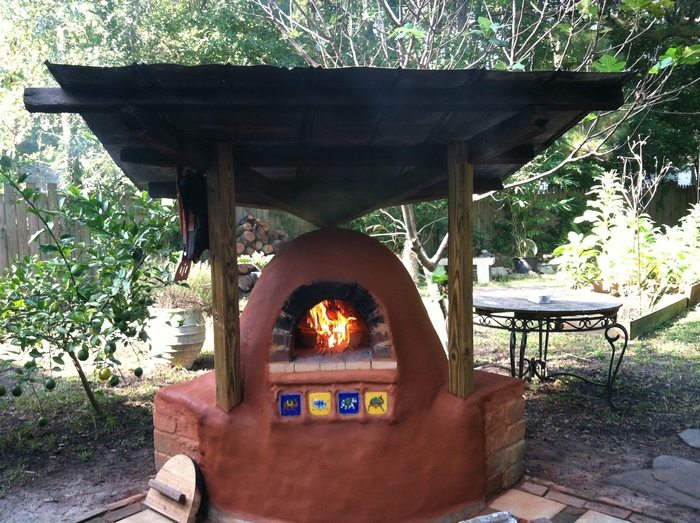
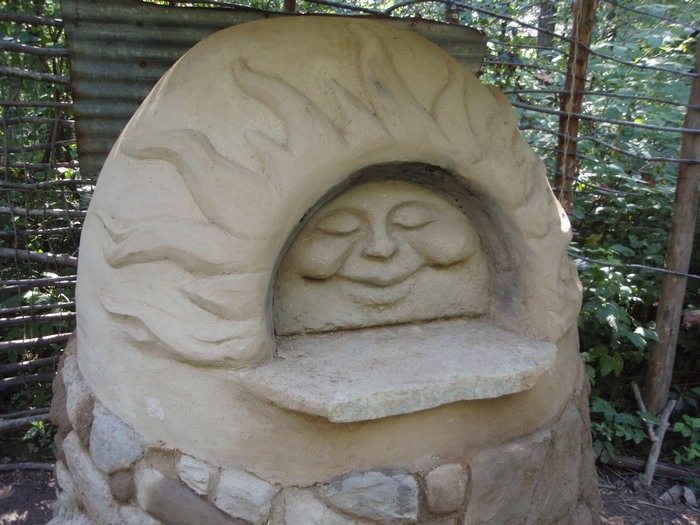
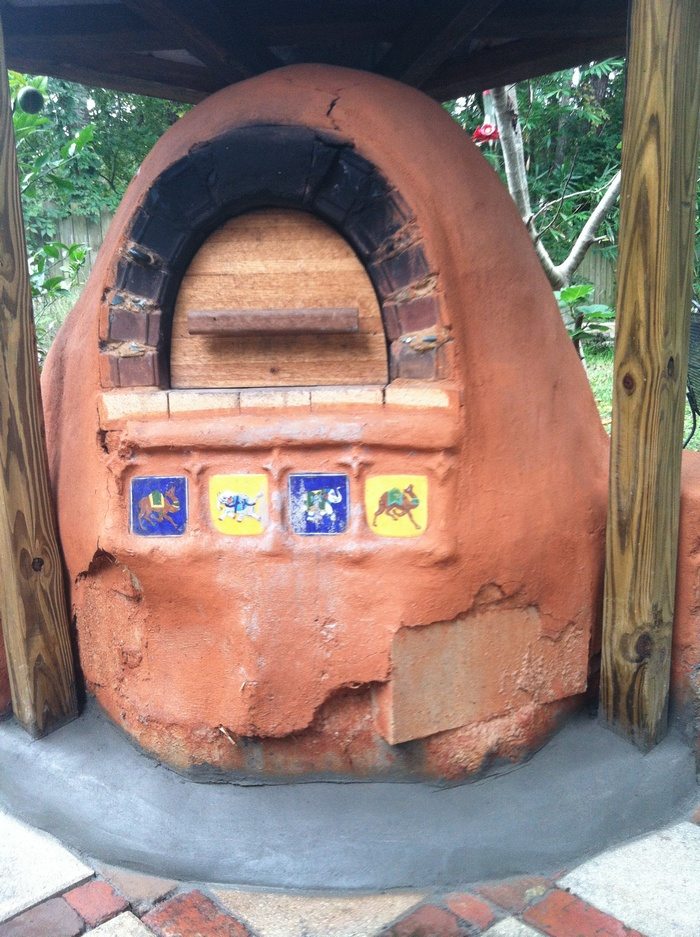
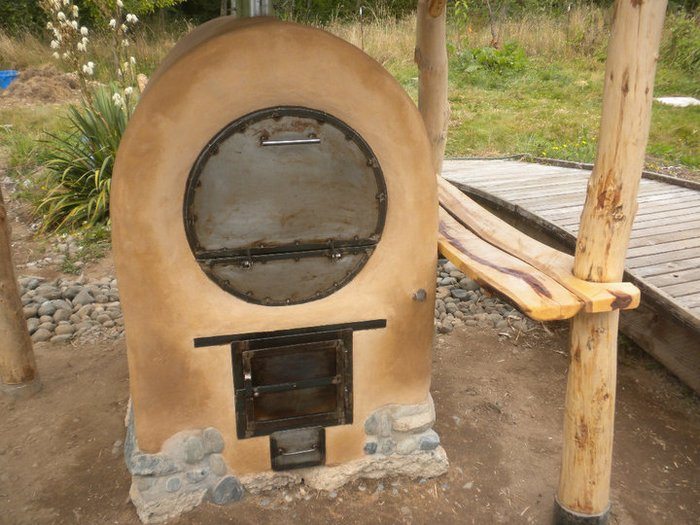
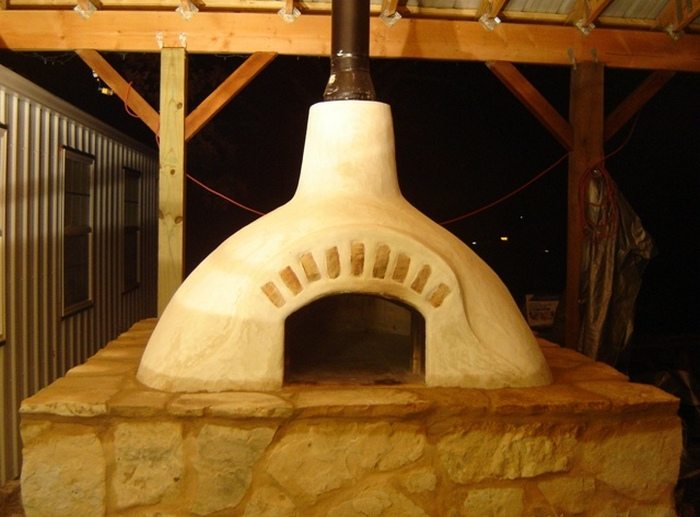
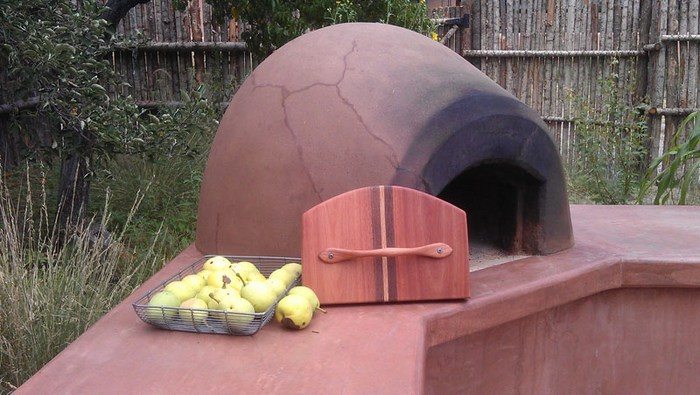
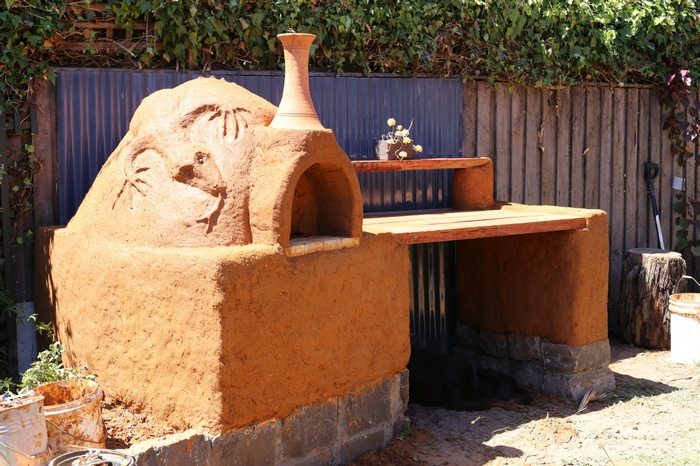
Earthen Oven Gallery
Click on any image to start lightbox display. Use your Esc key to close the lightbox.![]()

Maintenance and troubleshooting tips
Routine care and timely fixes keep your earthen oven in top shape. You can avoid costly repairs and extend the oven’s life with simple checks.
Regular cleaning routine
Sweep out ash and debris after each use. Let the oven cool before cleaning. Use a dry brush or soft broom for the floor. Remove any charred bits to keep airflow clear. Avoid water or soap inside the dome.
That can weaken the cob mix. Clean the entrance arch gently to prevent damage. A tidy oven heats up faster and cooks more evenly. Make this a habit after every cooking session.
Repairing cracks and damage
Small cracks are normal after first fires. Fill them with a fresh clay slip mixed to a spreadable consistency. Press the slip into cracks with your fingers or a spatula. Smooth the patch flush with the dome surface.
Let it dry slowly under a tarp. For larger gaps, add straw to your clay mix before you apply. Repeat repair steps until cracks do not reappear after firing.
Checking for moisture issues
Inspect the dome and base for damp spots after rain. A pitched cover or tarp should keep water out. If you spot moisture, uncover and let it dry in sun for a day. Repair any gaps in weatherproof layers.
Too much moisture inside weakens the oven shell. Use a breathable cover to avoid trapping humidity. Keep the entrance area clear so air can circulate.
Pest and debris management
Birds and rodents may nest in unused ovens. Seal the entrance with a removable door when you’re not cooking. Remove debris like leaves or twigs from inside the dome. Check insulation layers for signs of insect or rodent damage.
Replace any soiled straw or hay immediately. Clean out nests and droppings with gloves. Regular checks keep pests from damaging your oven structure.
Seasonal inspections
Before cold or rainy seasons, inspect the foundation and dome. Look for erosion under the brick base. Check the insulation layer for loose patches. Reapply weatherproof coating if you see wear. Secure your cover or tarp against wind and snow.
After winter, remove covers and inspect for frost cracks. Repair or reinforce weak spots before your first spring bake. This prep work extends the oven’s usable life.
Conclusion
Building an earthen oven gives you a reliable cooking tool that stands the test of time. You’ll enjoy low fuel costs and versatile cooking options. The building process is simple and rewarding for DIYers. Proper insulation and curing ensure peak performance and durability. You’ll feel proud each time you bake with this natural, hands-on creation.
We have other natural ovens for your backyard. Check out our guide on a natural stone oven.


