Knitting turns downtime into wearable wins that calm your mind, sharpen focus, and produce gifts people actually use. You control fit, fiber, and color, so pieces match your body, values, and budget instead of whatever’s on a rack. If you’ve wanted to learn how to knit, this guide shows the smartest first steps that cut frustration, choosing needles and yarn, forming clean stitches, and fixing mistakes before they spread. Follow along and you’ll cast on today, bind off sooner than you expect, and finish a simple project that proves you can do it.
Contents
Key Takeaways
- Knitting steadies your mind, sharpens focus, and turns downtime into wearable gifts you’ll enjoy making and giving, with first projects that bind off sooner than you expect.
- You’ll control fit, fiber, and color to match your body, values, and budget, then extend garment life by repairing, upcycling leftovers, and choosing natural fibers to cut waste.
- This guide shows how to knit by nailing setup and hand positions, picking essential tools and yarn, reading patterns and charts, and finishing a confidence-building garter scarf.
Why You Need to Learn How to Knit
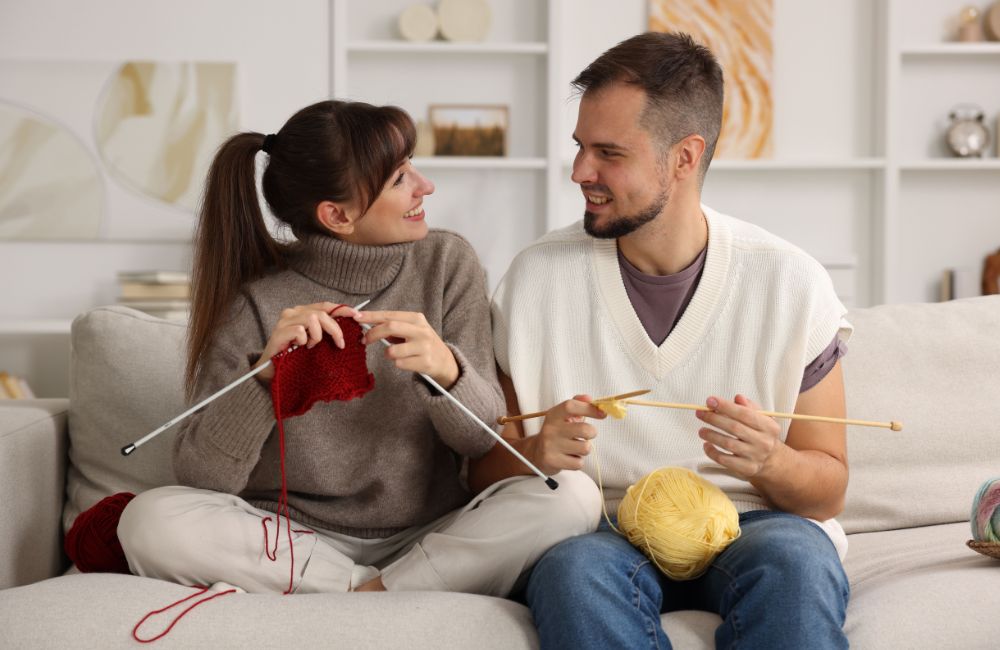
Knitting is a great hobby that lowers stress and gives your mind a steady anchor. Learning how to knit sets a calm rhythm that quiets noise and helps you focus. Your hands move. Your breathing settles. Progress shows up row by row, which feels rewarding after screen-heavy days.
Learning how to knit opens up plush creatures and heirloom dolls with real personality. You can sculpt soft toys with safe fibers, pick colors a child loves, and customize features that echo a story or memory. They’re charming as décor, and they become heartfelt gifts that outlast trends because they were made by you.
Knitting builds a more sustainable and repairable wardrobe. Once you learn how to knit, worn cuffs and tiny holes become fixable, not disposable. You can upcycle yarn, plan projects to use leftovers, and favor natural fibers. That adds longevity and cuts waste without losing style.
Skillshare makes learning how to knit simple with bite-sized classes, guided projects, and supportive feedback. Start at zero, build core stitches, and finish pieces at a pace that fits life.
Structured Lessons That Build Real Skills
Skillshare’s classes break how to knit into short, clear steps. You’ll start with tools and tension, then move into cast on, knit and purl, shaping, and finishing. The sequence keeps progress steady.
Projects and Feedback That Speed Up Learning
Guided projects turn new stitches into muscle memory. You can share work in the class gallery and get friendly teacher notes. Feedback helps you fix mistakes faster and finish with confidence.
Flexible Classes for Busy Schedules
Lessons fit into pockets of time on desktop or mobile. Replay tricky steps as often as you need. You’re in control of pace and difficulty.
Sign up for beginner-friendly knitting classes on Skillshare and learn how to knit today!
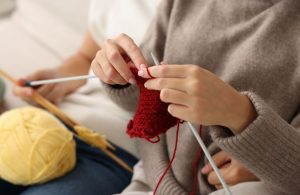
How to Knit: Setup and Hand Position
Set up a calm, ergonomic station before your first stitches. Good posture, lighting, and steady yarn flow make learning how to knit easier, cleaner, and less tiring from the start.
Workspace and Posture
Choose a chair that lets your feet rest flat and shoulders relax. Keep elbows near your sides and forearms parallel to the floor so hands don’t grip too hard. Place lighting above and slightly behind your shoulder to reduce shadows on stitches. A neutral background, like a light towel on your lap, helps you see loops while you learn how to knit with consistent tension.
Needle Grip Basics
Hold needles as you’d hold a dinner knife or a pencil. Both grips work if your wrists stay neutral and your fingertips guide the tips without squeezing. Keep the working needle slightly above the holding needle so the point finds the loop cleanly. Smooth, small movements beat big swings and keep stitches even.
Yarn Placement and Tension
Set the yarn cake in a bowl or bag so it feeds freely. For steady tension, let the yarn glide over or through your fingers the same way each time. Adjust wraps until the yarn slides with gentle resistance, not drag. If your hands ache or stitches squeak, you’re gripping too tightly. Loosen up and the fabric will even out.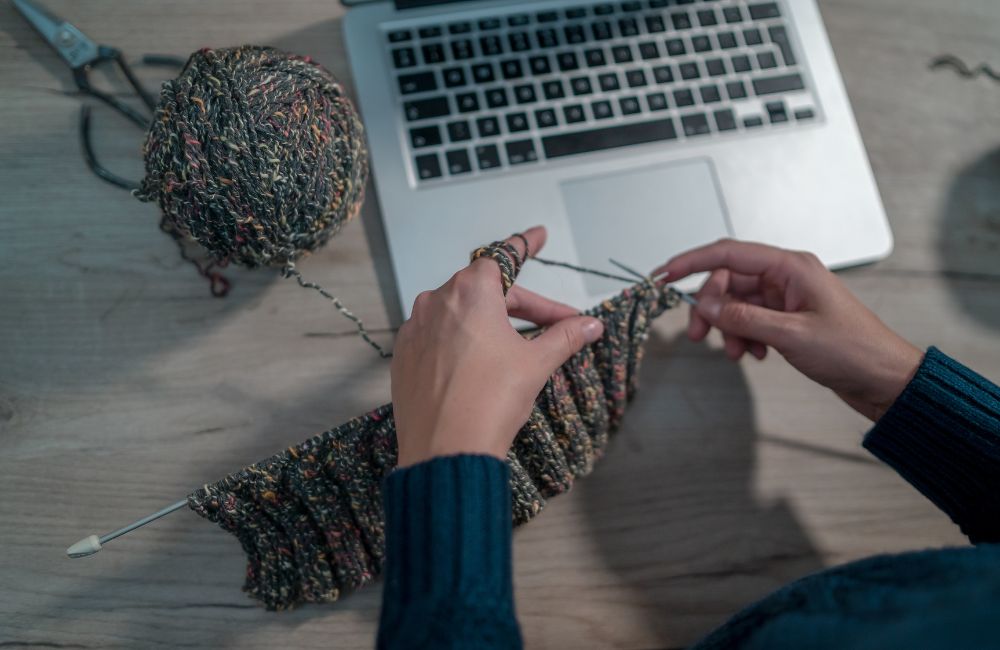
Right-Hand Style (English)
Carry the working yarn in your right hand and “throw” it around the needle. Use your index finger to move the yarn a short distance while the right needle scoops the loop. Keep motions compact to reduce strain and speed up. Many beginners find this style intuitive when they’re first learning how to knit.
Left-Hand Style (Continental)
Carry the working yarn in your left hand and “pick” it with the right needle tip. Rest the yarn across your left index finger and nudge tension by lifting or lowering that finger. Movements stay small, which often feels efficient once muscle memory forms. If stitches split, slow down and aim the tip cleanly through the leading leg.
Clean Starts and Edge Control
Start rows with yarn positioned behind the work for knit rows and in front for purl rows. Slip the first stitch purlwise for tidy edges, then maintain even rhythm through the row. Avoid tugging the first and last stitches. Gentle, consistent tension keeps edges straight and makes seaming or picking up stitches easier later.
Tools You Need to Start
Before learning how to knit, gather a few essentials that make practice smooth. The right needles, yarn, and notions keep tension steady, reduce frustration, and help first projects look polished.
Needles
Needle shape, stitch feel and look when you learn how to knit. Choose a style for your project and hands, then pick sizes that produce the gauge your pattern expects.
- Straight needles: great for flat scarves and swatches. Simple to hold on the couch. Limited capacity for big projects.
- Circular needles: two tips joined by a cable. Work flat or in the round with less wrist strain and better weight distribution. Ideal for most projects.
- Double-pointed needles: best for small tubes like cuffs and baby hats. Four or five needles share the stitches so circles stay tiny and neat.
Yarn Basics
Yarn determines drape, warmth, and stitch definition as you learn how to knit. Fiber and weight matter most. Pick easy-care strands so swatching, washing, and wear work in your favor.
- Fiber: wool springs back and blocks well. Acrylic is budget friendly and machine washable. Cotton breathes for heat but stretches less. Blends balance strengths.
- Weight: choose worsted or aran to start. Stitches are visible, fabric grows fast, and patterns are plentiful. Lace and super bulky can wait.
- Construction: smooth, plied yarns resist splitting and show stitches clearly. Avoid fuzzy mohair or slippery silk until your hands memorize movements.
- Color: light and solid shades make it easier to see mistakes and count rows. Busy variegated skeins can hide your hard work.
- Yardage and labels: check the ball band for gauge, meters, and care. Buy an extra skein from the same dye lot to avoid color shifts.
- Beginner pick: two skeins of smooth worsted wool or wool-blend, light color, plus a matching needle size from the label’s gauge range. Ready to practice how to knit right away.
Reading Patterns and Charts
Patterns and charts turn how to knit into a repeatable plan you can follow with confidence. Learn the parts, decode abbreviations, and read symbols so rows flow smoothly and mistakes stay small.
Pattern Anatomy
Most patterns share a clear structure. You’ll see materials, gauge, sizes, and a skills list before the instructions. Read through once before casting on, then highlight your size and any stitch counts that change.
Abbreviations keep instructions compact. A legend explains terms like CO, BO, k2tog, and SSK. Keep the legend beside you while you learn how to knit so translations become automatic.
Size options appear inside parentheses. Pick your size at the start and trace only those numbers as you work. For repeats, watch for asterisks and brackets that mark the sequence you’ll loop across a row.
Chart Symbols You Must Know
Charts show stitches as symbols on a grid. Right-side rows read right to left. Wrong-side rows read left to right unless the key says otherwise. Keep your key visible and mark rows as you finish.
- Empty square: knit on the right side, purl on the wrong side
- Dot or filled square: purl on the right side, knit on the wrong side
- O or open circle: yarn over, creates an eyelet and adds one stitch
- Forward slash: k2tog, right-leaning decrease
- Backslash: SSK, left-leaning decrease
- Triangle or caret: centered double decrease, two stitches decreased at once
- Black square or X: no stitch, skip this box and move to the next symbol
- Brackets with a number: repeat the enclosed section the specified times
- Row numbers: indicate reading direction and help track progress
Use a ruler or sticky note to track the current line. Place a removable marker every ten rows to catch drift. If a chart confuses you, knit the first repeat with lifelines so frogging stays safe.
Garter Scarf: Quick Projects
This garter scarf teaches how to knit through easy, meditative rows. You’ll practice casting on, knit stitch, and binding off while building rhythm, clean edges, and cozy fabric you’ll wear.
Materials & Tools
- 1–2 skeins worsted-weight yarn (approx. 200–300 yd / 180–275 m), light color for visibility
- US 8 (5 mm) needles, straight or circular with 24 in / 60 cm cable
- Tapestry needle for weaving in ends
- Scissors and tape measure
- Optional: stitch markers, blocking mats and pins, fringe template (cardboard)
Steps
- Cast on 28–32 stitches for a classic width. Choose any number if you prefer wider or narrower.
- Knit every row to create garter stitch. Keep tension relaxed so edges don’t tighten.
- For neater edges, slip the first stitch purlwise on every row and knit the last stitch.
- Continue knitting until length reaches 60–70 in (150–180 cm) or your preferred fit.
- Bind off loosely to maintain stretch. If tight, use a larger needle for the bind-off row.
- Weave in tails with the tapestry needle, following the ridges so ends disappear.
- Wet block or steam lightly to even stitches and set the fabric.
- Optional fringe: cut yarn strands to 8–10 in (20–25 cm), fold, and latch through edge every 3–4 ridges.
Conclusion
Knitting rewards your time with calmer days, better focus, and gifts people actually use. You control fit, fiber, and finish while building a wardrobe that’s easy to repair and kinder to waste. With setup tips, hand positions, essential tools, patterns, charts, and a quick garter scarf, you’ve got everything you need to begin. Grab a light worsted yarn, 5 mm needles, and practice how to knit today.
We have more skills you can learn today. Check out our hand sewing guide next!
FAQ: Knowing How to Knit
- How do I choose my first pattern and yardage?
- Pick a flat project with simple stitches, like a garter scarf, seed-stitch dishcloth, or basic rib hat. Choose worsted yarn and patterns that list stitch counts clearly so you can track progress. Plan on 200–300 yards for a scarf or two dishcloths, and you’ll learn how to knit without juggling complex shaping.
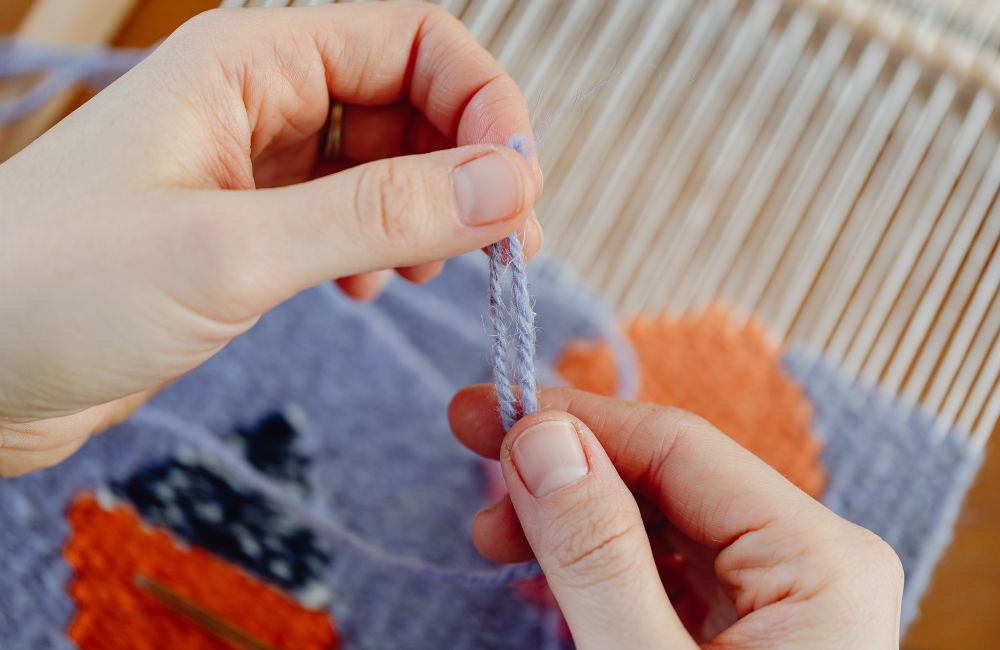
- What’s the cleanest way to join a new skein or change colors?
- For non-superwash wool, a spit-splice felts ends together for an almost invisible join. For any fiber, a Russian join locks tails inside the yarn so you weave less later. Color changes look neat when you switch at the start of a row and weave ends along the edge as you learn how to knit longer pieces.
- I dropped a stitch. How do I fix it without ripping back?
- Use a crochet hook to ladder the loop up each bar until it reaches your needles. In stockinette, pull knit bars on right-side rows and purl bars on wrong-side rows. In garter, alternate knit and purl as you climb so the ridge pattern stays intact.
- How do I read a yarn label and safely substitute yarn?
- Match the weight category and the listed gauge first, then confirm with a washed 4×4 in (10×10 cm) swatch. Keep fiber behavior in mind since wool springs back, cotton drapes, and acrylic can be slick. Buy a little extra yardage and swatch again if your substitution changes the fabric’s feel or stitch definition.