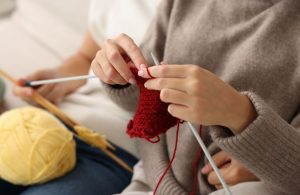
Hand sewing is a precise, portable way to stitch garments, accessories, and home goods without a machine. In this guide, you’ll compare handwork to machine stitching and learn when to choose it for delicate fabrics, tight spaces, and refined finishes. We break down core stitches with recommended lengths, best uses, and practical technique tips.
Contents
What Is Hand Sewing and When to Use It
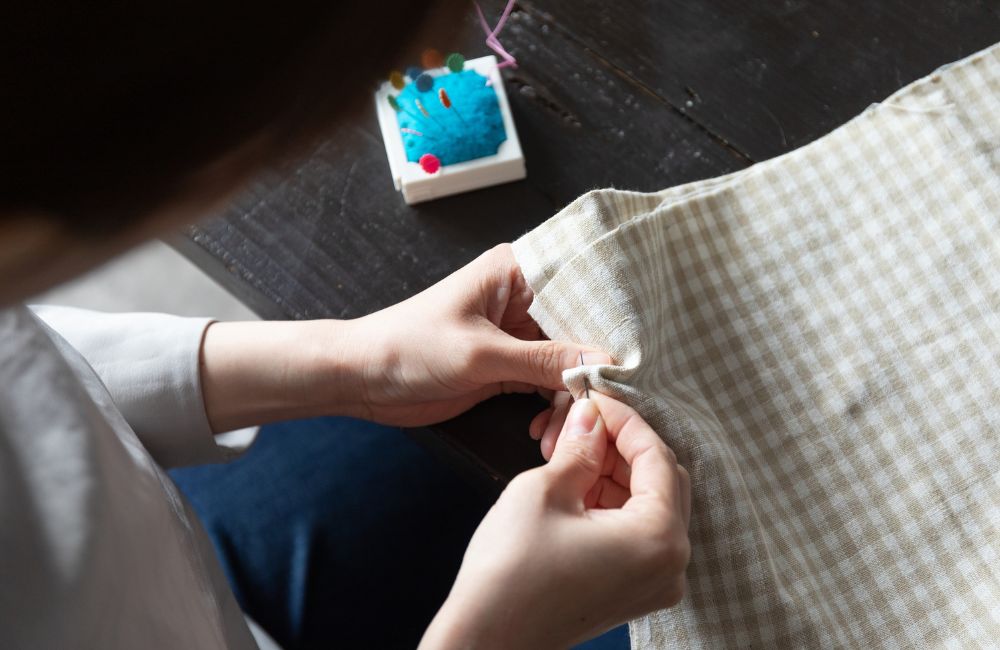
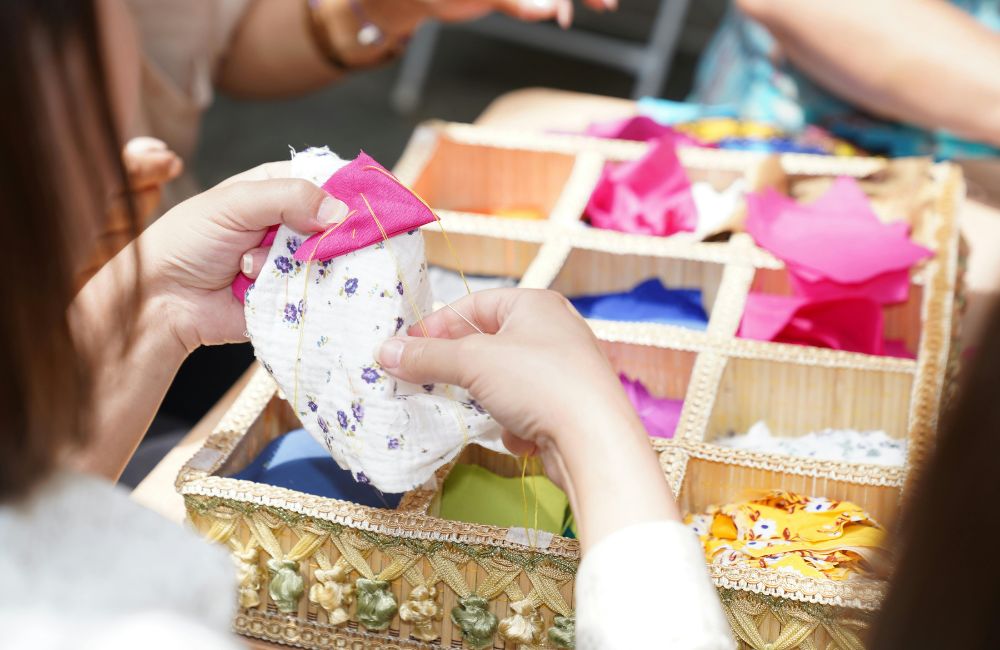
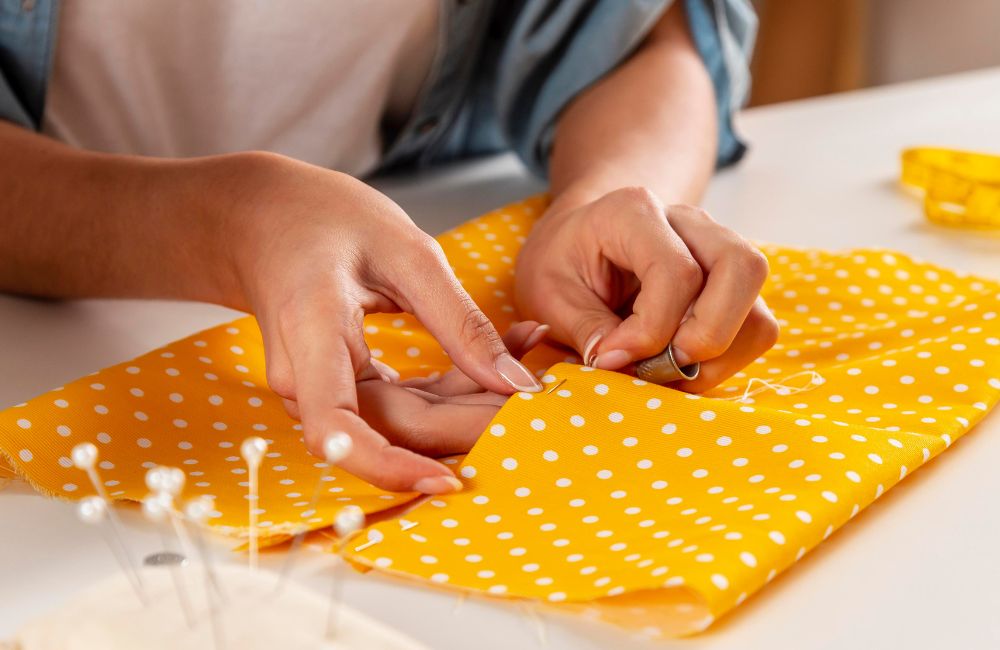
Hand sewing is the practice of stitching fabric with a needle and thread, by hand. It offers precision, portability, and control for repairs, delicate fabrics, custom details, and mindful, machine-free making.
Benefits vs. machine sewing
Hand sewing excels when control, delicacy, or access matters. You can place stitches exactly where needed, fine‑tune tension per stitch, and work in tight, awkward spaces. It’s silent, portable, low setup, and safer for fragile or unstable fabrics.
Stitches like backstitch, ladder/slip stitch, and buttonhole stitch deliver durable seams and invisible finishes, which can be slower or less precise when done by machine. Use a machine for long, straight seams and volume. Choose handwork for finesse and detail.
Ideal use cases
Choose hand sewing when you need precision, portability, or fabric-safe control. It shines for quick repairs, finishing details, delicate fibers, areas a machine can’t reach, or truly mobile, anywhere stitching.
- Quick repairs: popped buttons, loose hems, opened seams.
- Delicate fabrics: silk, chiffon, lace. gentle tension prevents puckering and snags.
- Precision finishing: blind hems, ladder/slip‑stitch closures, hand overcasting for clean edges.
- Attaching fasteners: buttons (with thread shanks), snaps, hooks and eyes.
- Tailoring and fitting: basting, subtle adjustments, pad stitching for structure.
- Tight or obstructed areas: bags with hardware, near zippers, curved or enclosed seams.
- Decorative work: hand topstitching, embroidery, visible mending, sashiko.
- Knits and stretch hems: catch/herringbone stitches that flex without tunneling.
- Heavy or specialty materials: leather or canvas with an awl, glover’s needle, waxed thread.
- Prototyping and basted trials: test seam lines and placements before committing on a machine.
- Travel, classrooms, or quiet spaces: minimal tools, no power, and no noise.
Discover hand sewing courses on Skillshare that blend clear instruction with hands-on projects. Learn at your pace, build confidence stitch by stitch, join a community to get feedback and inspiration.
Project-based, Step-by-step Lessons
Classes center on real projects, like hemming, mending, and decorative stitching, so you learn by doing. Clear, bite-sized lessons build skills progressively, turning techniques into finished pieces you can use or gift.
Beginner-to-Advanced Learning Paths
Start with fundamentals, threading, knots, and core stitches, then move into seams, hems, repairs, and couture finishes. You can curate a path that matches your level and goals without feeling overwhelmed.
Visual Close-ups and Clear Demonstrations
See needle angles, bite depth, and thread tension in close-up views. Rewatch tricky motions, slow down playback, and mirror techniques precisely until they become second nature in your own hands.
Community Support and Feedback
Share class projects, ask questions, and learn from peers tackling the same techniques. Constructive feedback accelerates improvement and keeps you motivated through challenges and longer, detail-focused hand sewing tasks.
Flexible, on-demand Learning
Short, focused lessons fit into busy schedules. Start and stop on your timeline, practice between segments, and pick up exactly where you left off, perfect for learning hand sewing incrementally.
Discover New Instructors and Niche Techniques
Explore diverse teaching styles and specialized topics, from visible mending and sashiko to tailored hand finishing. Find voices that resonate with you and expand your creative toolkit thoughtfully.
Sign up for Skillshare and start your first hand sewing class today.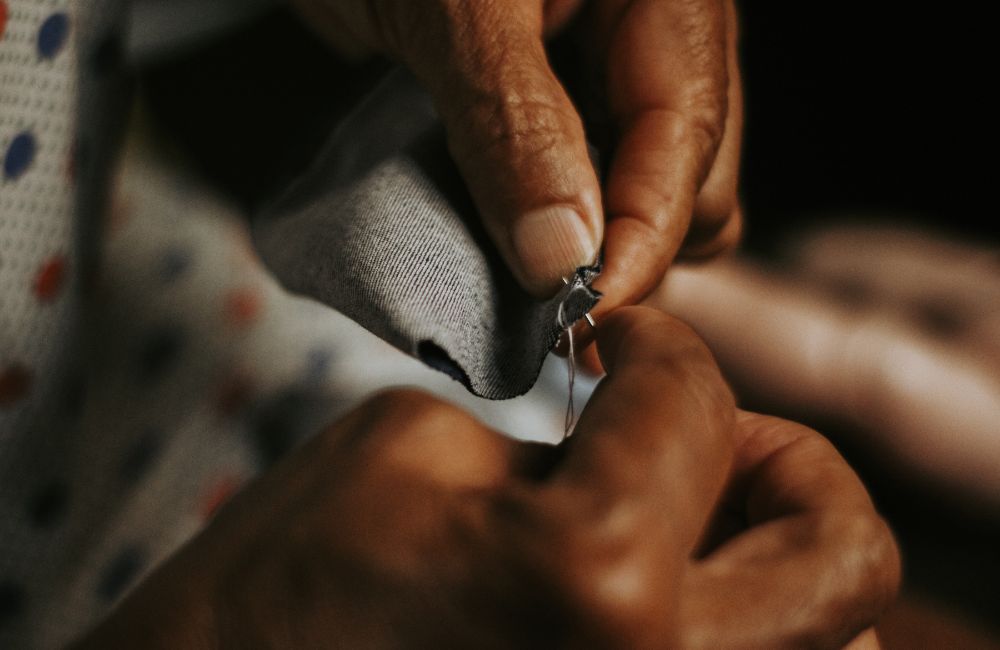
Core Stitches
Master essential hand stitches for seams, hems, edges, and invisible joins. Understand what they do, how they look, ideal lengths, and when to choose for strength, speed, flexibility, or discretion.
Running Stitch
Simple, straight stitches passing in and out of fabric create a flexible line for seams, gathering, or marking. Tension and spacing control strength and drape. Use small, even stitches for permanence. longer ones for ease or temporary assembly. Rock the needle through with a thimble to load stitches at once, keeping your hand relaxed so fabric lies flat and doesn’t pucker.
- Recommended stitch length: 2–4 mm (8–12 stitches per inch).
- Best uses:
- Lightweight seams with minimal stress
- Easing and gathering evenly
- Hand quilting or kantha-style lines
- Marking construction lines on muslins/toiles
Basting Stitch
Basting is a long-running stitch used to hold layers, test fit, or mark placements temporarily. Because it removes easily, prioritize speed and visibility over perfection. Keep tension light to avoid distortion. Use contrasting thread and longer spans so snips pull sections free quickly. Hand-baste curved seams, zippers, hems, and tricky fabrics before stitching to reduce slippage and improve accuracy.
- Recommended stitch length: 5–10 mm (3–5 stitches per inch).
- Best uses:
- Test fitting and adjustments
- Aligning plaids or stripes
- Holding zippers, facings, bindings
- Positioning hems before blind stitching
- Stabilizing slippery or delicate fabrics
Backstitch
Backstitch forms a solid line by stitching backward into the previous hole, producing a strong, machine-like seam. It’s ideal for stress points and curved seams needing precision. Keep stitches short and consistent so perforations don’t weaken fabric. Maintain even tension and seam allowance, using a thimble to push through dense layers. Pair with pressing and careful knotting for durable results.
- Recommended stitch length: 2–3 mm (8–12 stitches per inch).
- Best uses:
- Permanent garment seams and bag construction
- Curves, corners, and precision areas
- Repairing ripped seams securely
- Attaching straps, belt loops, and reinforcements
Whip/Overcast Stitch
Worked over a raw edge, the whip (overcast) stitch wraps thread around the edge to prevent fraying and close openings. Take small, angled bites from the edge, spacing evenly for a spiral. Keep tension firm enough to encase fibers without tunneling. For thicker fabrics, angle stitches slightly forward. Use a matching thread for blending or a contrasting thread for decorative edging on blankets and felt.
- Recommended stitch length: bite depth 2–3 mm from edge. Spacing 3–5 mm.
- Best uses:
- Preventing fraying on raw edges
- Closing openings in stuffed items
- Decorative edging on felt and fleece
- Quick edge finish without a serger
Slip/Ladder Stitch
Invisible from the outside, slip (ladder) stitch joins folded edges by alternating horizontal bites on each side, forming rungs that disappear when tightened. Keep bites shallow and evenly spaced, maintaining parallel lines. Work with a shorter thread to avoid tangles and wax for glide. Ideal for closing pillows and linings, it produces a seamless finish that looks machine-closed yet flexible.
- Recommended stitch length: 2–3 mm bites, spaced 2–3 mm apart.
- Best uses:
- Closing turning gaps on pillows, toys, and bags
- Securing facings and linings invisibly
- Finishing cushion seams in upholstery
- Invisible mending where topstitching is undesirable
Blanket Stitch
Blanket stitch secures and decorates fabric edges with upright loops that lock along the rim. Insert the needle a distance from the edge, catch the working thread to form a right‑angle bar, and repeat. Space evenly for rhythm. It resists fraying and adds texture to felt, fleece, and woven edges. Vary the width and height for bolder borders or subtle reinforcement.
- Recommended stitch length: bite 3–5 mm from the edge. spacing 3–7 mm.
- Best uses:
- Decorative borders on blankets and scarves
- Reinforcing raw edges on thick fabrics
- Finishing appliqué perimeters by hand
- Visible edging on felt crafts
Buttonhole Stitch
Buttonhole stitch is a dense variation that builds a firm cord along a cut edge. After cutting the slit, work closely packed stitches, catching the working thread to form knots that protect fibers. Use a gimp cord for tailored thickness. Maintain consistent spacing and tension around rounded ends. This creates durable buttonholes and reinforces eyelets, belt slots, and lacing openings.
- Recommended stitch length: spacing 1–2 mm. bite depth 2–3 mm.
- Best uses:
- Hand-worked buttonholes in tailored garments
- Reinforcing eyelets and lacing holes
- Protecting slits in belts, waistbands, and bags
Catch/Herringbone Stitch
Herringbone (catch) stitch crosses diagonally between hem and garment, creating flexible, nearly invisible Xs. Take tiny bites in the garment and slightly longer ones in the hem, offsetting rows for elasticity. Work loosely so the hem floats without tunneling on the right side. Ideal for knits and bias hems, it accommodates movement while holding layers smoothly against gravity and wear.
- Recommended stitch length: spans 5–10 mm. bites 2–3 mm into each layer.
- Best uses:
- Blind hemming knits and bias-cut garments
- Hemming heavier fabrics without ridges
- Attaching facings where flexibility is needed
- Lightly tacking seam allowances to reduce imprinting
Conclusion
A small set of reliable stitches can take you from quick repairs to professional-quality finishes, all without a machine. Practice on scraps to perfect spacing, tension, and consistency before moving to real projects. Choose backstitch for strength, ladder stitch for invisible joins, and herringbone for flexible hems to match the technique to need. With patience and steady habits, your stitching will become cleaner, stronger, and unmistakably handcrafted.
Want to try your hands at sewing? Check out our sewn potholder project next!