Last Updated on November 20, 2025 by Team Ideas24
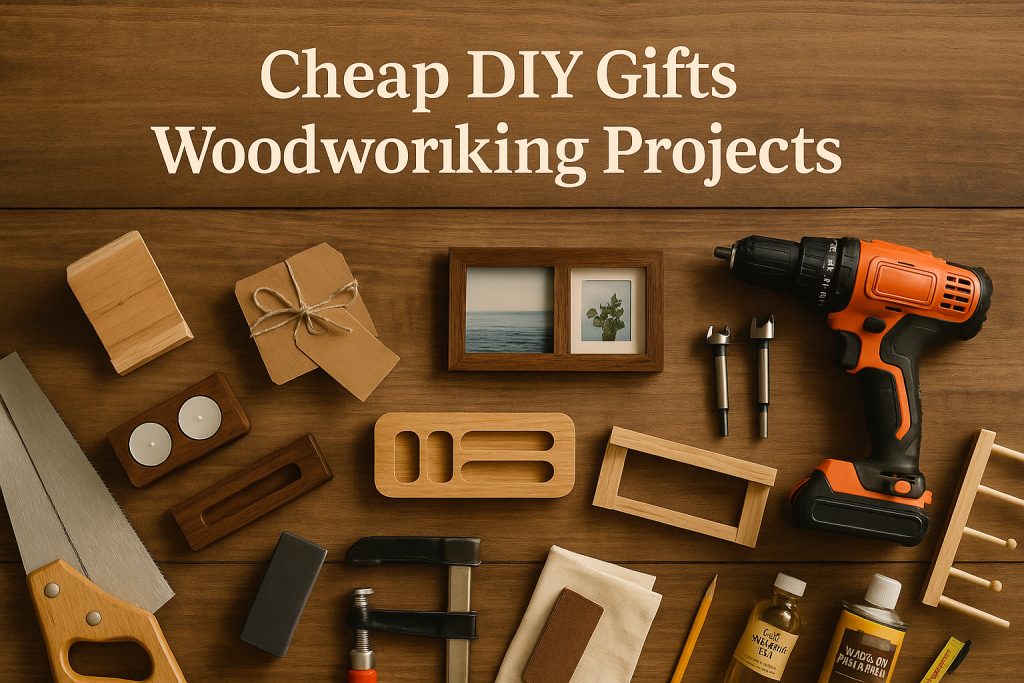
Handmade gifts feel personal and timeless. You can build attractive pieces with scrap wood and a small toolkit. The right plans keep costs low and quality high. We’ll guide you on materials, finishes, and fast build methods. This guide covers cheap diy gifts woodworking with designs you can complete in an evening.
Contents
Key Takeaways
- Handmade wooden gifts are personal and affordable, often using scrap materials.
- Simple tools and techniques can create polished, thoughtful woodworking gifts quickly.
- Proper sanding and finishing elevate inexpensive wood projects to a premium look.
- Glowforge lasers offer a fast way to personalize and mass-produce professional-looking wood gifts.
- Thoughtful design and customization add significant value without increasing material costs.
Quick and Cheap DIY Gifts Woodworking Project
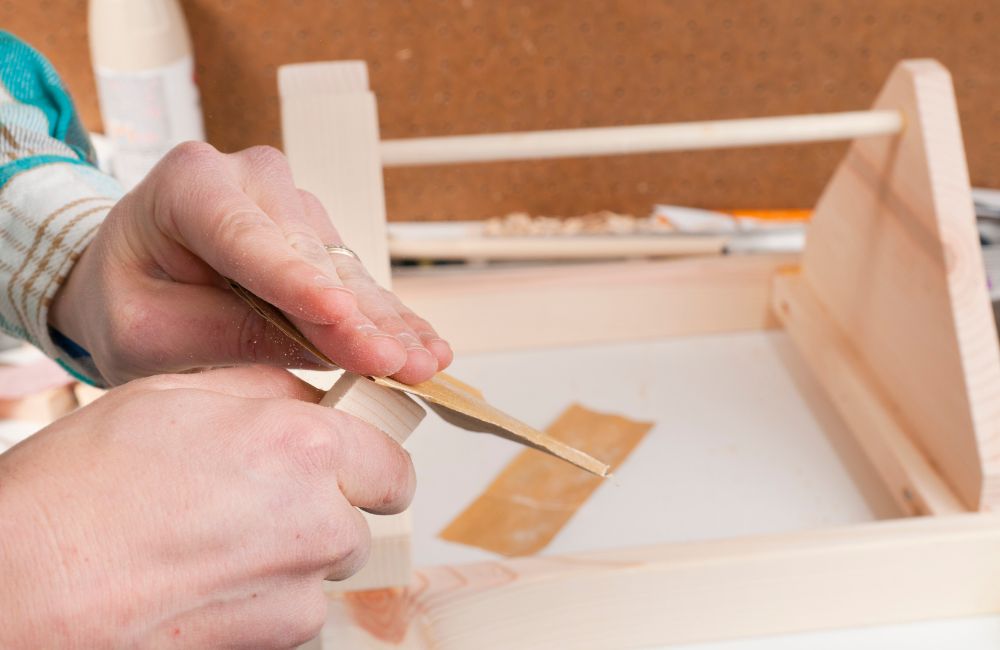
Short on time and budget. These fast builds turn scrap into thoughtful gifts with simple tools. Cut, drill, and sand. Wrap them same day. Results look polished and feel personal.
Materials
- 1×4 and 1×2 offcuts
- Small plywood offcuts
- 3/4″ dowel
- Wood glue
- 1 1/4″ wood screws or 18-gauge brads
- Felt pads
- Mineral oil or wipe-on poly
- Sawtooth hangers
- Tea lights
Tools
- Miter saw or handsaw
- Drill/driver
- 3/4″ and 1 1/2″ Forstner bits
- 1/8″ drill bit
- Countersink
- Chisel
- Clamps
- Sanding block or random orbital sander
- Tape measure
- Pencil
Phone stand
- Cut a 1×4 block to about 3.5″ × 6″. Square the ends.
- Mark a slot centered across the top. Make it 3/8″–1/2″ wide.
- Set a 10–15° line for the slot. This gives a viewing angle.
- Saw along the angle lines. Chisel out the waste to depth.
- Test your phone with its case. Widen the slot if needed.
- Add a small cable notch at the front if you want.
- Break sharp edges with 120–220 grit.
- Wipe on mineral oil or poly. Let it dry. Add felt feet.
Tablet stand
- Cut a 1×4 base to about 8″–10″ long.
- Glue and brad-nail a 1×2 strip on the front edge. This forms the lip.
- Mark two holes centered near the back edge. Space them 3″ apart.
- Tilt the drill 10–15°. Bore 3/4″ holes for a dowel leg.
- Cut a 3/4″ dowel to 6″–7″. Test the angle and stability.
- Adjust hole depth for a firm press fit. Trim the dowel if needed.
- Ease edges with sandpaper. Check the tablet sits cleanly against the lip.
- Finish with oil or wipe-on poly. Add felt pads under the base.
Cable dock
- Cut a 1×4 block to about 2″–3″ deep and 6″–8″ long.
- Lay out two to four cable lanes on top. Space evenly.
- Drill shallow 3/4″ pockets at each lane start.
- Connect pockets with straight grooves. Use a chisel or multiple drill passes.
- Drill 3/8″ through-holes at the back for cable pass-throughs.
- Countersink the underside so plugs sit flush.
- Sand to 220 grit. Knock down all corners.
- Add felt feet. Finish with oil or poly. Drop in the cables.
Mini picture ledge
- Cut a 1×2 backer and a 1×3 face to the same length. 12″–24″ works well.
- Mark a 1/4″ reveal along the top of the 1×3. This becomes the front lip.
- Glue the 1×3 to the front of the 1×2. Keep the reveal consistent.
- Pin with 18-gauge brads or 1 1/4″ screws from the back.
- Drill two keyhole slots on the backer. Or attach sawtooth hangers.
- Sand the front lip lightly to soften edges.
- Finish with stain or oil. Let it cure.
- Level the wall and mount on anchors. Load frames and small art.
Napkin holder
- Cut two 1×4 sides to 5–6″. Cut a plywood base to match your napkin size.
- Sand all faces and break sharp edges.
- Mark a centerline on each side. Drill a 3/4″ hole near the top for a dowel.
- Cut a 3/4″ dowel to the inside width. Dry fit in both holes.
- Glue and clamp the sides to the base. Keep everything square.
- Glue the dowel into the side holes. Wipe excess glue.
- Fill any gaps. Sand to 180–220 grit.
- Add felt pads under the base. Finish with mineral oil or wipe-on poly.
Coaster caddy
- Measure your coasters. Add clearance. Cut a plywood base to that size.
- Cut 1×2 walls for the front, back, and sides.
- Dry fit around a stacked set of coasters to confirm spacing.
- Glue and brad-nail or screw the walls to the base. Keep corners tight.
- Drill a 1″ finger hole or cut a small notch in the front wall.
- Fill nail holes. Sand all edges smooth.
- Add felt pads to the bottom.
- Wipe on finish. Let it cure. Load the coasters.
Photo or recipe stand
- Cut a 1×4 block to 6–8″ long. Square the ends.
- Mark a slot line across the top at a 10–15° tilt.
- Saw two kerfs along the lines. Chisel the waste to form a clean groove.
- Test with a card, photo, or tablet page. Widen the slot if needed.
- Bevel the back edge slightly for stability.
- Ease corners and sand to 220 grit.
- Add felt feet to protect the counter.
- Finish with oil or wipe-on poly. Let it dry before use.
Herb drying rack
- Cut a 1×2 backer to 16–18″. Sand the faces.
- Lay out peg positions every 2–3″. Mark a straight centerline.
- Drill shallow 3/4″ sockets at each mark. Depth about 3/8″.
- Cut short 3/4″ dowel pegs to 1 1/4–1 1/2″ long.
- Glue pegs into the sockets. Keep them square or tilt slightly upward.
- Add a sawtooth hanger or two keyholes on the back.
- Sand, then apply a light food-safe oil.
- Mount to studs or anchors. Tie herb bundles and hang to dry.
Using a Glowforge Laser for Fast, Cheap Wood Gifts
Glowforge has two desktop lasers that turn scrap wood into polished gifts fast. The Performance line is the stronger choice. It cuts thicker wood and has a slot that lets you slide long boards through. Signs and rulers become simple.
The Craft line is smaller and easier to learn. It fits on a desk, loves thin plywood, and costs less to start. Both lines run from a simple app on your laptop or phone. You see your design on the screen before you cut, ensuring accurate placement and minimizing waste. Its ready settings for common woods keep edges clean and details sharp.
You can run the same file repeatedly to batch process coasters, key tags, and ornaments in minutes. Costs drop while your gifts look pro with a Glowforge laser
Reasons To Buy a Glowforge:
- Cut, engrave, and score wood with clean edges for gift-ready finishes
- Pro Passthrough or Aura Passthrough lets you run signs, rulers, and long name plaques.
- Camera preview and autofocus reduce waste and rework on small offcuts.
- Proofgrade materials and presets give reliable results for beginners.
- CO₂ Performance models handle glass and clear acrylic accents for premium looks.
When creating cheap DIY gifts woodworking projects for your loved ones or to earn money, a Glowforge laser is worth the investment. 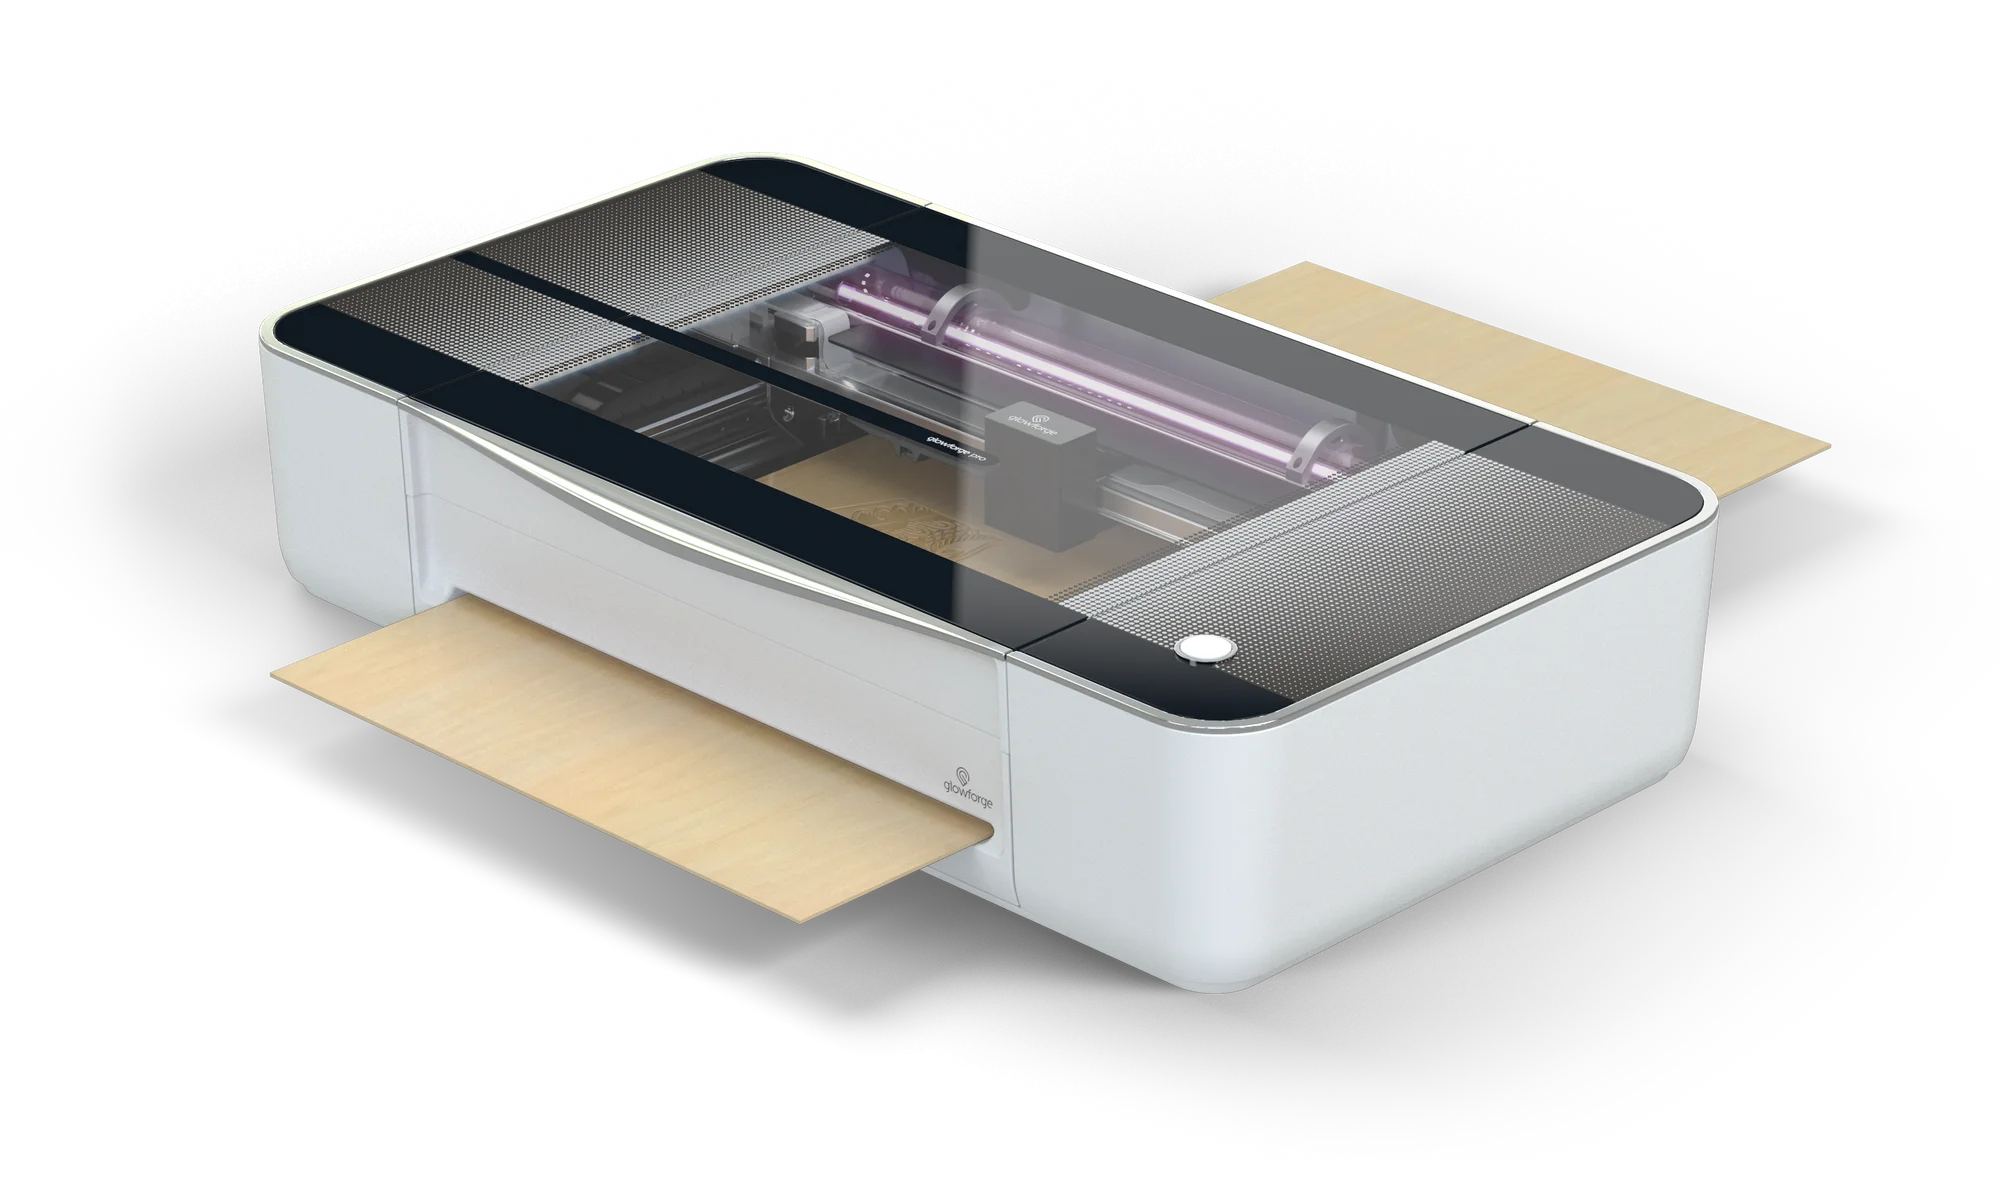
Why Handmade Wood Gifts Win on a Budget
Handmade wood gifts feel personal without costing much. You can use offcuts, pallet boards, or small plywood pieces. Materials remain affordable while the result appears premium. Simple joinery and clean sanding do the heavy lifting. Thoughtful design beats expensive lumber.
Customization adds value at almost no cost. Size a phone stand for their case. Engrave a name, date, or short quote. Select a stain that complements their home’s color scheme. Small tweaks make each piece feel one-of-a-kind.
Time also works in your favor. Many projects finish in under an hour. You can batch ten coasters or key racks fast. Repeat cuts, light sanding, wipe-on finish, done. Low-spend, low-stress, high-impact gifts.
Finishing Techniques on a Shoestring
A great finish makes scrap look premium. You don’t need pricey products or pro gear. Keep the process simple and repeatable. Sand well, seal smart, and protect fast. A cheap DIY gifts woodworking project can feel store-bought with just a few careful steps.
Sanding that Sells
Start at 120 grit to level saw marks. Move to 180, then 220 for touch surfaces. Use a sanding block or a random orbital sander. Keep strokes with the grain. Wipe dust with a barely damp rag. Raise the grain on softwoods with a light mist, then resand at 220 grit. Edges matter most in hand feel. Smooth them and the whole piece feels richer.
Simple Stains and Oils
Stain adds character fast. Water-based stain dries quick and cleans up easy. Test color on offcuts first. If blotching shows on pine, thin the first coat with water. Wipe on. Wipe off. Let it dry. Follow with mineral oil or Danish oil for warmth. One more pass after cure deepens the look. Your cheap DIY gifts woodworking project now has tone and depth.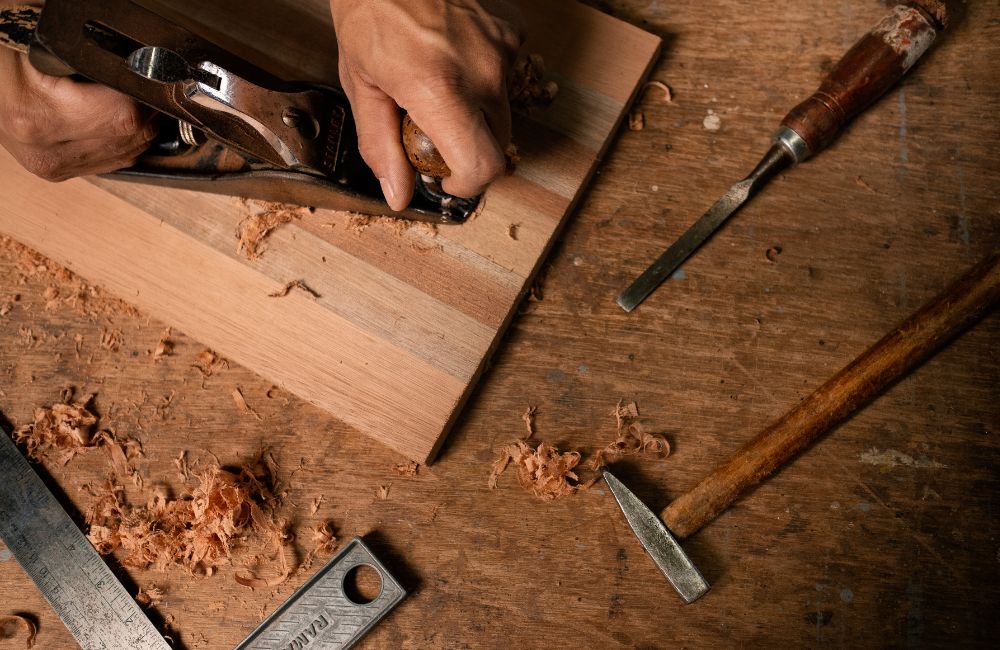
Fast Film Finishes
Need harder protection. Use wipe-on polyurethane or rattle-can lacquer. Apply thin coats in a dust-free corner. Three light coats beat one heavy coat. Scuff with 320 grit between coats. Remove dust with a tack cloth. Let it cure per label. Burnish gently with a brown paper bag for a silky feel. A cheap DIY gifts woodworking project gains shine and daily durability.
Edge Softening and Defect Fixes
Sharp corners chip and feel cheap. Break edges with two or three light passes. Add a tiny chamfer using a block and 220 grit. Hide small gaps with a glue-and-sawdust paste. Let it set. Sand flush. Tame tear-out with a quick touch of a matching stain pen. Keep filler shy on face grain. Clean lines and soft edges boost perceived quality.
Branding, Stencils, and Engraves
Personalization sells the story. Add a small burned monogram with a pyro pen or a laser. Paint-fill engraved lines with acrylic, then peel painter’s tape for crisp edges. Try a light whitewash over raised grain on rustic pieces. Seal once more to lock it in. These simple accents turn a cheap DIY gifts woodworking project into a keepsake.
Conclusion
Handmade wood gifts prove you don’t need a big budget to show care. Simple tools and scraps become clean, useful pieces with smart sanding and quick finishes. Batch small designs to save time and keep costs down. Add light personalization so every cheap DIY gifts woodworking project feels unique. Start with one piece today and build a set your friends will use for years.
For more projects, check out our woodworking projects for kids!
FAQ: Cheap DIY Gifts Woodworking Projects
- What woods should I use for these projects, and how much will materials cost?
- Pine, poplar, or plywood offcuts are budget-friendly. Reclaimed wood is often free. Expect material costs from $0 to $30 per project, depending on sourcing. Save by checking lumberyard scrap bins or using pallets.
- Are the finishes suggested in the article safe for items that touch food or herbs?
- For food-contact items, use food-safe finishes like mineral oil or beeswax blends. These are non-toxic and require reapplication. Polyurethane and lacquer are not recommended for direct food contact. Always follow manufacturer instructions and cure times.
- I don’t have power tools. Can I still make these projects?
- Absolutely! Use handsaws for cutting, a brace and bit for drilling, and sanding blocks for finishing. These methods require more time but yield excellent results with careful work. Focus on precise layout and clamping for clean cuts.
- What safety precautions should I follow with these tools (and with a Glowforge laser)?
- Always wear eye and hearing protection with power tools. Use dust masks when sanding. For laser cutters, ensure proper ventilation and only use approved materials. Never leave a laser unattended during operation.
- How can I package and personalize these small wood gifts to make them feel premium?
- Package gifts in kraft boxes with tissue paper and a care card. Personalize with engraved names, dates, or monograms. Add small extras like felt pads or a tea light to enhance perceived value.