The origami crane is one of those paper projects almost everyone recognizes. These paper cranes hold many meaning. People connect it with peace, hope, and good luck. Those who craft it usually want to wish others with these wishes.
Making your own paper crane comes down to carefully fold the paper in each step and get the right fold out. It takes repeated folds to create the right crane shape. This guide breaks the process for each fold and foldout, which any beginner can attempt to do. You simply need a sheet of paper to create your own origami crane.
Contents
Key Takeaways
- The origami crane is a globally recognized symbol of peace, hope, and good fortune that anyone can create with a single square of paper.
- Success in folding a paper crane depends on maintaining precise alignment and creating sharp, firm creases on a flat surface.
- The eight-step process is beginner-friendly and introduces essential techniques like the petal fold and reverse folds to build a classic bird base.
- Small finishing touches, such as gently inflating the body and curving the wings, transform a basic paper model into a graceful and balanced decorative piece.
How To Fold an Origami Crane
Folding an origami crane is easier than you think with the right guidance. Follow these simple steps using minimal materials to create your own beautiful paper crane in minutes.
Materials and Tools
- Square origami paper (6×6 inches or 15×15 cm recommended for beginners)
- Flat surface for folding
- Ruler or bone folder (optional, for crisp creases)
- Scissors (only if you need to cut paper to size)
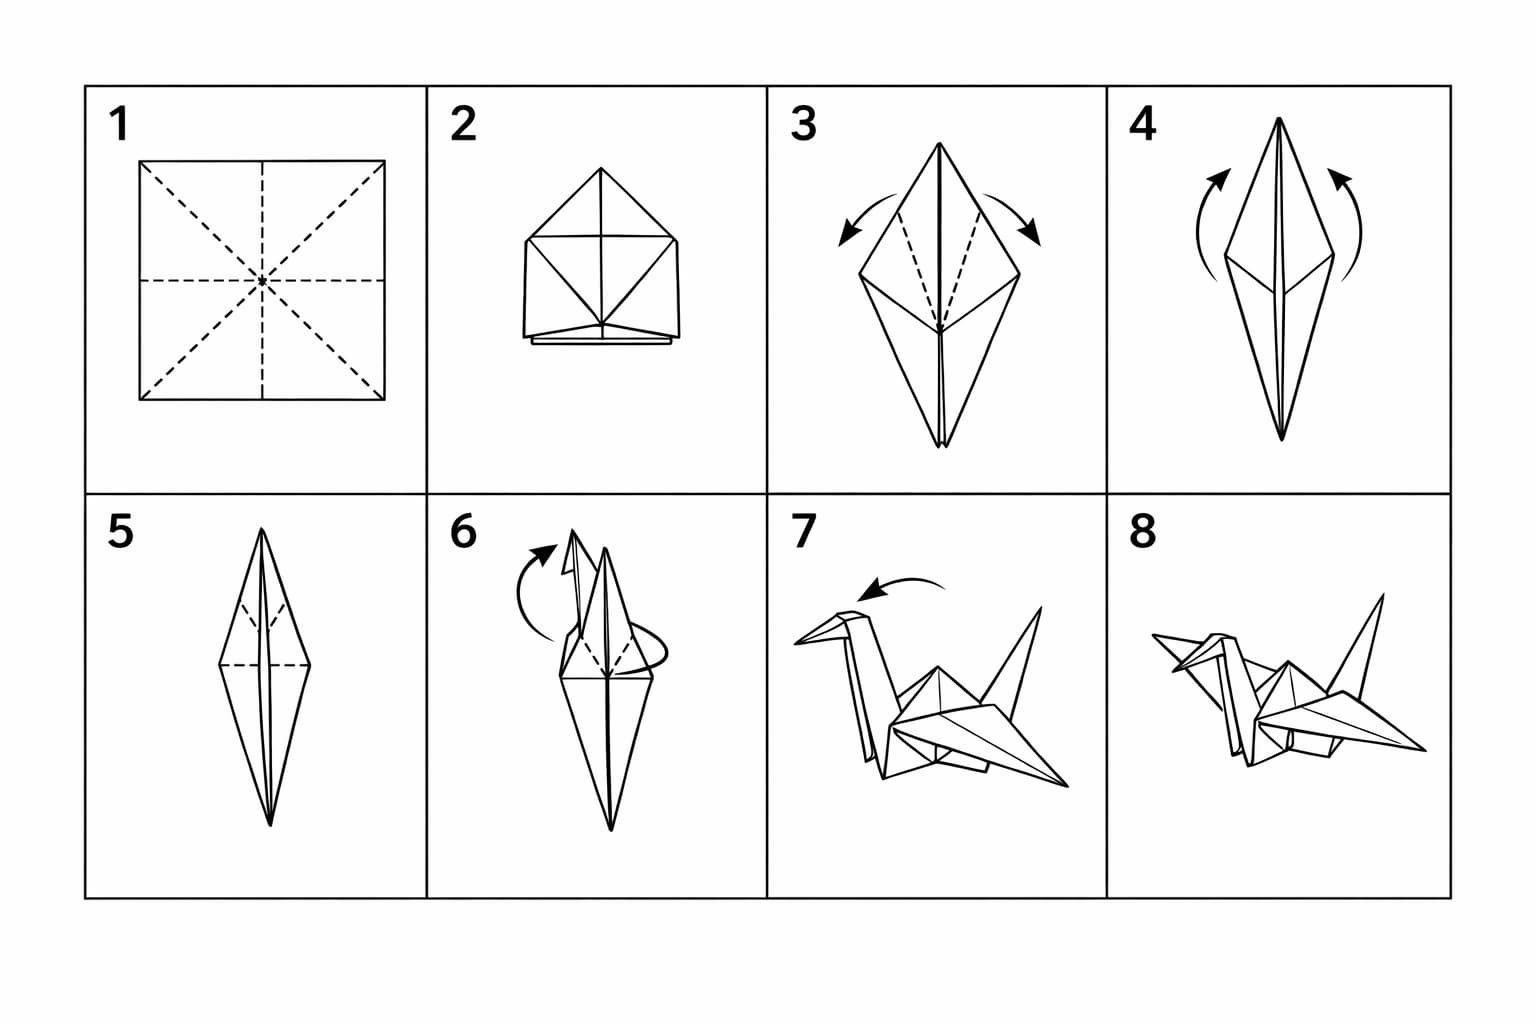
Step-by-Step Guide
- Create a square base: Fold your paper diagonally, horizontally, and vertically, then collapse it into a small square using the creases.
- Fold the side flaps: Fold the top edges of the square toward the center crease to form a kite shape, then unfold.
- Perform the petal fold: Lift the bottom corner of the square upward and flatten the sides inward to create a long diamond.
- Repeat on the back: Flip the paper over and repeat the kite and petal folds on the other side to complete the bird base.
- Narrow the shape: Fold the outer edges of the diamond toward the center on both sides to make the “legs” thinner.
- Reverse fold the neck and tail: Fold the two thin bottom points upward and outward, tucking them between the layers to form the neck and tail.
- Form the head: Fold the tip of the neck downward using a small reverse fold to create the crane’s head.
- Finish the wings: Gently pull the wings outward and blow into the small hole at the bottom to puff up the body of your origami crane.
Tips for Precision and Symmetry
A clean-looking origami crane mostly comes down to two things: lining things up carefully and making firm creases. Small slips early on can throw off the wings or neck later, so it’s worth slowing down and checking your work as you go.
- Work on a hard surface: Fold on a flat table instead of holding the paper in the air. A firm surface keeps your lines straighter and your creases more consistent.
- Align corners and edges before you press: Pause for a second before you commit to a fold. If the corners don’t meet perfectly, adjust first. Even a tiny offset can snowball into a lopsided crane.
- Sharpen every crease: After each fold, run a fingernail along the line to “set” it. A ruler edge or a bone folder also works if you have one nearby, and it makes later steps much easier.
- Check symmetry as you go: When you fold one side, flip the paper and compare the other side right away. If something looks off, fix it before moving forward instead of hoping it will even out later.
- Fold with visibility and control: Try folding toward the center line in a way that lets you see the edges meeting up clearly. Most people find they get better control when they’re not folding toward their body.
- Take your time on the petal fold: This is usually the part that trips beginners up. Deepen the pre-creases first, then let the paper collapse along those lines instead of forcing it.
Finishing Touches
Once you’ve folded the main shape, a few small tweaks are what make the crane look finished instead of just “done.” These last steps add a bit of fullness, help it sit nicely, and give it that classic crane look.
- Gently inflate the body: Turn the crane over and find the tiny opening underneath. A quick, light puff of air will round out the body. Don’t overdo it or you can stress the folds.
- Curve the wings: Flat wings can look stiff. Run your thumb or the side of a pencil along the top edge to give each wing a soft curve, like it’s mid-glide.
- Refine the head and beak: Pinch the head reverse fold firmly so the beak stays sharp and doesn’t slowly pop open later.
- Adjust the stance: Separate the neck and tail a little more to widen the base. That small change usually helps the crane stand on its own.
- Check for balance: Set it down and look at it straight on. If it leans, even out the wings and nudge the body back to center until it sits steady.
Creative Variations and Uses
An origami crane doesn’t have to be a one-and-done project. You can change the look just by swapping paper, tweaking how you fold, or finding a fun way to display it. These ideas make it easy to put your own spin on a classic.
Paper and Color Variations
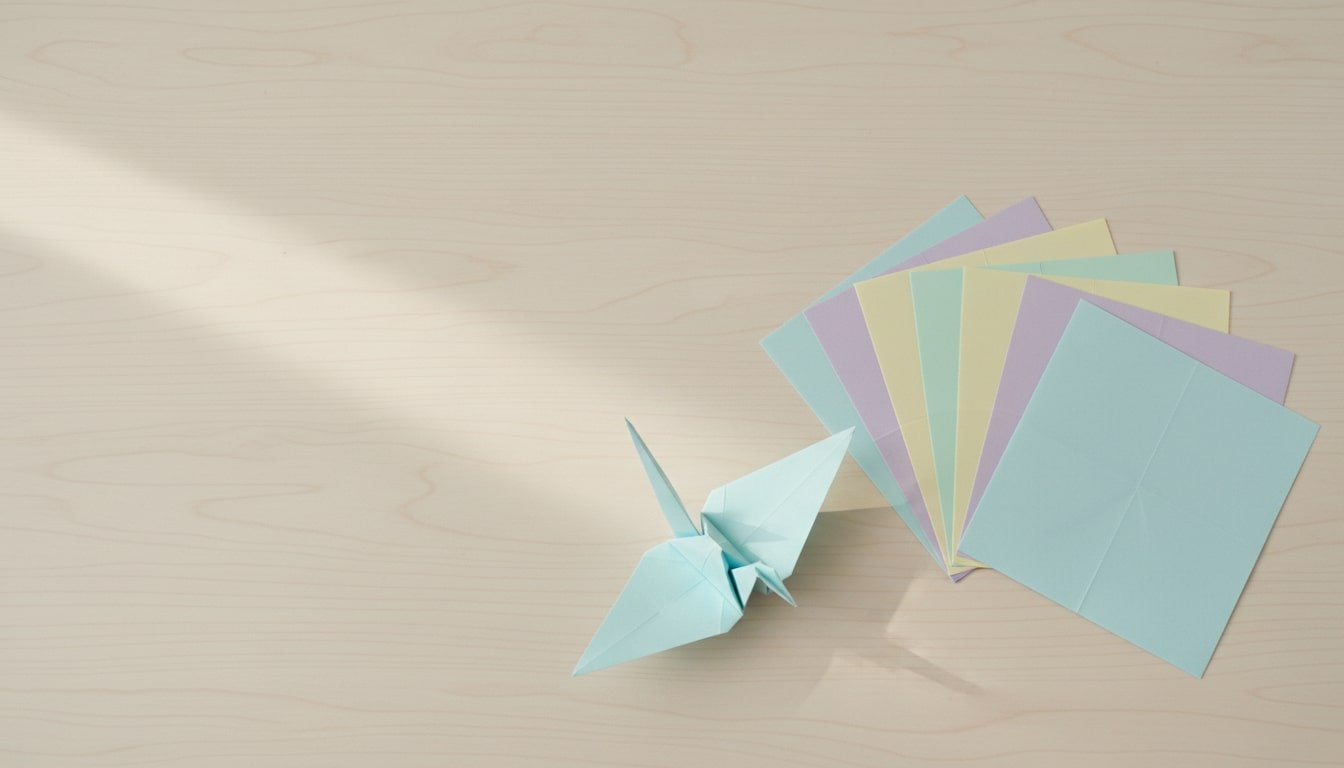
Start with the paper. Patterned origami sheets, soft gradients, metallic paper, or handmade washi can make the same crane feel completely different. Even simple two-tone paper adds a nice effect when the wings open.
Decorative Displays
Cranes look even better in groups. String a few together for a garland, hang them as a mobile, or make a window piece that catches the light and moves with the air. They’re simple, but they add a lot of personality to a room or party setup.
Gifts and Keepsakes
A crane works as a small, thoughtful extra. Tuck one onto a gift, use it as a place card, or slip it into a note as a quiet “good luck” gesture. People tend to keep them, which is part of the charm.
Educational and Mindful Uses
Cranes are great for practice and patience. In classrooms, folding is a hands-on way to talk about shapes, symmetry, and following steps in order. At home, it’s also a calming activity that keeps your hands busy and your mind focused.
Event and Cultural Uses
You’ll often see origami cranes at weddings, memorials, and cultural celebrations. In those settings, they can stand for unity, remembrance, and good intentions, especially when friends and family fold them together.
Conclusion
Folding an origami crane is one of those simple DIY projects that feels a lot more meaningful than the materials suggest. You’re working with one square of paper, but the process teaches patience, careful hands, and a bit of trust in the steps. Your first crane might look slightly uneven, and that’s normal.
Each one you make after that gets cleaner because you start noticing where alignment and crease strength really matter. If you’re folding for decoration, a small gift, or just to relax for a few minutes, the crane holds up as a craft that’s both pretty and intentional.
For more creative paper projects, check out our guide on making an origami heart.
FAQ: Origami Crane
- What does an origami crane symbolize?
- The origami crane is widely linked to peace, hope, healing, and good fortune. In Japanese culture, cranes are often seen as a symbol of longevity because of the belief that they live for a thousand years. That’s why cranes show up in moments that matter, like wishes for recovery, remembrance, or support. People fold them as a quiet way to put good intentions into something tangible.
- What paper works best for folding an origami crane?
- Lightweight, square origami paper is usually the easiest to work with, especially if you’re learning. Paper around 60–80 gsm holds creases well without fighting you. Thick paper can make the tighter folds, like the reverse folds, feel stiff and bulky. Very thin paper can wrinkle fast and tear if you need to redo a crease. Patterned paper is great, just make sure it still folds cleanly.
- Is an origami crane suitable for beginners?
- Yes, beginners can definitely fold an origami crane, but it does introduce a couple of steps that feel “technical,” like the petal fold and reverse folds. The key is slowing down and making sure each crease is lined up before you press it in. Most people notice a big jump in quality by their second or third crane, because the sequence starts to make more sense.
- How long does it take to fold an origami crane?
- If you’re new, plan for about 10 to 15 minutes. Once the steps feel familiar, it can drop to around five minutes. Speed isn’t the goal early on, though. Clean folds and good alignment matter more than finishing fast, and they’re what make the crane look crisp in the end.
- What can I do if my origami crane doesn’t look right?
- If it looks lopsided, don’t panic. You can often back up a few steps, open the fold gently, and realign the edges before re-creasing. Small asymmetry is common when you’re learning. Working on a flat surface, pressing sharper creases, and using paper that folds easily will all make your next one look more polished.