An origami heart is a quick, satisfying paper craft that turns a plain sheet of craft paper into a fun shape. You can make a Valentine’s day card more thoughtful and memorable with a paper-crafted hearted on the front. Crafting them is also fun and beneficial for your own heart.
In this guide, you’ll learn how to fold an origami heart step by step, how to avoid the usual folding hiccups, and a few easy ideas for decorating and using the finished heart.
Contents
Key Takeaways
- An origami heart is a simple, beginner-friendly craft that requires only a single square of paper and no special tools.
- Achieving a professional look depends on making precise, symmetrical folds and using a flat surface to create crisp creases.
- The basic design is highly versatile and can be easily adapted into bookmarks, secret notes, or decorative garlands.
- This activity is an excellent way for both children and adults to develop fine motor skills, patience, and creative expression.
Guide to Folding an Origami Heart
Folding an origami heart is a quick project, but it still feels special once you see the shape come together. You only need a square piece of paper and a flat surface. Make this paper heart as part of your greeting card, gift, or decoration.
Materials and Tools Needed
- Square sheet of paper (around 6×6 inches or 15×15 cm is easy to handle as a beginner)
- Origami paper, construction paper, or any decorative paper (solid colors and patterns both look great)
- Flat, clean work surface (table or desk)
- Ruler (optional, if you want extra-straight creases)
- Bone folder or an old credit card (optional, for crisp folds)
- Scissors (only if you need to trim a rectangle into a square)
Step-by-Step Guide
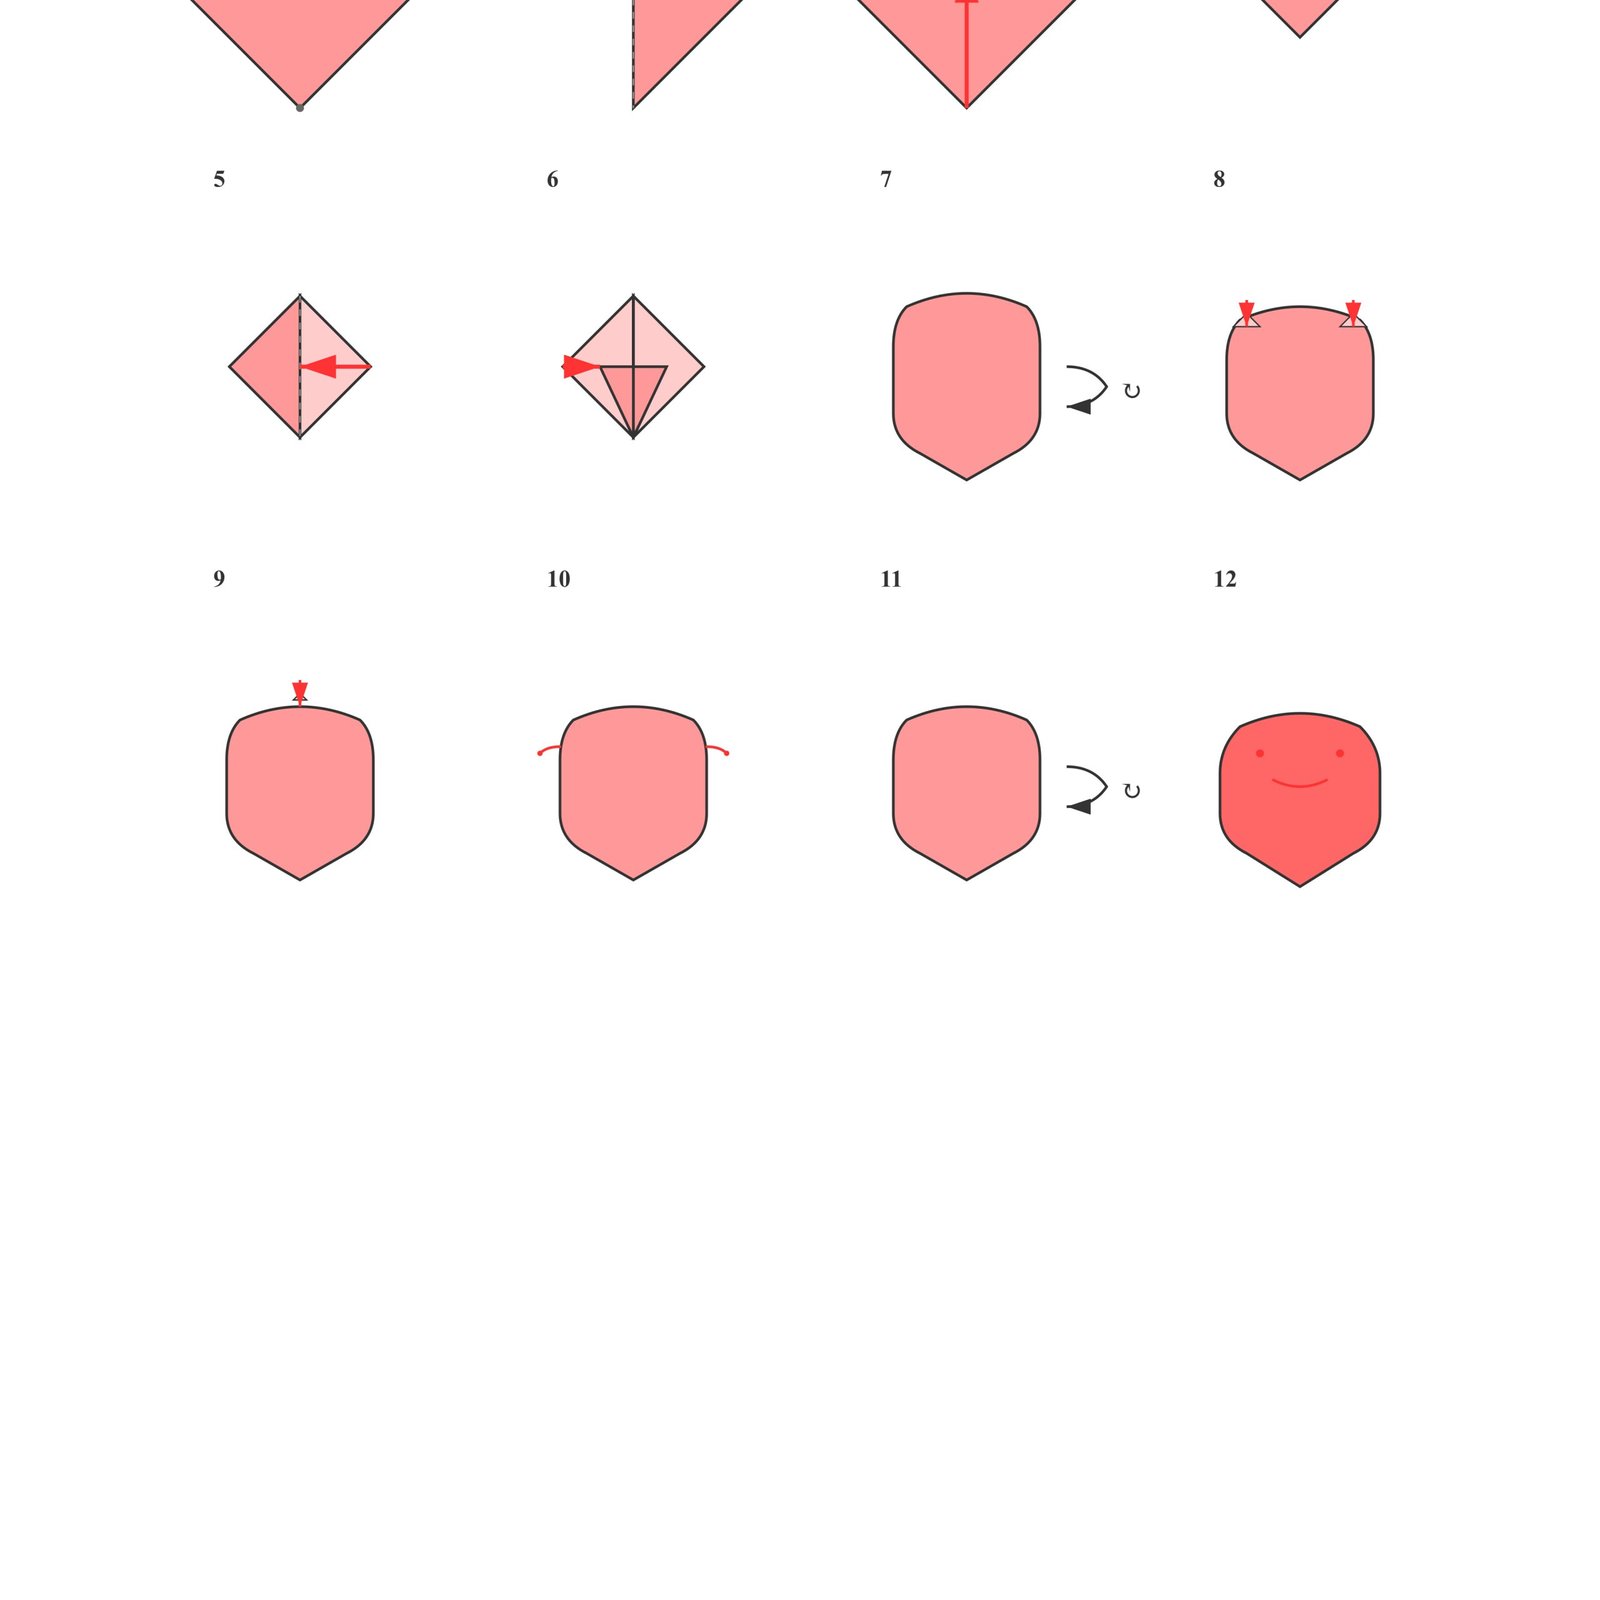
- Start by folding your paper into a diamond position. One of the corner should be pointing towards you. If you are using a colored or patterned paper, have the blank side facing up.
- Fold the paper in half diagonally, top corner to bottom corner, to make a triangle. Unfold it so you have a clear center crease.
- Fold the bottom corner up to the center point where the crease line crosses the middle of the paper.
- Fold the top corner down so it meets the bottom edge of the paper. You’ll end up with a smaller triangle shape near the top.
- Fold the right corner inward diagonally toward the center line, lining its edge up with the crease so it forms one side of the heart.
- Do the same on the left side, matching the fold so the shape stays even.
- Flip the paper over so the smoother side is facing up and the heart shape is easier to see.
- Fold or tuck the tiny points at the top corners down a bit to round off the heart’s curves.
- Fold down the small point in the top center to create that little dip that makes it look more like a heart.
- Press all your creases flat, then gently shape the top curves with your fingers until it looks the way you want.
- Flip it one last time to show the finished heart.
Optional: If you want to turn it into a “secret note” heart, write a short message on the back before the final folds so it’s hidden inside.
Easy Variations of the Origami Heart
Once you’ve got the basic fold down, it’s fun to start playing with size, paper choices, and a few small tweaks. These variations don’t add much difficulty, but they change the look and use of your hearts in a big way.
Mini Origami Hearts
Try folding the same heart with smaller paper squares that are 3 inches or 1 inch. The tiny heart origami are great as table confetti when a party or other occasion comes. You can also glue some of them onto your gift boxes or greeting cards.
Patterned and Double-Sided Hearts
Using paper that’s different on each side is an easy way to make the heart look more “finished” without changing the steps. When you fold, the second color or pattern often shows up along the edges or on the back, which gives the heart more depth and makes it look more detailed than it actually is.
Origami Heart Bookmarks
With a small adjustment at the end, you can leave a little pocket open at the bottom so the heart slides onto the corner of a page. It’s a cute, practical twist that works well for journals, textbooks, and novels. If you’re giving one as a gift, using thicker paper helps it hold its shape better.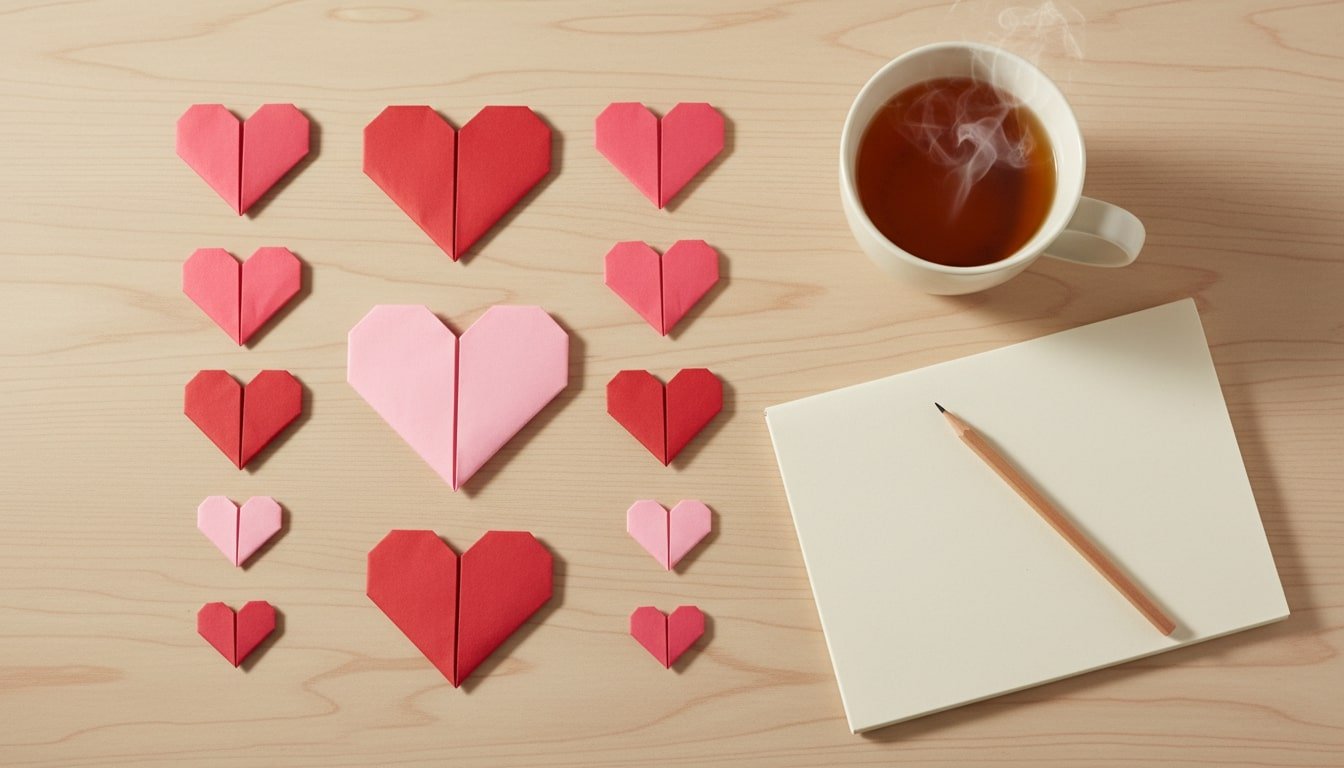
Message-in-a-Heart
If you want to make it more personal, write a short note or a single word in the center of the paper before you start folding. Once the heart is finished, the message gets hidden inside the layers. The person receiving it has to unfold the heart to find it, which makes it feel like a tiny surprise.
Hanging Heart Garlands
If you make a bunch of hearts, you can turn them into a garland pretty easily. Thread a needle and string through the top curves of each heart, then space them out however you like. Hang it vertically like a hanging strand, or string it across a wall for a quick party decoration, nursery detail, or holiday setup that costs almost nothing but looks great.
Troubleshooting: Fixing Common Origami Heart Problems
When you’re learning to fold an origami heart, tiny slip-ups add up fast. A corner that’s off by a few millimeters or a crease that isn’t sharp can make the whole heart look a little “off.” These quick fixes help you spot what went wrong and clean up the next one.
Uneven or Lopsided Heart Shape
If one side looks bigger or taller, the problem usually started early. The first diagonal fold and the center crease need to line up cleanly, with corners meeting exactly where they should. If it’s noticeably uneven, gently open it back up to those early folds and realign them, then press the creases firmly with your fingernail or a bone folder. On your next heart, slow down at the start and check symmetry before you move to the later folds.
Pointed Top Instead of a Smooth Curve
A pointy or boxy top usually means the small corner tucks weren’t folded evenly, or they weren’t folded far enough in. Undo those tiny folds, then tuck the corners a bit deeper toward the center. Use the center crease as your guide so both sides match. Once it looks even, press the folds down firmly so the top rounds out into a softer curve.
Wrinkled or Torn Paper
Wrinkles and tears often happen when the paper is too thick, or when you keep re-folding the same spot over and over. If you’re practicing, thinner paper like origami paper or regular printer paper is a lot more forgiving. Fold on a hard surface and try to make each crease in one steady motion instead of “working” it back and forth. If the paper tears, it’s usually better to restart with a fresh sheet since torn fibers make the heart look rough no matter what you do next.
Heart Won’t Lie Flat
If the heart keeps springing up, you might have bulky layers or fold with too much paper trapped inside it. To fix it, gently open the back layers and smooth out any overlaps. Do this near the center and bottom point. Press the finished heart under a heavy book for a few minutes to help the creases settle. Going forward, focus on crips folds and keep the corner tucked nearly so there are no extra thickness.
Bottom Point Looks Blunt or Crooked
A crooked or blunt tip usually means the bottom layers aren’t lining up on the center line. Flip the heart over and check that the vertical crease runs straight through the point. Refold the bottom edges so they meet cleanly at that center crease, then pinch the tip firmly between your fingers to sharpen it. That slight adjustment makes the heart look a lot cleaner and more balanced.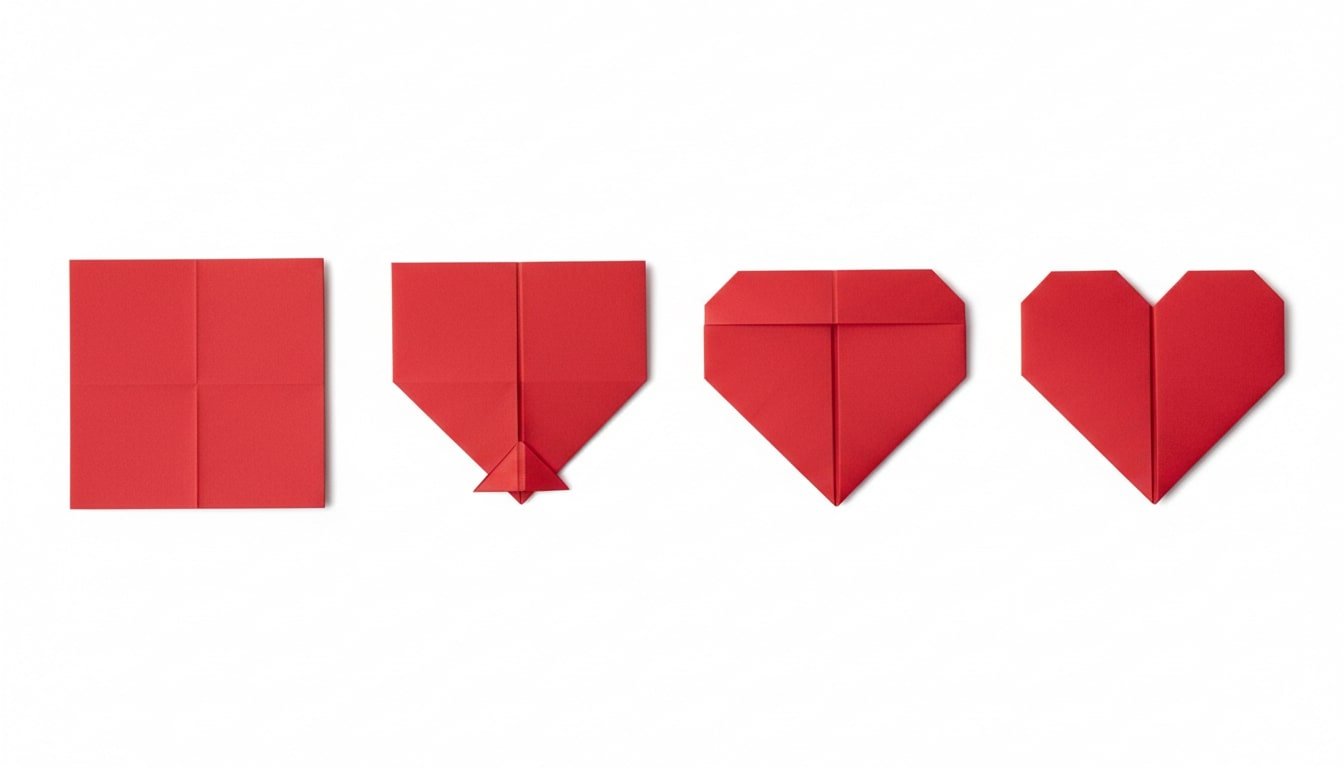
Safety and Kid-Friendly Tips
Origami is a great activity for kids because it builds fine motor skills, patience, and that “thinking in shapes” kind of problem-solving. A few small adjustments make it easier on little hands and help keep the session calm, safe, and fun.
Choosing the Right Materials
For younger kids, skip thick cardstock and anything with metallic edges or stiff coatings since those can lead to paper cuts and are harder to fold neatly. Regular construction paper or thin origami paper is much easier to handle and feels less frustrating. If you’re adding decorations, stick with non-toxic stickers and glue. Glitter and tiny add-ons can be messy and aren’t always a great idea for very young kids who might put things in their mouths.
Using Child-Safe Tools
If you need to turn rectangular paper into a square, give kids blunt-tip safety scissors and keep an eye on the cutting. For sharper creases, a plastic ruler or a plastic bone folder works well and is safer than kids digging their fingernails into the paper. Supervision still matters, especially with scissors and anything that can poke or scratch.
Simplifying the Steps
Some kids get stuck on the small tucks and tiny adjustments, and that’s normal. Let them focus on the bigger folds first so they still get a heart shape they’re proud of. You can pre-crease the paper to “set” the main lines, or draw simple guide marks showing where corners should land. Breaking the project into small wins keeps frustration low and confidence high.
Creating a Safe Workspace
Set up on a sturdy table with good light so kids can see the creases clearly. Clear away clutter, drinks, and anything heavy that could tip or fall. Give them enough elbow room to move comfortably, and if possible, have them sit with their feet supported so they’re not sliding around. A clean, calm workspace makes the whole activity smoother and helps kids stay focused.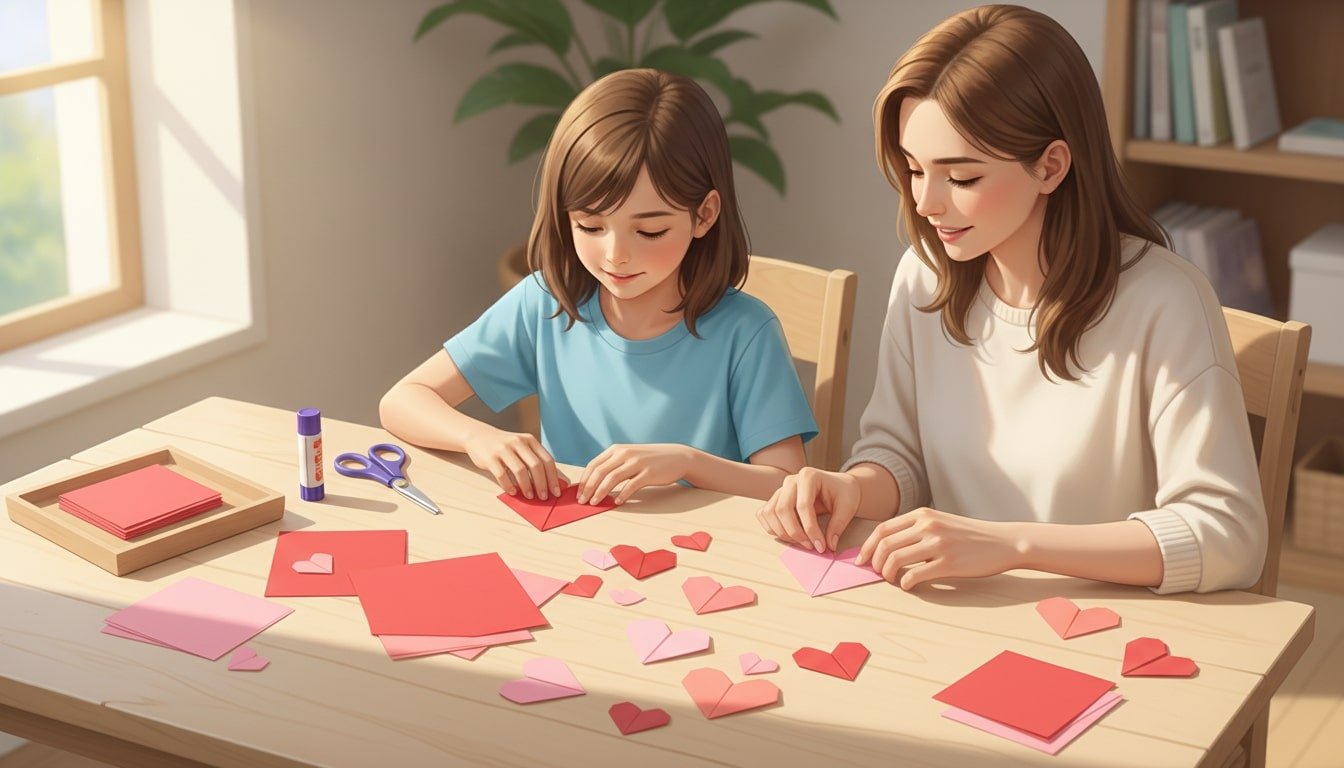
Conclusion
Folding an origami heart is a small project, but it feels surprisingly meaningful once it’s finished. You’re taking a plain piece of paper and turning it into something that looks like effort, even though it only takes a few folds. Kids can do it, adults can do it, and it works as a quick decoration or a simple little gift that still feels personal. The more you make, the better your folds get without you even trying, cleaner creases, faster steps, and fewer lopsided hearts. Try different colors, sizes, and variations, and you’ll end up with hearts that look like your style, not just a copy of the instructions.
FAQ: Origami Hearts
- Can I use regular printer paper to make an origami heart?
- Yes, printer paper is totally fine, especially when you’re learning. Just cut it into a square before you start. It’s thin enough to fold easily, but it still holds its shape once you crease it well. After you’re comfortable, patterned paper, origami paper, or even magazine pages can make the hearts look more fun and unique.
- How long does it take to fold an origami heart?
- Once you know the steps, a basic origami heart usually takes about five minutes. Beginners often take longer because they’re checking alignment and figuring out the small tucks. After a few tries, it becomes very quick, and you can fold a whole stack in one sitting without thinking too hard about it.
- What size paper should I use for my first origami heart?
- A 6 x 6 inch (or 15 x 15 cm) square is a good starting size. It’s big enough that you can see what you’re doing, but not so big that the heart feels floppy or awkward to handle. After you’ve got the technique down, you can go larger for decorations or smaller for mini hearts.
- How can I make my origami heart look more polished and professional?
- Clean alignment and sharp creases make the biggest difference. Line up corners carefully, fold on a flat surface, and press each crease firmly with your finger, a ruler, or a bone folder if you have one. Paper choice matters too. Medium-thin paper usually looks best, and it helps to avoid folding the same spot back and forth since that can wrinkle the paper and soften the edges.
- What can I do with finished origami hearts?
- A lot, honestly. You can glue them onto cards, string them into garlands, use them as little bookmarks, or scatter them as table decor for parties and weddings. They also look great on gift wrap, and they’re an easy way to leave a small note for a friend, family member, or student without making it a big production.