Last Updated on October 31, 2025 by Team Ideas24
Personalized gift wrap transforms ordinary presents into memorable keepsakes. It lets you express your creativity and style. You can tailor designs to suit any occasion. DIY printed patterns elevate your gift presentation. These ideas help you wrap with personality and flair.
Contents
Key Takeaways
- Choose the right base papers and plan simple repeat layouts for clean, polished results.
- Personalize fast with monograms, photos, or custom stamps so every package feels bespoke.
- Use smart embellishments and home-printing methods to get pro finishes on a budget.
Introduction to Personalized Gift Wrap
Gift presentation sets the first impression. A wrapped gift shows you care. Personalized gift wrap takes that sentiment further by turning packaging into part of the gift itself. You transform simple paper into a personalized statement that greets someone before they untie a bow. It sets the mood and invites excitement before the ribbon comes off.
You can tailor patterns and colors to suit any taste. Adding names or meaningful images builds a connection. DIY techniques let you experiment with textures and layouts. You’ll find easy ways to inject your own style and voice into each wrap. This technique makes every present stand out under the tree or on a table.
This guide covers how to select materials and plan layouts step by step. We’ll walk through paper choices, embellishment options, and printing methods for home setups and professional services. You’ll learn simple finishing techniques that bring a polished look. You’ll gain confidence in customizing every detail.
Choosing Your Materials
Selecting the right materials sets the stage for standout personalized gift wrap. You’ll want paper that holds ink crisply and tape that stays hidden. The right combination brings style and durability. Let’s explore options that make your DIY wrapping both beautiful and practical.
Paper Types for DIY Wrap
Kraft paper offers a rustic look in natural brown or white. It holds ink well and resists tearing when wrapped tightly. Cardstock adds rigidity and works great for large or heavy items. Choose 80–100 lb stock for added strength.
Patterned printer paper lets you print full-color designs at home. You can pick gloss or matte finishes at the printer. This paper handles detailed graphics and text without bleeding. Mixing paper types adds dimension and visual interest to every gift.
Eco-Friendly Paper Options
Recycled kraft paper cuts waste and often contains post-consumer fibers. You can customize it with rubber stamps or hand-drawn accents. Bamboo paper brings a soft, smooth finish and biodegrades naturally.
Seed paper dissolves in water and grows wildflowers once unwrapped. Compostable wraps made from plant starch replace plastic entirely.
Reusable fabric wraps like furoshiki cloth add zero waste and a touch of elegance. Eco-conscious materials let you send gifts that reflect your values and care for the planet.
Specialty Materials and Textures
Metallic foil papers add a luxe sheen and catch the light at festive gatherings. Glossy surfaces reflect surroundings for a vibrant, party-ready vibe. Matte papers absorb ink for a soft, modern look that suits minimalist designs.
Linen-textured wraps mimic fabric with subtle woven patterns. Vellum sheets layer over prints to create depth and a frosted effect. Laser-cut wraps produce intricate lace-like patterns ideal for weddings. Watercolor-art paper holds brush strokes and hand-painted details beautifully. Vary textures to match each occasion and theme.
Essential Tools and Adhesives
A precision pair of scissors ensures clean, straight cuts without jagged edges. A steel ruler or straightedge guides sharp lines every time. Self-healing cutting mats protect surfaces and keep blades sharp. Tape runners apply double-sided tape without messy residue.
Glue dots and adhesive strips offer hidden bonds for ribbons and layers. Bone folders or scoring tools create crisp folds and prevent paper cracking. Retractable utility knives handle tricky shapes and corner cuts.
Keep a pencil, eraser, and extra blades on hand for quick adjustments. Organizing tools in a caddy keeps your workspace efficient.
Printing Your Custom Wrap
After you finish your design, it’s time to print. Good printing makes colors pop. It brings every detail into focus. You’ll see how crisp lines and rich hues elevate your gift.
At-Home Printing Setup
Use an inkjet or laser printer that supports large-format sheets. Choose one with borderless printing to avoid white edges. Check the printer’s max paper size and weight capacity. Load sheets carefully in the manual feed tray to prevent jams.
Set resolution to at least 600 dpi for clear detail. Keep extra ink cartridges on hand to avoid running out mid-print. Clean the rollers regularly for smooth feeding. Calibrate your print head if colors look off. Test a proof on scrap paper before printing the full run. Trim edges with a rotary cutter and ruler for precise lines.
Using Avery Printable Gift Wrap Sheets
Avery offers printable gift wrap sheets from letter size up to 24 × 36 inches. You can pick matte, gloss, or UV-coated finishes to match your design. Their online template library has layouts for holidays, birthdays, and weddings.
Upload your JPEG, PNG, or PDF file and align it with the guide grid. You can preview every sheet in Avery’s free design and print software to avoid misalignments. Order sheets on Avery’s site and get delivery in two to three business days.
No minimum order lets you print just one sheet or a full batch. Avery’s satisfaction guarantee covers any misprints or defects.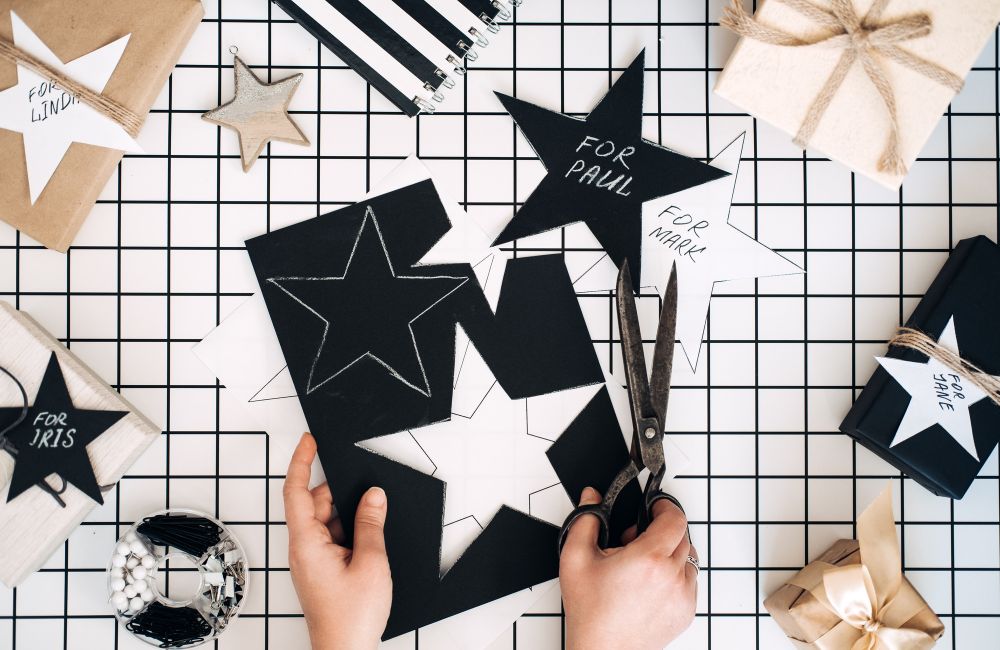
Working with Professional Print Services
For specialty papers or large runs, turn to print shops. Export a flattened PDF with a 0.125 in bleed on each side. Ask for a printed proof on your chosen stock before full production. Explore linen, metallic foil, or embossed textures that home printers can’t handle.
Compare local and online shops for price, quality, and turnaround time. Check proof revision limits and express options if you’re on a deadline. Plan for shipping time and costs. Bulk orders often earn volume discounts and lower per-sheet rates.
File Formats and Color Profiles
Save artwork in PDF/X-1a or TIFF format with embedded color profiles. Outline or embed fonts to avoid substitutions during printing. Switch to CMYK mode for accurate print colors. Keep images at 300 dpi or higher to ensure sharp results. Set bleed guides and crop marks in your layout tool for precise trimming.
Follow Avery’s suggested color profiles for best output. Label each file version clearly to track revisions. Use cloud storage or a USB drive to share large files securely and archive source files for future tweaks and reprints.
Design Inspiration and Techniques
Finding inspiration helps your personalized gift wrap shine. These personalized gift wrap ideas add a unique touch to any package.
Incorporating Photos and Logos
You can turn a photo into a focal point on your wrap. Upload snapshots of memories or favorite moments. You can also add a custom logo for a brand or event. Use high-contrast images so details stand out. Tools let you pull files and place them on your paper. This approach personalizes every gift delivered and makes personalized gift wrap truly memorable.
Patterns, Graphics, and Color Schemes
Choose patterns that match the recipient’s style or the occasion. Geometric shapes look modern and crisp. Watercolor gradients add a soft and artistic feel. Pick palettes that pop or stay muted for a classic look. Test different combinations before you print. These graphics make personalized gift wrap pop off the shelf.
Embellishments and Accessories
Small details can elevate your personalized gift wrap from simple to stunning. You’ll find that ribbons, tags, and stamps add layers of interest and charm. Choosing the right accent makes your wrap feel thoughtful. Let’s explore some easy ways to dress up your package.
Ribbons and Bows
Organza and satin ribbons bring a touch of luxury to your gift. You can knot them into classic bows or sleek knots for a modern look. Mix ribbon widths to create depth. Layer a thin velvet ribbon over a wider grosgrain for contrast. Trim ends at an angle to prevent fraying. You’ll find that a well-tied bow becomes the centerpiece of your wrap.
Twine and Natural Fibers
Jute twine and hemp cord add rustic appeal that works in any season. You can wrap twine around the box several times for a casual vibe. Tie a sprig of fresh rosemary or dried lavender into the knot. This adds fragrance and a pop of color. Natural fibers pair beautifully with kraft or recycled paper for an earthy feel.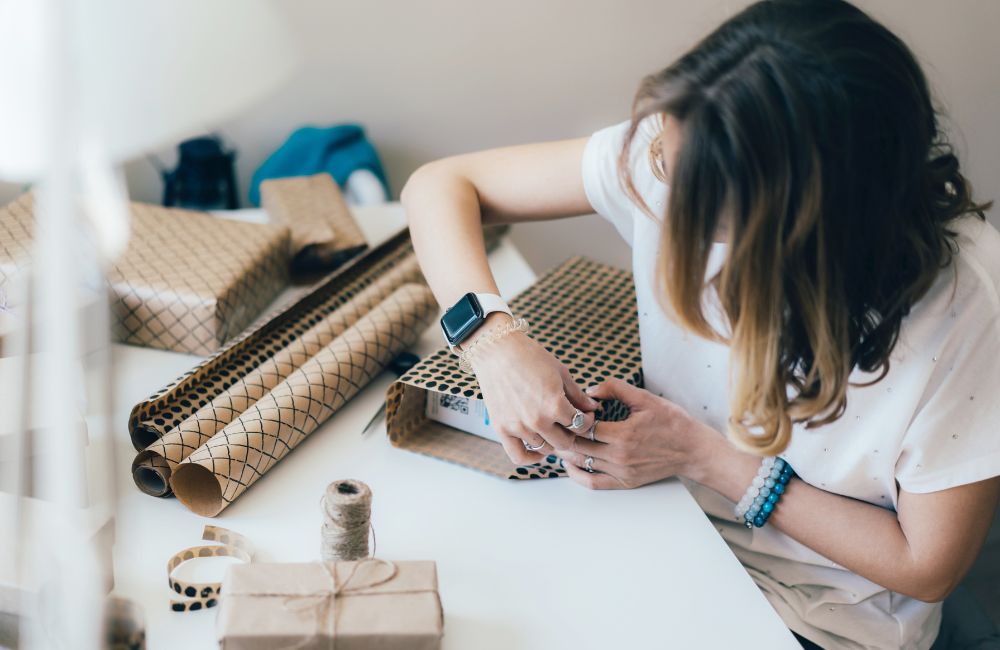
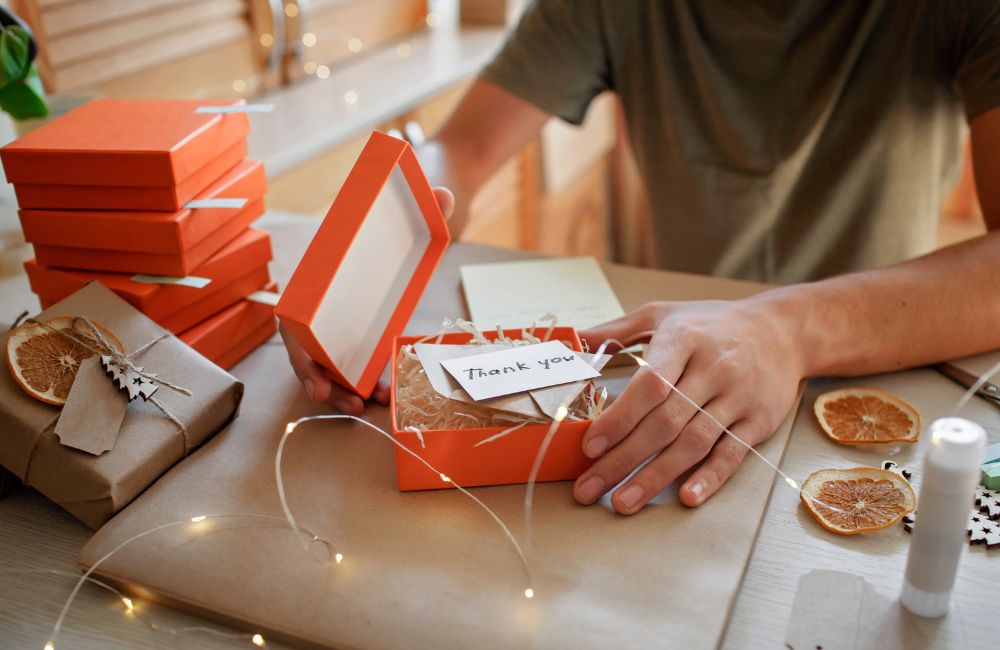
Custom Tags and Stickers
Printable stickers and cardstock tags let you label each gift with style. Punch a hole in a tag and thread it onto ribbon or twine. You can hand-letter names or use a printer for crisp fonts. Layer two tags of different shapes for a 3D effect. Stickers with foil accents make tags pop without extra bulk. You’ll create a cohesive look when tags match your wrap design.
Handmade Stamps and Stencils
Rubber stamps and stencils let you add repeating patterns quickly. Ink a stamp in metallic or colored ink and press evenly onto the paper. Stencils let you paint intricate designs with minimal effort. You can dust glitter over stencil openings for a festive sparkle. Both methods allow you to replicate custom motifs across multiple sheets. You’ll enjoy the creative process as you build a signature pattern.
Washi Tape Accents
Washi tape comes in endless patterns and widths. You can use it to create geometric stripes or frame edges. Tear pieces for a casual, torn-edge look. You’ll find that washi tape holds firm but peels off easily if you make a mistake. Mix and match tape designs for a playful patchwork effect. This no-mess tape adds color without hiding your personalized gift wrap beneath bulky layers.
Conclusion
Personalized gift wrap transforms how your gift is received. It shows you put thought into every detail. You can mix and match papers, prints, and textures to suit any occasion. DIY techniques make the process rewarding and fun. Use these ideas on your next present to leave a lasting impression.
FAQ: Personalized Gift Wrap Ideas
- What paper weight and printer settings work best for home-printed gift wrap?
- Use 24–32 lb (90–120 gsm) uncoated paper to avoid jams and get clean folds. Set 300 dpi, enable borderless if your printer supports it, and tile a repeating pattern on Letter or A4 sheets to cover larger boxes.
- How do I make personalized wrap eco-friendly and recyclable?
- Choose plain, uncoated kraft or white paper and skip foils, glitter, and plastic coatings. Soy or water-based inks de-ink more easily in recycling streams, and the “scrunch test” helps spot coated paper that doesn’t recycle well. Remove tape, bows, and ribbons before you bin it.
- What’s an easy way to add photos or names without a cutting machine?
- How can I wrap odd-shaped gifts neatly?
- Use the simple “candy” method for bottles or toys, then cinch the ends with ribbon. For bouquets and soft bundles, layer tissue and fold into a triangle before wrapping. Try furoshiki cloth for a reusable, elegant finish.
- Is DIY wrap safe for edible gifts like cookies?
- Keep food away from regular inks and decorative papers. Line boxes or wraps with food-grade parchment or glassine, which are widely used for direct contact, and then add your personalized outer wrap. U.S. rules treat these as food-contact materials, so look for papers sold as food-grade.