Last Updated on August 19, 2025 by Team Ideas24
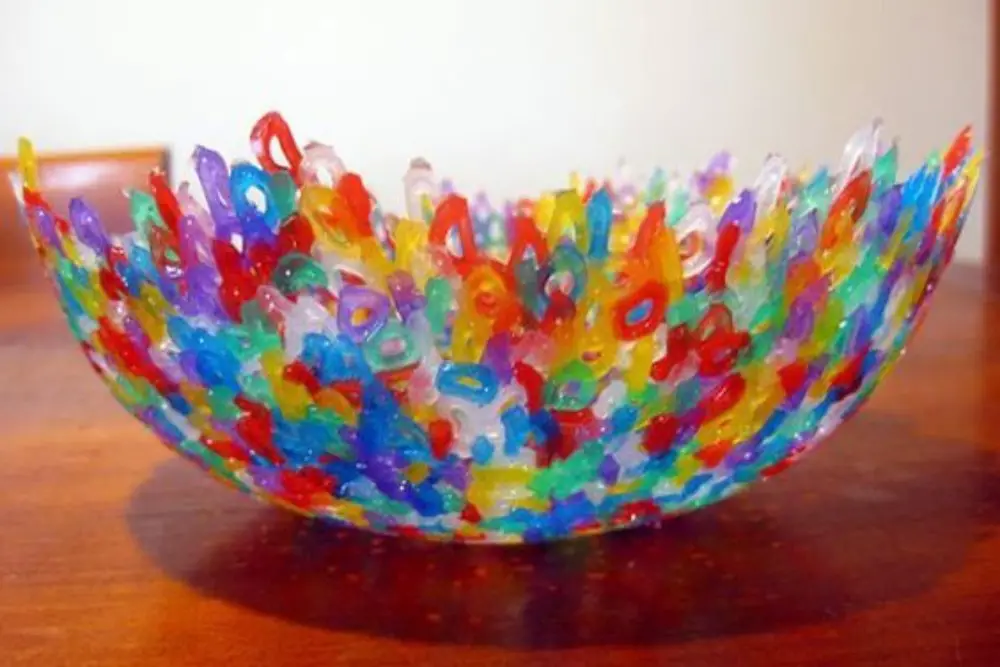
The beads are melting, the reason why you have read this article. Now, you have this image of how cool this bowl is going to look, right?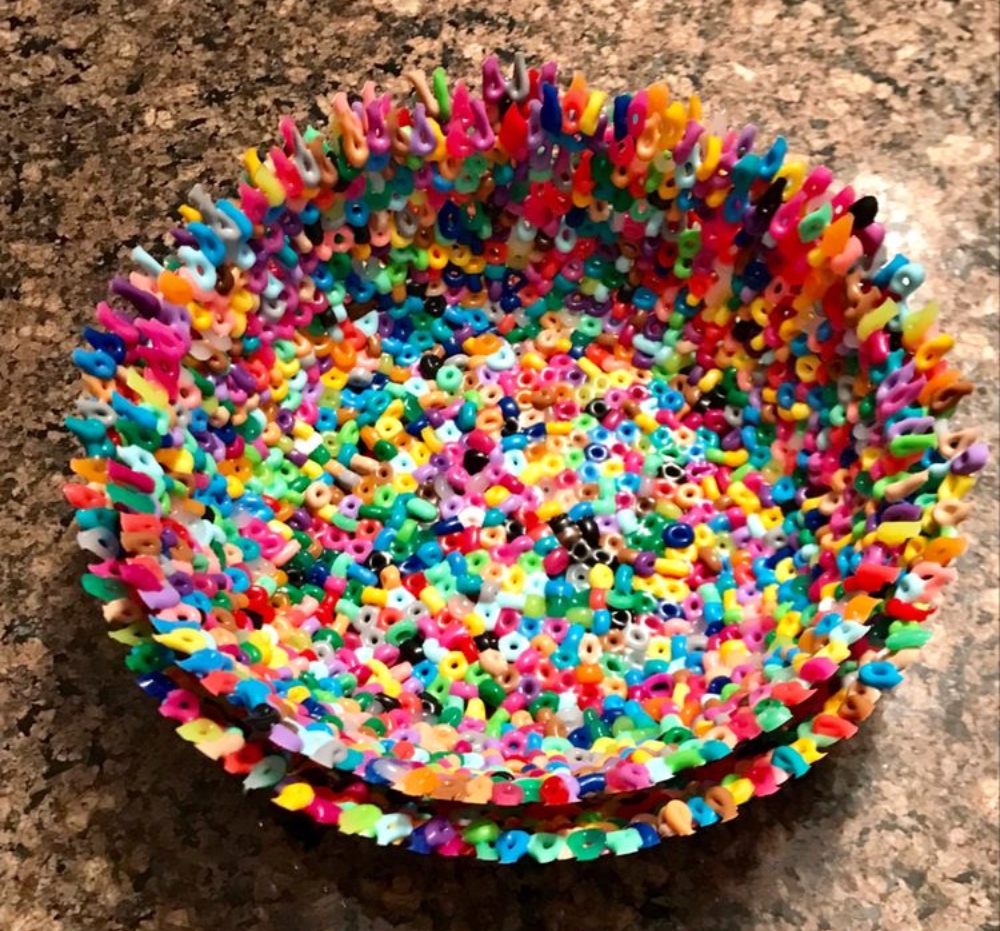
Friendship bracelets made from beads used to be the peak of our childhood but there are so many ways to make them nowadays that are easier than stringing through tiny holes.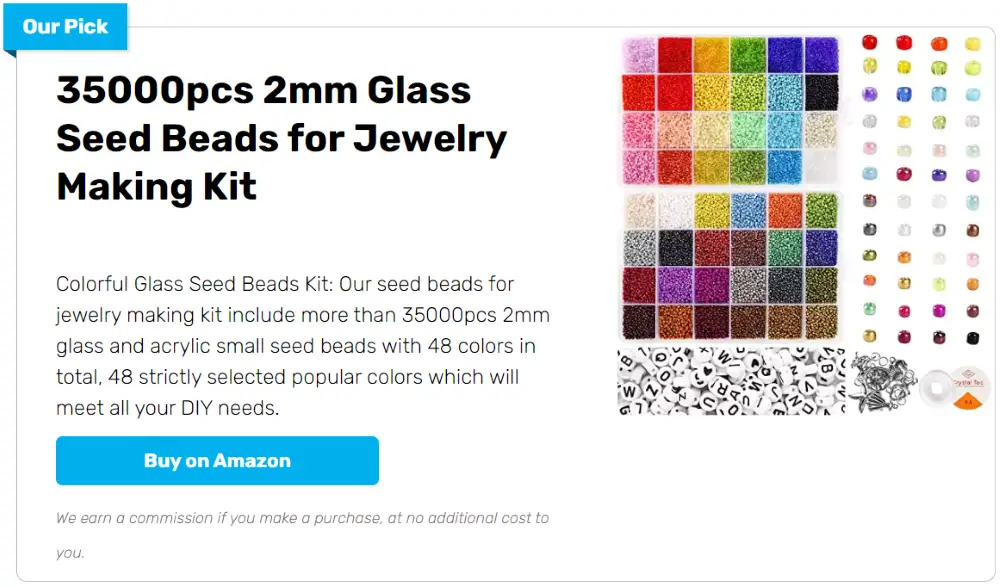
If you’ve got a lot of spare beads at home that you haven’t used for years or ones from broken bracelets then you should make use of them and turn them into these colorful melted bead bowls!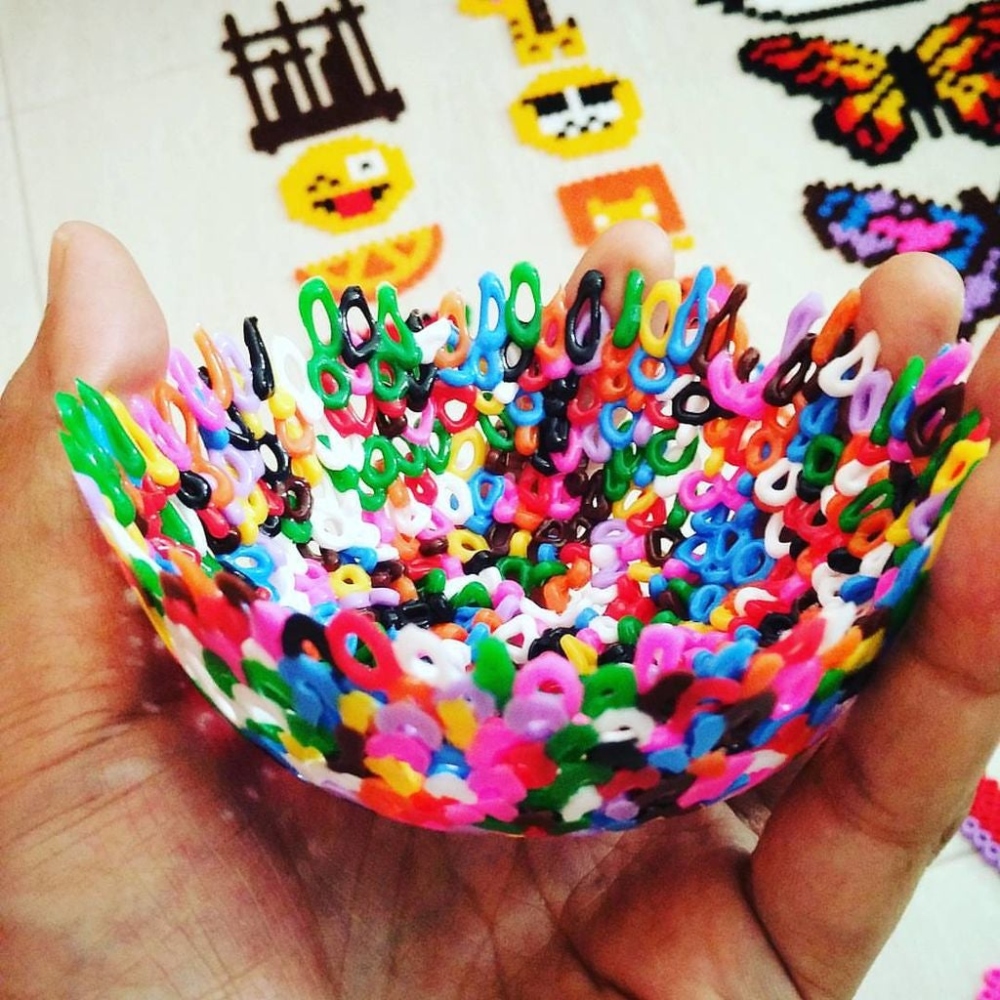
This may look complicated but it’s actually a really easy project that even little kids (with parental supervision of course) can do by themselves!
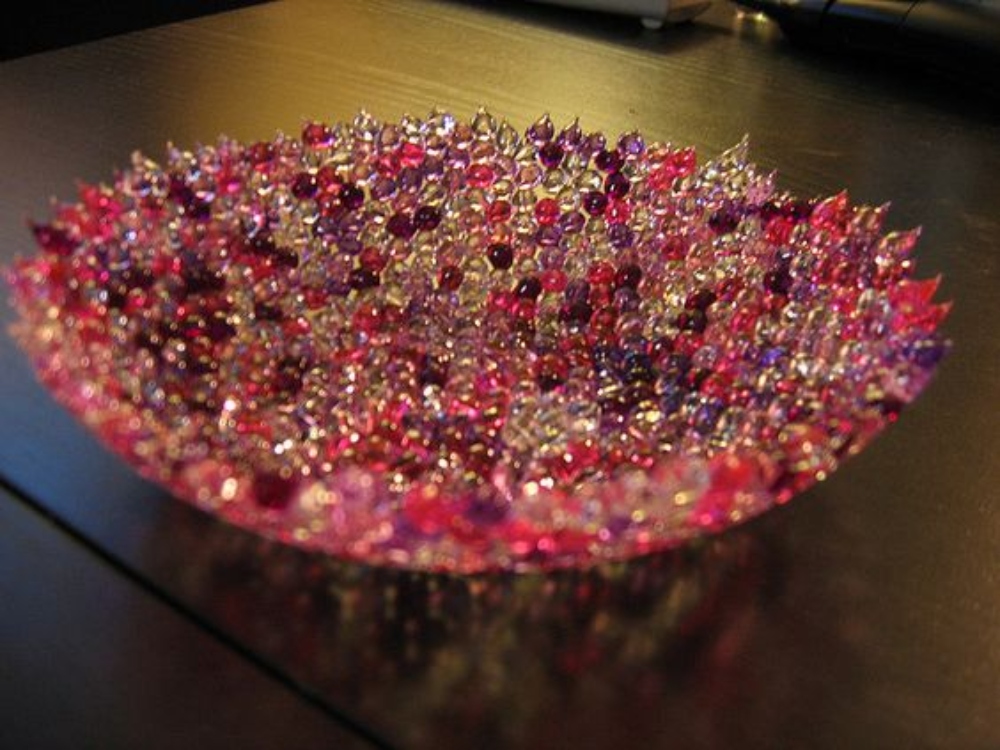
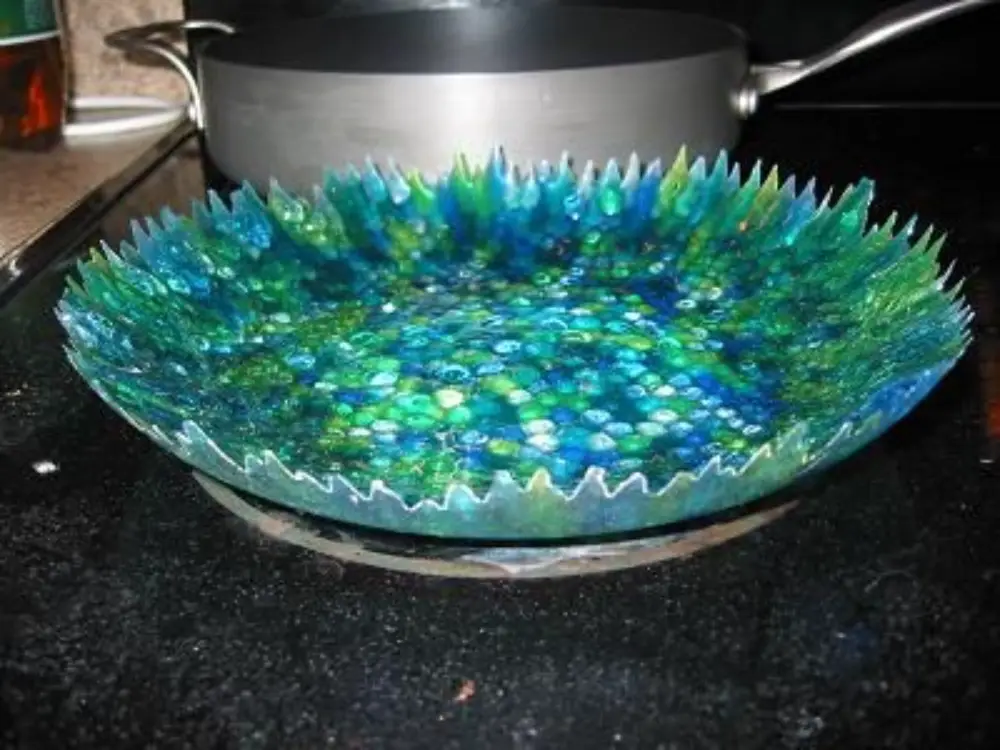
You can use these bead bowls for small knick-knacks or treats or simply use them for decoration. If you think the multi-colored ones above are too distracting then you could go for a monochrome bowl like the one below…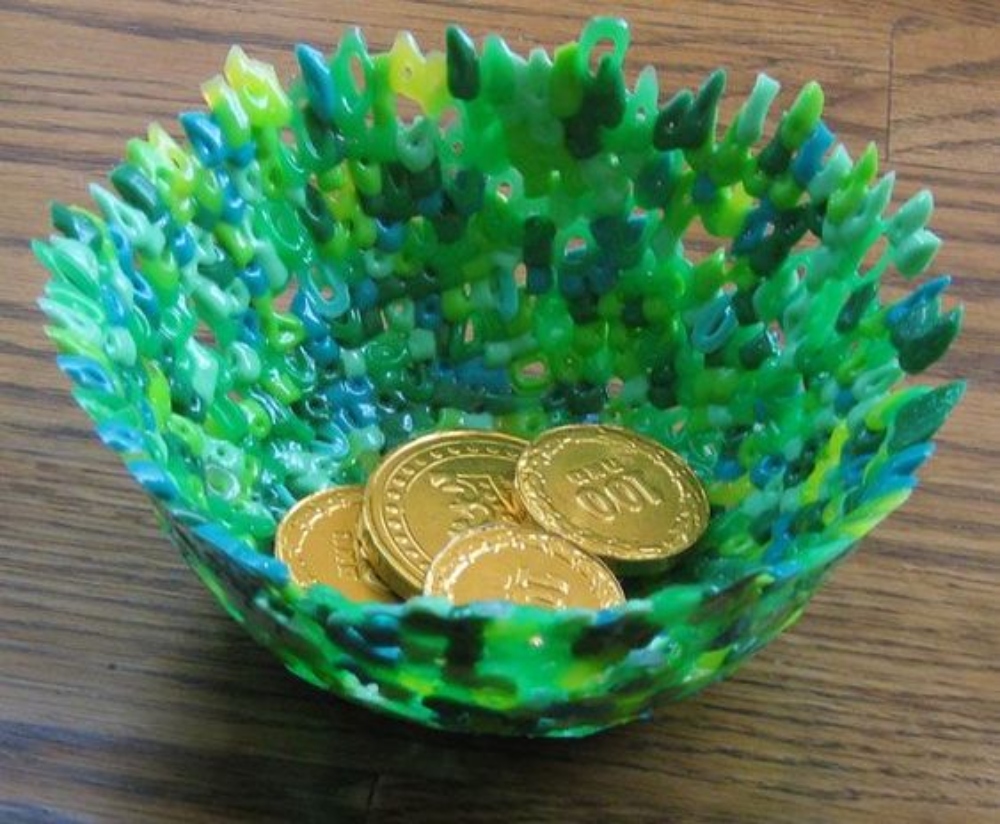
Contents
Crafting Melted Bead Bowl
This is a simple and easy way to make use of those old beads you’ve got so what are you waiting for? Get crafting!
You’ll need these materials…
- Vegetable oil
- Perler beads
And these tools…
- Oven
- An oven-safe bowl that you want the end product to look like
Steps:
- Preheat the oven to 350°F (175°C). Place the rack in the center.
- Clean and dry the oven-safe bowl. Lightly coat the inside with vegetable oil, then wipe to a thin film.
- Pour Perler beads into the bowl to cover the bottom in one snug layer. Shake gently to settle them.
- Tilt the bowl and press beads up the sides to form even walls. Add a second layer near the rim for strength if you want.
- Inspect for gaps or stacked beads. Adjust until coverage looks even and level.
- Set the prepared bowl on the center rack. Heat for 8–12 minutes until beads look glossy and fused, not puddled.
- Remove with oven mitts and place on a heat-safe surface. Cool 10–15 minutes until warm but firm.
- Gently flex or twist the mold to release the bead bowl. If it sticks, let it cool fully, then try again.
- Wash off any oil with mild soap and water. Dry thoroughly.
- Use for trinkets or wrapped treats. Avoid hot foods or liquids.
Kid-Friendly Classroom Version
Teachers love crafts that are tidy and repeatable. This classroom version breaks the process into stations kids can manage. Adults handle heat steps. Students focus on design, color, and teamwork.
Station Setup and Flow
Create four stations for a smooth workflow. Set up an oil-and-prep table. Provide a color-sorting station. Lay out designs on practice plates. Do a final transfer to the oiled mold. Place big, clear labels at each table so kids know where to go. Put arrows on the floor to guide movement in one direction. Keep trays at child height to reduce spills. Add a waiting mat near the oven area to keep transitions calm. Practice the flow once without beads so expectations feel clear.
Materials Prep and Individual Kits
Pre-portion beads by palette into small cups or zip bags. Include a mini paper towel, cotton swab for oil smudges, and a tiny scoop. Give each student a labeled kit to prevent crowding at bulk bins. Offer monochrome, ombré, and mixed choices so planning feels simple. Add two extra kits for late arrivals or spills. Pre-oil molds before class begins. Rebuff excess oil to avoid skating beads.
Safety Roles and Clear Rules
Assign roles. Designers place beads. Runners carry trays to the adult at the oven. The Heat Captain is the only person near the appliance. Everyone follows the “hands off when timer starts” rule. Gloves and tongs stay with adults. Keep a cooling rack zone that students never cross. Review rules before each round. Short, consistent commands work best. Celebrate safe behavior as much as beautiful bowls.
Timed Workflow and Oven Handoffs
Run in ten to twelve minute cycles. Set two timers so no one loses track. While one batch melts, the next group finishes placement. Announce one-minute warnings to reduce rushed moves. Turn trays halfway if your oven has hot spots. Move finished molds to the cooling rack and start the next batch immediately. Keep a visual checklist of groups completed. Fast turnover keeps energy high and lines short.
Cross-Curricular Connections and Reflection
Tie learning to standards. Use color ratios for simple math. Map ombré gradients to a color wheel lesson. Discuss solids and heat for basic science. Have students journal choices and results with quick sketches. Build vocabulary with terms like rim, mold, and fuse. End with a gallery walk and peer feedback. Reflection cements process knowledge and gives every melted bead bowl a story to share.
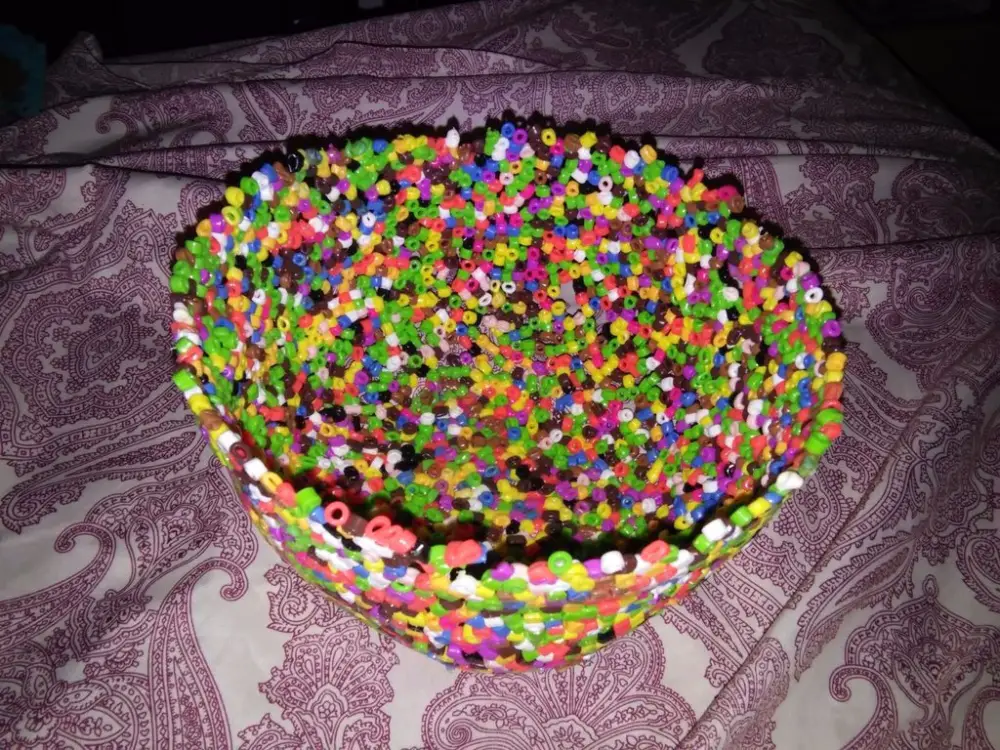
Melted Bead Bowl Gallery
Click on any image to start the lightbox display. Use your Esc key to close the lightbox. 😎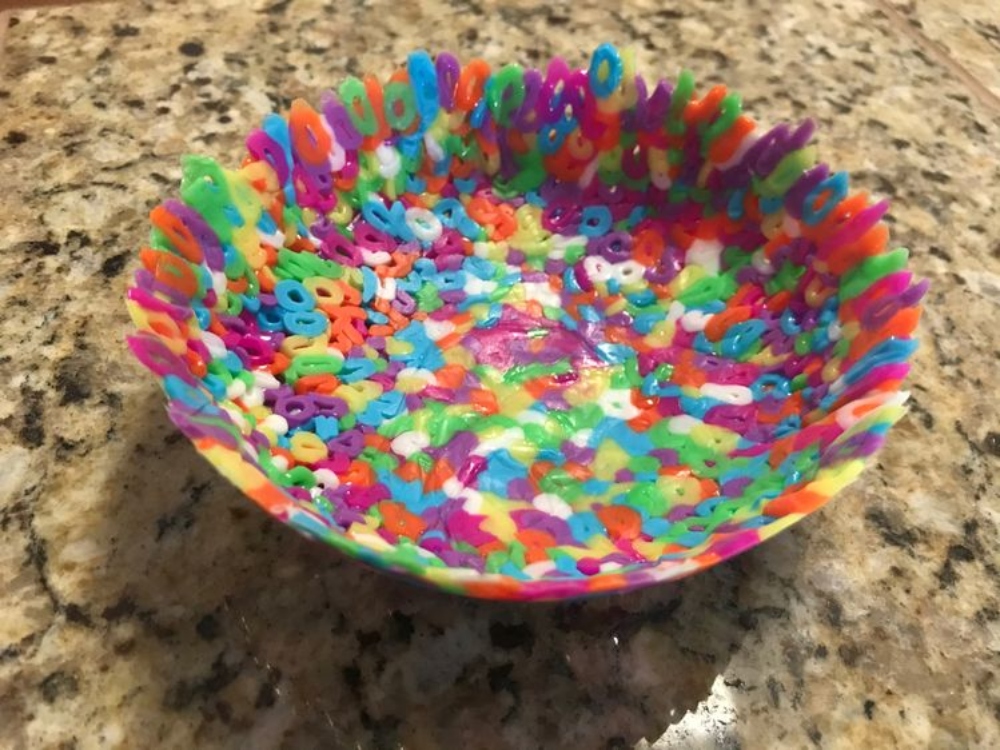
Troubleshooting Sticking, Holes, And Warping
Even careful prep brings surprises. Sticking, gaps, and wavy rims happen. These fixes keep your melted bead bowl on track. Diagnose first, then choose the lightest effective fix with care.
Diagnose Why It Sticks
Identify the cause before prying. Excess oil creates suction. No oil means plastic bound to texture. Overheating can smear beads into the mold. Undercooling leaves the form flexible and grabby. Compare trouble spots to your oil pattern. Note shiny pools or dry patches. Record oven time and temperature. A small change in one variable often frees the next release with almost no force.
Gentle Release Methods That Work
Cool until the bowl feels firm, not hot. Flex the mold slightly to break the seal. Twist gently to admit air along the rim. Press the base with a folded towel to protect finish. Run a thin plastic spatula under the edge. Never use metal tools that scratch. If it still resists, refrigerate five minutes, then try again. Patience preserves shape and keeps rims crisp.
Patching Holes and Thin Walls
Spot a gap while the piece is still in the mold. Drop matching beads into the opening. Return to the oven for sixty to ninety seconds. Aim for a light fuse that bonds the patch without flattening good sections. For thin walls, sprinkle two or three beads on the weak area and reheat briefly. Let cool fully, then sand tiny bumps. The repair becomes almost invisible.
Correcting Warps and Wavy Rims
Address shape issues while warmth remains. Rewarm the rim for about a minute, then pinch with gloved fingers to true the circle. Set upside down on a plate to cool flat. For sidewall waves, warm slightly and press the curve against a smooth bowl exterior. Short cycles beat long reheats. Document the temperature that held structure best. Prevention through even packing saves time next round.
When to Re-Melt and Start Fresh
Some pieces are better recycled. Severe slumps, scorched patches, or deep puddling often waste more time than they’re worth. Let the bowl cool completely. Break it apart and clean residue. Repopulate the mold with a denser layout and lower temperature. Trim bake time by a minute. Keep notes on what failed. A clean restart usually delivers a stronger, better looking melted bead bowl.
Seasonal And Themed Designs
Themes help beginners plan color and pattern fast. Use seasons and events to guide palettes and sets. Repeatable templates speed classes and runs while keeping each melted bead bowl unique.
Spring Pastels and Florals
Build a pastel base using soft pinks, mint, butter yellow, and lavender. Add tiny “petal” clusters by arranging five beads around a center dot. Keep rims light for an airy feel. Mix a few leaf greens near the base to ground the palette. Encourage ombré from darker base to lighter rim. Photograph layout before melting so students can replicate pairs for gift sets.
Summer Coastal and Nautical
Choose sea glass blues, foam white, and sandy beige. Create wave bands by stacking curved rows from base upward. Add a narrow navy ring near the rim to echo nautical rope. Place a few coral or starfish accents in warm orange. Keep spacing tight so curves read cleanly after melting. Pair bowls in three sizes to form a coastal centerpiece that brightens entry tables.
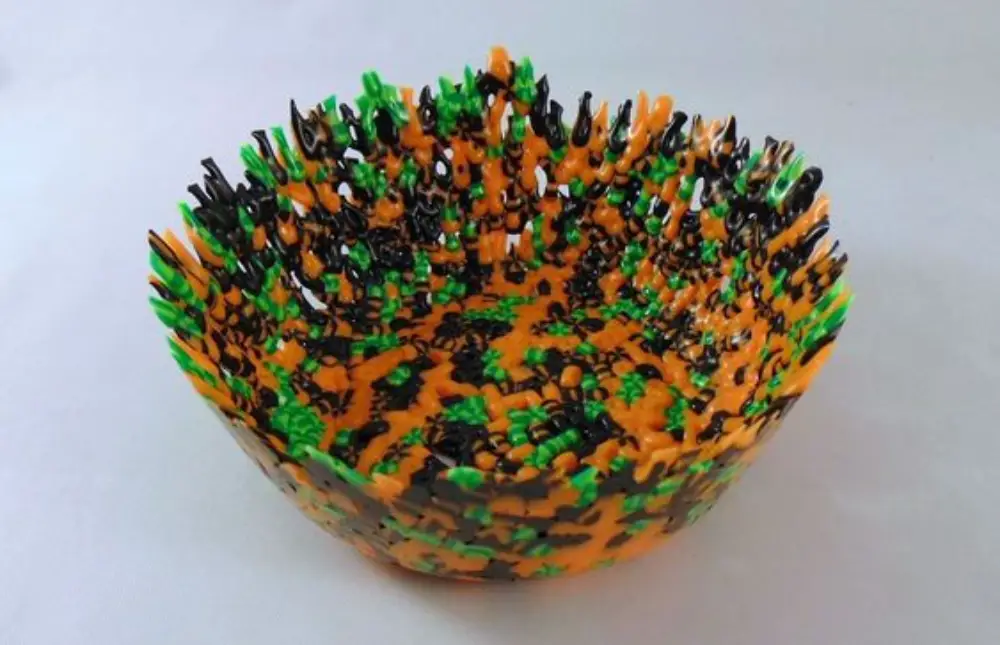
Autumn Harvest and Halloween
Blend rust, pumpkin, olive, and deep plum for a warm harvest vibe. Drop small clusters that suggest leaves. For Halloween, switch to black, charcoal, violet, and acid green. Outline a contrasting rim for drama. Pack beads denser at the lip to support taller walls. Display with wrapped caramels or faux mini gourds. Seasonal color stories sell fast at school fairs and maker markets.
Winter Frost and Holiday Sparkle
Use icy blues, silver, and crisp white. Arrange snowflake motifs with radial spokes from the base center. Add a single metallic ring near the rim for shine. Keep the interior mostly light so reflections feel snowy. For holiday sets, swap in evergreen and berry red accents. Line finished bowls with doilies when gifting cookies. The liner protects both finish and treats during transport.
Monograms, Logos, and Event Favors
Plan initials by sketching a pixel grid first. Use a high-contrast color for the letter so it reads after fusing. Center the monogram in the base, then run a coordinating rim. For weddings or team events, pull colors from invitations or jerseys. Produce sets in batches using the same mold and timing. Consistency makes favors look professional while keeping each melted bead bowl personal.
Conclusion
Making a melted bead bowl turns leftover beads into bright, useful decor. Plan your palette, pack beads tightly, and test time and temperature. Keep safety first with good ventilation and adult-only oven steps. Finish with a smooth rim and gentle wash so it lasts. Share the final piece or make a small set for gifts.We have more quirky bowls to make. Check out our guide to making one from buttons.