Last Updated on July 1, 2025 by Team Ideas24
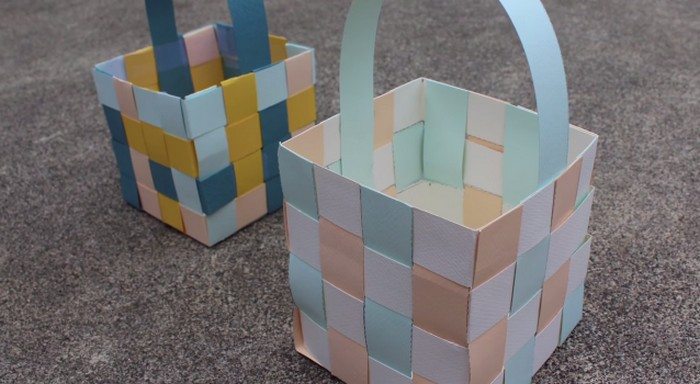
Easter is just a few weeks away which means it’s the perfect time to look for creative holiday crafts to try! Now here’s an easy paper crafts activity for this season which is also great project to start with if you are interested in the art of making baskets. :)

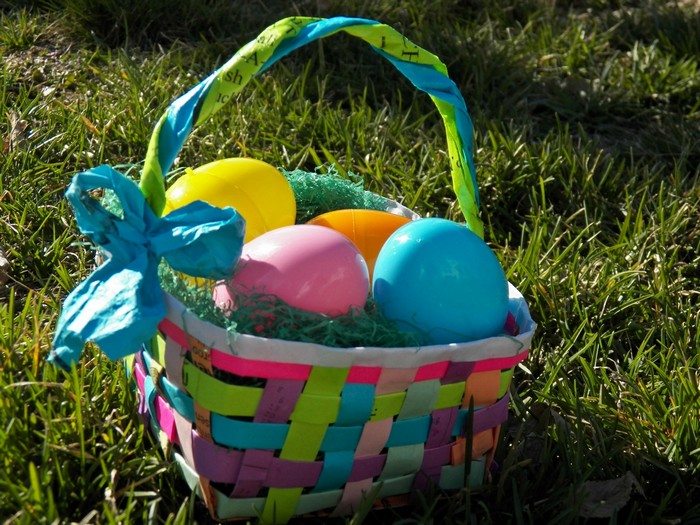
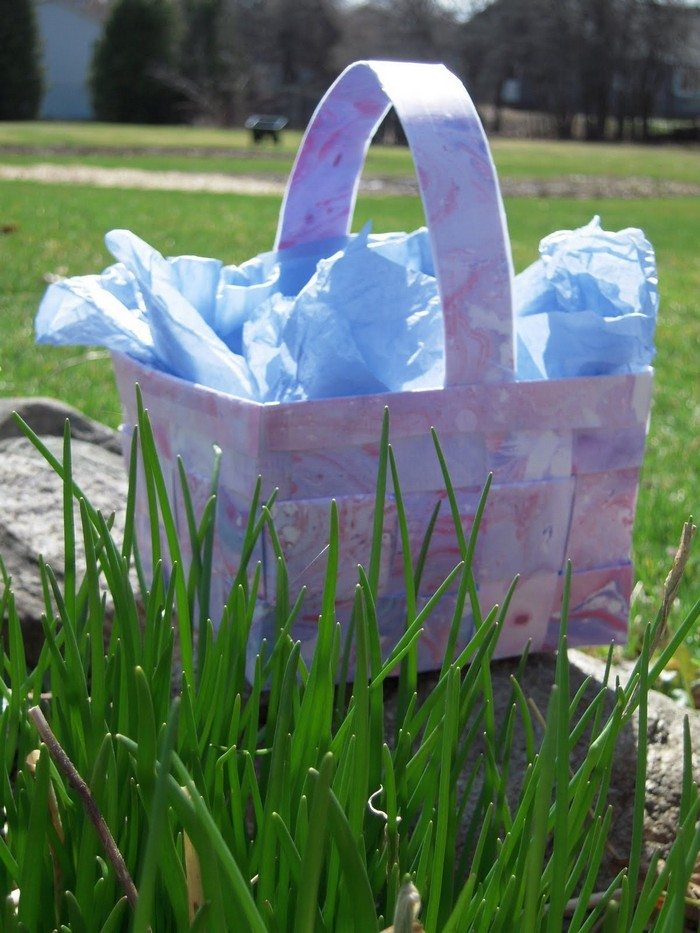
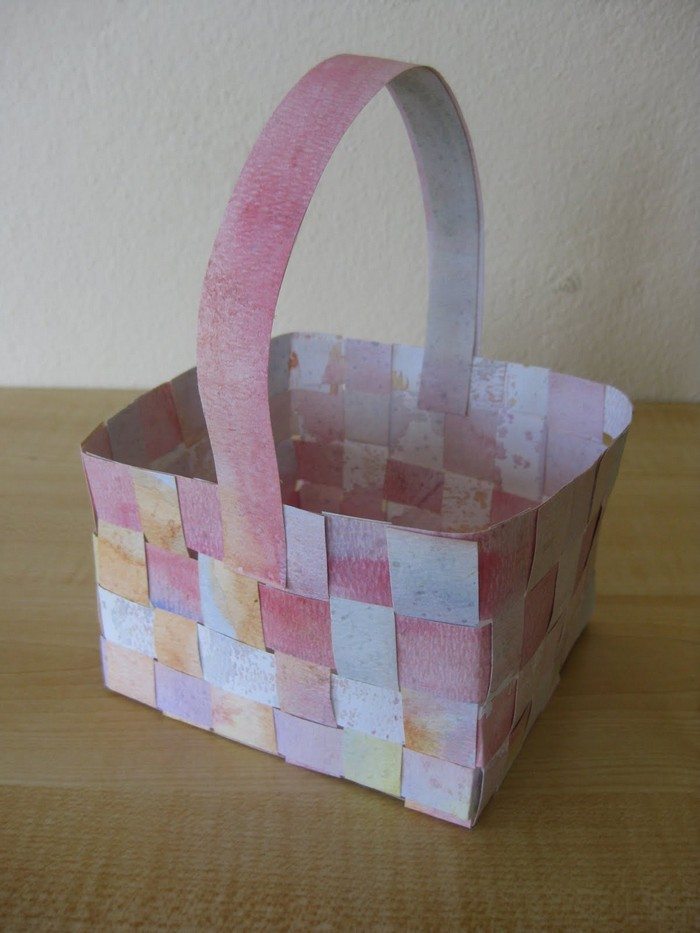
This construction paper easter basket is 4″ x 4″ x 4″ but you can definitely adjust measurements if you want to make a bigger version or if you are planning to make one for other purposes. If the paper isn’t long enough to make your basket, you can tape together two pieces to achieve desired length.

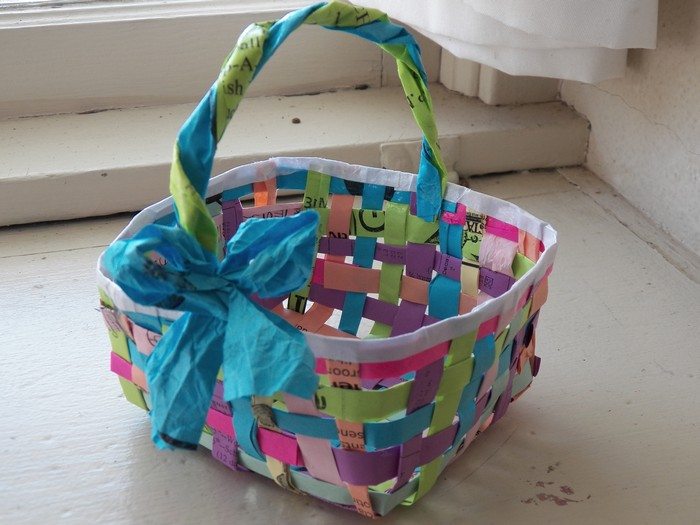
You can also use newspaper, magazine pages, old posters or any other kind of paper that you may already have. It depends on how you want your basket to look. :)
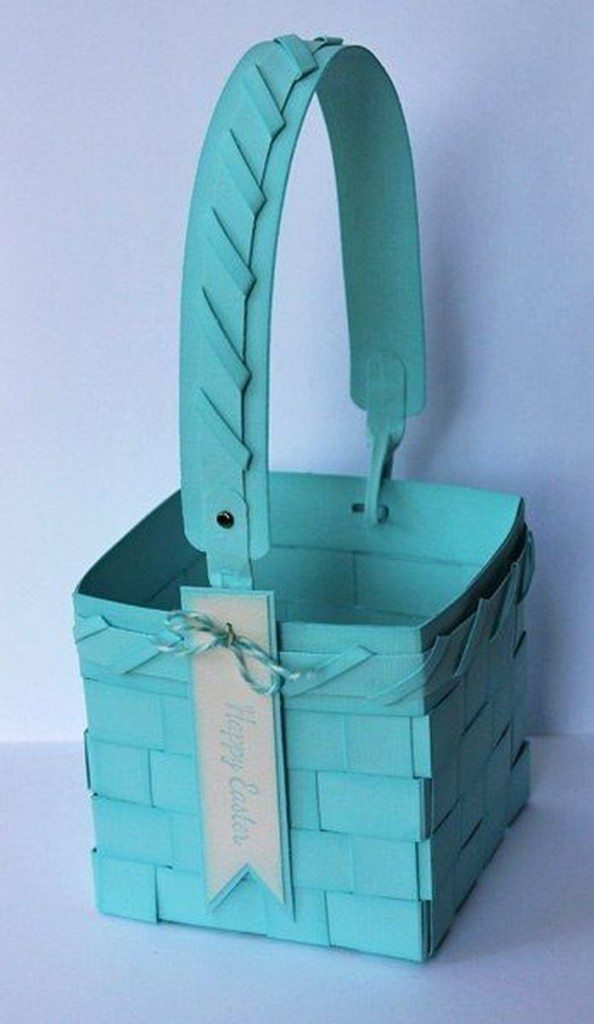
Have a look at our album of woven paper Easter basket for inspiration. And start making your own by following the step-by-step tutorial below!
Now if you want something gorgeous to put in your basket, these painted easter eggs might just do the trick!
Contents
Making a Construction Paper Easter Basket
Materials:
- 3 colours of Constructive Paper
- Ruler
- Pencil
- Scissors or Paper Cutter
- Glue, Stapler or Glue Gun
[adinserter block=”11″]
Steps:

You’ll need to cut the paper into 1″ wide strips. You can measure the first one, then use it as a pattern and trace it to create the others.

Cut five 18″ long pieces of the first color. Set one of these aside to use as the handle for the basket.

Cut four 14″ long pieces of the second color.

Cut four 14″ long pieces of the third color of paper.
If you don’t have paper that is long enough, you can tape two pieces together.

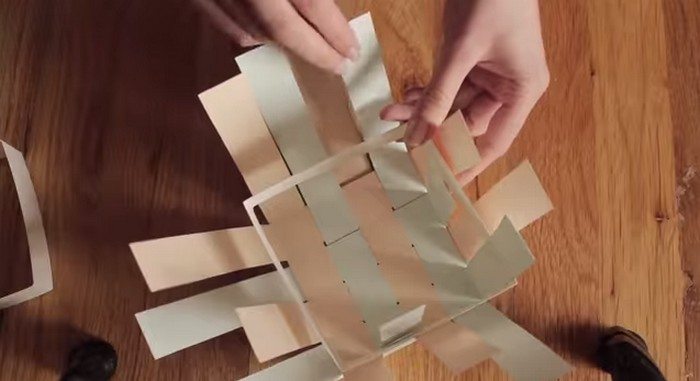
Arrange the 14″ pieces in the pattern above.

Weave in 4 pieces (14″ ones) horizontally so it looks like the picture above.

Adjust the pieces so the inner square is about 4″ x 4″, and the outer pieces are at least 4″.

Then glue down each corner.

Fold each piece inwards towards the center.

On 4 of the 18″ pieces, measure and make a mark every 4″.

Then fold the paper on each mark.
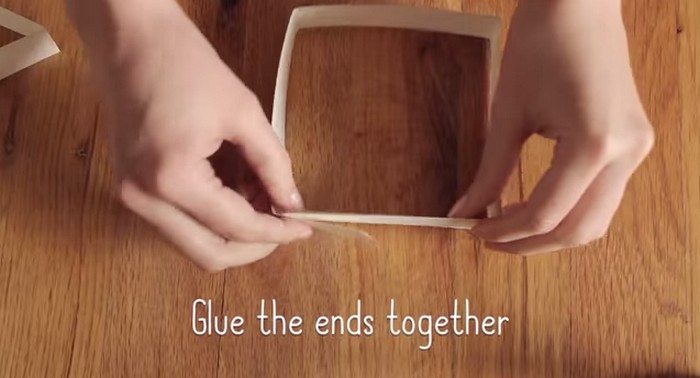
Once you’ve done this, glue the ends together on each piece.
Weave in each of these pieces to form the basket. Follow an under / over pattern with the outside pieces.

If the 1st piece goes under, the next piece should go over.

After this, the leftover paper at the top can be folded over (if long enough), or just trimmed an glued to the side.
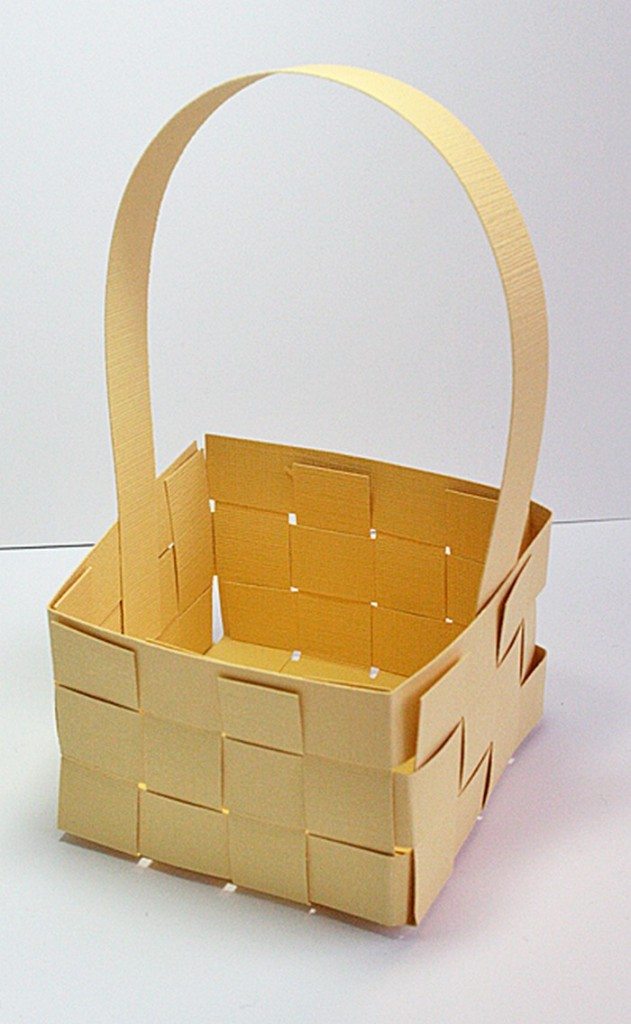
Glue each side of the handle to the inside of the basket, and you’re done! You’ve just made a paper basket.
Thanks to sarahndipity for this great project. You can watch the video tutorial here:
Creative Shape Variations
Changing the silhouette of a construction paper easter basket keeps the craft fresh and fun. Small tweaks in angle and weave create big visual differences across designs.
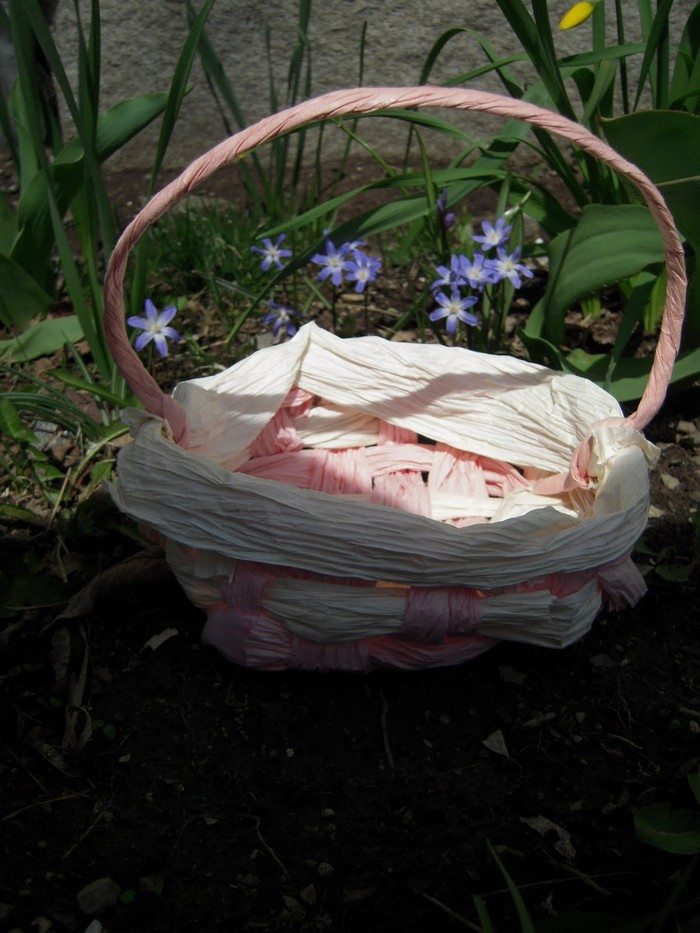
Round Forms for Classic Charm
Rounded sides soften the look and make candy nestle neatly. Score each one-inch strip on a bottle to pre-curve the paper without creasing. Anchor four curved strips at right angles on a circular base cut from matching stock.
Weave remaining arcs over and under while turning the work like a wheel. Gently push rows downward to remove gaps and lock the shape tight. A light coat of clear glue on the inside ribs adds hold without stiffening the outside sheen.
Finish with a scalloped rim that echoes spring blooms. This version still feels unmistakably like a construction paper easter basket, just dressed in vintage curves.
Heart Baskets for Sweet Gifts
Fold two long strips into sharp chevrons to form the top lobes of a heart. Intersect them at the point, then weave shorter ribs outward to complete the outline. Pinch the bottom tip as you glue so it stays crisp while drying.
A narrow ribbon handle threaded through concealed slots sits exactly between the lobes, letting the basket hang upright. Add quilled roses or glitter accents for extra romance. Keep the weave tight around the inner curve so small treats stay secure. A heart-shaped construction paper easter basket makes table favors feel personal and thoughtful.
Hexagonal Designs for Modern Style
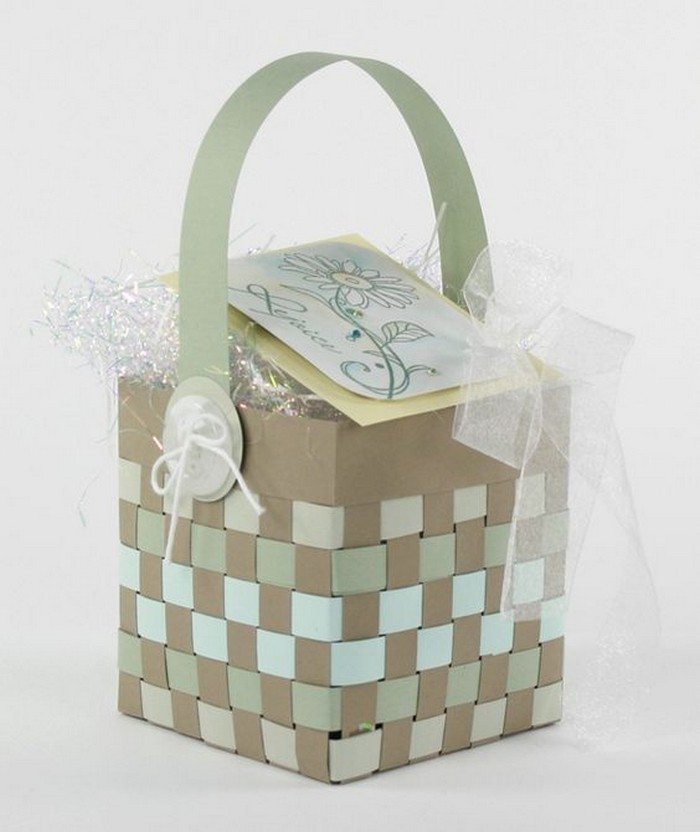
Cut six equal outer ribs and a matching hexagon base. Glue each rib upright on a side of the base, then weave flat strips around the frame in continuous laps. The six-sided geometry lends a contemporary twist yet stays simple enough for kids to assemble.
Alternate pastel and kraft strips to highlight every corner. Press seams gently with a ruler edge to keep walls flat. Trim the final row even with the top and wrap a contrasting strip around the rim for strength. The result echoes honeycomb architecture and adds variety to any construction paper easter basket collection.
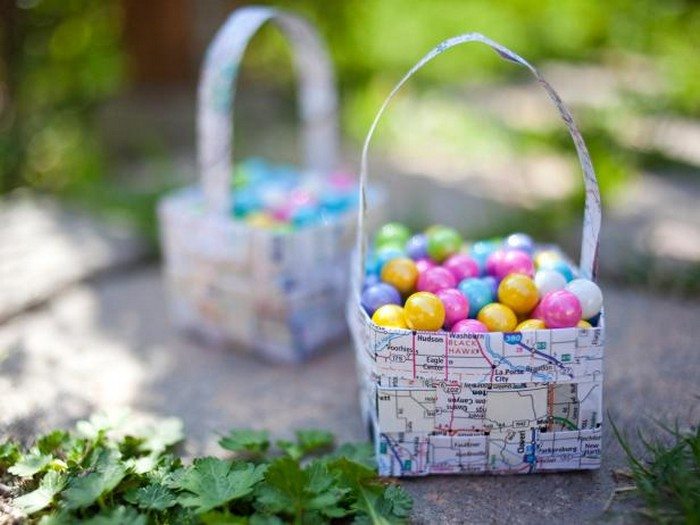
Nested Sets for Layered Display
Create three baskets in descending sizes and stack them inside one another before loading treats. Stagger color palettes so each rim peeks above the next. Use identical weaving counts so proportions align perfectly.
Nesting saves storage space after the holiday and turns a centerpiece into an interactive surprise tower. Add removable tissue dividers between layers to protect delicate chocolates.
A nested set showcases weaving progress, where beginners start with the largest weave and refine technique on smaller tiers. Displayed together, they show off the versatility of a single construction paper easter basket concept.
Reinforcement Tricks for Heavier Goodies
Extra weight from chocolate bunnies or filled eggs can strain thin paper walls. Simple reinforcement methods keep every construction paper easter basket sturdy without adding bulk or cost.
Hidden Cardstock Floors
Slide a precision-cut cardstock square into the bottom before weaving upper rows. The floor spreads weight evenly and stops sagging corners. Lightly tack the insert with glue dots so it stays centered but remains invisible from the sides.
Choose acid-free board if you plan to store the basket long term. This hidden layer lets kids carry glass-filled surprise eggs safely.
Double-Wall Weave Technique
Once the basic basket reaches full height, weave one more lap inside rather than over the rim. Glue the inner lap to the outer wall at midpoint. This creates a twin layer that resists bulging when goodies shift.
Match inner strip colors to avoid a two-tone look unless you want contrast for style. Doubling walls adds only minutes yet almost doubles load capacity in a construction paper easter basket.
Reinforced Rims and Handles
Handles fail first when little hands swing baskets around. Braid two strips together before attaching, then wrap the join with washi tape for grip. For rims, glue a narrow fabric bias strip along the inner edge. Fabric acts like rebar, absorbing tension at each corner. Edging also hides any uneven final cuts, giving the project a polished finish while keeping the profile slim.
Spot-Glue and Varnish Seal
Tiny dots of clear-drying craft glue placed at every crossing stop weave shift under weight. After the glue sets, brush on a water-based varnish diluted with equal parts water. The thin coat penetrates fibers and bonds them without making the basket brittle.
Use a hair dryer on low to speed curing and avoid puckering. These micro reinforcements mean a construction paper easter basket can carry surprise prizes like homemade cookies without fear of ripping.
Construction Paper Easter Basket Gallery
Click on any image to start lightbox display. Use your Esc key to close the lightbox.![]()

Upcycling and Eco-Friendly Paper Choices
Sustainability can live hand in hand with holiday cheer. Choosing reused paper turns each construction paper easter basket into a lesson on mindful crafting and resourcefulness.
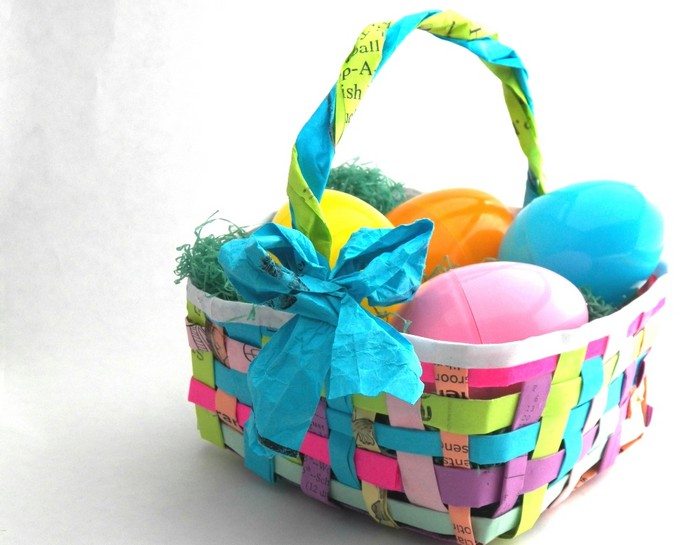
Blending Scrap Magazine Strips
Combine bright magazine pages with muted construction paper to create dynamic stripes. Trim glossy strips one-eighth inch narrower so they recess slightly, reducing glare. The matte paper frames each shiny band and keeps weaving tension even.
Use theme pages, pastel fashion spreads or garden layouts, to match Easter colors. Laminated magazine ink resists smudges, extending the life of the basket beyond a single season.
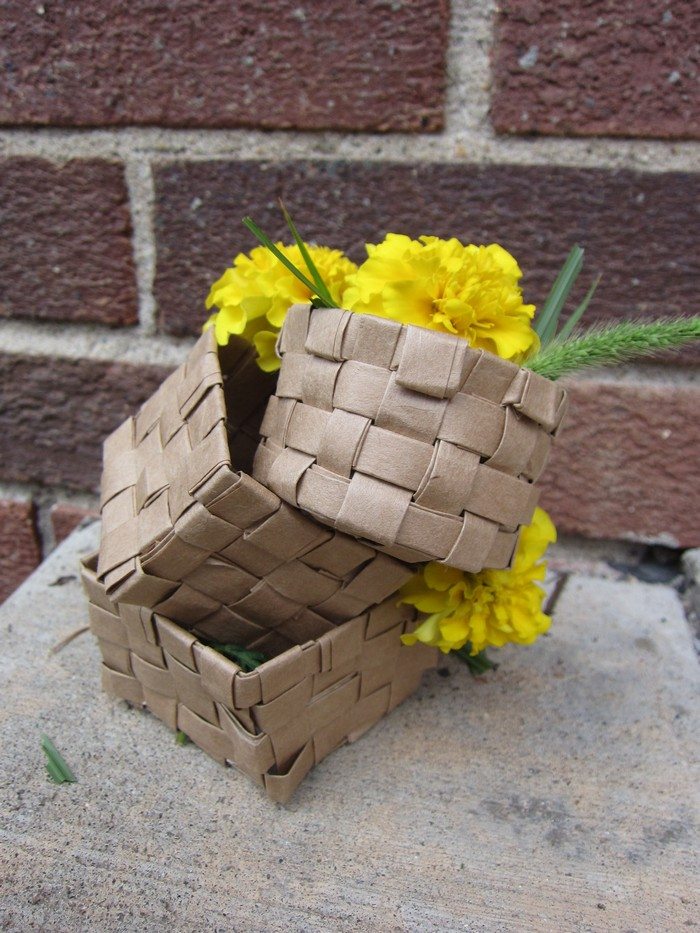
Brown Bag Kraft Chic
Repurpose grocery sacks by ironing them flat and cutting tidy strips. Their earthy tone pairs well with a pop of lavender or mint construction stock. Soak strips briefly in a mixture of water and white glue, then dry pressed under books.
This light sizing treatment makes kraft fibers more pliable for tight bends. Add a stamped rabbit motif on the base for rustic charm. Visitors often cannot tell the upscale look started as a plain grocery bag.
Seed-Embedded Paper Option
Craft shops sell plantable sheets that contain wildflower seeds. Weave these with pastel construction strips so the basket walls sprout blooms when planted after Easter. Punch drainage holes in the base and instruct recipients to soak the basket overnight before burying.
This zero-waste add-on turns decoration into future garden color. Remember to label the seed type on a tag so kids know what will grow.
Laminating for Weather Resistance
Protect upcycled materials with an eco-friendly soy-based varnish. Brush a thin coat over the outside only, leaving the inside raw for composting later. Paper stays flexible yet resists light rain during outdoor egg hunts.
Opt for biodegradable glitter if you crave sparkle without microplastic guilt. After the season, peel off any tape and toss the basket into the green bin. A weather-proofed yet earth-friendly construction paper easter basket shows that celebration can respect the planet, too.
Conclusion
A construction paper easter basket proves that simple materials can become memorable holiday keepsakes. Shape tweaks add charm while reinforcements let you load it with generous treats. Upcycled strips turn every weave into an eco-lesson kids remember. These baskets cost almost nothing yet look handcrafted and personal. Try one this Easter and you might never buy a plastic pail again.
Your easter basket is perfect for an egg hunt with your kids. Read our guide on how to host an exciting easter egg hunt!