Last Updated on July 4, 2025 by Team Ideas24
Are you a fan of the Japanese motif? If so, you have probably checked out some Japanese lighting sold in home furniture stores. But why buy those costly lamps when you can make them yourself?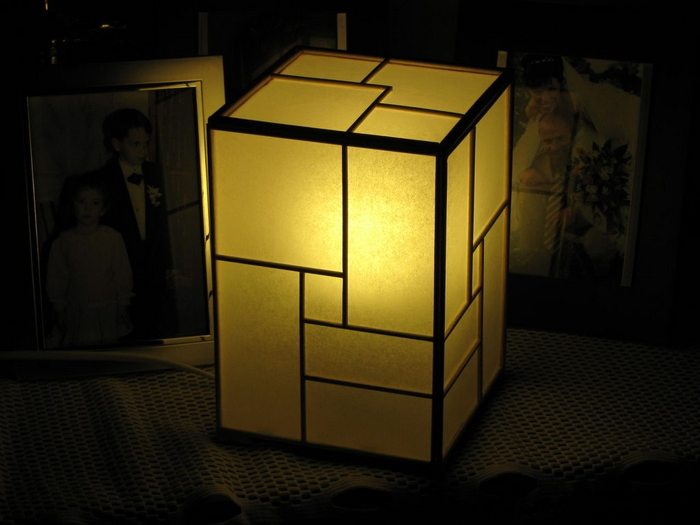
Walk into a room bathed in cozy, inviting light and you’ll feel instantly at ease. Walk into the same room while it’s buzzing with harsh fluorescent light, and you’ll feel ill at ease.
In 2014, a Journal of Consumer Psychology study found that the more intense the lighting, the more affected and intense our emotions become – both positive and negative.
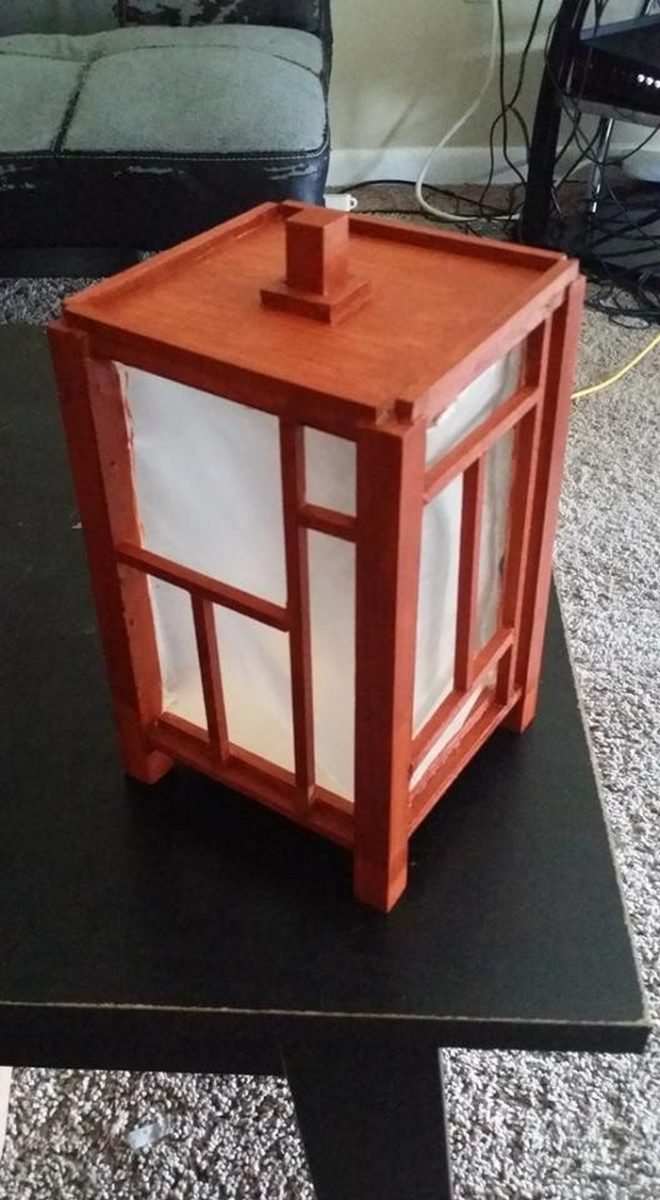
This beautiful DIY Japanese lamp is great as a night lamp you can use for reading before bedtime or as additional decorative lighting for any room. The light filtered through the textured paper is soft, soothing, and easy on the eyes.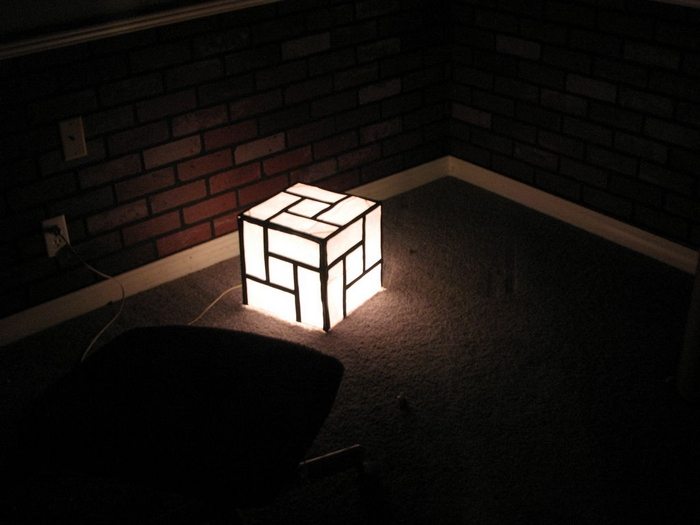
This project is a super lightweight lamp and does not have a very strong structure. So make sure that you place this where it won’t get accidentally knocked around.
Check out these brilliant DIY Japanese lamps! These lamps are not only stylish, but they’re also easy to make. With just a few simple materials, you can create a one-of-a-kind lamp that will add a touch of personality to any room.
These brilliant DIY designs are sure to get your creative juices flowing. Whether you’re looking for a simple and elegant design or something a little more elaborate, you’re sure to find something to suit your taste. So what are you waiting for? Get started on your own Japanese lamp design today!
Contents
Crafting a Japanese Lamp
To make your own Japanese lamp, you’ll need a few supplies:
- 2-ply strong Corrugated Cardboard
- Paper – regular, textured craft paper or tracing paper
- Bamboo, Wooden Chopsticks, or Kebab Skewers
- Straight Batten Lightbulb Socket
- Plug
- A few meters Flex – 2-core or 3-core
- Inline Switch (optional)
- 11W CFL Lightbulb
- Glue Gun
- Craft Knives
- Scissors
- Diagonal / Wire Cutters or Nail Clippers
With these supplies, you’ll be able to create your own beautiful Japanese lamp.
Steps
Not sure where to start? Check out these step-by-step instructions for making a DIY Japanese lamp and you’ll be able to create a beautiful lamp in no time.
Now you have your supplies ready, let’s get started!
1. Determine the size of your Japanese lamp
Before doing this you will need to decide how big you want your lamp to be. You are constrained by the length of your chosen framing material (unless you want to go hardcore woodwork and make joints) and the size of your paper. I chose a shape a little smaller than the A4 paper I was using in roughly the same aspect ratio. If you are very keen on mathematical aesthetics you might like to use the golden ratio, but a slightly tall rectangle is generally a good way to go. Avoid a shape wider than it is, your lamp will look squat and weird.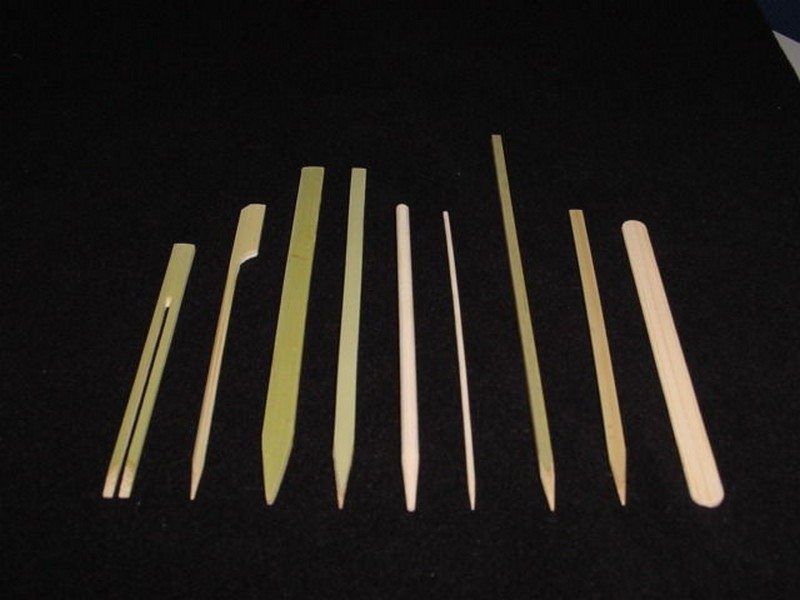
2. Create the framework
Cut two stick-like things (hereafter referred to as “sticks”) to the height of your frame and two to the width of a side.
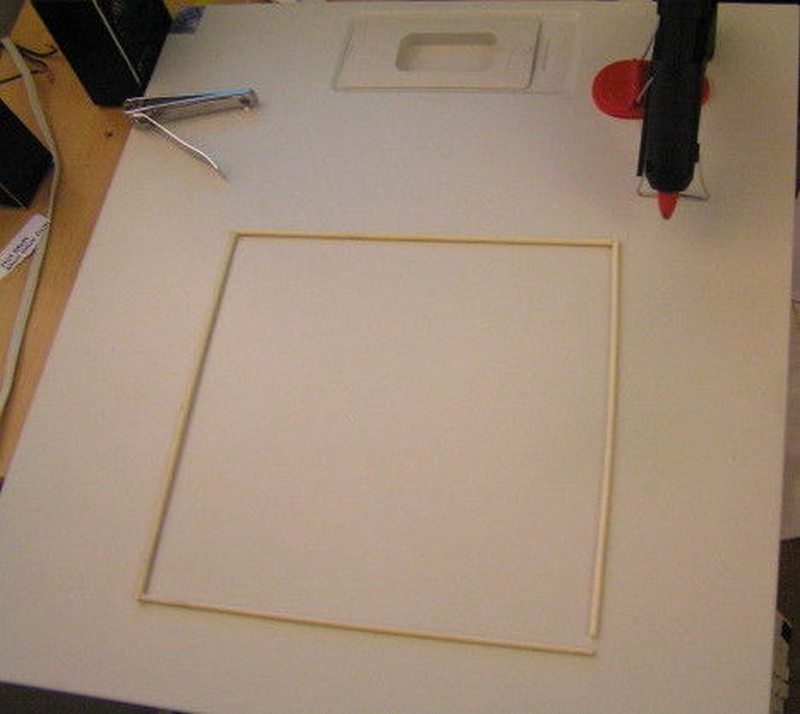
Glue a short stick to a long stick.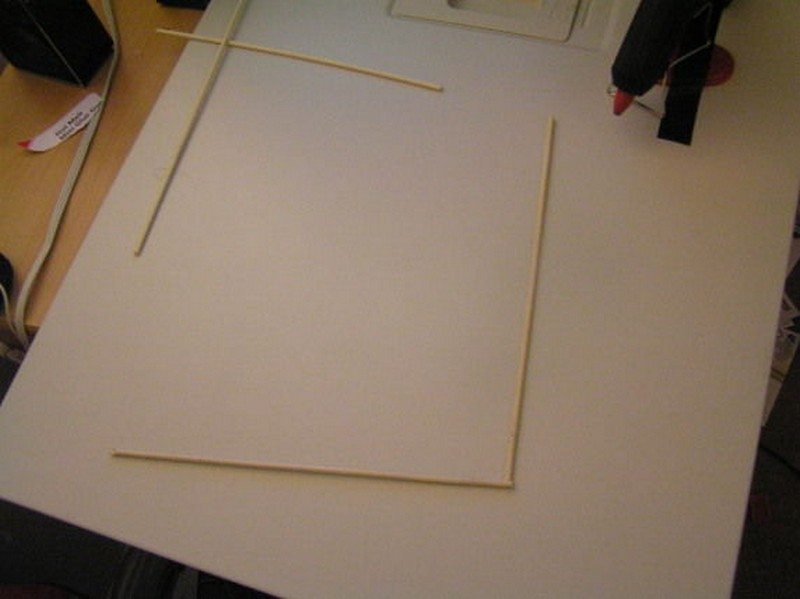
Glue another short stick to the free end of the long stick, then get the right angle as much as possible and glue the remaining long stick between the two short sticks.
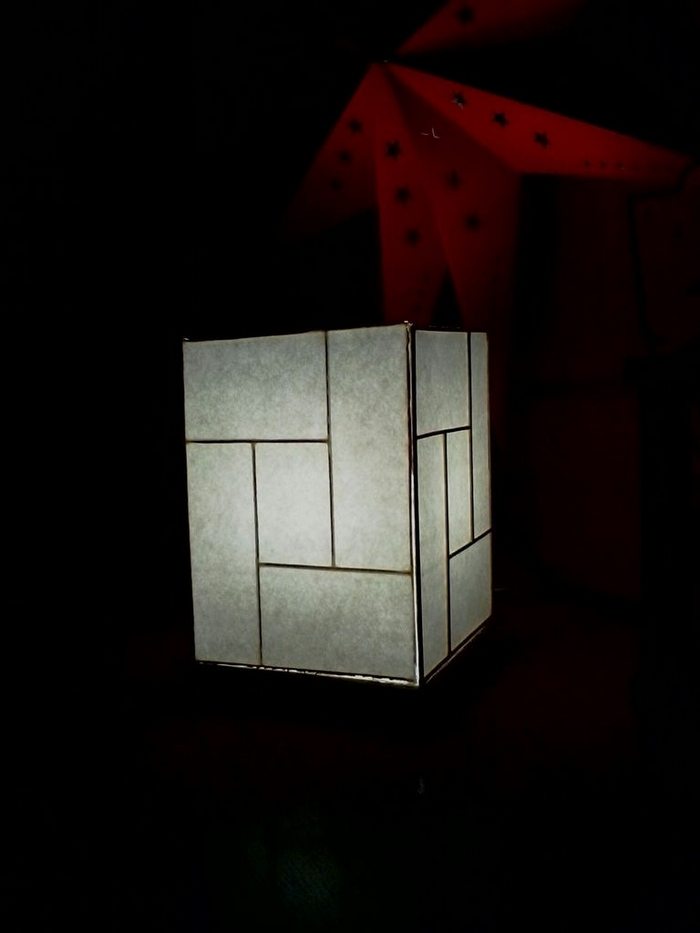
I used this asymmetric square pattern because I liked the way it looks- anything within the bounds of reason that you can construct with a glue gun and bamboo skewers, go for it. I will provide instructions on how to construct this motif which can be generalized to many rectilinear patterns.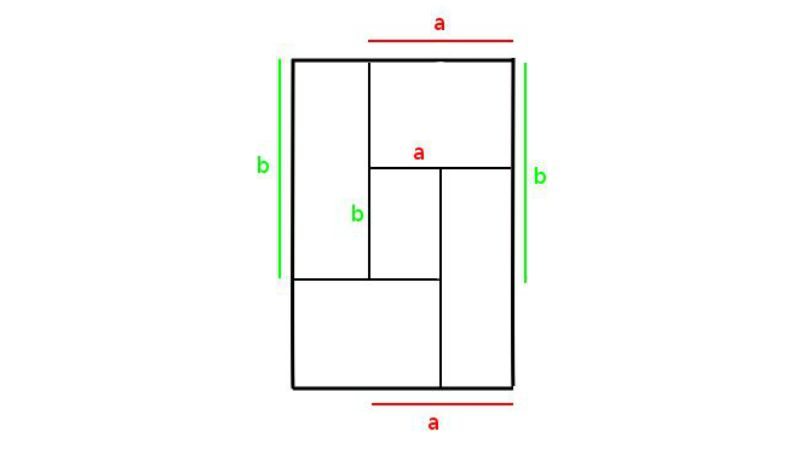
I was intending for the small rectangle in the middle of the motif to be square but screwed up my measurements, and by complete chance, it ended up having the same aspect ratio as the side which actually looks much better. The exact lengths are not important but I will assume you have “short motif sticks” and “long motif sticks”.
Measure one short motif stick length from one long side of the frame, at the top and bottom.

Glue a long motif stick to one of the points you just marked, along the line connecting the two points.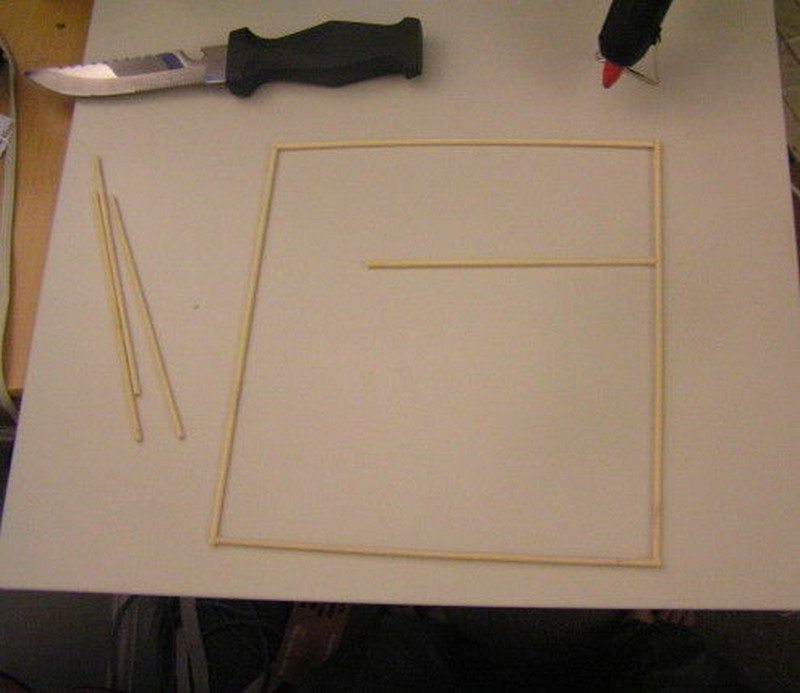
Essentially, repeat the process at 90 degrees to the first stick- measure away from one edge with sticks of one length and glue a stick of the other length along the line.
3. Glue the framework to your paper
Repeat for the remaining sticks, gluing all the points they meet at. Now you should have a glued-up frame. Admire its spindly beauty.
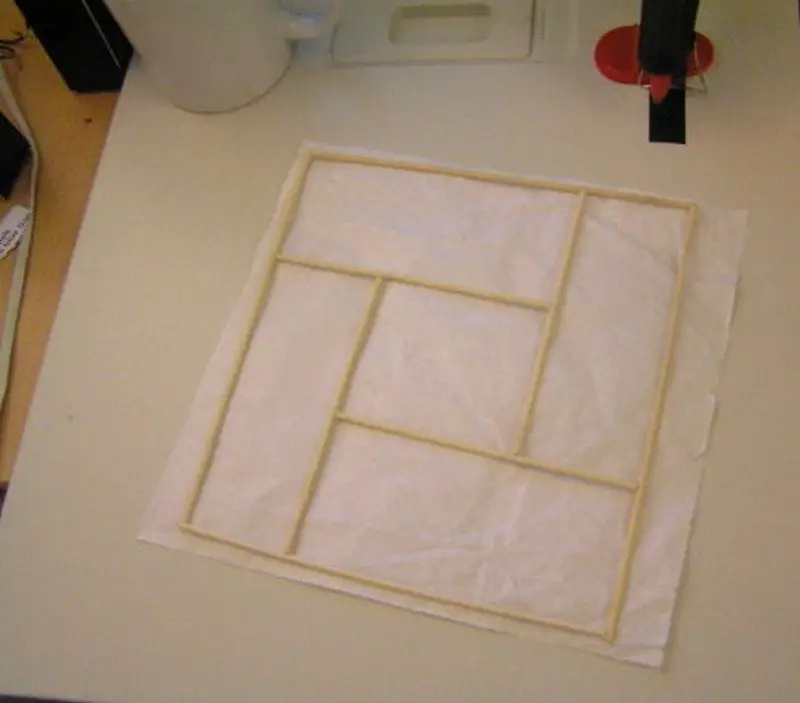
Now grab a piece of paper and lay it on top of the frame. (You can turn the frame over if you are worried about the “handedness” of your motif, ie it doesn’t have reflective symmetry). Apply dabs of hot glue along one of the short sides of the frame to stick the paper to it. Work towards the other end, taking the paper with dots of glue- seams are unnecessary and get strands of glue everywhere unless you’re very handy with a glue gun, and the paper isn’t structural so enough to keep it held to the frame is ok.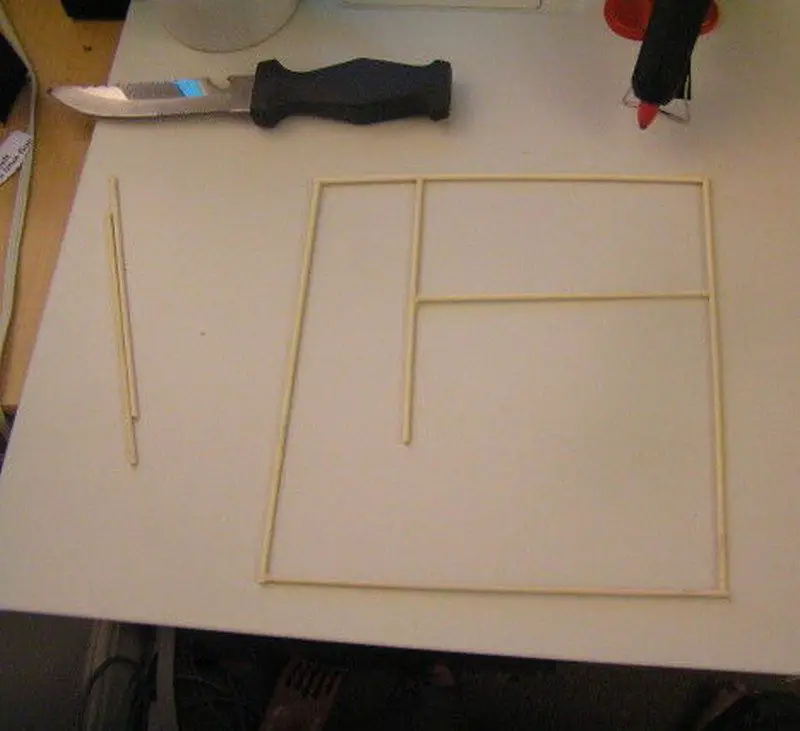
4. Trim the excess
Once the glue is set, trim the paper along the edges of the frame, as neatly as you can because this will be on the outside of the lamp.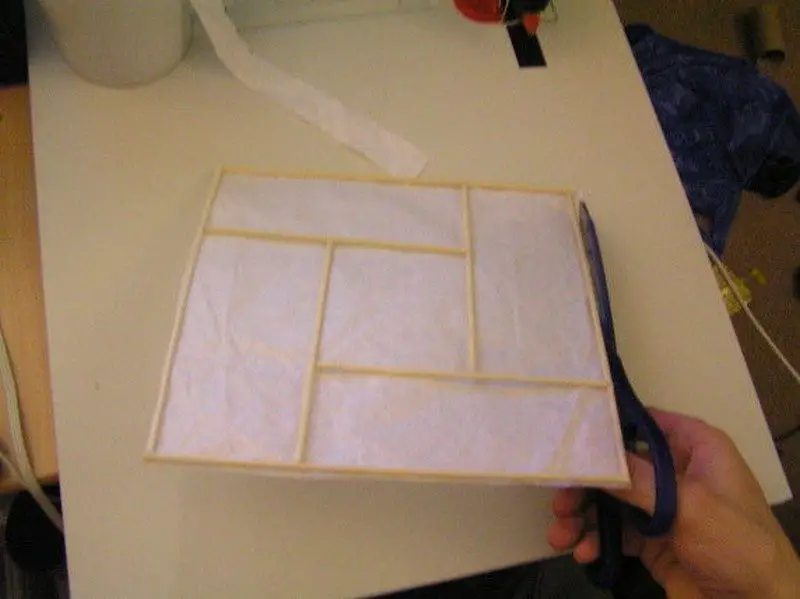
5. Repeat the steps for the remaining sides
Make some more! Yep — time to make three more side panels and a top panel if you so desire, exactly the same way as last time. I made all the frames in one go and then skinned and trimmed them, it’s a little less frustrating if you are only doing one task at a time.
6. Wire it up
First, strip the outer insulation of your flex a few cm, and strip the individual wires’ insulation about a cm (no more, the more you strip the higher the chance of a short. If there is exposed copper outside the cable connectors you should trim the stripped conductor). Wire one end of the flex into the socket- a plastic batten socket is unlikely to require an earth connection.
Strip the other end of the flex similarly and wire the plug. Check that an appropriate fuse is installed- you should only need a 1 Amp fuse for an 11W CFL, but higher wattages (especially in 110V mains areas) will probably need a 3A fuse. If you have a 13A fuse replace it with a lower value.
7. Install the switch
Install the torpedo switch close to the socket end of the flex if you desire. You can now plug it in and perform a quick test to check all your electrical parts work- if it’s going to catch fire, better to do it while it isn’t glued into a box made of paper and cardboard.
8. Make the base
Cut out some squares of corrugated cardboard the same width as the width of your side panels. Laminate them with more glue, alternating the direction (or “grain”) of the cardboard for maximum strength. I recommend at least two layers of double-layer cardboard or four layers of regular (like in the image).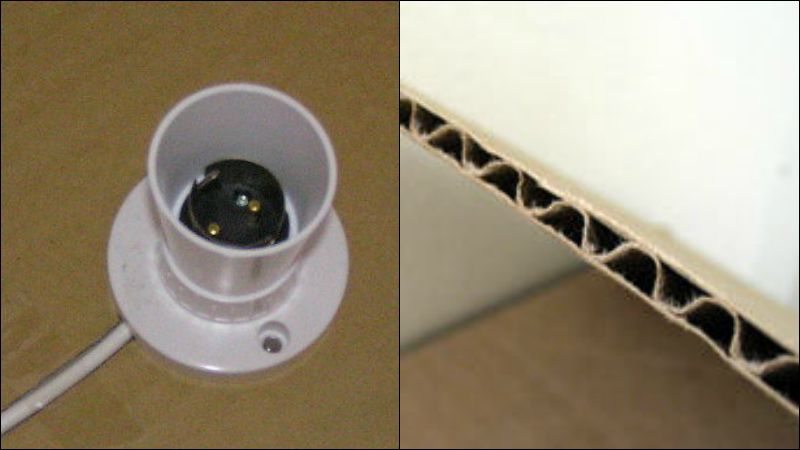
9. Attach the socket to the base
Cut a shallow groove from one edge of the base to roughly the center, to accommodate the flex. Glue the batten socket into the middle of the base with the flex in the groove.
10. Assemble your Japanese lamp
Assemble the sides of the lamp around the base and mark where the corners sit. Now run a seam of hot glue along the inside edge where the base of each side panel meets the base, and up the insides of the side edges. Don’t glue the base on it, as you will need to remove it to change the bulb.
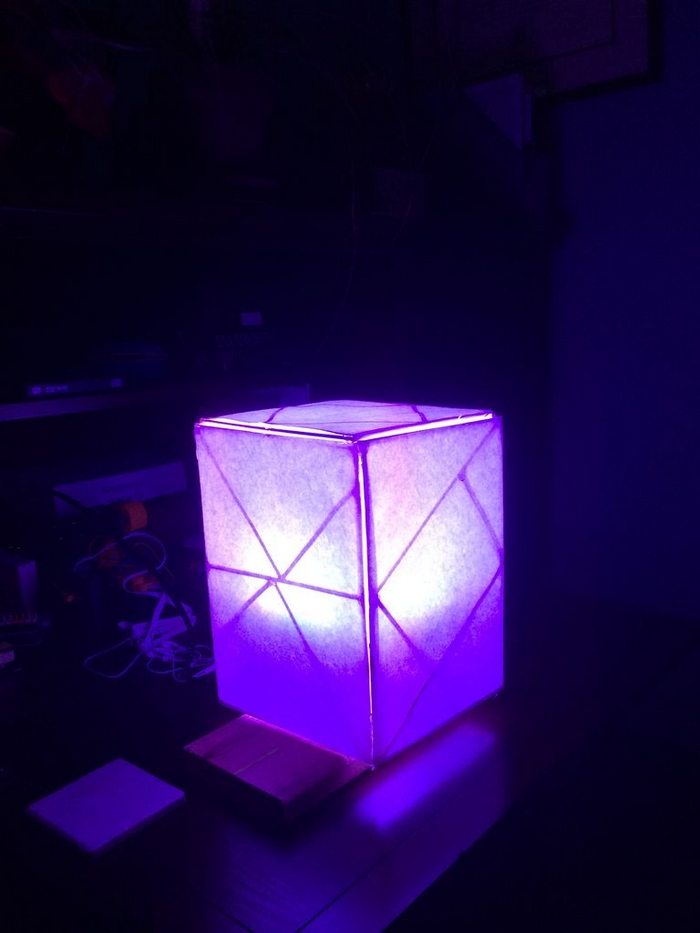
And we’re done! We can now display our beautiful Japanese lamp! It’s a great addition to any room, and it’s sure to be a conversation starter. Thanks for following along, and we hope you enjoy your new lamp!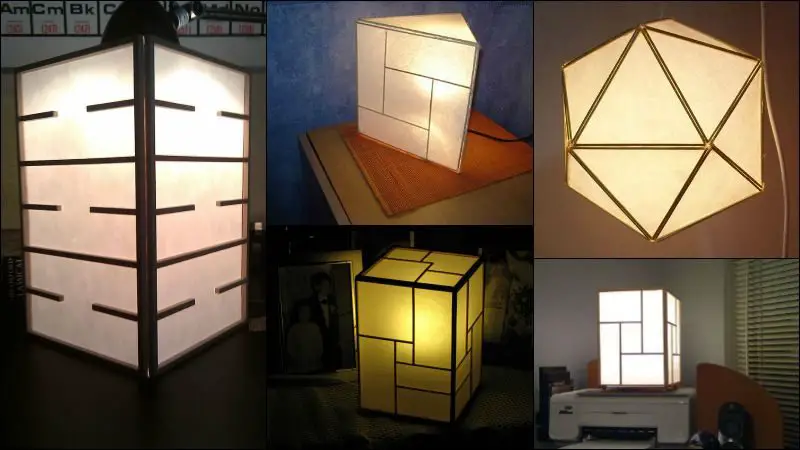
Tips on using a DIY Japanese lamp
When using a DIY Japanese lamp, it is important to keep safety in mind. Here are some tips to help you stay safe while enjoying your lamp:
- The lamp is very light and not very strong, so don’t put it somewhere it will get knocked around.
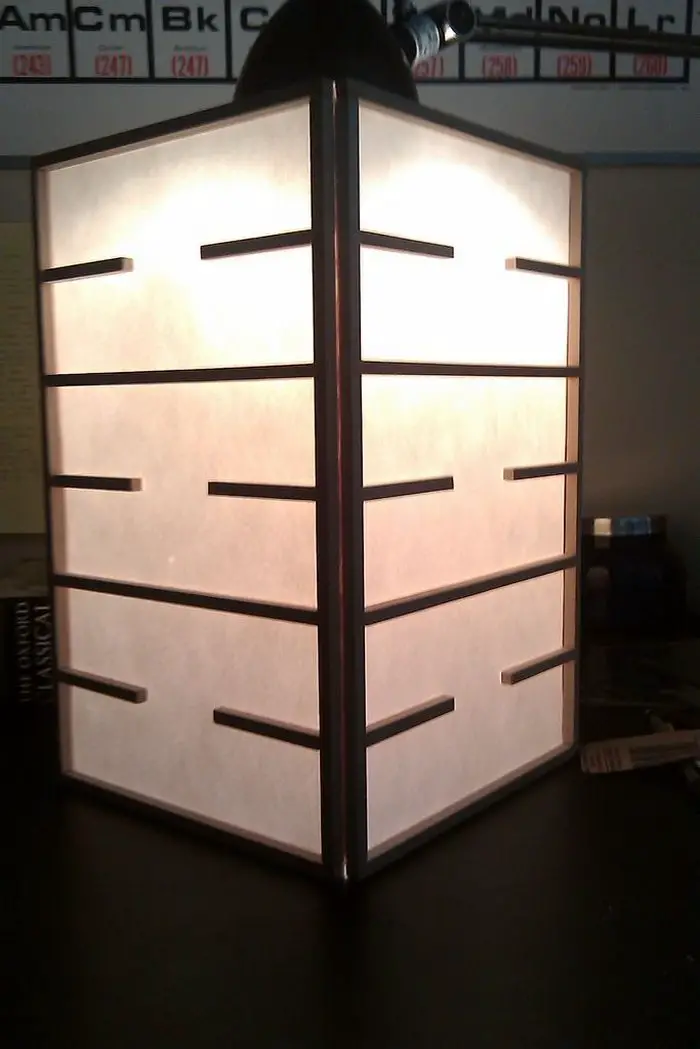
- With an 11W CFL, it gives a soft glow that is ok to read but won’t light up a whole room brightly.
- Running for an hour with the lid on, the paper on the lid was slightly warm to the touch and the sides were room temperature so it’s probably safe to leave on for long periods, but if you are using an incandescent bulb I would suggest not using the lid.
- The lamp is not at all fire safe- don’t even think about using a naked flame or another combustion-based source of light in this rather than the lightbulb. Again I accept no responsibility for what you do outside the scope of these instructions.
Thanks to
DIY Japanese Lamp Gallery
Click on any image to start the lightbox display. Use your Esc key to close the lightbox.![]()
Choosing Fine-Grain Timber Strips for Kumiko Lamp Frames
Choosing fine-grain strips sets the strength and elegance of Kumiko frames. Right timber stays straight, takes crisp cuts, and keeps your japanese lamp graceful.
- Select quartersawn cedar or spruce for stability and a warm pale tone
- Keep strip moisture at 8 percent to avoid post-assembly shrinkage and gaps
- Mill strips to 3 mm thickness with ±0.1 mm tolerance for snug joints
- Match grain direction so end fibers resist splitting during notch cuts
- Sand every edge to 240 grit so Washi paper lies flat against the frame
- Buy FSC-certified off-cuts to keep the project sustainable and budget-friendly
Hand-Cut Kumiko Patterns: Asanoha, Sakura, and Hemp Leaf
Hand-cut patterns bring tradition alive through geometric harmony. Mastering Asanoha, Sakura, and hemp leaf motifs creates captivating light play in any japanese lamp.
- Sketch a 60-degree lattice grid on draft paper before touching the wood
- Use a 1 mm kerf dozuki saw to slice clean half-lap notches
- Cut Asanoha diamonds by pairing 45° and 90° chisel angles in sequence
- Shape Sakura petals with tiny fillets that soften every inner corner
- Fit hemp leaf arms tight; any looseness ruins the star-like symmetry
- Test-fit every segment dry before gluing to catch misaligned joints early
Conclusion
Building a Japanese lamp teaches precision and patience. You’re working with delicate pieces that reward careful hands. The finished glow softens any space and showcases your craftsmanship. We’re sure each cut and chisel stroke will sharpen your woodworking skill. Keep refining your technique and every new lamp will surpass the last.
If you liked this project, you might also like to view Constellation Jar Lamp…