Last Updated on August 20, 2025 by Team Ideas24
Need a new wall decoration for your room? Here’s one DIY idea you might enjoy!
String art first became popular in the 70s but is now enjoying a comeback as a simple way to create art. This DIY retro string art craft is especially popular among beginners as it requires few materials and is an inexpensive way to add some personality to otherwise bare walls.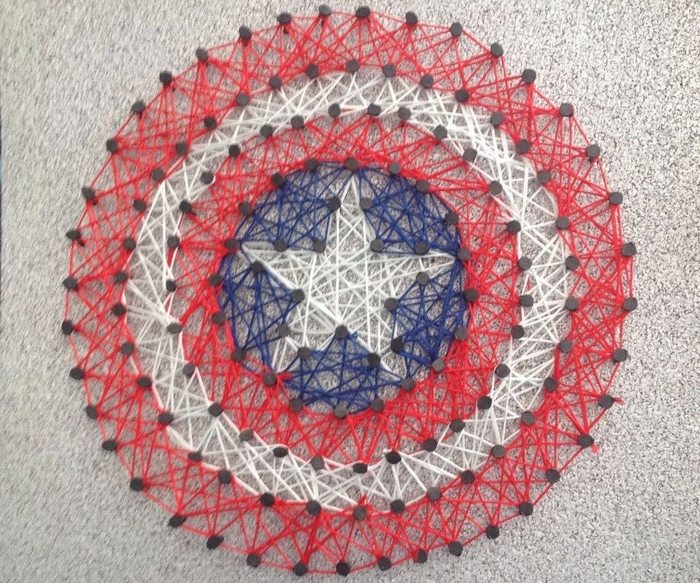
A string art wall decoration is a great creative project for using up all excess nails and timber or plywood around the house. Aside from being inexpensive, it is also fun because it’s an art project that anybody can successfully make. No special skills or talent is required! And you can do this string art together with the kids. Just make sure not to leave them unattended, especially with the small nails lying around!
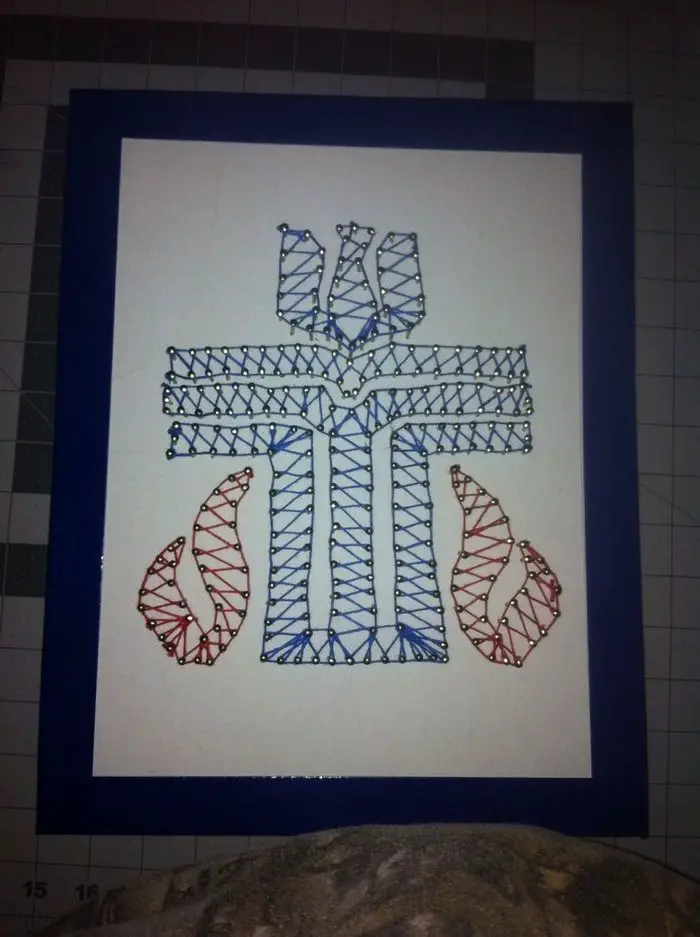
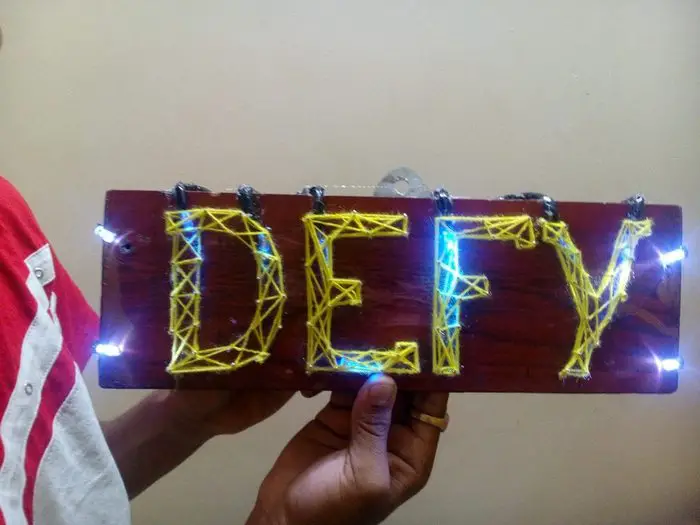
String art is a fun and unique way to create art. There are endless possibilities for designs, and the results can be truly stunning. If you’re looking for some inspiration, check out these amazing string art designs. From simple to complex, there’s something here for everyone. So get creative and start stringing!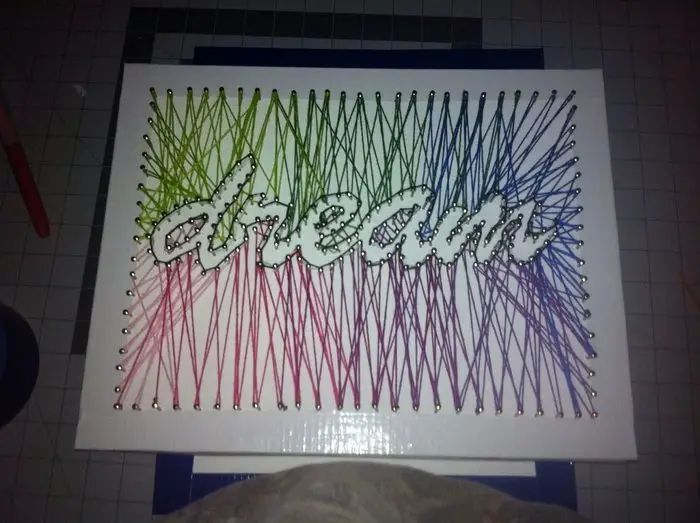
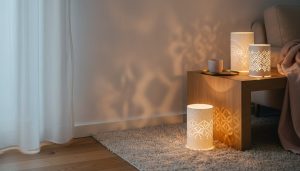
What’s great about the project featured here is that it uses all lightweight materials, making it easier to do and safer to display in any room. As you can see the owner of this project even hung it above their baby’s crib.
Contents
Creating String Art
In order to get started on your project, you’ll need to gather a few supplies. Below is a list of materials you’ll need in order to complete your project successfully.
- 3 pcs – 2’x4′ Cork Roll
- Assorted colors of Embroidery Floss
- 4 packages – 11/16″ Linoleum Nails
- Heavy-Duty Velcro Hanging Strips
- Hot Glue Gun
- Scissors
Optional:
- Paint
- Mini Styrofoam Roller
- White Duct Tape
How to make string art
Read on to learn how they did it and be inspired to make your version. :)
1. Prepare the cork roll
Flatten your cork and glue it together. Before I started this project, I unrolled the corkboards and placed a bunch of heavy books on them to straighten them out a bit. I left them like this for a day.}
Each piece of corkboard is only about 1/32″ thick – definitely not enough to hold a nail stable. So I stacked three together. Use your glue gun to glue them together. Put them back under some heavy books for an hour or so so allow them to dry completely.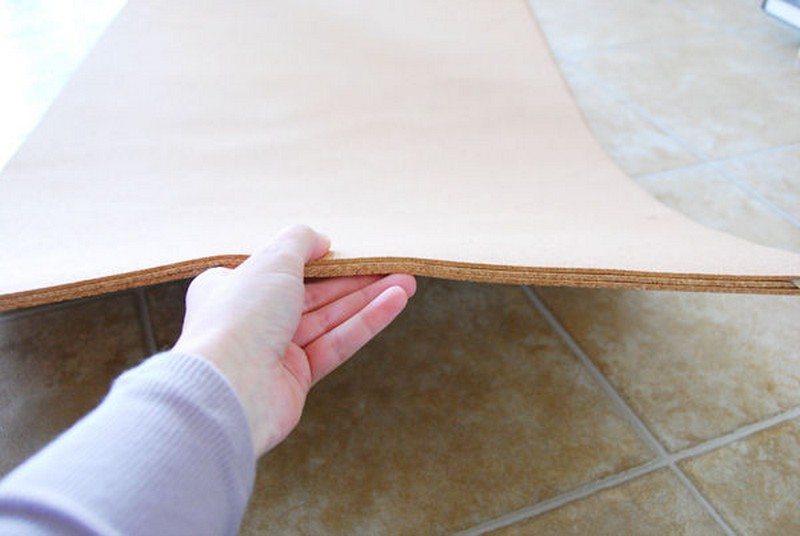
2. Make a word template
Create your word template. You will most probably be printing your chosen word on more than one or two papers. Cut the letters all out and assemble them into a single word using some Scotch tape.
Reinforce the spaces between letters with some additional tape. That will make the entire template more stable to work with. Don’t worry about cutting out the inside of some letters like “d”, “e” and “a”. Not necessary!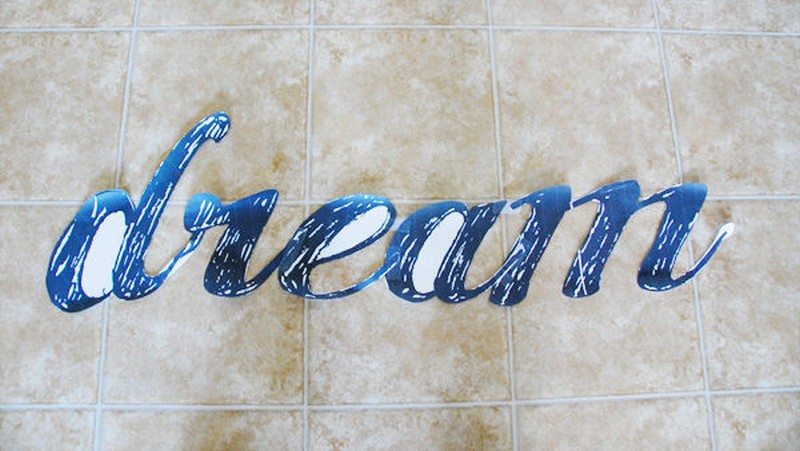
3. Layout your word template to your corkboard
Centre your template out on your corkboard. I decided there was too much cork at this point and wanted to trim away a few inches from the top and bottom.
Important: Do NOT trim your corkboard with a box cutter! It will shred and fall apart on you. Use scissors and it will cut nicely with minimal shedding.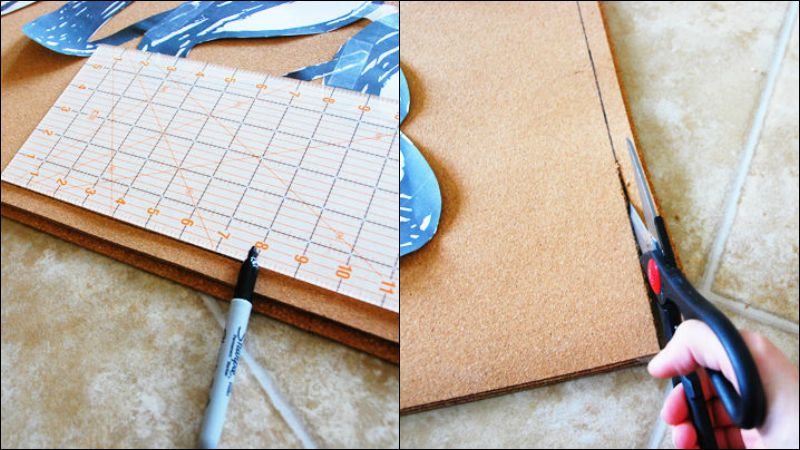
4. Paint the corkboard with white
I wanted the look of a white background for my string art so I decided to paint the cork. If you’re fine with the cork color/texture background, then feel free to skip this step.
(When the paint dried, there was a little bit of buckling of the top layer of the corkboard and I could see where I had missed spots with my hot glue. Don’t worry if this happens to you, it’s completely not noticeable after you’re done.)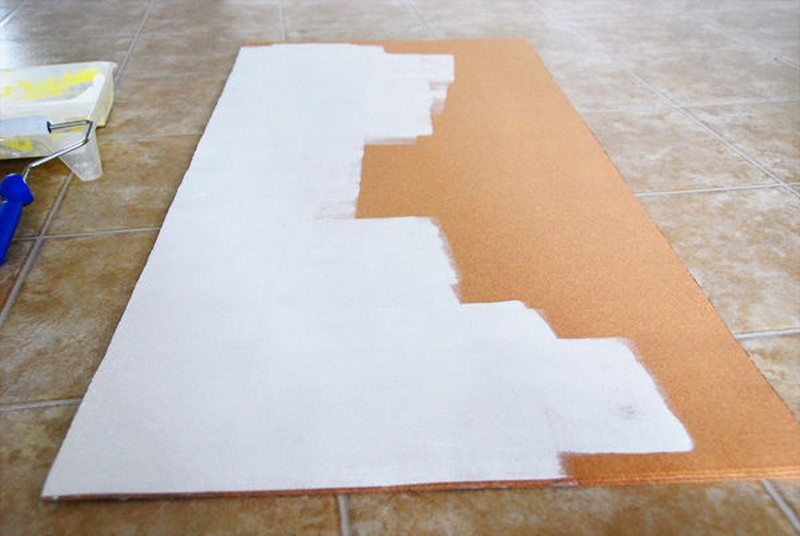
5. Apply the hanging strips
At this point, you’ll want to flip the entire canvas over and apply your hanging strips. Do this now so that you don’t have to deal with it once all your nails are in.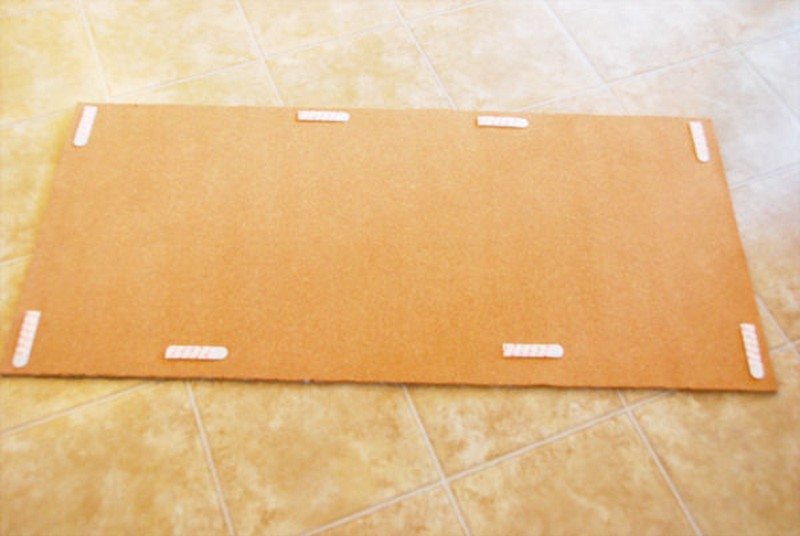
6. Add your nails to the cork
Centre your template and tape it down.
Insert your nails into the cork, following the outline of your template. They should push in fairly easily with a little pressure (except when you hit a glob of hot glue below…then you’ll need to push a bit!) Trace the inside of the “d”, “e” and “a” by pushing the nails right thru the paper.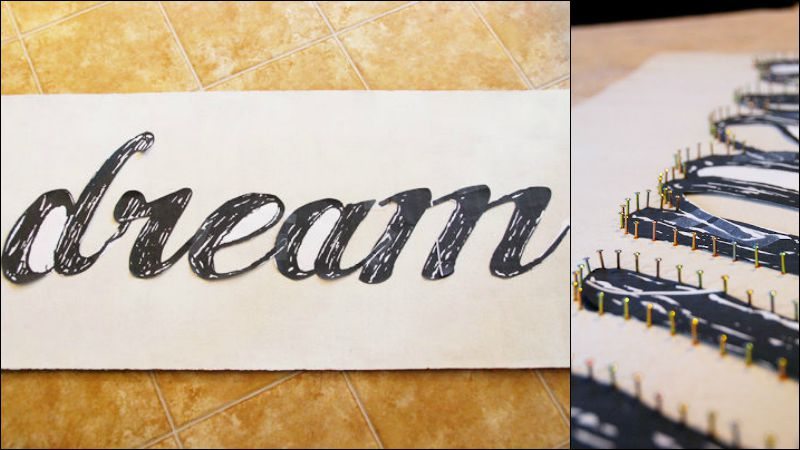
7. Remove the template
When you’ve traced the entire template, carefully remove the paper. Work slowly and you’re nails will stay in place.
Here’s my canvas ready for the string art! I thought it already looked pretty cool at this stage.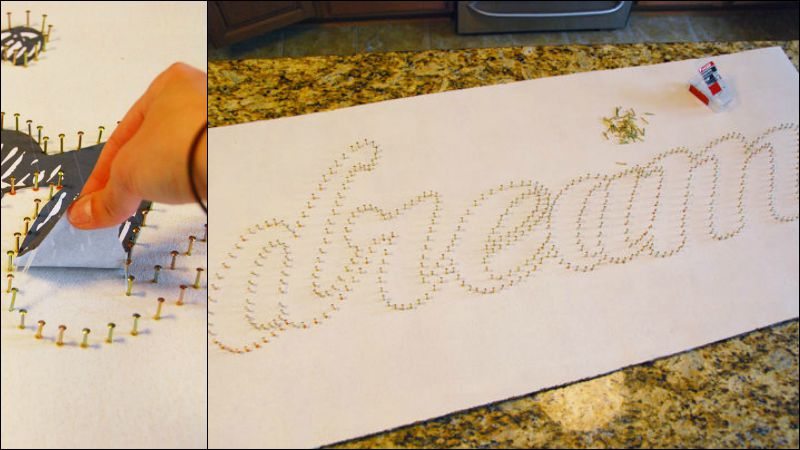
8. Work on your stringing
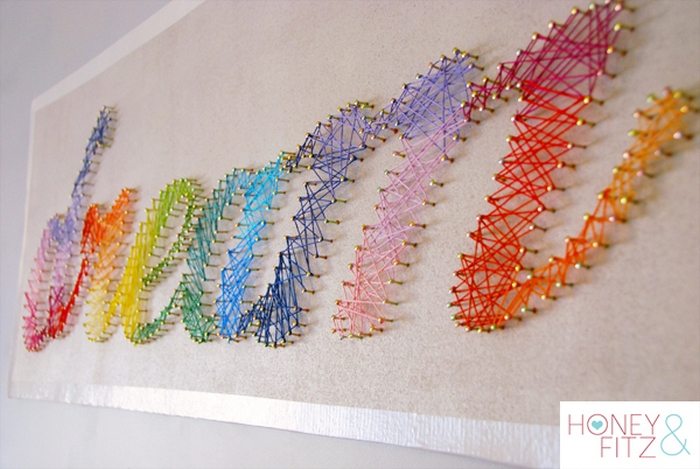
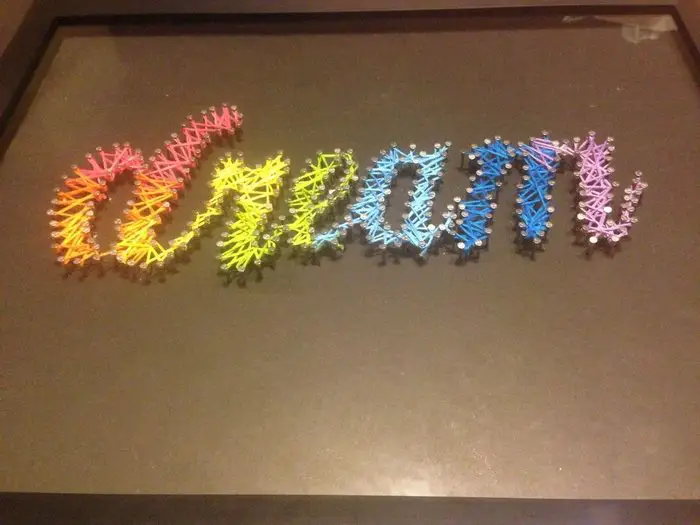
Now the fun part of string art – stringing! I decided to do this in a rainbow spectrum effect but you could easily do it in all one color as well.
Starting with my dark purple, I tied it onto a nail at the top of the “d”.
Now you’re on your way! Just start weaving in a back-and-forth fashion. The less you think about this the better. I found it to be quite therapeutic. Just let it flow. If you don’t like the way a certain section looks, unwind and do it again. It’s very forgiving!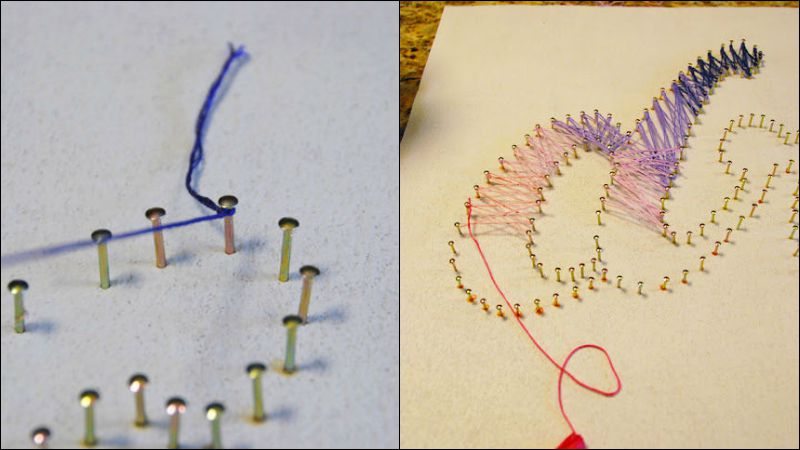
I kept moving through the color spectrum as I worked my way through the word. I found that overlapping the colors a bit helped to blend each color into the next.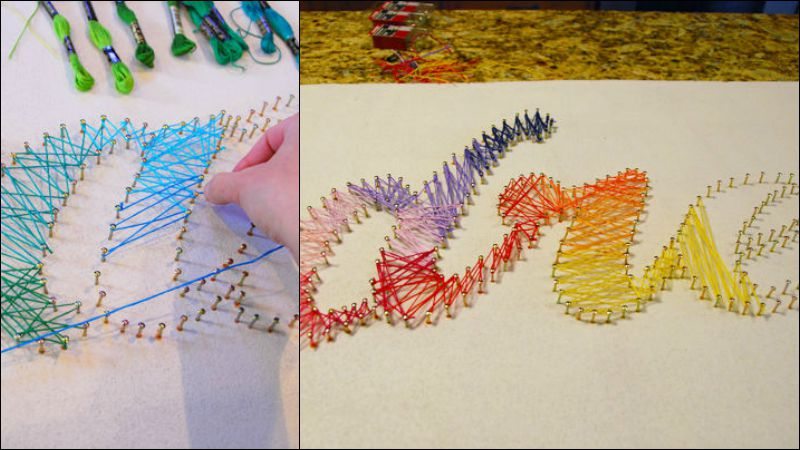
9. Frame out your string art
The last thing I did was to frame out the whole piece with some white duct tape. The edges were looking a little raggedly after I trimmed them and I wanted a cleaner look.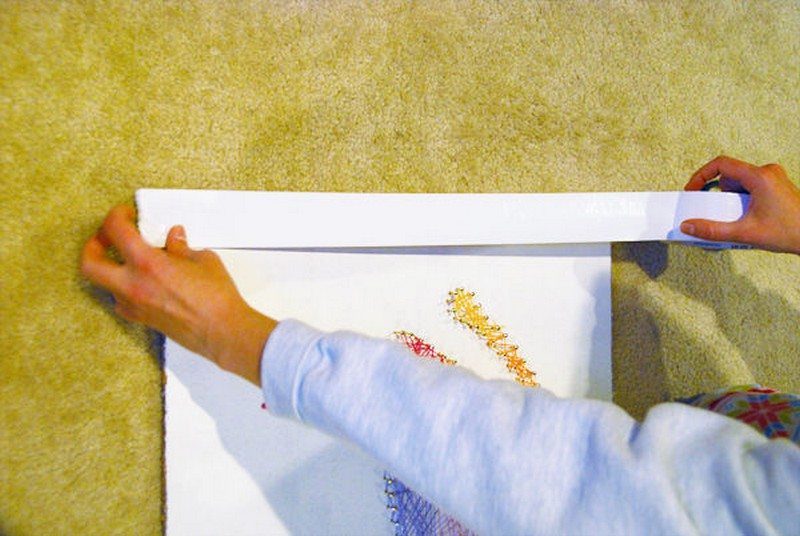
10. Hang your string art
This is how it looks now, hanging in the baby’s room! Since the entire string art wall decor is lightweight, parents can worry less about it falling on their babies ;)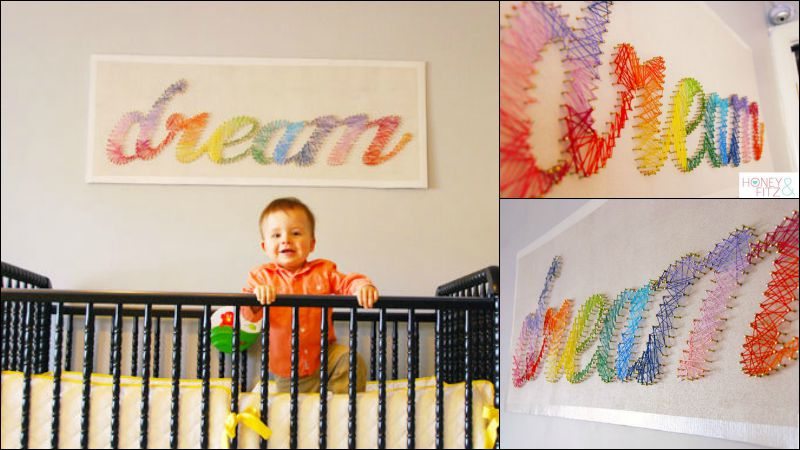
Love this idea? Don’t forget to share with us your creation should you decide to make one!
What other additional materials do you think can also be used to create unique string art?
Thanks to honeyandfitz for this great project!
Essential Tools And Materials For String Art
A solid toolkit makes string art easier, safer, and more precise. Stock smart, not deep. This section covers budget picks, what matters most, and simple upgrades that improve results fast.
Basic Hand Tools
Pick a compact hammer with a flat face so you can strike nails accurately without denting the surface. Add needle-nose pliers to seat crooked nails and pull mistakes cleanly. Keep sharp fabric scissors for floss and a utility knife for packaging.
Blue painter’s tape helps label colors and hold templates. A self-healing cutting mat saves tables and keeps blades sharp. Store everything in a shallow tray so setup and cleanup stay fast.
Nails That Grip
Short linoleum or wire nails with small heads hold floss without snagging. Test one nail in your base before committing to a full layout because grip varies by cork, plywood, and foam. Aim for even spacing to keep tension consistent and prevent sagging lines.
Mark start and end points with pencil dots. Buy a few extras in matching finish. A small magnet dish keeps hardware from rolling off the bench.
Strings With Reliable Color
Embroidery floss delivers bright, smooth wraps and easy knots. Cotton twine reads rustic and works well on farmhouse designs. Nylon resists fraying on tight angles and holds tension over time.
Buy extra of anchor shades like black, white, and primary colors so replacements match. Wind skeins onto bobbins to prevent tangles. If you plan gradients, test blends on scrap nails first. Lightly pre-stretch floss to reduce loosening on the wall.
Adhesives And Hangers
Hot glue stabilizes stacked cork panels and sets quickly, which keeps projects moving. Wood glue suits plywood laminations and adds long-term strength when clamped. Velcro strips and sawtooth hangers make lightweight pieces renter friendly.
Add felt pads so framed edges don’t scuff paint. Check finished weight before mounting, then upgrade hardware if the panel flexes. Keep rubbing alcohol nearby to degrease surfaces, which helps adhesives bond and hangers stay put.
Choosing Your Base: Corkboard, Plywood, Or Foam
Your base controls nail grip, edge cleanup, and wall safety. Pick with purpose. Compare corkboard, plywood, and foam here, plus simple ways to stiffen thin layers and prevent annoying buckling.
Corkboard: Light And Forgiving
Cork cuts easily and keeps projects kid friendly because it’s light and gentle on walls. Stack thin sheets and hot-glue the layers to gain nail depth. Paint sparingly to avoid buckling. A quick primer mist helps color pop without saturating.
Frame edges with white tape for a tidy border. If corners curl, reinforce the back with craft sticks or a thin slat. Test nail seating on scrap before starting your template.
Plywood: Strong And Permanent
Plywood offers the most secure nail hold and survives frequent handling. Sand edges smooth, then prime for crisp paint and clean template removal. Pre-drill tight curves to prevent splits on dense patterns.
Seal the back to reduce warping in humid rooms. Add felt pads and a centered sawtooth for balanced hanging. Heavier panels benefit from D-rings and wire. Choose birch or poplar faces for a clean look under light colors.
Foam Board: Clean Cuts, Light Weight
Foam board trims fast with a sharp knife and gives a super light panel for easy hanging. Use short nails and steady pressure to prevent crushing. Reinforce the back with tape crossbars or a thin wood stick.
This base shines for classrooms and seasonal decor because storage is simple. Painted foam needs light coats. Avoid strong solvents near edges. Replace dull blades often to prevent ragged cuts and messy corners.
Amazing String Art Gallery
Click on any image to start the lightbox display. Use your Esc key to close the lightbox.![]()
How To Transfer Templates Cleanly
Clean transfers save time and keep lines crisp. You’ve got options. Choose the method that fits your design scale, material, and tools, then lock consistent spacing before you start stringing.
Printer Template And Tape
Print your design at scale, trim margins, and tape it down flat. Tap nails through the paper along the outline, using a card spacer for even gaps. Work from the center outward to reduce shifting.
When the outline is complete, pull the paper slowly so nails stay put. Tug at a shallow angle and hold heads with pliers if needed. Erase tape residue gently, then spot-check alignment before you start wrapping.
Carbon Paper Or Graphite Rub
Slip carbon paper under your printout and trace the lines with a ballpoint pen. For a low-cost option, shade the back of the print with pencil, flip, and retrace to transfer graphite. You’ll get a fine guide that avoids extra holes.
This method is ideal when curves are tight or spacing must stay flexible. Seal faint lines with a light primer mist, then plot nail points with a ruler and protractor.
Vinyl Or Contact Paper Stencils
Cut a stencil with a craft knife or cutter, then burnish it onto the base for crisp edges. Nail around the perimeter, keeping pressure even so adhesive doesn’t lift. Peel the stencil slowly once nails are seated. This approach masks paint bleed and controls complex shapes like script and icons. It shines on plywood and painted cork where edges matter. Test adhesion on scrap first to check residue and clean removal.
Spacing Jigs And Guides
Consistent spacing keeps tension even and gradients smooth. Make a simple jig using a cardstock strip cut to your desired gap. For circles and stars, mark angles with a protractor or printable wheel.
Lightly dot nail positions with pencil, then step the jig along the path. Check inside corners and tight arcs because gaps tend to compress. Review spacing under bright light, fix crowding early, and your stringing will look intentional.
Conclusion
Finishing a piece of string art comes down to planning, clean transfers, and steady nail spacing. Choose a solid base, test your hardware, and pre-stretch colors so tension stays even on the wall. Keep wraps consistent, blend hues thoughtfully, and don’t hesitate to undo and rethread sections that look messy.
Seal edges, add reliable hangers, and photograph your work in good light so the lines read crisp and intentional. With a few smart habits, you’ll build designs that feel handcrafted, durable, and ready to gift or display.
For a unique kind of string art, read our guide on making your own dreamcatcher!