Last Updated on August 26, 2025 by Team Ideas24
I love reading novels and now I have a bunch of books sitting in my room. They have basically become “useless” things that just gather dust but I love them. And since I don’t have the courage to sell or give them away, I have decided to upcycle some of them in a couple of ways. Here’s one project I did which took about an hour – a book clock!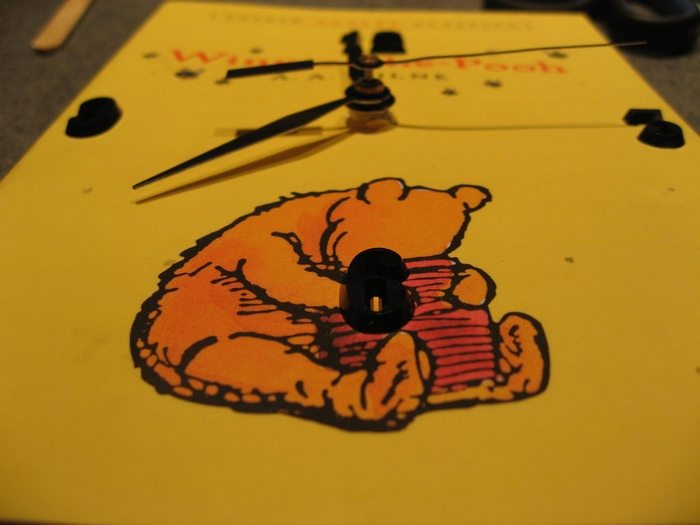
You should try it on one of your books, especially if you’ve been thinking of buying a new clock. This would be a better idea – cheaper and unique! It would also be a cool gift for friends and family :)
To help you get started, we’ve put together a few of our favorite book clock designs below. Simply choose the one that best suits your taste and then follow the instructions below to create your very own book clock!
These designs are sure to add a touch of personality to any room, and they’re easy to make yourself with just a few supplies. So grab a few old books and get creative!
Contents
Crafting a Book Clock
To make your own book clock, you’ll need the following tools and materials:
- Hardbound Book
- Clock Kit
- Sharp Cutter/Craft Knife
- Metal Ruler
- Awl – or any sharp object to make a small hole in the cover
To make this project, you’ll need an old book that you don’t mind damaging. To make this project, you’ll need an old book that you don’t mind damaging. Making a book clock is a fun and easy project that can be done in the afternoon. It’s a great way to repurpose an old book, and the finished product makes for a beautiful and unique decoration. Follow the steps below to make your own book clock.
1. Choose a nice hardbound book
The cover should have a plain and simple design so that you won’t have a hard time reading the clock. It would also be nice if you could get one with a relevant title.
A really old book – one with yellow pages – would be better for a vintage touch.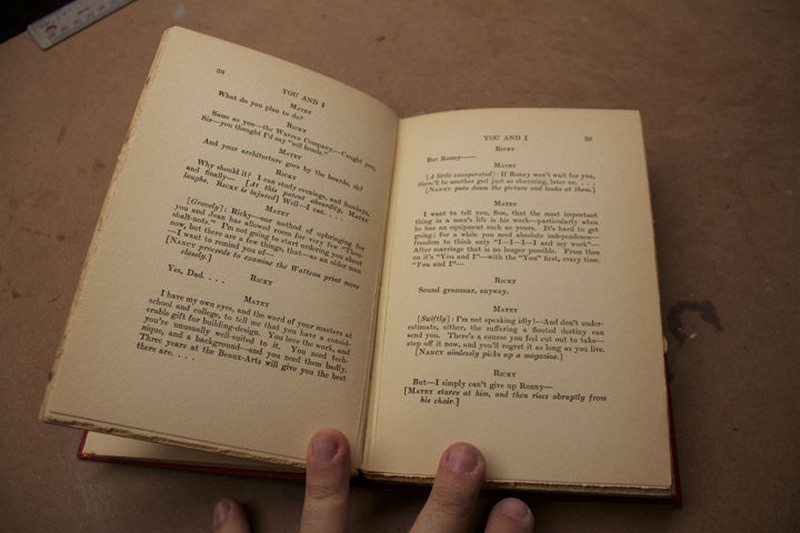
2. Buy or reclaim an old clock kit
You can choose to buy a clock kit or upcycle an old clock set that would fit inside your book. Clock kits are cheap and they are not difficult to find. Some of you may even get to choose the hands that will go with the mechanism. Consider this when choosing your clock. It should match the style of your book, and again, must be easy to look at.
When reclaiming an old clock kit, there are a few things to keep in mind. First, you’ll want to make sure that all of the parts are in good condition. Then, you’ll need to decide what style of clock you want to make. You can often find them at garage sales, thrift stores, or online. This is a great way to save money and get a one-of-a-kind clock for your home. Plus, it’s a fun project to take on!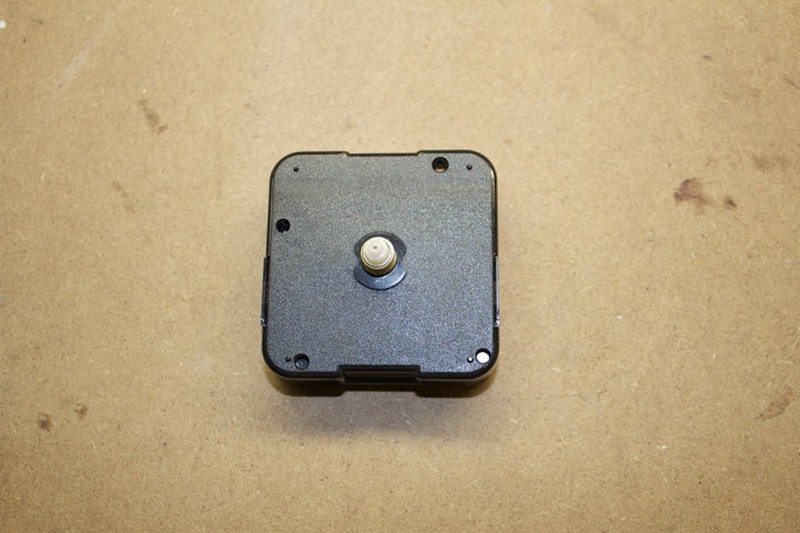
3. Determine the placement of your clock
If you plan to make it stand on a table or shelf, keep in mind that the minute hand should not rotate past the bottom of the book. You wouldn’t want it to hit the table. But if you plan to hang it on a wall, it won’t be necessary.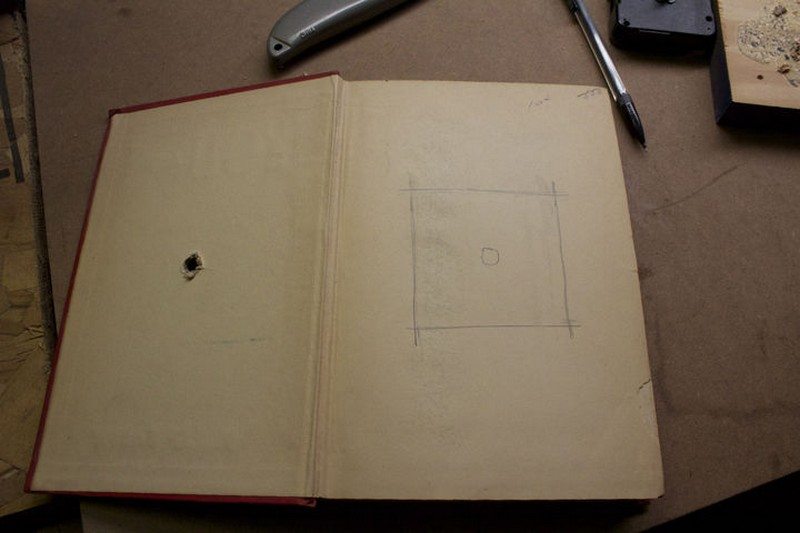
4. Make a hole
Using a cutter and a ruler, carefully make a hole where your clock would fit perfectly. See, every now and then, if you can close the book as if nothing is inside. If not keep digging, but do not cut down all the way through! And of course, do not forget to puncture the cover.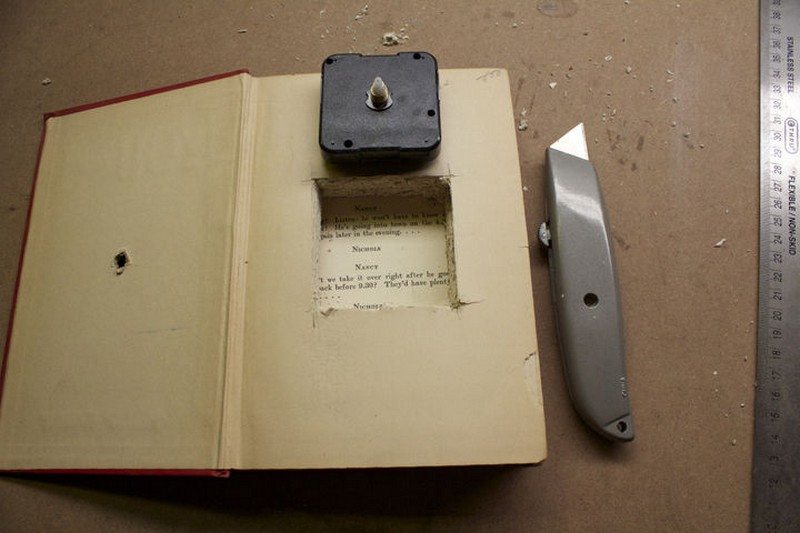
5. Add the batteries
Now that you’ve added batteries and hands to your vintage book clock kit, you have a beautiful new clock that looks like it came straight out of a fairytale! :)
This classic timepiece will add a touch of elegance to any room, and it makes a great conversation piece too. Whether you’re looking to add a touch of whimsy to your home or office, or you’re simply a fan of vintage books, this clock is sure to please.
Thanks for following the directions and putting everything together – enjoy your new book clock! 😊
Thanks to braimb for this great project.
Choosing the Right Book: Size, Spine Strength, and Cover Readability
The book you choose sets tone and build quality. Pick a volume that fits the movement and reads cleanly. These tips help you select the base for your book clock.
Size and Depth
Match the book’s footprint to where the clock will live. A small novel suits a desk. A tall art book anchors a mantle. Depth matters more than height. You need a cavity deep enough for the movement and nut. Leave a few intact leaves behind the cavity for strength. Check that the book still stands upright after test fitting. A wobble now becomes frustration later.
Spine Integrity
A strong spine keeps the case rigid once you hollow pages. Flex the book gently. Minimal creaking is ideal. Loose signatures hint at future sag. Cloth and leather spines resist tearing better than brittle paper wraps. Avoid cracked glue lines and separated endpapers. Reinforce a borderline spine with a thin bead of PVA along the inner hinge. Let it cure before cutting. Your book clock will sit square and durable.
Paper Weight and Density
Dense, heavier stock carves clean cavities and resists fuzzy edges. Very thin or pulpy paper tears and sheds. That dust gets everywhere and weakens the walls. Fan the pages and pinch. Stiffness signals better structure. If the paper feels flimsy, plan to harden the cavity with diluted PVA after cutting. You’ll gain crisp edges and longer life without adding much weight to the book clock.
Cover Design and Legibility
A beautiful cover still needs clear time reading. Mid-tone backgrounds with simple graphics work best. Busy patterns hide hands and markers. Test contrast before committing. Lay the hands on the cover and step back six feet. If minutes vanish, switch hand color or add minimal indices. Keep the title visible when you can. It adds charm and a story to your finished book clock.
Condition, Prep, and Safety
Dusty books look romantic but bring grit to your blade. Brush the edges before cutting. Tape a sacrificial template on the first page to guide the cavity. Use a sharp craft knife and a metal ruler. Take shallow passes. Don’t force it. Wear a mask when papers shed. A few minutes of prep reduces tear-out, keeps cuts straight, and makes the final fit tight and rattle-free.
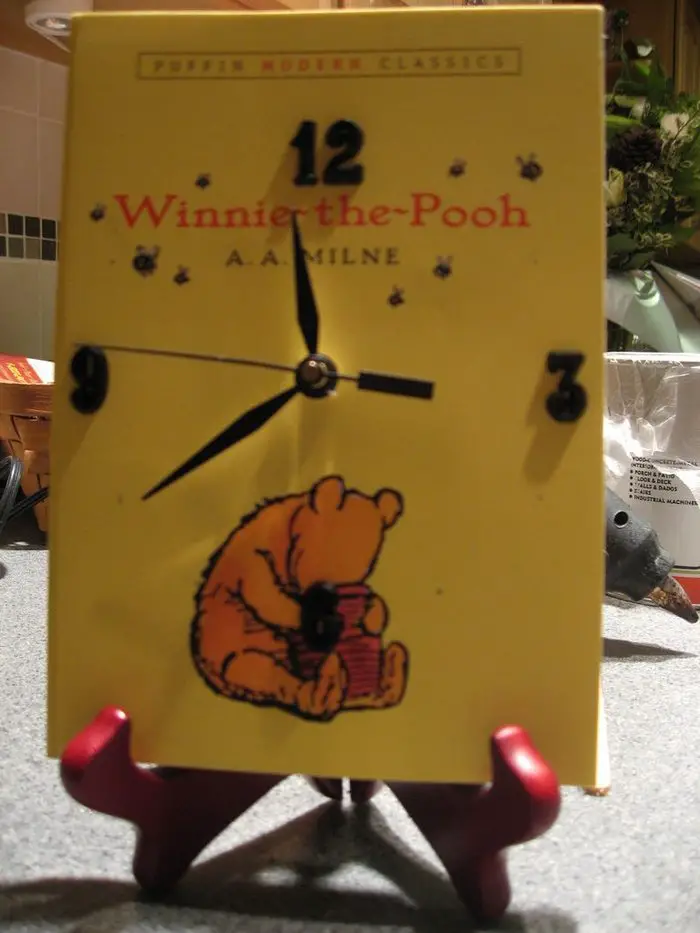
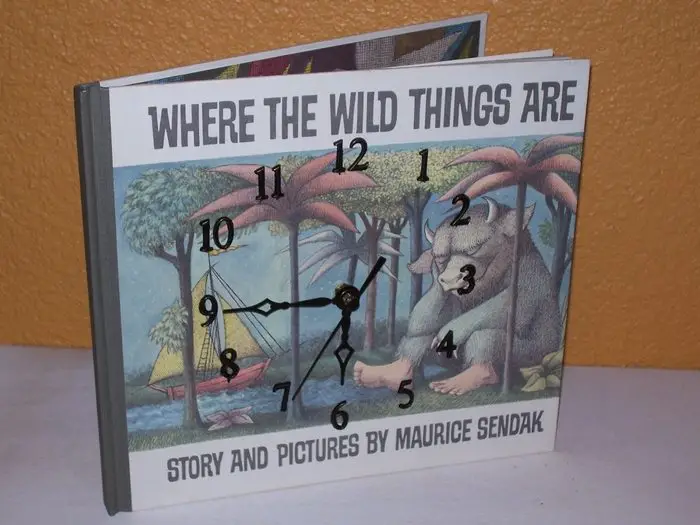
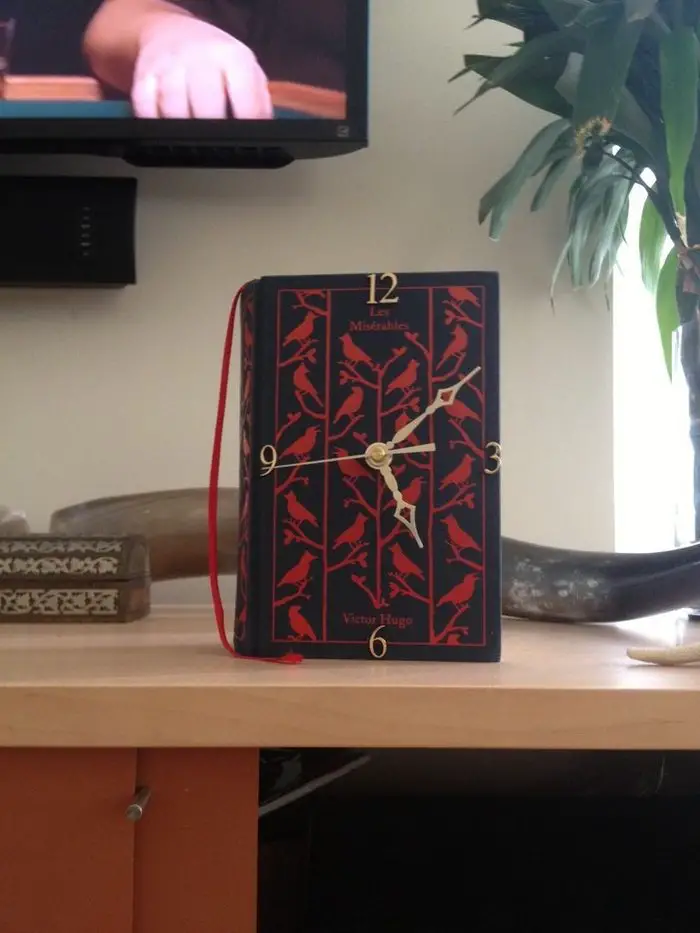
Unique DIY book clock designs
Click on any image to start the lightbox display. Use your Esc key to close the lightbox. ?

Clock Movements for a Book Clock: Silent Sweep, High-Torque, and Tick Types
The movement is the engine of your book clock. It drives hand size, noise, and reliability. Use this guide to match torque, shaft length, and features to your chosen book.
Torque and Hand Length Matching
Longer hands need more torque. That’s the rule. Standard movements push thin hands up to about 5–6 inches. Heavy aluminum or long decorative hands need high-torque units. Underspec torque causes stalls at the quarter hours and drift you’ll notice in days. Choose the hands first, then the motor. When in doubt, step up a torque class. The book clock stays accurate and trouble free.
Silent Sweep vs Ticking
Ticking adds character in a workshop. It grates in a bedroom. Silent sweep movements glide with no audible step. They cost a little more but buy peace. Test by holding a sample to your ear in a quiet room. If your space is small or reflective, choose sweep. Libraries, nurseries, and home offices all benefit. Your book clock should tell time without stealing focus.
Shaft Length and Book Thickness
Shaft specs confuse many makers. Measure the cover plus any dial material between the movement and the hand nut. That stack height must be less than the threaded shaft length. Too short and the nut won’t bite. Too long and the hand hub floats. Most hardcovers need a medium or long shaft. Add washers only to fine tune. Confirm with a dry fit before carving deeper into the book.
Power, Batteries, and Longevity
AA movements are common and practical. They’re easy to source and last months on quality alkalines. High-torque motors may draw more. Plan battery access from the start. A hidden flap or magnetic back makes changes painless. Avoid tiny button-cell modules for daily clocks. They fade fast and lose accuracy as voltage sags. Reliable power keeps your book clock set and dependable through seasons.
Mounting Fit, Hand Clearance, and Balance
A snug movement pocket stops rattles. Undersize the cavity slightly and ease to fit. Ensure the minute hand clears the cover emboss and any raised title frames. Bend hands only at the hub and only a touch. Check balance at 12, 3, 6, and 9. If hands stall low, you have rub or imbalance. Fix it now. A smooth sweep around the dial is the final quality check.
Conclusion
Building a book clock turns a spare hardcover into useful art. Get the fit right by matching torque and shaft length, then test hand clearance at 12, 3, 6, and 9. Seal the cut edges and seat the movement snug so it stays quiet and accurate. Add high-contrast hands or simple indices for easy reading, and plan quick battery access. You’re left with a functional keepsake that rescues a book, sparks conversation, and makes a thoughtful gift.
If you liked this project, you might also like to view the Best Upcycling Skateboard Deck Ideas…